-

Win a Free Custom Engraved Brass Coin!!!
As a way to introduce our brass coins to the community, we will raffle off a free coin during the month of August. Follow link ABOVE for instructions for entering.
-

PRE-ORDER SHIPS IN SCALE TODAY!
The beloved Ships in Scale Magazine is back and charting a new course for 2026!
Discover new skills, new techniques, and new inspirations in every issue.
NOTE THAT OUR FIRST ISSUE WILL BE JAN/FEB 2026
You are using an out of date browser. It may not display this or other websites correctly.
You should upgrade or use an alternative browser.
You should upgrade or use an alternative browser.
Thank you for sharing all of this wonderful work Rudiger! You are bringing back so many memories for me.
Hello everyone,
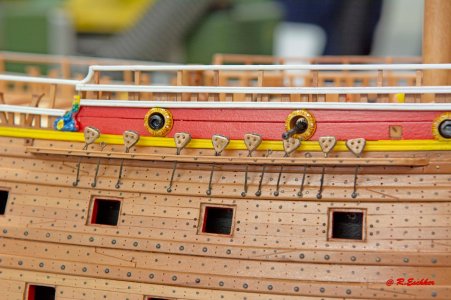
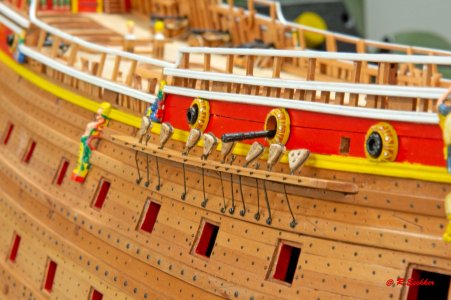
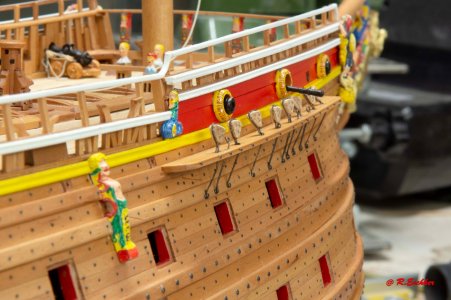
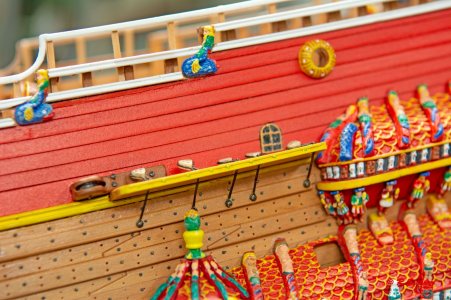
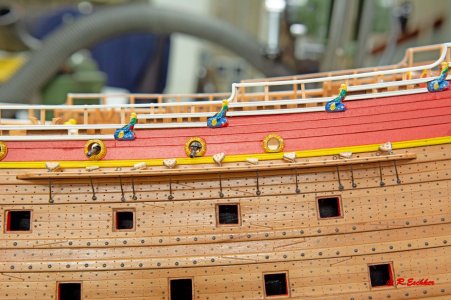
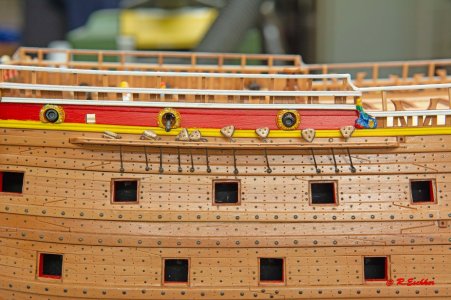
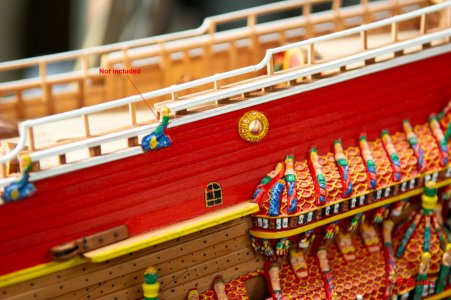
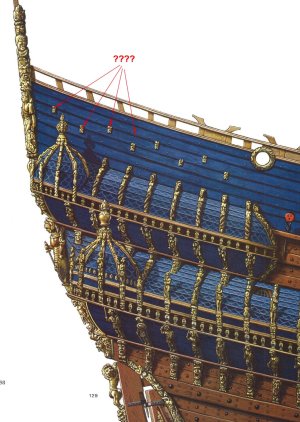
in the book by Björn Langström (The Royal Warship VASA) there is a picture of the gallery area of the starboard side on page 98.
There you can see small golden decorations on the ship's side (see attached picture). These are not listed in the book by Wolfram zu Mondfeld. Question to the members of the forum: did these decorations exist and what did they represent? Maybe Fred Hocker can write me something about it. Many thanks in advance for your efforts.
Greetings
Rüdiger
in the book by Björn Langström (The Royal Warship VASA) there is a picture of the gallery area of the starboard side on page 98.
There you can see small golden decorations on the ship's side (see attached picture). These are not listed in the book by Wolfram zu Mondfeld. Question to the members of the forum: did these decorations exist and what did they represent? Maybe Fred Hocker can write me something about it. Many thanks in advance for your efforts.

Greetings
Rüdiger
They are probably done by artistic license, because they do not appear on the real ship.

Nope.. not on this side either... The fact that the illustration in Björn Langström's book shows a blue hull indicated his book is obsolete.
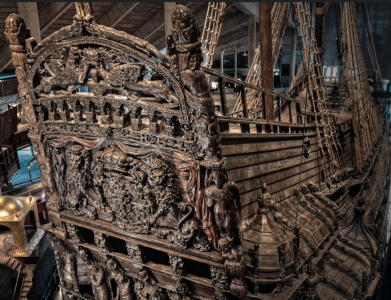
They are not even on Paul's Vasa model which is painted accurately with respect to the original vessel... so they probably shouldn't be there.
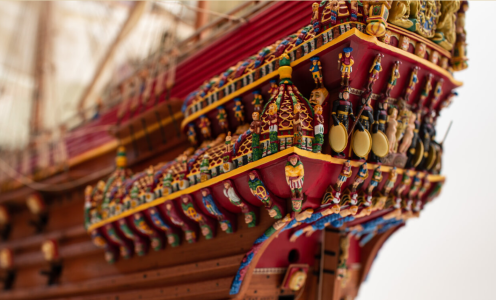

Nope.. not on this side either... The fact that the illustration in Björn Langström's book shows a blue hull indicated his book is obsolete.

They are not even on Paul's Vasa model which is painted accurately with respect to the original vessel... so they probably shouldn't be there.

Hello everyone,
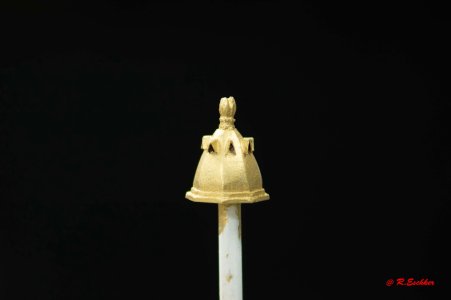
Today there's a little treat as a reward. It was the turn of the rear lantern. In my opinion, one was never found and yet Björn Langström and Wolfram zu Mondfeld have the same sketches (perhaps they copied each other). It is also stated that the lantern was made entirely of brass or was gold-coloured. In Foxtrott's model, it is painted in the same colour as the ship. Since I'm starting from the books, I painted my lantern gold-coloured.
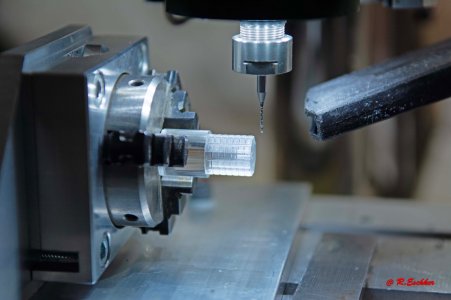
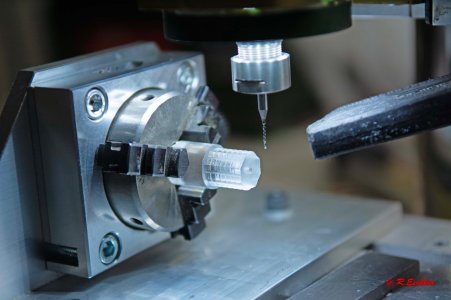
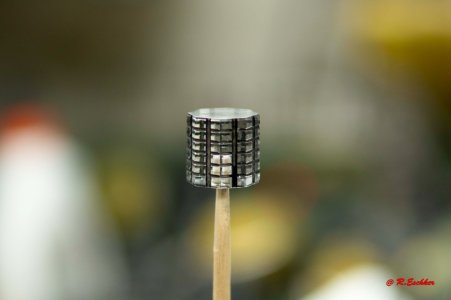
First, I milled a 15 mm acrylic round rod into an octagonal shape and then used a 0.8 mm milling cutter to mill the window frames. These were then blackened with black panel liner from Tamiya. The machined surfaces were then polished. I painted the candle white with a 1.5 mm hole
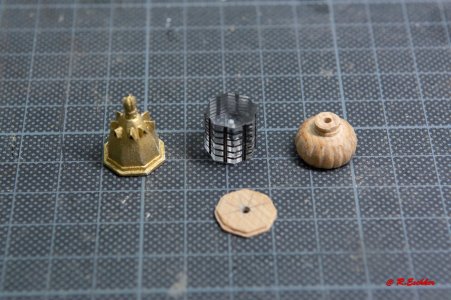
The tail is also made from a round rod. The flower at the end is made of pear. The air outlets are made from black cardboard and fixed with superglue. The base and the bottom of the lantern are also made from pear. After assembly, the corners were covered with 8 angels made from boxwood and the thing was finished.
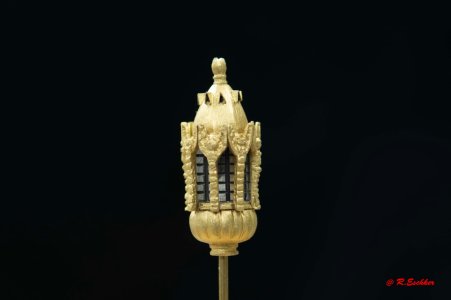
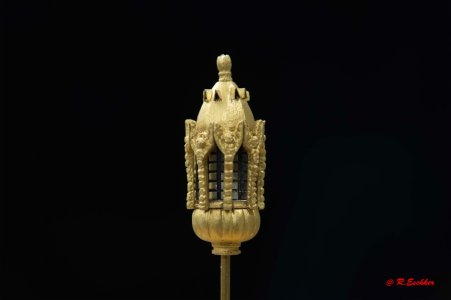
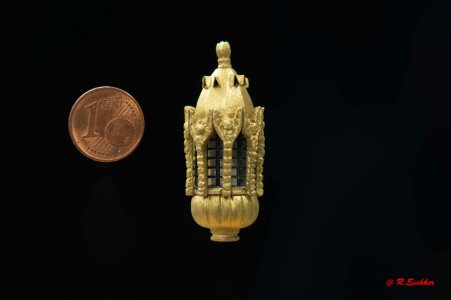
I think I've managed to create something really nice that I'm a little proud of.
To be continued
Greetings
Rüdiger
Today there's a little treat as a reward. It was the turn of the rear lantern. In my opinion, one was never found and yet Björn Langström and Wolfram zu Mondfeld have the same sketches (perhaps they copied each other). It is also stated that the lantern was made entirely of brass or was gold-coloured. In Foxtrott's model, it is painted in the same colour as the ship. Since I'm starting from the books, I painted my lantern gold-coloured.
First, I milled a 15 mm acrylic round rod into an octagonal shape and then used a 0.8 mm milling cutter to mill the window frames. These were then blackened with black panel liner from Tamiya. The machined surfaces were then polished. I painted the candle white with a 1.5 mm hole
The tail is also made from a round rod. The flower at the end is made of pear. The air outlets are made from black cardboard and fixed with superglue. The base and the bottom of the lantern are also made from pear. After assembly, the corners were covered with 8 angels made from boxwood and the thing was finished.


I think I've managed to create something really nice that I'm a little proud of.
To be continued
Greetings
Rüdiger
Wow, wow wow!
Kurt Konrath
Kurt Konrath
True memories, or nightmares of the tasks and time!Thank you for sharing all of this wonderful work Rudiger! You are bringing back so many memories for me.
Great work done on this ship, the unpainted planks look like ship has measles almost.
Hello everyone,
I still owe you the attachment of the lantern at the rear. The bracket for the lantern is made of 2 mm burnished brass wire and the side supports are made of 1 mm burnished brass wire. I glued the brackets to the bracket with superglue because I didn't want to try soldering to the object.
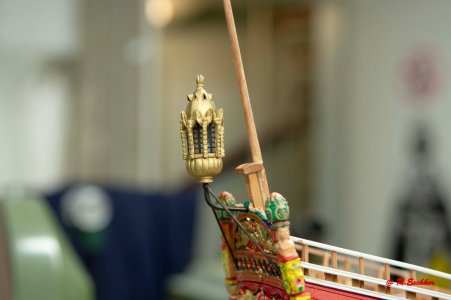
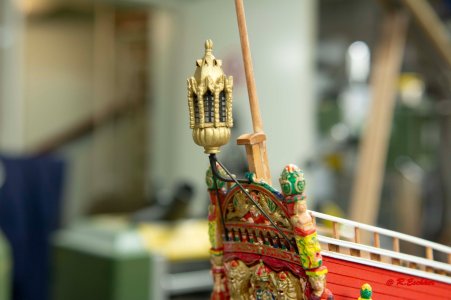
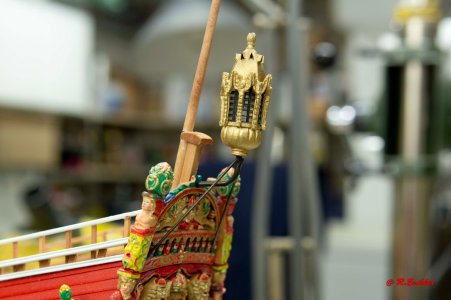
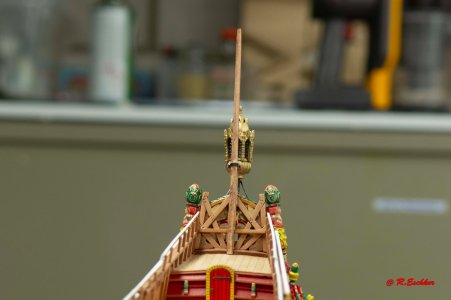
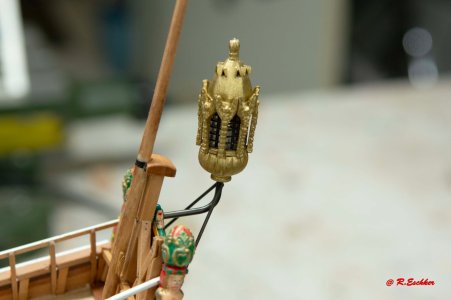
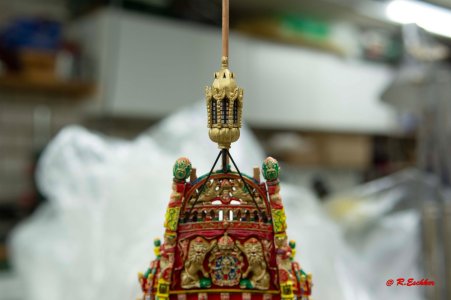
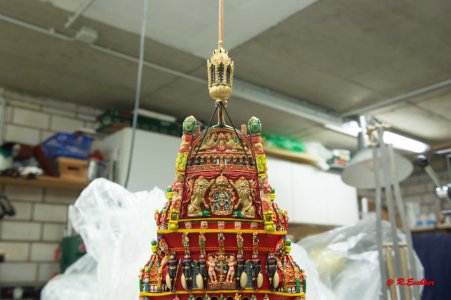
As everything fits together, I will remove the lantern again and store it well. It will then be the last thing to be attached to the finished model.
To be continued
Greetings
Rüdiger
I still owe you the attachment of the lantern at the rear. The bracket for the lantern is made of 2 mm burnished brass wire and the side supports are made of 1 mm burnished brass wire. I glued the brackets to the bracket with superglue because I didn't want to try soldering to the object.


As everything fits together, I will remove the lantern again and store it well. It will then be the last thing to be attached to the finished model.
To be continued
Greetings
Rüdiger
That's a lantern worthy of the King's ship.
Hello everyone,
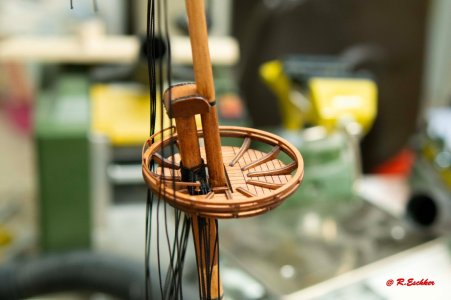
Next up were the mast foot fairings. These are not included in the kit either. On the foremast, a platform was installed between the mast foot and the grabrails. The servant was also rebuilt and fitted. An opening was provided on the main mast for rigging the main halyard. More on this later.

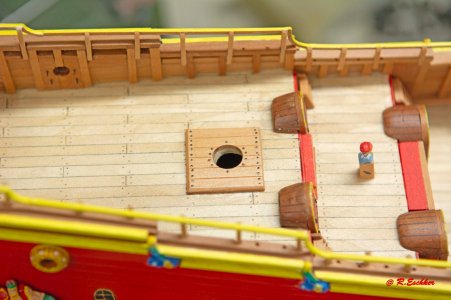
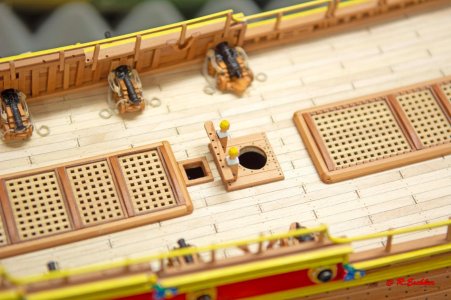
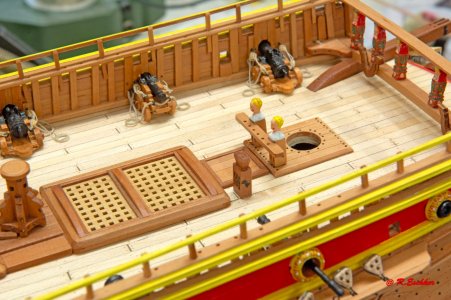
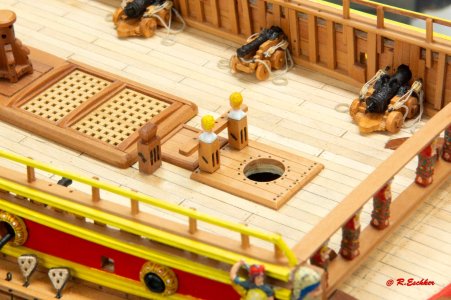
To be continued
Greetings
Rüdiger
Next up were the mast foot fairings. These are not included in the kit either. On the foremast, a platform was installed between the mast foot and the grabrails. The servant was also rebuilt and fitted. An opening was provided on the main mast for rigging the main halyard. More on this later.


To be continued
Greetings
Rüdiger
Hello everyone,
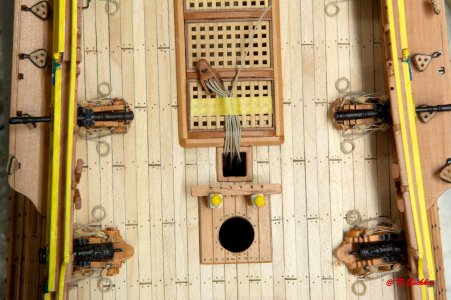
Rigging the main halyard on the main mast was a bit difficult. I used a chisel to carefully remove the bulkhead underneath the small opening down to the bottom and the gratings. Now the servant and the carding block were pre-rigged and the servant was glued to the bottom and under the gratings. To do this, I used superglue and carefully pressed the block onto the base with tweezers. Once dry, I fixed the deck carding block in place. This will only be needed again when rigging the yard.
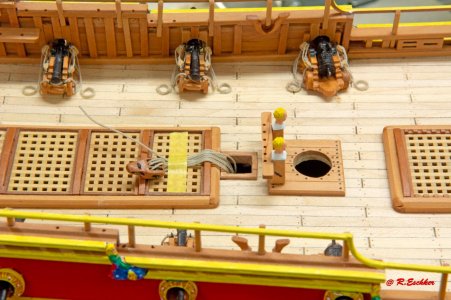
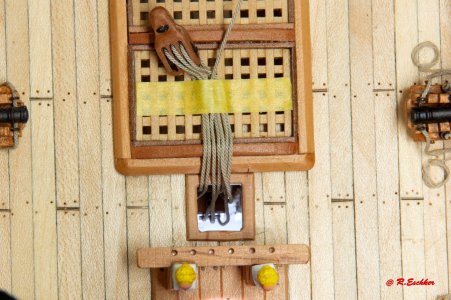
To be continued
Greetings
Rüdiger
Rigging the main halyard on the main mast was a bit difficult. I used a chisel to carefully remove the bulkhead underneath the small opening down to the bottom and the gratings. Now the servant and the carding block were pre-rigged and the servant was glued to the bottom and under the gratings. To do this, I used superglue and carefully pressed the block onto the base with tweezers. Once dry, I fixed the deck carding block in place. This will only be needed again when rigging the yard.


To be continued
Greetings
Rüdiger
Hello everyone,
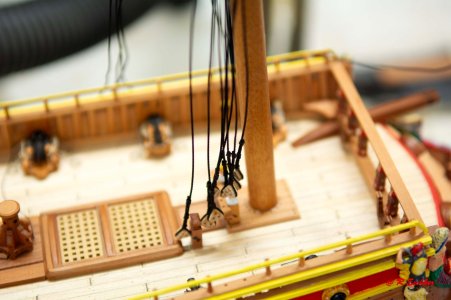
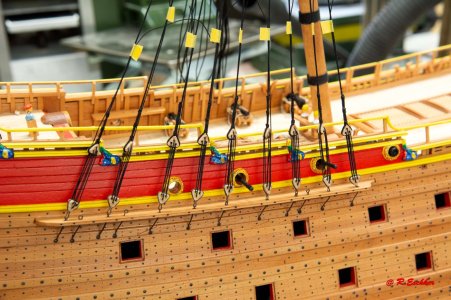
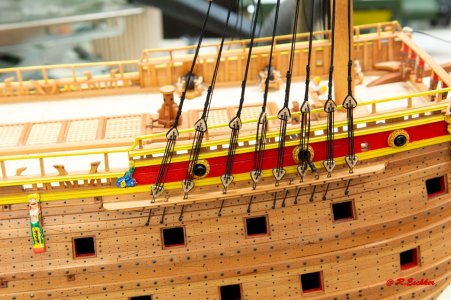
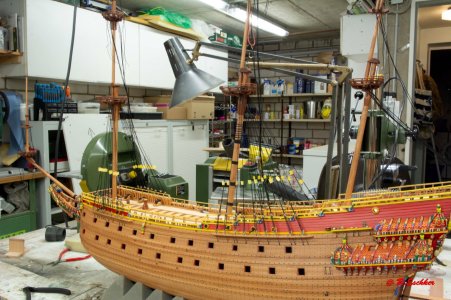
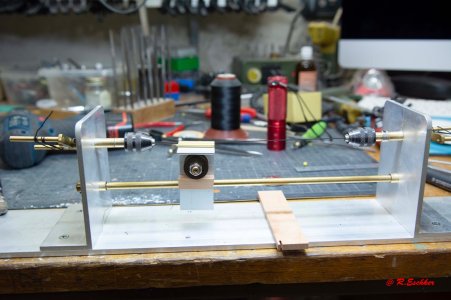
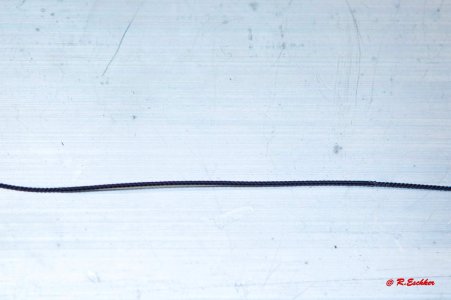
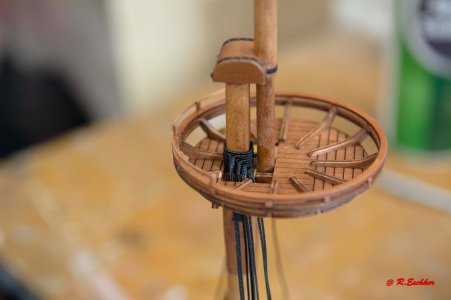
The ropes for the shrouds have been made and will now be partially covered and attached to the mast on my tried and tested machine.

We are now finished with the retelling and the following construction phases will take place in real time. Posts will no longer appear as frequently.
To be continued
Greetings
Rüdiger
The ropes for the shrouds have been made and will now be partially covered and attached to the mast on my tried and tested machine.


We are now finished with the retelling and the following construction phases will take place in real time. Posts will no longer appear as frequently.
To be continued
Greetings
Rüdiger
True storyWow, wow wow!
Good morning Rudiger. Apologies for the gazillion "likes". Wow this is brilliant modelling. Cheers GrantHello everyone,
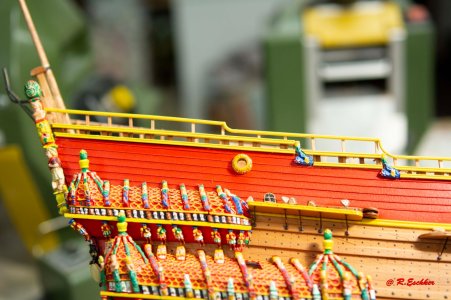
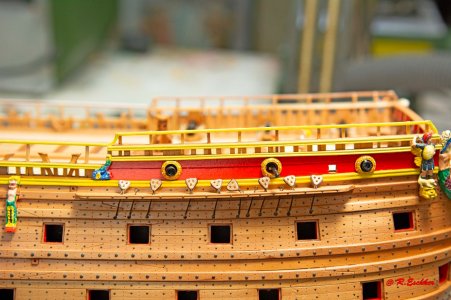
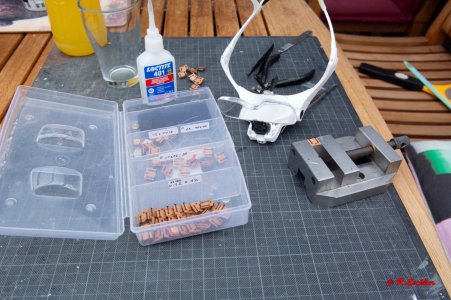
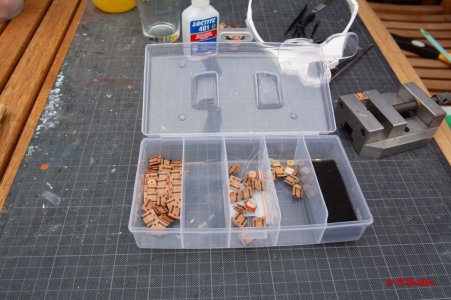
The ropes for the shrouds have been made and will now be partially covered and attached to the mast on my tried and tested machine.
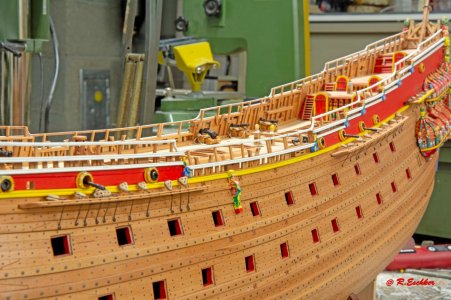
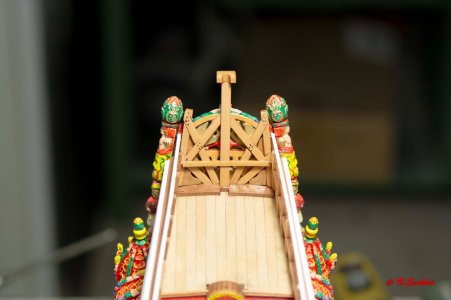
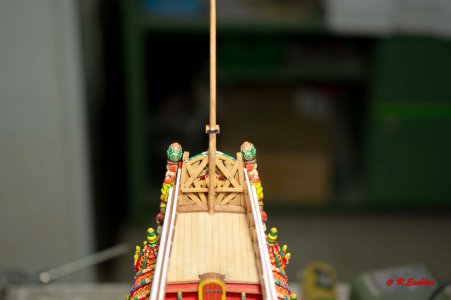
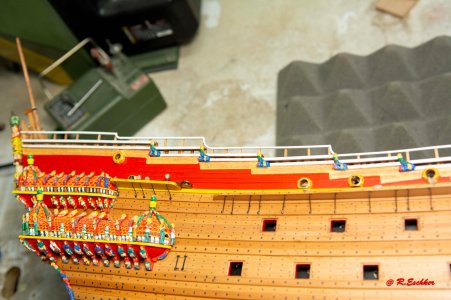
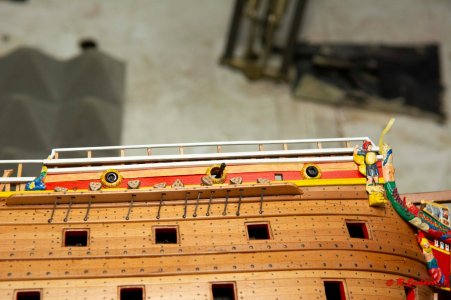
View attachment 480547View attachment 480548View attachment 480549View attachment 480550
We are now finished with the retelling and the following construction phases will take place in real time. Posts will no longer appear as frequently.
To be continued
Greetings
Rüdiger
Such great work!!
I had built the worse example (Corel) of the Vasa - wish there had been other choices way back then -
Again excellent work
Regards,
I had built the worse example (Corel) of the Vasa - wish there had been other choices way back then -
Again excellent work
Regards,
Last edited:


