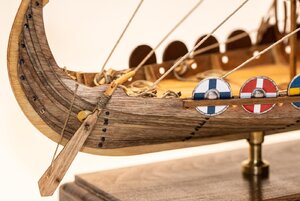
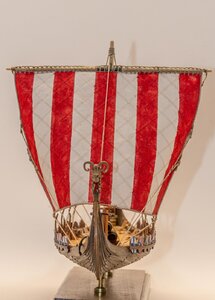
Viking Longship "Drakkar" by Amati

Joined
Dec 8, 2019
Messages
776
Points
403

Location
Virginia Beach, VA.
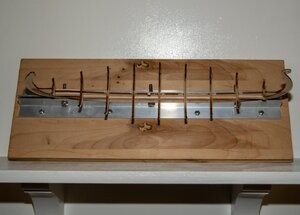
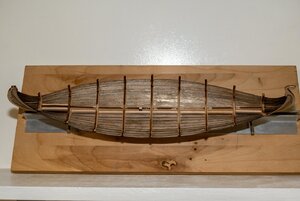
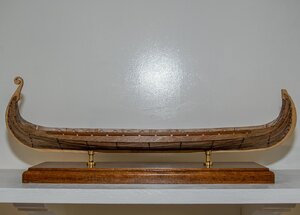
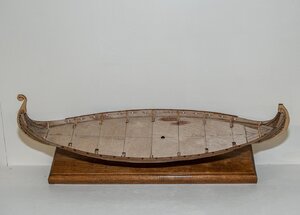
My wife being Scandinavian, I decided to do a Viking Longship as my next project. Problems have already arisen. First, the keel was warped so after glueing in the ribs, I added some stiffeners between each of them. Then I put in some reverse bend and left it in the jig for a day. Thankfully most of the bend has been removed. I think the planking will finish the straightening job. Second, the planking has a lot of laser burn dust that has turned the wood a nasty grayish color what I can't remove, Sanding only spreads the dust and makes it worse so I'm hoping Tung oil will tone it down a but, at least it looks a little better after running a test on some scrap pieces of the ply. The garboard strake has been installed on both sides and so far the build is pretty straight forward.
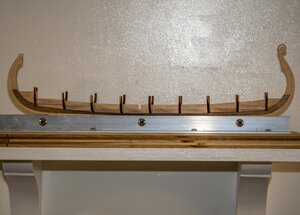
20200618 Drakkar 01.jpg20200618 Drakkar 02.jpg
 
I often use cheap rubbing alcohol 70% or such if you can find any, to wipe down dust off wood, it absorbs dust and paint, but doesn't seem to soak back in and dries very quickly.

Thanks for starting this new build log, will be keeping an eye on things.
 
This is great decision, many thanks for starting your build log! Looking forward to your progress updates. ;)
 
I often use cheap rubbing alcohol 70% or such if you can find any, to wipe down dust off wood, it absorbs dust and paint, but doesn't seem to soak back in and dries very quickly.

Thanks for starting this new build log, will be keeping an eye on things.
Thanks for the tip Kurt. I had tried acetone but no luck. The alcohol worked much better. Didn't get it all but most of it and it evened out the color on the wood that had been blotchy.
 
You can say the slight grey cast is weathering of the old wood!

I as do model railroading and most true modelers like to weather engines and cars to show exposer to elements and time! Even new stock gets a lite dusting to show exhaust and dust setting on top.
 
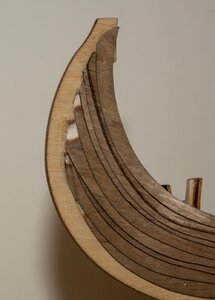
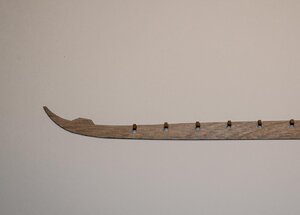
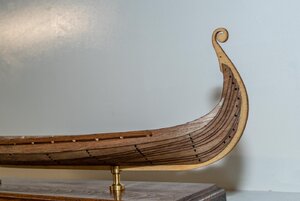
Making some headway. Glued in the first three planks before I realized the port side was reversed. Finally did a Google translate and found out what "Mirror image" is in Italian. That little difference in spacing carried forward to all the other planks and I ended up not quite even. The ends of the planks were starting to get thick so for the next set I tapered the ends which worked nicely but now you can see the different ply's in the keel. Still need to shape the ends so they have a nice curve. Think the plans, such as they are, should have a rabbit to correct that problem. Live and learn. I decided to drill the oar ports and install the shield rail spacers before I installed that last plank. Trying to get even spacing of the ports by hand would not have worked for me. Still have to install all the nails at the bulkheads. Once that is done and the last planks are installed, the outer rail added, and some wood filler here and there, I'll sand the out side of the hull and apply a coat of Tung oil.
20200621 Drakkar 01.jpg20200621 Drakkar 02.jpg20200621 Drakkar 03.jpg20200621 Drakkar 04.jpg
 
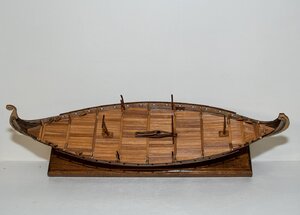
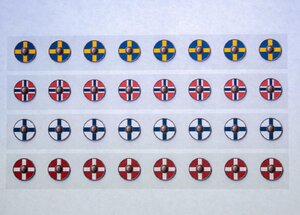
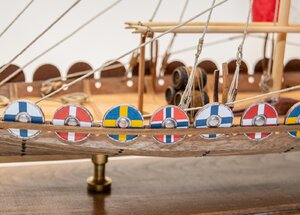
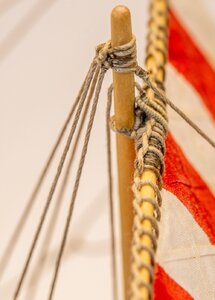
Weather nasty lately so been spending a lot of hours in the shipyard. Model pretty much finished except for the details, which to me make all the difference in the world. Figurehead, oars, rope hanks, and shields still to go. Also looking into plans for a display case. Working on the shields now. Tried several options and finally settled on using the flags of the Scandinavian countries. Painting by hand not an option, to small and the wood grain in the cast metal put masking and spraying out of the question. I scanned in a shield and worked it up in Photoshop with flags I googled on the internet. A test run looked good so thats the way I'll go.
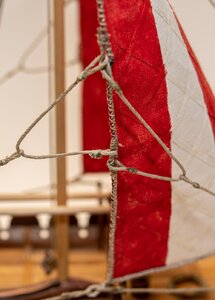
AAC_3750.jpgAAC_3751.jpgAAC_3752.jpgAAC_3753.jpg
 
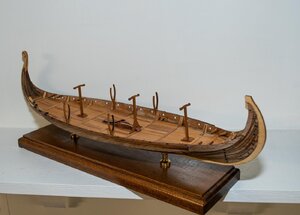
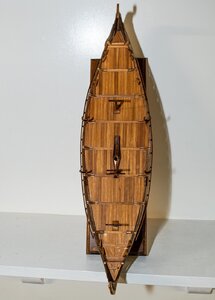
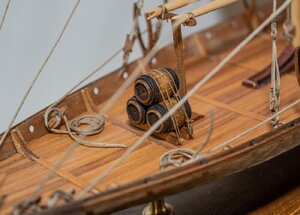
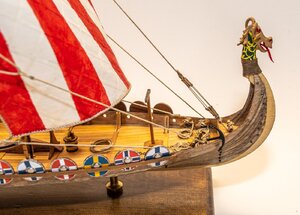
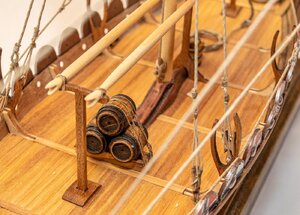
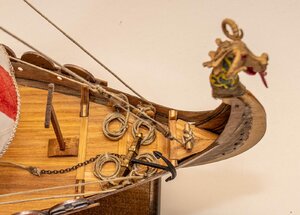
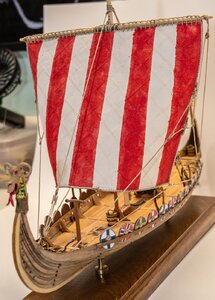
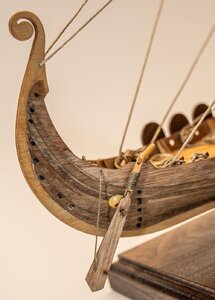
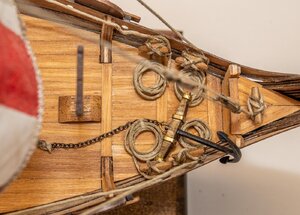
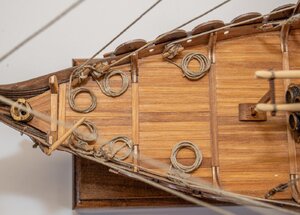
Completed the Drakkar longship build except for the oars. Might add a couple for reference but not doing all 26. They wouldn't all fit in the racks anyway. I did the shields in Photoshop, sprayed the back of the castings with brown, the front with silver, then cutout the photoshop printouts and white glued them to the shields. When it was dry I sprayed on a coat of clear. Turned out to be my favorite part of the build. 20200708 Drakkar 01.jpg20200708 Drakkar 02.jpg20200708 Drakkar 03.jpg20200708 Drakkar 04.jpg20200708 Drakkar 05.jpg20200708 Drakkar 06.jpg20200708 Drakkar 07.jpg20200708 Drakkar 08.jpg20200708 Drakkar 09.jpg20200708 Drakkar 10.jpg20200708 Drakkar 11.jpg20200708 Drakkar 12.jpg20200708 Drakkar 13.jpg20200708 Drakkar 14.jpg
 
Back
Top