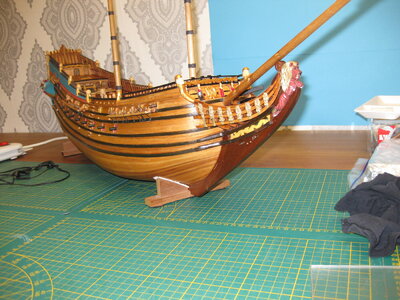
VOC ship The Prins Willem (scale 1:75) Year 1651

Joined
Aug 8, 2019
Messages
4,011
Points
688

Hi Every one. :) My name is Stephan I'm 54 years old. Excuse me for my bad English sometimes, I'll try to write it, please correct me when I make mistakes. It will be a good lesson to me.

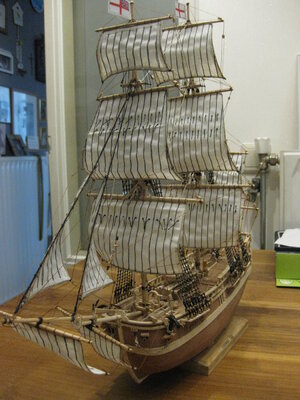
This will my first log here on SOS. 2 years ago, before this ship I started with model building. My first project ever was the Endeavour from Veliero(1:100), bought on marketplace. In a month I was addicted, and 6 months Later I was ready.
IMG_0009.JPG

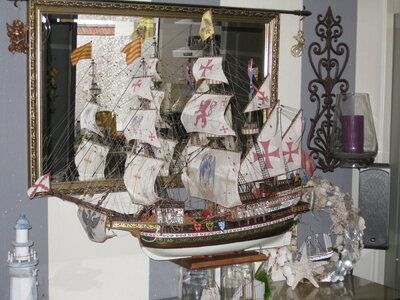
After that I started to build the Spansk Galeon from Billing Boats (1:66) The kit was just like the kit from Veliero more than 50 years old and most of the wood was to old or mold.
It became a part kit part scratch build. 13 months to complete it.
The rigging took the most time to make, I study a lot about it. But I completed it using the book from Peter Kirsch Die Galleonen (german)

IMG_1037.JPGIMG_1146.JPG

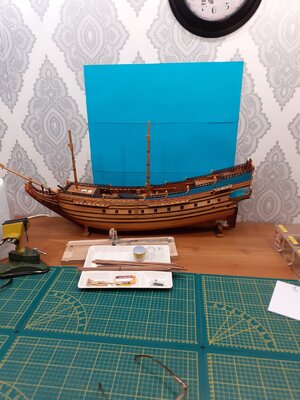
After that project I started to completing the build of the Prins Willem, back in 2007 Jan started to build the Prins Willem, but couldn't complete it. Last year he asked if there was anybody who wants to build it to the end. I was lucky to get the honor.
The ship reached me in good conditioning and a closer look makes me realise this would be a lot of work.
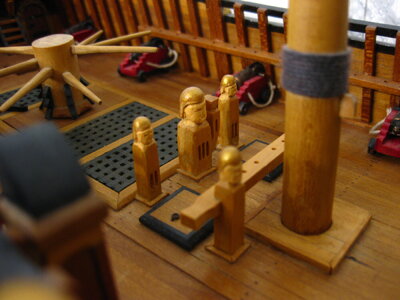
20201218_154553.jpgIMG_0275.JPGIMG_0278.JPGIMG_0281.JPGIMG_0282.JPGIMG_0283.JPGIMG_0285.JPGIMG_0289.JPGIMG_0290.JPGIMG_0292.JPG

The dek is cherry wood, the hull is pear and most of the black wood is ebony. Canons and sculptures are boxwood. Very nice word especially the hull and deks.

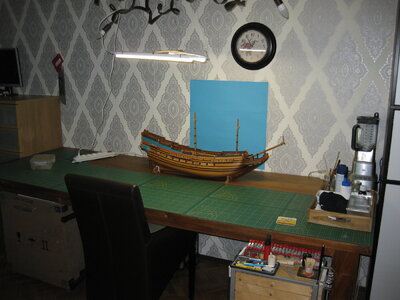
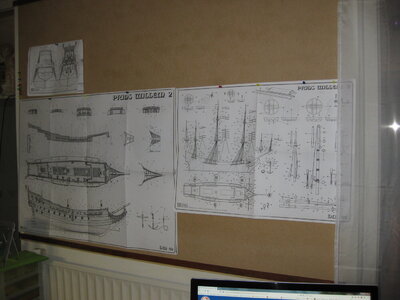
I started to clean my desk and reorganise my "hok" (the director calls my hobby-space "hok" :) )
IMG_1052.JPGIMG_1053.JPG

In the next days I will let you see how far I am building this ship.
Please enjoy this log
 
Last edited:
Thanks fellow modellers :)

The first thing I did was looking to al the stuff that came along with the ship.
The parts that where belonging to the masts are completed but still in parts. They are made of quality wood. (Boxwood and pear)
There is a problem with the tops, these are in the years not straight any more. Look to the picture:

IMG_0923.JPG

I tried to moisture them with water and put them between clamping for a week or so.

IMG_0936.JPG

That doesn't the job I needed. After releasing the clamping, in a few hours they started to lose the straightness.

IMG_0998.JPG

I lay them in a layer of water (2 mm) so that just the bottom is in the water en after that I carefully separated the bottom layer of wood.
Cleaning and sanding the bottom and put a sheet of plywood (1,5 mm against it) after the gleu was dry I put a sheet of veneer against the plywood.

IMG_1058.JPGIMG_1059.JPGIMG_1057.JPGIMG_1061.JPG

Then the top was cleaned and sanded and glued together. Some parts I had to repair or renewed. I used pear and boxwood.
IMG_1060.JPGIMG_1062.JPG

on the below picture I used the old parts of boxwood

IMG_1063.JPGIMG_1064.JPGIMG_1065.JPG

on the below picture I used new parts I created. Pear wood

IMG_1124.JPG

You can't tell the difference between boxwood and pear after Danish Oil

IMG_1073.JPGIMG_1127.JPGIMG_1129.JPGIMG_1132.JPG

After that I sorted the parts for the masts and put them away for later use.
In the next post I will show you what I did with the cannons.
 
Last edited:
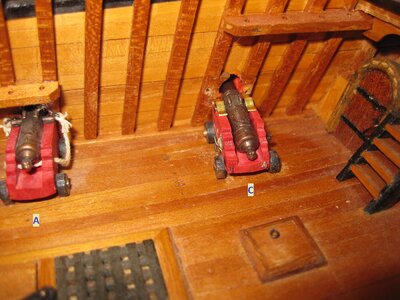
In the first Post you see a picture of the cannons on the dek. I was thinking about the look of it and what I could do to give them a better look. More rope? Or no rope? The colour?
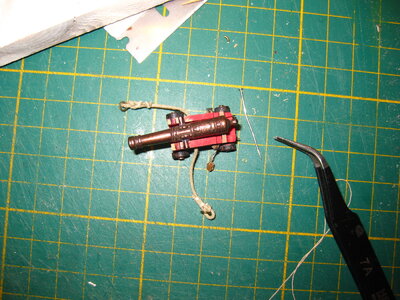
I disassembled one canon and started to experience with it.

IMG_0303.JPGIMG_0304.JPGIMG_0312.JPGIMG_1067.JPGIMG_1068.JPGIMG_0297.JPG

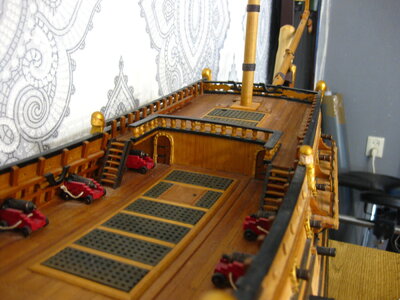
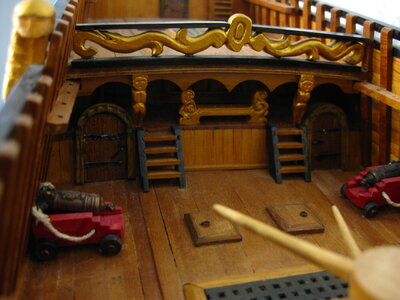
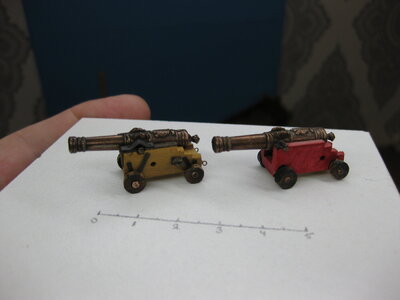
I decided to go without any roping but put all the details to the guns they needed and even get loss of the red paint.
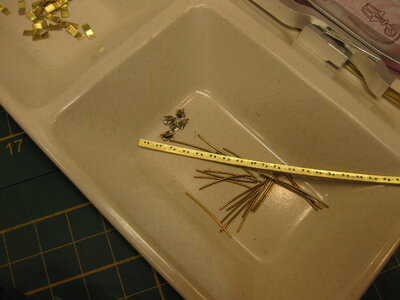
I started to make the little messing parts and blackening them later.

IMG_1074.JPGIMG_1075.JPG
IMG_1099.jpg

Then I started to clean the gun carriages They are made of boxwood, so they're very strong and I can go on without scratching or damage the wood.
With veneer of watered walnut wood (almost black coloured) I started to put details to the carriages.

IMG_1090.JPGIMG_1089.JPG

I made the black rings on the weels of polymer clay

IMG_1118a.jpgIMG_1119a.jpgIMG_1123.JPG

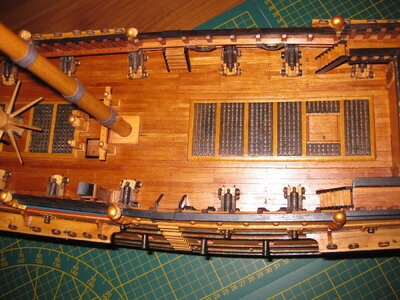
Then I cleaned the dek from glue parts and sanding the dek, I did put on a new layer of Danish Oil and the end result of all this work is:

IMG_1135.JPGIMG_1136.JPGIMG_1137.JPG

In the next post I will let you se what I did to the painting on the side of the ship and the sculptures.
Thanks for watching.
Stephan
 
Hello Stefan. It's wonderful to see you here on SOS! A big welcome from my side - show these guys what Dutch model building is all about. Baie welkom Stefan. Dit is goed om jou hier te sien.
 
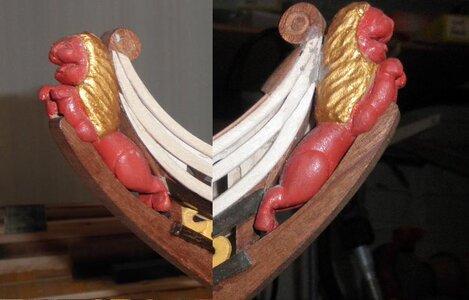
Next update is the Head. On the side there have to be a lot of sculptures to be made.
So I started with polymer clay (Fimo), Never worked before with clay and never had make a sculpture. The first time for me and I have to find my way through it.

Naamloos-1.jpgIMG_1165.JPGIMG_1166.JPGIMG_1175.JPG

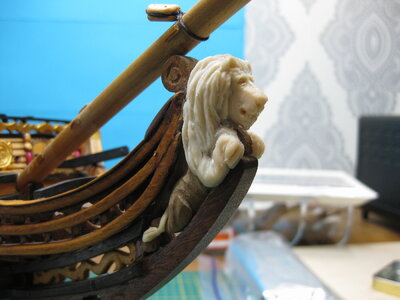
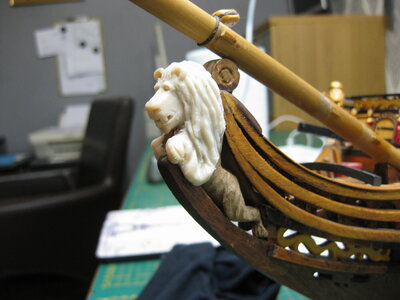
Than I had a look at the Lion figurehead after I succeeded the side lady's

IMG_1167.jpg

I started to try with a drop of water and a lot of patience to disassemble the lion and with carvin and clay to give him the new shape. You can bake the clay and wood together. I did it in steps till I got a new nice Lion.

IMG_1168.JPGIMG_1169.JPGIMG_1170.JPGIMG_1171.JPGIMG_1172.JPG

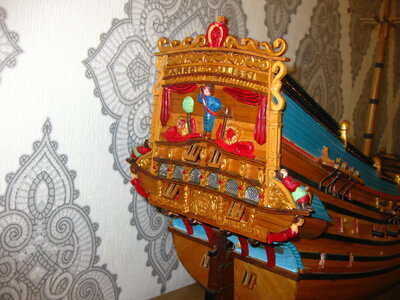
After painting and mounting everything in place, the head looks great....

IMG_1176.JPGIMG_1177.JPGIMG_1178.JPG

Next time I show you the side gallery on the back And the painted "fortuining" don't now the English word.
Thanks for watching
 
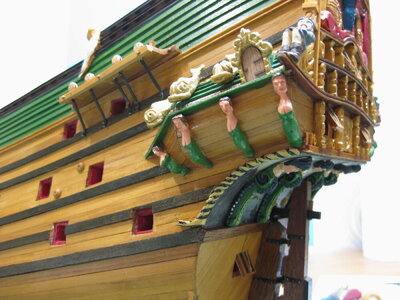
The "Fortuining" was blue, not my taste so I cleaned it and gave it a green color. This is flat green from Vallejo, a little lighter than terra green.
IMG_1217.JPG

The fishes on the side I made of Fimo Clay (Polymer clay), that was a lot of work because I'm not experienced in working with clay. I made them step by step and baked them several times before they where completed.

IMG_1211.JPGIMG_1219.JPG

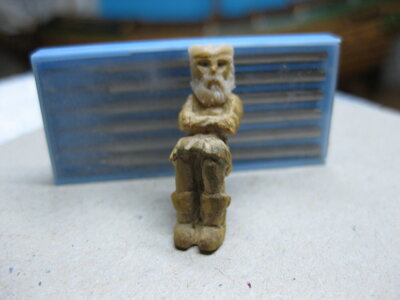
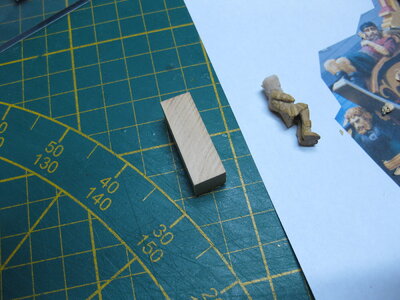
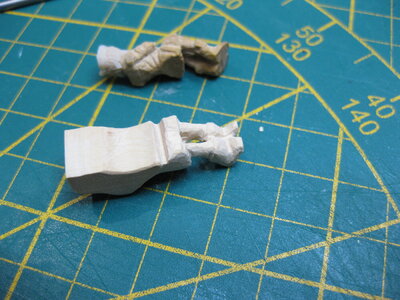
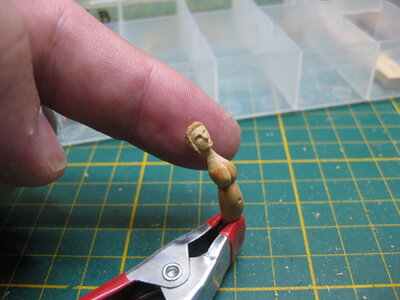
The little man on the side of the stern was made very simpel, I decided to make hem more accurate and on one side make a complete new one. I used boxwood and dremel and small sisal.

IMG_1250a.jpgIMG_1248.JPGIMG_1250.JPGIMG_1251.JPGIMG_1252.JPGIMG_1255.JPGIMG_1261.JPGIMG_1264.JPG

Then I painted them And placed them on the ship

IMG_1266.JPGIMG_1269.JPG

In the next post I constructed the "Wulf" (the part below the stern)
 
Old situation:

IMG_0289.JPG

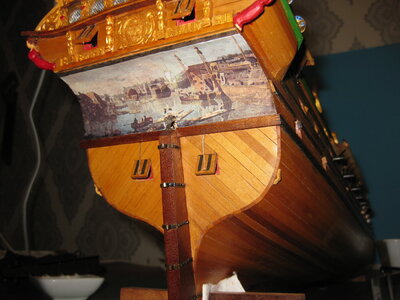
I carefully disassembled the lady's and the rudder to get more space to clean the painting
I found a painting from Middelburg in the 17 century and used the printer to make a copy I can place on the back

IMG_1224.JPG

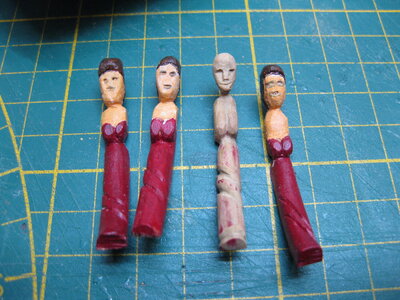
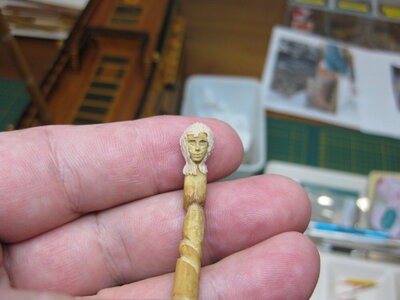
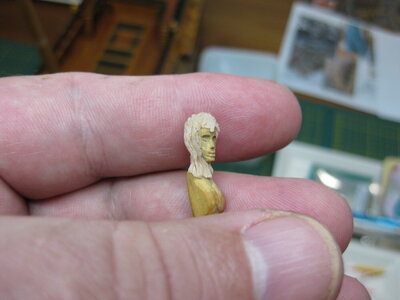
Then I reconstruct the lady's, they're made out of boxwood. First I made more details in the face and later I added Fimo clay to make more details

IMG_1220.JPGIMG_1225.JPGIMG_1226.JPGIMG_1227.JPGIMG_1233.JPGIMG_1237.JPGIMG_1245.JPGIMG_1245a.jpg

Below the fishes there was on the edge also a lady, and I needed 3 more on each side. I made them out of boxwood. I get very experience in this.
One side is ready now, I need to do the other side. IMG_1277.JPGIMG_1279.JPGIMG_1281.JPGIMG_1283.JPGIMG_1286.JPGIMG_1287.JPG

It's is very small and not good for my hands. So I paused a while on woodcarving and stardted to work on my rope walk to make ropes

this is 1 mm rope made from Serafill 120/2

IMG_1301.JPG

This was it by now. The updates will come now in real time mode. And not so fast. Thanks for watching
 
Very good progress on your details -> many thanks for sharing the details and the making of with Thumbsup
- and I agree with Ondras - green is looking better
 
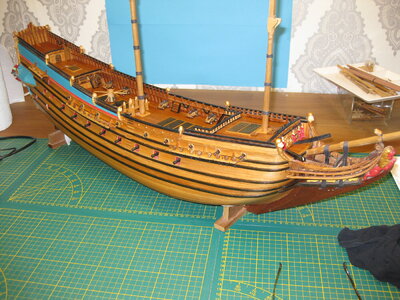
All done, not al is correctly constructed. But I didn't build the ship in first place, some things couldn't be change correctly. No problem the look is perfect for me. First I must say, the hull is very detailed, and very well constructed by the first builder. That should be mentioned.

IMG_1325.JPG
 
Hello Stephan,
I am really enjoying your work. While she was started by someone else, you are truly making her your own. These special touches that you are incorporating into your build makes her truly marvelous. I also agree with everyone else that the green makes her truly beautiful.

Raymond
 
Back
Top