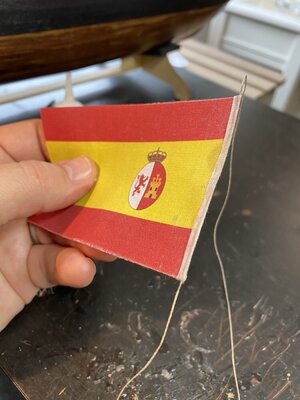
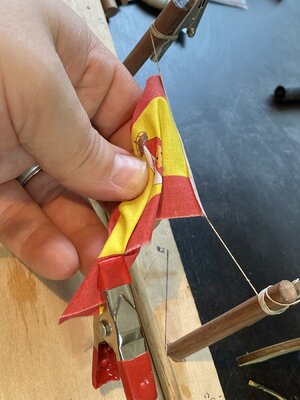
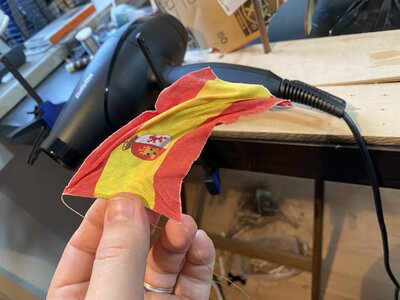
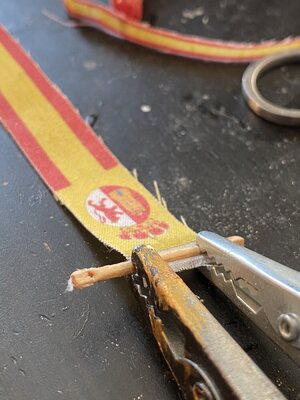
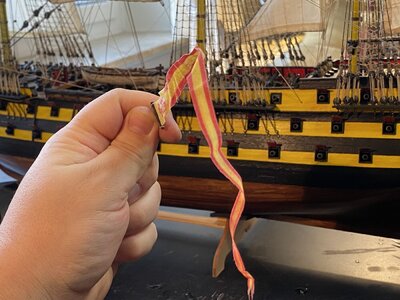
Sorry I missed this question! I custom ordered the flags from a model flags store in the UK in 2014 (sent them image files representing the proper flags from the 17th century). Using the sharpest blade, I cut them out; then used a sparing amount of CA glue around the edges to prevent the threads from fraying. Using a hot hair dryer, and acrylic spray paint to give the flag body and volume, I kept stretching, pulling, bending, curling the flag until they reached the form I wanted. It did take a few hours. For the flying banners, I sliced down the middle of a small dowel, slid the flag fabric through, glued (CA), and then tripped off excess flag before I started to “form” the flag how I wanted it.


")


 Should I push on and keep working through it or just take a break? Just wanted to share the pain with folks that understand.