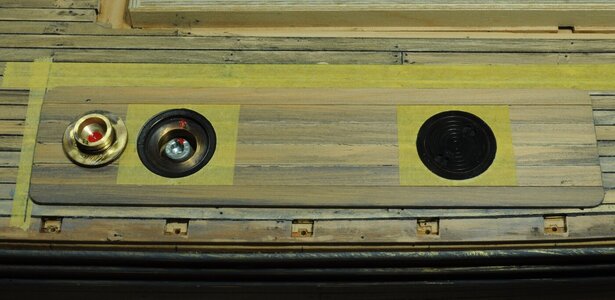
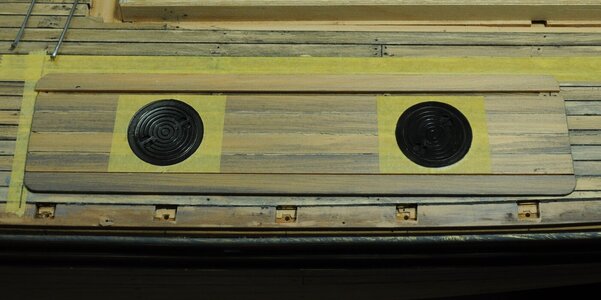
Deck Doubling + Coal Bunker.
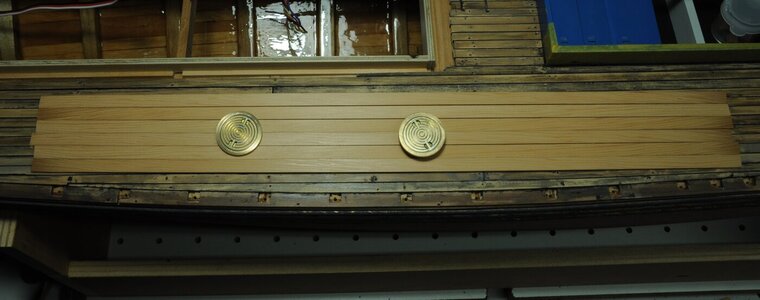
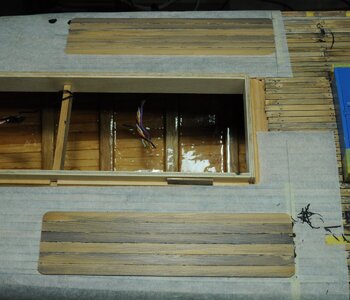
A few weeks ago I made up some material for the deck doubling, this is from Huon pine the width being exactly to scale with the thickness a little thicker than scale, this was following Ted Frosts description which says 7”x 1” boards were used.
View attachment 331628
After machining to size I “weathered” the planking individually in the same way I did the deck planks in an attempt to have a more random effect.
View attachment 331629
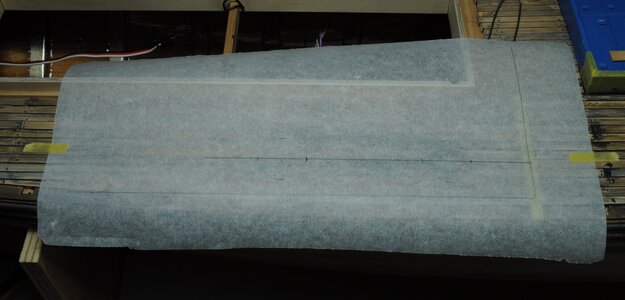
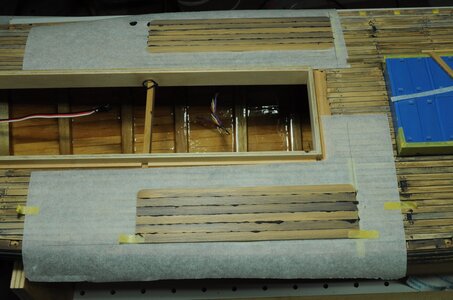
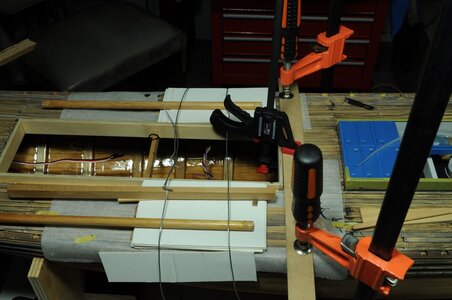
I decided to glue the Deck doubling together before gluing them to the deck, I did this so I could cut the holes for the Coal Bunker Rings later as there was a bit of fitting to do along with a recess in the deck planks to take the thickness of my Coal Bunker Rings, basically I wasn’t confidant I could do it all in one hit. To make sure I was gluing the doublers in the right spot I put some Tamiya tape on the deck and marked it then marked out the positions of things on a piece of waxed baking paper and then glued the doublers together on the waxed paper.
View attachment 331630View attachment 331631
After the glue mix had set a bit I trimmed of the excess the same way I did the deck.
View attachment 331632
Then before completely drying I clamped them to conform to the deck shape and left it overnight.
View attachment 331633
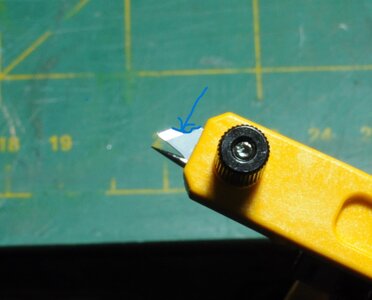
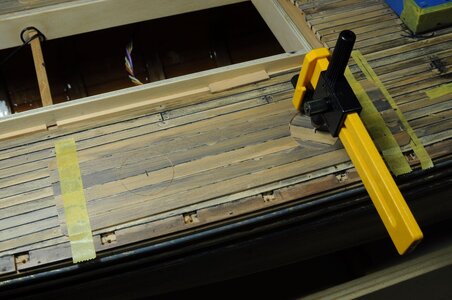
Next day I was pretty happy with how they looked and proceeded to tape the doublers down and start cutting a circle with my new circle cutter, with a modified cutting blade (area that I removed marked in Blue), this all went pretty smoothly taking my time to cut the holes.
View attachment 331634View attachment 331635
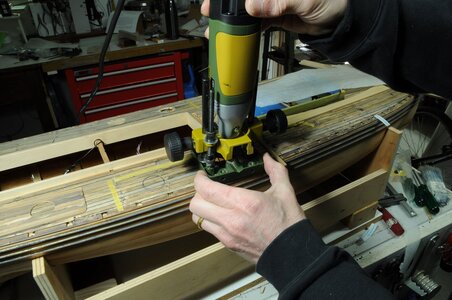
I set up a small Carbide burr in the Proxxon rotary tool held in the router jig and preceded to machine a recess in the deck to allow my Bunker Rings to sit flush with the Deck Doublers.
View attachment 331636
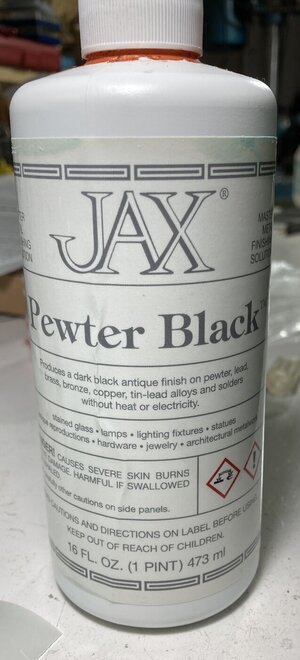
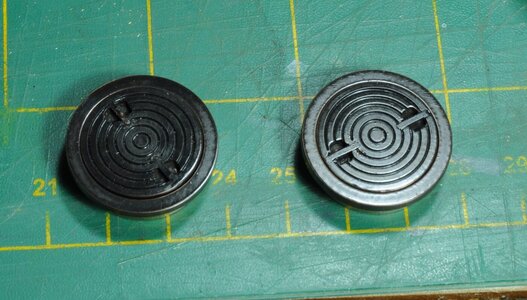
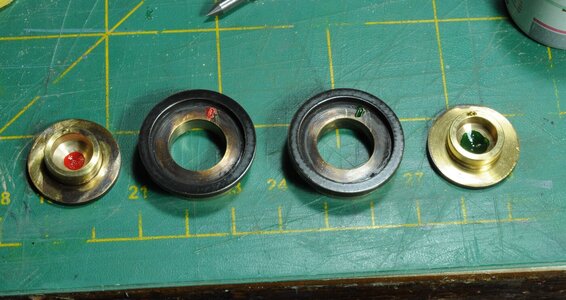
Next step was to Chemically blacken the Coal Bunker Rings and Lids, I followed the instructions I had found and after de-canting a small amount into a cup then applied the chemical directly with a brush. This proved to be a slow process with extensive cleaning and repeated applications to achieve the desired colour. Once I had the colour I cleaned the chemical off with water and without disturbing the surface left it to dry in the sun once completely dry I sprayed some clear lacquer that is formulated for Brass and Copper to seal it up.
View attachment 331637View attachment 331638
One thing that was bothering me even although I had pushed ahead was that the doublers looked too big when sitting on the deck, eventually this got to me and I measured what the plan says and compared it to what I had made. There was a 2 mm difference in width at this point I decided it was best to go inside as I was feeling a bit unhappy with myself for not paying more attention to the plans instead of rigidly sticking to Ted’s description.
Seeing I only needed to remove 2 mm I decided to divide it by 4 and remove .5 mm from 4 planks and set about removing the outer planks which came away without damage this enabled me to trim down the 4 faces. Thankfully this made all the difference.
On the 2 removable Coal Bunker Lids I have added a small eyelet to attach a lanyard too, I did this because I could see myself easily loosing them at the pond.
On the Coal Bunker Rings and cap head screw I have engraved a line and painted it so I can easily tell if the removable deck section is locked in place.
View attachment 331639View attachment 331640
View attachment 331641
Thanks for the having a look, more to come.
Again I welcome constructive comments.
Cheers,
Stephen.


