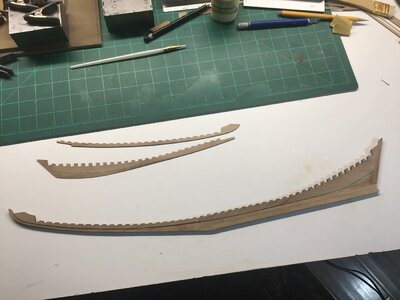
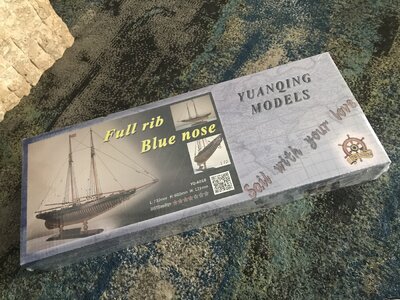
YQ Bluenose, 1/72 POF by Stargazer

Joined
Dec 29, 2019
Messages
556
Points
308

Here is the start of my Bluenose build, I had actually started a while ago but contracted Covid and Covid Pneumonia in February and was hospitalized for 13 days and since then have been recuperating at home. I am still on oxygen but I finally feel good enough to do some building but I’m still struggling with this dang Covid, found out today that my viral pneumonia has now converted to a bacterial pneumonia so more meds and I’m sure more oxygen and recuperating time.... But hey, I’m Home, I’m Loved and I’m Building!

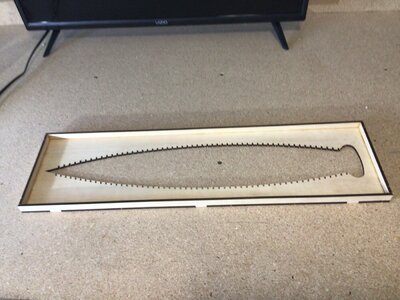
I started with the jig, mostly following Heinrich’s log but checking in on all of them - I figure between all of these build logs I have a great practicum to follow which is good cause the instructions and drawings are.... well, I’m not using them much... but I am encouraged because there sure are a lot of nice Bluenose models cropping up!!72F52255-33C7-494B-8013-C242FECD2F79.jpeg94A22478-5527-4409-ACE1-5E33B033793C.jpeg
 
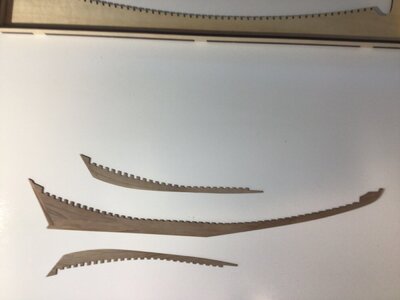
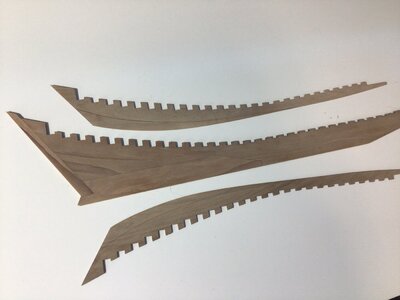
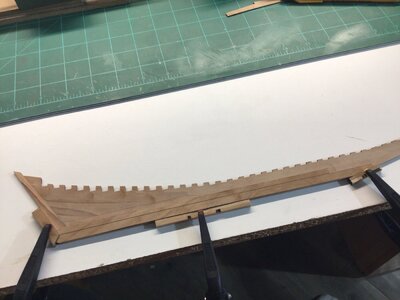
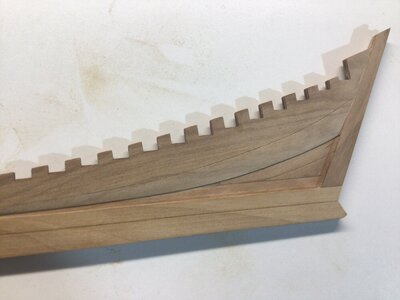
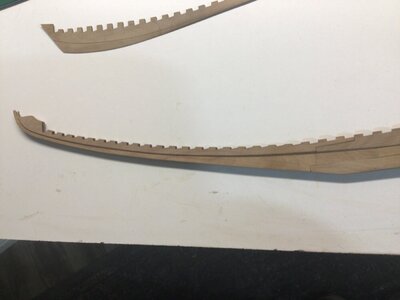
After the jig I am doing the keel assy, the laser cutting is awesome, the fit is perfect after correcting the kerf of the laser cutter so pretty smooth so far. I have been using a Swiss file and machined block to remove some char and square up the frame notches on the notch doublers.....I do have a bit of confusion on the beveling of that skinny doubler on the bow section - there are a couple different depictions of how to bevel that area - anyone have a good close up of how exactly that is supposed to look? :)
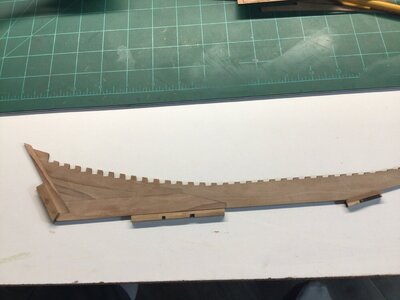
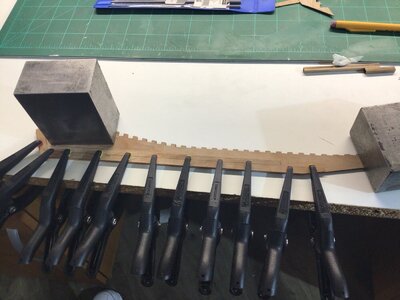
After building up the center section of the keel I made a couple filler pieces to hold the keel and add the aft bottom doubler - guess I’ll wait and see if anyone can share a pic of the fwd bevel area before adding them....DBD28AA1-5C41-4268-8F91-2439DA06DF6F.jpegF97ECD9F-D0BB-4F4C-A243-6273978C3A0C.jpeg538CBCE6-19EC-4164-B30C-991265D11369.jpegE9095335-5A4E-45B2-BDC6-99A7EC3FA9B9.jpegDBB00483-2251-41CE-91E7-6703C3AA4ACA.jpeg784B8FFD-7335-45B8-8424-B8611E427C40.jpeg
 
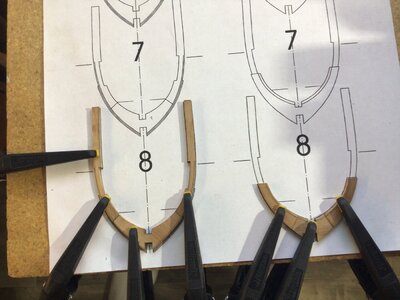
I also couldn’t help myself so I found the #8 frame and did an alignment (sanity) check, if someone could verify that I am on the right track with the frame layout I would appreciate it! :)View attachment 217940
I send my support first for your COVID recovery which will then facilitate your YQ work. One small step and piece at a time watching the results and listening to your body, should provide the tack that you want to sail. Rich (PT-2)
 
I also couldn’t help myself so I found the #8 frame and did an alignment (sanity) check, if someone could verify that I am on the right track with the frame layout I would appreciate it! :)View attachment 217940
Welcome aboard! Frames look correct. Glue the halves to one another, and bevel after that!
Glad you are recovering, hate to hear you had to go in the hospital! :(
 
I do have a bit of confusion on the beveling of that skinny doubler on the bow section - there are a couple different depictions of how to bevel that area - anyone have a good close up of how exactly that is supposed to look? :)
Hello Lou.
Nice to see the start of your build-log. It look very nice what you have build.
And hope the COVID recovery went well.
About the question above:
Eugene has posted a nice picture of it in this reply of him in his build-log. It’s the last picture:
https://shipsofscale.com/sosforums/threads/yuanqing-bluenose-_-e-j-eugene-schmidt.6596/post-160044
PS: I will ad your build-log to the BN-list file.
Regards, Peter
 
Last edited:
Hello Lou. It is great to see you have started your build log and even greater to hear that you are on the way to recovery and back home. @Peter Voogt Peter is 100% correct - EJ (Eugene) has his bow perfect!
 
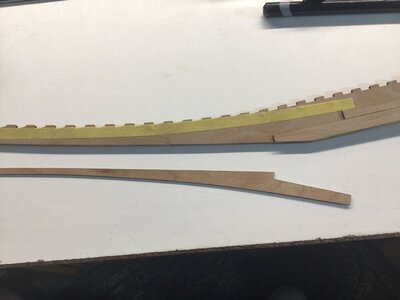
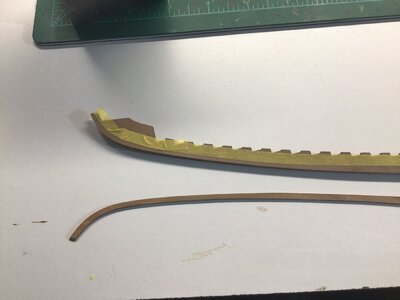
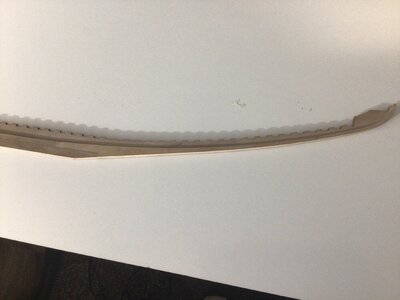
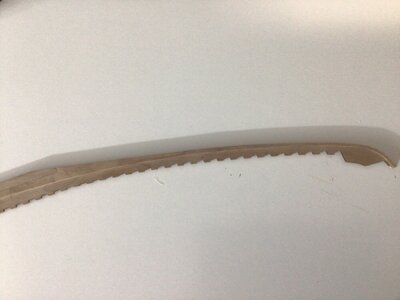
So I was a little leery of gluing up the skinny fwd doublers, heard about glue drying too quick or not being able to position correctly so I tried using the dry glue/hot iron method- I marked and taped the outline of the doubler on the keel, painted glue on both sides, let it dry and then reactivated the glue by using a hot iron after setting the pieces in place - worked great! No clamping, put it right where you want before gluing and set/A4117468-E576-43B7-AFAB-9ECCFFD6AFE9.jpegDD2BCC95-9413-4EB9-95BF-2BA4B6DCBF67.jpeg59F5A18D-8EFE-4113-90D8-6108F7C28618.jpegB1F47ABA-3208-493D-8D59-93CC2127A27E.jpegE6447CF7-B22C-44F3-9A2D-0D4FDFFFDA73.jpegdried super fast... thanks again Peter and Heinrich- think the bevel turned out ok!
 
You’re doing a great job Lou!
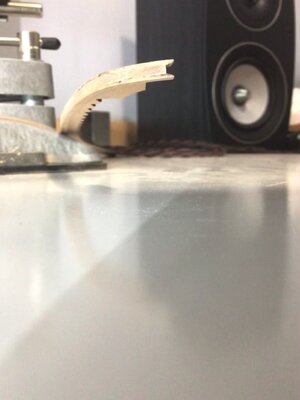
Problem I had with piece 18, is after you put the bevel on it, it is so thin in that area it actually started curling up when I put glue on it! I clamped it very quickly and it was fine. I put some small clamps with pivoting heads on bevel itself to hold down. Was a scary moment...lol. ;)
If my eye is right those look like some woofer speakers nearby and if so, and efficient, the long wave high energy output could make all types of things move. :) Rich
 
Dean, I agree completely about the curling of that knife edge area, I think I am going to use the same technique (dry glue and hot iron) for pieces #17 and 18 it works great and you can “tack” it in place and then go all around and finish them... I think I can stay away from the thinnest part of the edge with the glue or put on a very light coat there with a small paint brush and then hopefully when the heat reactivates the glue it will “run” to the edge? That’s the plan anyway...
Rich - not to worry about those woofs - they are only 5.5” woofers in some Jamo C 97’s - I do have a 10” sub on the floor though but I don’t crank them too often.... :) now if I built out in my living room where the Tekton Pendragon’s are..... yeah, big problem.... :)
 
Last edited:
Lou, nice to see that you are recovering from Covid. I Just finished a Bluenose by Model Shipways last July and enjoyed the time spent locked down keeping busy with my build great therapy. This being the 100th anniversary of the Bluenose is a great time to get involved. Congratulations and all the best, looking forward to your progress.
 
Thanks for the kind words guys, still struggling with some meds side effects but overall doing much better!
So I used the same technique on the main doubler’s 17&18 - painted the glue on with a paint brush, they did want to curl up but since you wait for the glue to dry, I was able to keep them fairly straight manipulating them till the glue dried. Put them in place, tacked down and then went over them and it worked like a charm! Got a few pics, still need to do the other side.....74A7DE0F-F1AB-42A8-9B22-82BEE3B11ABE.jpeg06BDABF8-9176-49ED-825F-C326E9329C37.jpeg0888E7C4-57CF-47F5-8AB5-CE7075170DBC.jpeg
 
Thanks for the kind words guys, still struggling with some meds side effects but overall doing much better!
So I used the same technique on the main doubler’s 17&18 - painted the glue on with a paint brush, they did want to curl up but since you wait for the glue to dry, I was able to keep them fairly straight manipulating them till the glue dried. Put them in place, tacked down and then went over them and it worked like a charm! Got a few pics, still need to do the other side.....View attachment 218445View attachment 218446View attachment 218447
Great job! Wish I had known this technique when I did mine! I rushed to spread glue, while the part curled up like a potato chip...lol. Then I rushed to locate it properly and clamp! Was a stressful moment...lol. ;)
Glad to hear you’re feeling better!
 
Dean, I agree completely about the curling of that knife edge area, I think I am going to use the same technique (dry glue and hot iron) for pieces #17 and 18 it works great and you can “tack” it in place and then go all around and finish them... I think I can stay away from the thinnest part of the edge with the glue or put on a very light coat there with a small paint brush and then hopefully when the heat reactivates the glue it will “run” to the edge? That’s the plan anyway...
Rich - not to worry about those woofs - they are only 5.5” woofers in some Jamo C 97’s - I do have a 10” sub on the floor though but I don’t crank them too often.... :) now if I built out in my living room where the Tekton Pendragon’s are..... yeah, big problem.... :)
Please clarify what "dry glue" is with an iron. It sounds like powder. If so what is it and from where?
Rich (PT-2)
 
Back
Top