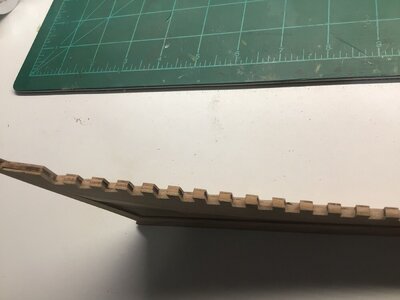
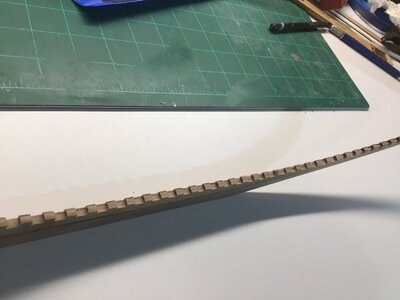
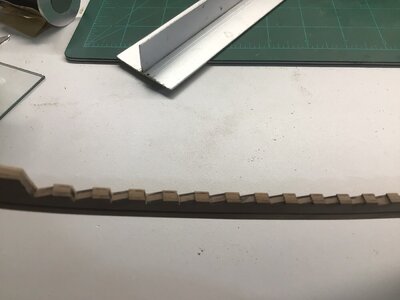
YQ Bluenose, 1/72 POF by Stargazer

Thanks Heinrich, and I would say I have down to a V? :)

Rich the dry glue is just that- dried titebond 2 wood glue, you utilize it like a heat activated contact cement. Take both parts, brush on a medium ish layer of glue, let dry. (Side benefit for really thin parts- you can manipulate and straighten the tendency to curl or warp while the glue dries)
After drying, place the parts where you want them and apply heat, tacking them in place (I use a small travel iron).
Go over the parts completely applying heat to entire part. The heat re-activates the glue and makes an excellent bond. Works like a charm!
Not sure if this would work on thicker parts, I would think as long as the heat penetrates to the glue layer it will work. For sure works excellent on thin material and allows much more control and placement time vs trying to glue and clamp with wet glue...
I need a tutorial. . . "dried titebond wood glue" Is that a purchased product? Or do we let a glob or smear of titebond glue dry on a hard surface and then scrape it off . . . maybe the to be ground into a powder??? Please clarify this for me as the following brush it on and tack in place with the iron I can envision.
Thanks,
Rich
Brush glue on parts. Let glue dry on parts. Then put parts together and heat up with flat iron, and that reactivates glue and makes a bond.
As Eugene mentioned, it is an old method to attach veneer wood. So it is a technique mainly used on a thin flat piece.
 
Brush glue on parts. Let glue dry on parts. Then put parts together and heat up with flat iron, and that reactivates glue and makes a bond.
As Eugene mentioned, it is an old method to attach veneer wood. So it is a technique mainly used on a thin flat piece.
Still... a very popular method and used by many Russian modelers.
 
Brush glue on parts. Let glue dry on parts. Then put parts together and heat up with flat iron, and that reactivates glue and makes a bond.
As Eugene mentioned, it is an old method to attach veneer wood. So it is a technique mainly used on a thin flat piece.
Thank you. That is understandable and new to my brain/tool box. Rich
 
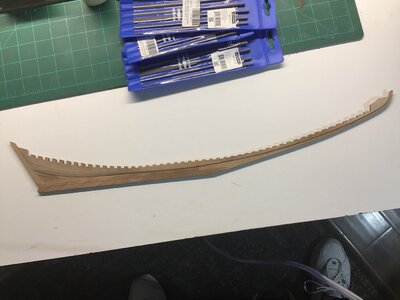
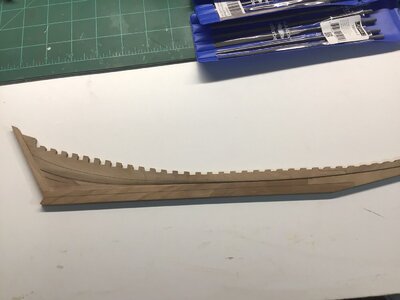
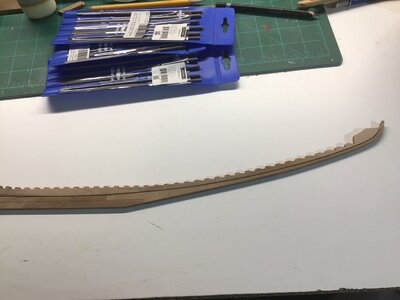
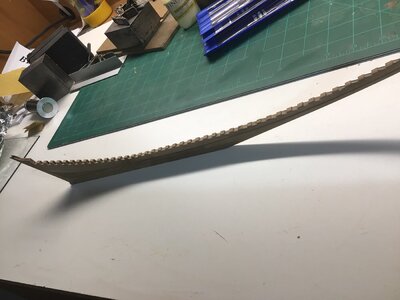
Ok, not much today, lot of tedious stuff - got the doublers on the other side and then proceeded to clean up the frame notches. Glued a couple pieces of the extra frame stock together and made a “notch checker” and checked the squareness and fit of the notches as I filed them. Next up is frames for a while I guess....04190242-A529-430A-9173-EEDFD87F4B31.jpegA5AE0199-55B2-4CE4-9A37-9B7AB956026D.jpeg64E589E7-A0F2-4CB6-BC33-6804E8B7C5D5.jpeg13963B86-27C8-45B5-B210-63D11212419B.jpeg29EA4B4B-C7F4-4CBE-BD7F-A83AE42FA1CD.jpeg58F87527-F80B-4911-A4DC-7E828C13F173.jpeg6A6F08D9-61A3-46AD-B016-2F79785435A9.jpeg
 
Oh Yeah! Dean, do you think it would be worth making a jig that included a false keel piece to locate the foot of the frames maybe epoxy the fake keel stub to piece of glass so you can glue the templates to the glass and then scrape them off with a razor blade when you are done with each frame or is it pretty easy to maintain alignment?
 
Ok, not much today, lot of tedious stuff - got the doublers on the other side and then proceeded to clean up the frame notches. Glued a couple pieces of the extra frame stock together and made a “notch checker” and checked the squareness and fit of the notches as I filed them. Next up is frames for a while I guess....View attachment 219382View attachment 219383View attachment 219388View attachment 219389View attachment 219390View attachment 219391View attachment 219392
Talk about clean work. No sawdust or filing debris anywhere. Is this an operatory? Nice work. Rich
 
Oh Yeah! Dean, do you think it would be worth making a jig that included a false keel piece to locate the foot of the frames maybe epoxy the fake keel stub to piece of glass so you can glue the templates to the glass and then scrape them off with a razor blade when you are done with each frame or is it pretty easy to maintain alignment?
What I did was use two square pieces of wood the size of the notch, I forget if it was 4mm or 5mm? While gluing the halves together, I put those in both notches to align the halves. They were about 1” long, and I kept one end flush with the back of one half that was on your clamping surface. Once clamped, I removed them and used on the next one. Because they were longer than the thickness of the frame, I just pivoted them to remove. They never got glued in because they didn’t have a chance to dry. ;)
 
Last edited:
What I did was use two square pieces of wood the size of the notch, I forget if it was 4mm or 5mm? While gluing the halves together, I put those in both notches to align the halves. They were about 1” long, and I kept one end flush with the back of one half that was on your clamping surface. Once clamped, I removed them and used on the next one. They were 1” long, so I just pivoted them to remove. They never got glued in because they didn’t have a chance to dry. ;)
Spacing jigs for setting save a lot of time and provide consistency no matter what the project or size is. . . models or full size cabinetry. Not lazy, just stress relieving. Rich
 
Beautiful and accurate work Lou! Thumbsup If you don't feel like starting with the frames yet, you can always do your "wings" on either side of the keel at the stern. .:)
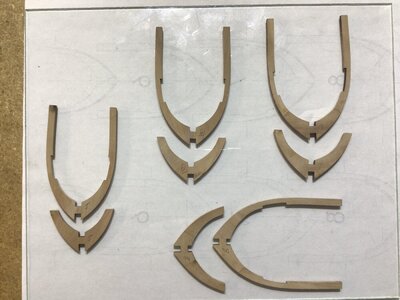
 
Too late Heinrich, I thought I would do the wings as a sanity reliever after I do about 28 or so frames, I’ll be ready for a change of pace by then I’m sure.View attachment 219589
Lou, I marked the frame number on the upper frame which gets cut off. You don’t want to have to try to remove that after they are installed, not to mention if you get heavy handed you will indent the wood. Just a FYI!
 
Dean - that is the inner side that gets glued to each other when you sandwich them (no bevel line side) so no worries there but I like the idea of marking the upper frame so the frame number is visible and in a unused area.
 
Hmmm.... good point, Been following Heinrich’s thread and he recommended to remove it first but I agree, it would help if it was on. Maybe I can put a pencil line at the bottom of the bevel for these and leave the char on for the rest ....
 
Back
Top