YUANQING BLUENOSE - Don Robinson

Joined
Sep 7, 2017
Messages
938
Points
403

Location
Prince Albert,Saskatchewan, Canada
Here is the start of my Bluenose build. Unlike others I cannot wait to start especially since I just started the HMS Ontario which will take months to complete. I have decided I will try and dedicate one day a week to the Bluenose and see how that works, at that rate I should always remain behind @Heinrich! :p
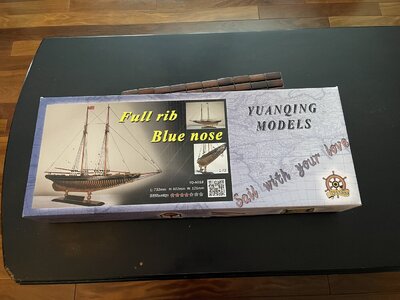
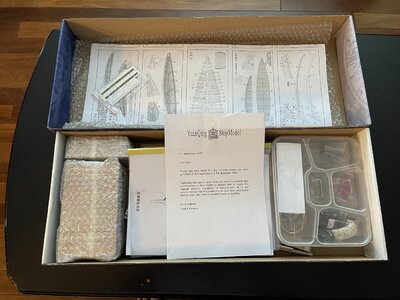
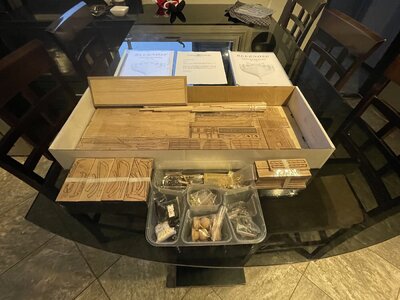
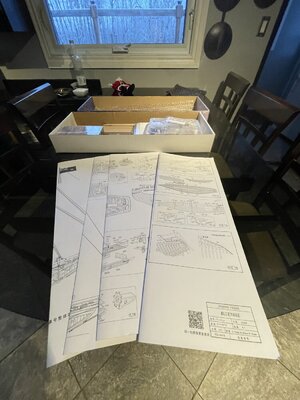
I did do a little preview of the kit being careful not to open too many things before needed. After seeing Heinrich's critique of this kit I knew it was going to be great but until you actually have it in your hands you really can't appreciate the quality of it. It should prove to be a fantastic build.
Just one word of caution, we MUST keep Heinrich happy and healthy as the Chinese instructions would be a little hard to follow without his guidance and translations.
SO HERE'S TO YOU BUDDY!!:):):):)

IMG_3760.JPGIMG_3761.JPGIMG_3762.JPGIMG_3767.JPGIMG_3768.JPGIMG_3770.JPG
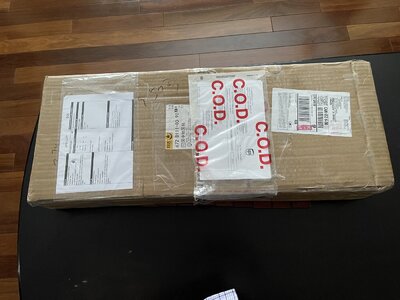
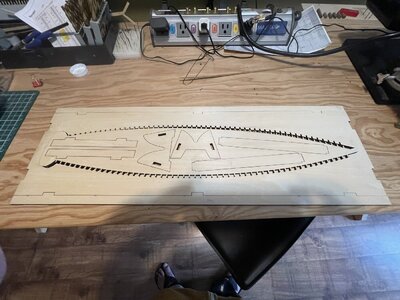
There she is fresh off her long trip to Prince Albert, Saskatchewan.
Today I will first put together the jig, I may have an update later on today.
Have fun and Thanks for checking this out
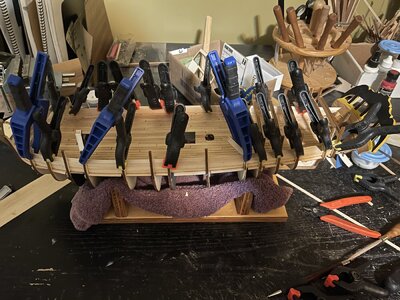
ps. one wrong picture included(that's the HMS Ontario). The Bluenose was my birthday present and for Christmas I bought myself a new iPhone 12 pro max phone, so I'm going a little crazy taking pictures!!:p
 
Here is the start of my Bluenose build. Unlike others I cannot wait to start especially since I just started the HMS Ontario which will take months to complete. I have decided I will try and dedicate one day a week to the Bluenose and see how that works, at that rate I should always remain behind @Heinrich! :p
I did do a little preview of the kit being careful not to open too many things before needed. After seeing Heinrich's critique of this kit I knew it was going to be great but until you actually have it in your hands you really can't appreciate the quality of it. It should prove to be a fantastic build.
Just one word of caution, we MUST keep Heinrich happy and healthy as the Chinese instructions would be a little hard to follow without his guidance and translations.
SO HERE'S TO YOU BUDDY!!:):):):)

View attachment 200648View attachment 200649View attachment 200650View attachment 200651View attachment 200652View attachment 200653
There she is fresh off her long trip to Prince Albert, Saskatchewan.
Today I will first put together the jig, I may have an update later on today.
Have fun and Thanks for checking this out
ps. one wrong picture included(that's the HMS Ontario). The Bluenose was my birthday present and for Christmas I bought myself a new iPhone 12 pro max phone, so I'm going a little crazy taking pictures!!:p
Did Santa pass out in back ground after seeing what was in the heavy box that he delivered to you!
 
Hello Don, It's great to see that you finally have received your Henrich's Bluenose after it's long journey to your home. It will be great to follow your build log, so by the time that I start my build you should have things all worked out making it much easier for me.
This sure looks like a great kit, not at all like that junky AL kit of the Bluenose II that I struggled with many years ago.
Regards Lawrence
 
What can I say - other than WONDERFUL ! :) ThumbsupExplosionExclamation-MarkThat is fantastic that you are starting immediately Don. It is so important that members can have a second build log to refer to and use as guidance. I am in the front row for your build!
 
Alright everyone here is the first day with the Bluenose:

IMG_3774.JPG
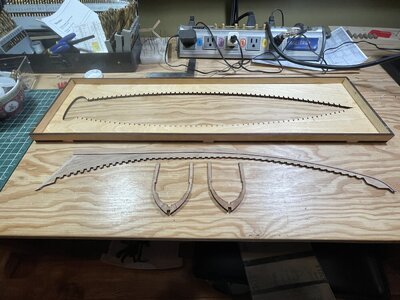
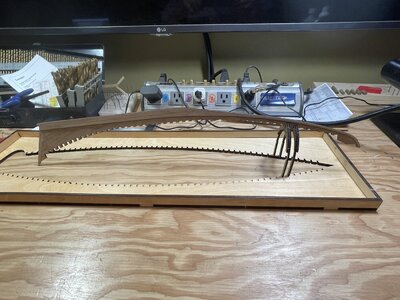
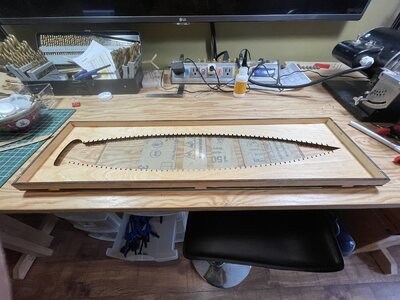
First up was to put together the building jig. Very easy task and went together with no problems.

IMG_3776.JPG
Here she is completed, easy task

IMG_3777.JPG
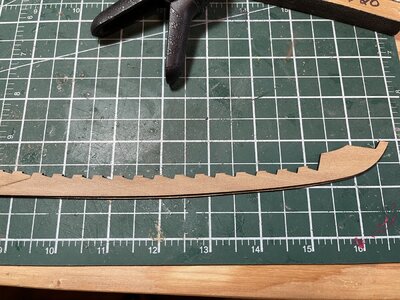
The start of the keel. As Heinrich mentioned very little sanding of char, if any, is required. I did a very little basically just enough to get the loose char off.

IMG_3778.JPG
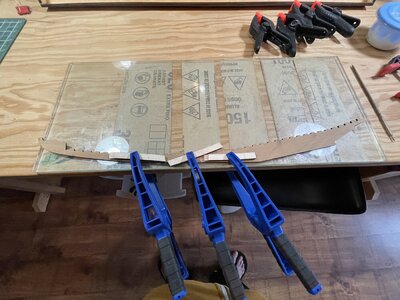
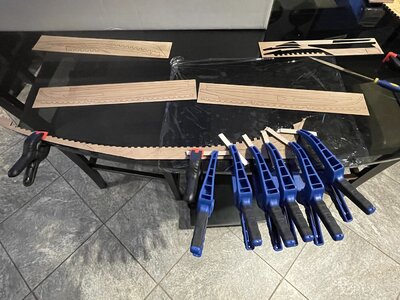
Now we have moved from shipyard to kitchen table, carrying on with keel components. The glass table works great for this

IMG_3780.JPG
Here I am putting it all together. You'll be amazed how it all fits together, be very careful about over sanding any joining edges as it all fits together so precise it would be easy to distort edges by over sanding.

IMG_3781.JPG
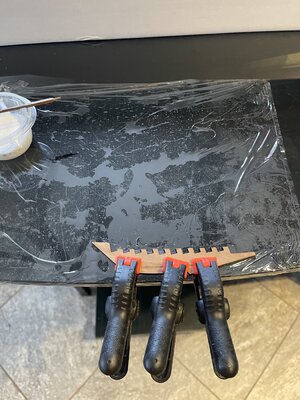
Now here is a picture I normally would not show but as a warning to others I thought I should. Notice how I have it fitting good at either end of the picture but in the middle it is not. What happened here is when I was clamping to table the piece slipped, luckily I caught it before the glue was set real hard so a little alcohol de-laminated it and I was able to fix. So take your time and watch closely.

IMG_3782.JPG
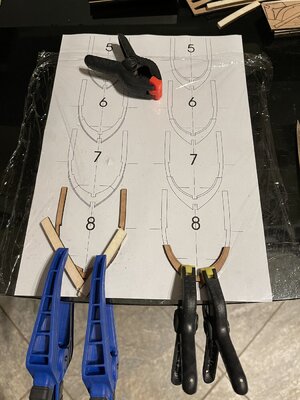
Following Heinrich's lead I also started with frame 8. I did not file,sand or bevel the edges before gluing but a word of caution if you go this route is to clean off the tops of the back piece(in this case the piece on the right). When the front and back pieces are glued together these two ends will be very hard to clean off

IMG_3785.JPG
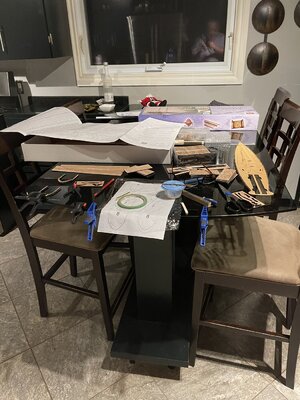
And the kitchen table this morning :p

IMG_3788.JPG
This is what got accomplished yesterday, pieces 17 and 18 are still needed to complete keel. Those are frames 7 and 8

IMG_3787.JPG
One last picture, I couldn't resist trying out the jig. Although it does not look like it here the frames are sitting absolutely perpendicular in the jig and the fit is as snug as could be. The keel fits quite loose in the frame notches but once the rest of the pieces are added it will also be a tight fit!

Ok let's see some more build logs started!!
Thanks for dropping by everyone!
 
Alright everyone here is the first day with the Bluenose:

View attachment 200833
First up was to put together the building jig. Very easy task and went together with no problems.

View attachment 200834
Here she is completed, easy task

View attachment 200835
The start of the keel. As Heinrich mentioned very little sanding of char, if any, is required. I did a very little basically just enough to get the loose char off.

View attachment 200836
Now we have moved from shipyard to kitchen table, carrying on with keel components. The glass table works great for this

View attachment 200837
Here I am putting it all together. You'll be amazed how it all fits together, be very careful about over sanding any joining edges as it all fits together so precise it would be easy to distort edges by over sanding.

View attachment 200838
Now here is a picture I normally would not show but as a warning to others I thought I should. Notice how I have it fitting good at either end of the picture but in the middle it is not. What happened here is when I was clamping to table the piece slipped, luckily I caught it before the glue was set real hard so a little alcohol de-laminated it and I was able to fix. So take your time and watch closely.

View attachment 200839
Following Heinrich's lead I also started with frame 8. I did not file,sand or bevel the edges before gluing but a word of caution if you go this route is to clean off the tops of the back piece(in this case the piece on the right). When the front and back pieces are glued together these two ends will be very hard to clean off

View attachment 200840
And the kitchen table this morning :p

View attachment 200841
This is what got accomplished yesterday, pieces 17 and 18 are still needed to complete keel. Those are frames 7 and 8

View attachment 200842
One last picture, I couldn't resist trying out the jig. Although it does not look like it here the frames are sitting absolutely perpendicular in the jig and the fit is as snug as could be. The keel fits quite loose in the frame notches but once the rest of the pieces are added it will also be a tight fit!

Ok let's see some more build logs started!!
Thanks for dropping by everyone!
Hello Don,
Great to see your starting!
And your trying out the jig is good to see.
Go on .......
Regards, Peter
 
HI DON, GLAD TO SEE YOU STARTED 2 GREAT BUILDER DOING LOGS HELP SOMEONE LIKE ME, A LOT WILL BE STARTING MINE RIGHT AFTER CHRISTMAS PROBALLY MON. OR TUESDAY. ONE WORD TO ALL HOW ABOUT ALL STARTING A LOG EVEN TOUGH IF NOT DOING TO MUCH RIGHT NOW BUT IT WOULD BE FANTASTIC IF WE CAN HAVE A LOT OF LOGS ON THIS THE MORE THE BETTER. GOD BLESS STAY SAFE ALL DON
 
I wish I had a good flat service to build on:)
I bought an old Polished marble fireplace mantle, (it's pink marble) 14" X 72" X 1". I cut 18" off one end so I have two pieces of it. Got it at a place that sells materials from old demolished homes for $10. I use it for model building and leather work stamping.

EJ
 
Last edited:
Great idea!
That is great progress and I can see your enthusiasm for the build in you log. I am going to be the last to come into port as my full focus, other than watching the logs, is to continue and finish my MS-2130 Bluenose POB with some modifications taken from the old BN photos. Keep up your good work. Merry Christmas! Rich (PT-2)
 
@Heinrich , You are correct, I did mention that but maybe not clear enough. It will take some fine tuning to get the keel to fit on to the frames but should not be a big problem
@MM2CVS9 , Thanks for stopping in EJ, You are in for a big surprise when she arrives, I know you'll be impressed
@Jimsky , Great to have You stop in, Thanks
@donfarr , You are right Don the more the merrier
@marter1229 , the table is great to work on but a cheaper route is to go to a local glass shop. I have a smaller piece of tempered glass that they gave me for free as it was just scrap
@PT-2 Thanks Rich, I'll be looking forward to seeing your new build log of the Bluenose
 
Back
Top