ZHL Royal Caroline Kit, scale 1/30

332.jpg
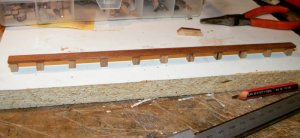
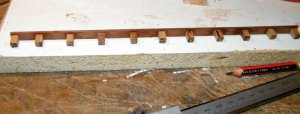
In my haste to to build the kit I made a mistake and glued the outboard end of the cat heads in place before cutting the slots for the sheaves

333.jpg
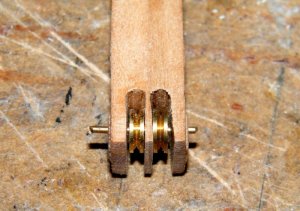
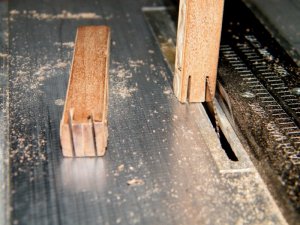
So I had to cut them off, then using a .5mm blade I proceeded to cut the slots, I marked where I wanted to start and then I cut a slot in each, then I moved the fence a little and cut some more and I continued till the slots were as wide as I needed, then I finished them with a small file,
I could have used a wider blade but did'nt want them splitting out,
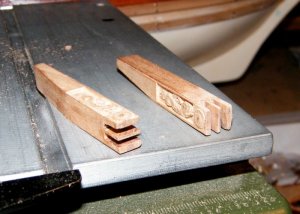

334.jpg
After finishing with the file


336.jpg
With the sheaves temporarily in place.
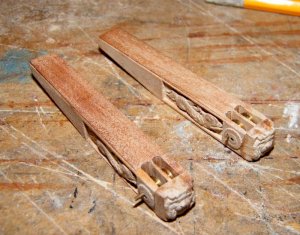

337.jpg
also due to the size of the sheaves I had to move the hole for the sheave wire to go through, or I would'nt have been able to get the ropes up over the sheaves.
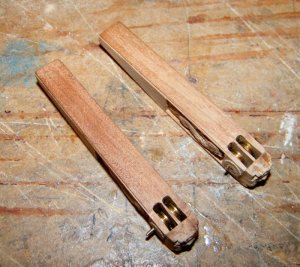

338.jpg
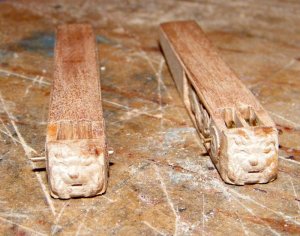
another view


339.jpg
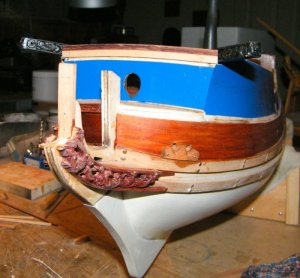
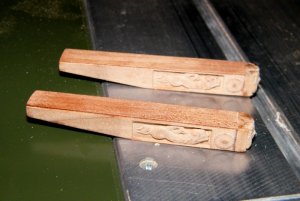
Showing the lions face on the front.


340.jpg
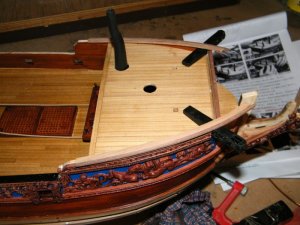
Approx where the cat head will sit. I will blacken the sheaves and varnish the heads before final assembly.
 
Last edited:
G'day John
Another brilliant job or can I say 'save'.
:text-lol:
I would assume that if you didn't havta cut the lion head off , the axel for the pulley would be in the correct place.
;-)
OK mate, if I can see a possible boo boo from you, I will speak out. But I doubt it will ever happen!
:banana-rock:
Looking forward for your next update.
Havagooday
Greg
 
GaryM post_id=21815 time=1503931444 user_id=199 said:
The detail of this ship just keeps coming. What a neat project.

Thanks Gary for your visit, yes they have put a lot of effort and detail into this kit, I am amazed every time I open one of my desk drawers and I see all the sheets of parts still to do, I'm going to try and stay off the masting till I at least get all the hull work done, that way she can be displayed with just stump masts if needed, thanks again,

best regards John.
 
It would have been the same Greg, as when I cut off the head I cut through on the head side, I thought I might have selected the wrong sheaves but they were the ones, its not a biggie, if the worst I have to do is modify some of the parts and change some of the rope, it is still an excellent kit, I never thought I would get to work with something this good, already got my eye on another one thanks for checking in,

best regards John.
 
G'day John
Sorry mate, you did! I didn't notice that until you mentioned it. :?
I, and I'm sure everyone else, are amazed at the quality of the ZHL kits.
Just between you and me and 'the gate post'. What kit have you got an eye on? :-?
Btw, we are moving in the next few months and the love of my life, told me in not too many words, we are not getting that kit until we have moved and settled in. I think she's right, but I want it now!
:angry-banghead: :cry: :angry-cussingblack:
Havagoodone mate
Greg
 
Janos ,already is

http://www.woodmodelboatbuilder.com/index.php?main_page=product_info&cPath=1&products_id=241
 
Zoly
thanks, in the main time I found it on FB. The site you linked is blocked by Adguard saying that it is a phishing site. Did you have any difficulty with it?
Janos
 
Well Greg, never mind what the love of your life says about it, what does your wife say OK I'm heading for the hills now.

As for the kit I've got my eye on, I would tell you, but I cannot get it passed the Gate post
 
zoly99sask post_id=21829 time=1503971431 user_id=3658 said:
Well,I am eyeballing the Ingermanland. :D


Yes I've looked at that one Zoly, looks good and you can buy it in different configurations, ie. half cannon or full cannon etc,

best regards John.
 
341.jpg
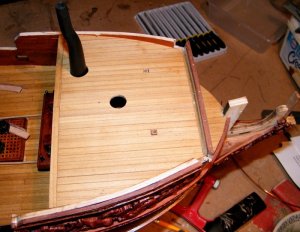
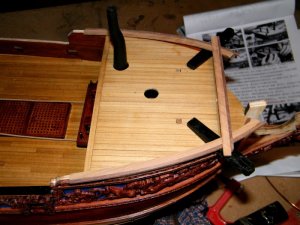
Well thats the front bulwark built up and trimmed to size for the catheads to fit, they gave a nice piece of pear in the kit, but the bulwark gets covered on both sides, so I used some scrap wood I had, and will keep the pear for something more deserving.


342.jpg
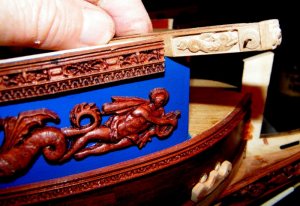
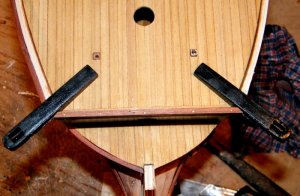
Cat heads painted and being tested for fit.


343.jpg
Bow view


344.jpg
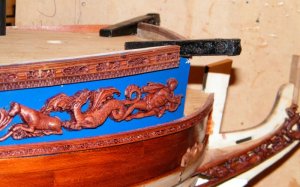
Side on view


345.jpg
The capping rails, I made them a bit wider as after I had planked the hull I did a second planking inside the waist, focsle and quarter deck buklwarks just to be sure they were strong enough.


346.jpg
and the front capping rail.
 
Last edited:
348.jpg
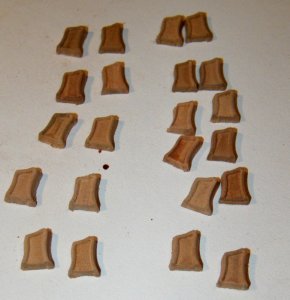
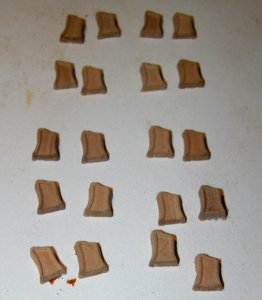
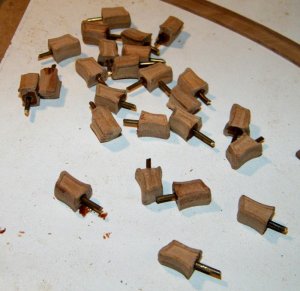
They supply the tie off bitts in two parts that have to be glued together, again they are milled out of pear, these are one side


349.jpg
And these are the other side


350.jpg
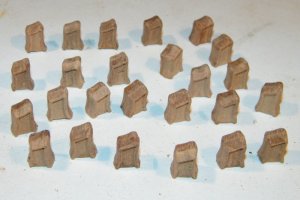
After the glue has set, they have been sanded and the bottom of them squared up.


351.jpg
I then drilled a hole up through the base and CA'd some short piece of brass rod into them to help hold them securely in place.
 
Last edited:
352.jpg
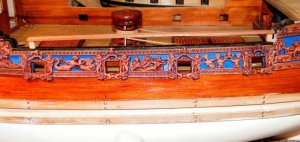
Next up was to finish the midship rails, just the two end stanchions in place, with the top rail.


353.jpg
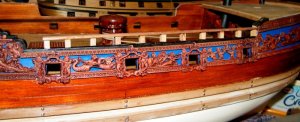
This is the starboard side nearly complete


354.jpg
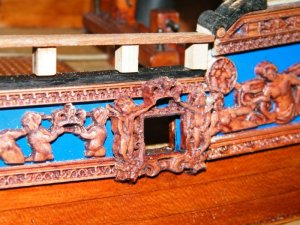
Close up view, they supplied 5mm x 5mm pear, and I cut them to length on the proxxon saw with a .5mm fine blade.


356.jpg
Two view off the model.


357.jpg
 
Last edited:
G'day John
Another brilliant example of this kit! And of course the workmanship helps a lot.
The speed that you are going, the end will not be far away.
:happy-wavemulticolor:
Keep them coming mate and happymodelling
Greg
 
Thanks Greg, but I've got a long way to go yet, I've got to do all the same down the port side, then the cabin details, the ships boat, which is a separate build in itself, plus all the rigging, if I go down that rack, but I'm enjoying it all and that is the main thing, thanks for dropping in,

best regards John.
 
Back
Top