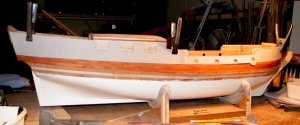
ZHL Royal Caroline Kit, scale 1/30

41.jpg
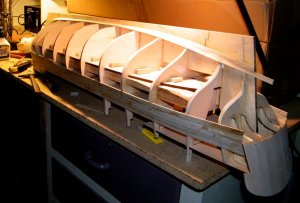
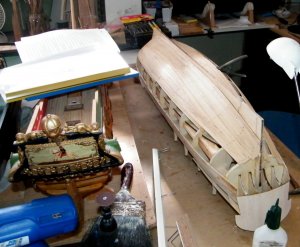
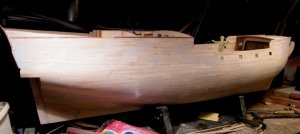
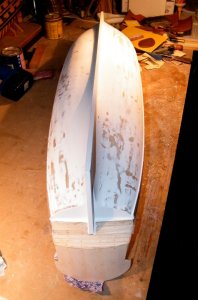
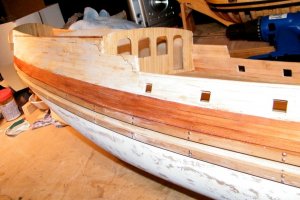
After attaching five planks each side at the deck level I then started planking from the keel up.
There is some veneer that goes from the bottom of the bottom plank down to the bottom of the keel. also up the stern post and the stem,
also there is veneer to go over the keel and up the stern post and stem.


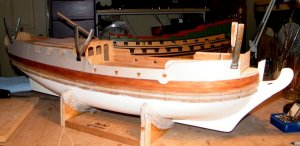
42.jpg
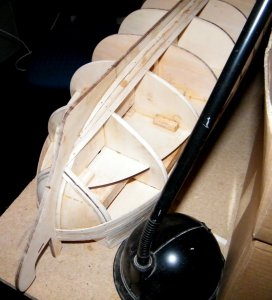
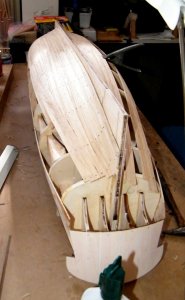
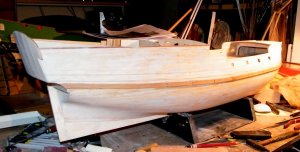
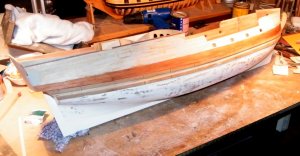
Another view, you can see where I have extended the planks so they can be trimmed down to the shape of the lower transom later.


43.jpg


44.jpg
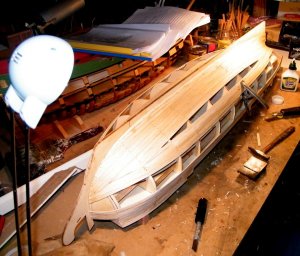
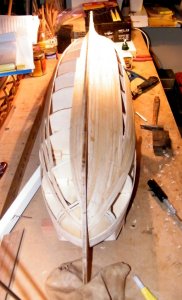
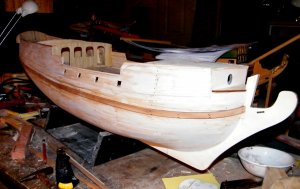
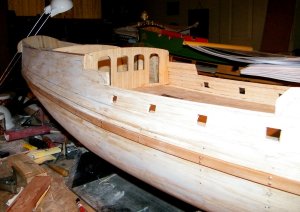
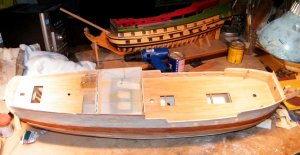
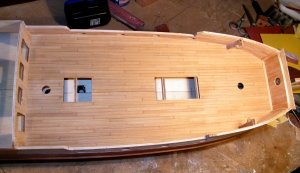
The next few pics are just general views of the planking


.

44.jpg


.
45.jpg


.
46.jpg


.
 
Last edited:
G'day John
Just found this SOS site and i joined yesterday.
Been reading your log on the Royal Caroline and what I see, you are going great guns.
This kit seems to be one of the best, if not the best, I have seen. It appears that everything is included including tedious choirs like the yards etc. The cnc carvings are amazing.
I'll be watching with baited breath for your next entry.
Havagooday mate
Greg
 
48.jpg
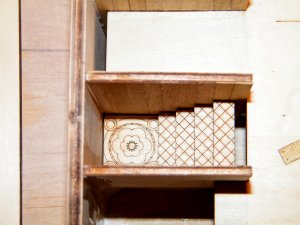
The staircase leading down from the quarter deck to the cabin.
I wish now that I had coloured it in some way.

49.jpg
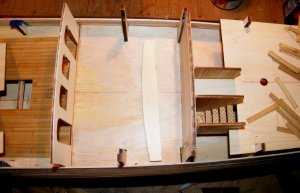
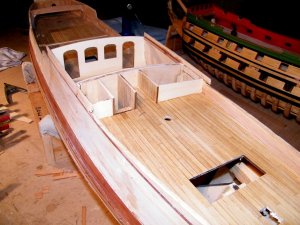
Looking down on the cabin, the front and rear have been erected.

50.jpg
Starboard side view, the planking at the stern has yet to be trimmed
and the yard manager is on board checking things out.

51.jpg
The hull has been filled and sanded, the ports cut and one of the wales added, the transom has yet to be sanded.


52.jpg
View from forward, this is where things got a little bit muddy, with no actual plans, I resorted to the book of photos, they also give you another 192 photos of her as well, to work out where the wales went, they probably tell you in the instructions if you can read Chinese, to be fair to them they offered to send me English instructions, but I persevered with what I had and after a little bit of detective work everything was OK. Has I said before this one is not for a beginner thats not to say they could'nt build it.


53.jpg
Close up view.


54.jpg
View along the deck looking at the cabin front.


.
 
Last edited:
Peglegreg said:
G'day John
Just found this SOS site and i joined yesterday.
Been reading your log on the Royal Caroline and what I see, you are going great guns.
This kit seems to be one of the best, if not the best, I have seen. It appears that everything is included including tedious choirs like the yards etc. The cnc carvings are amazing.
I'll be watching with baited breath for your next entry.
Havagooday mate
Greg


thanks Greg, nice to see you over here,

best regrds John.
 
John

Excellent work as usual.

I would have taken the English plans.

Cheers
Geoff
 
Thank you Geoff and Greg,


57.jpg
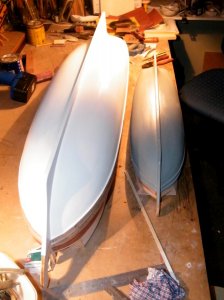
I had visions of sailing her on the local pond, I would have to add a detachable keel, so I left off the second planking for the hull below the wales and gave her a coat of fibre glass, I can hear the screams from you all, but after she is painted you wont know the difference unless I told you, oh, I just have.


58.jpg
The previous pic and this one show her after the glassing and filling and rubbing down.


59.jpg
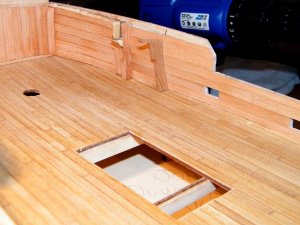
Decks all planked


60.jpg
Close up.


61.jpg
The upper second planking only goes as high as this, this is another area you have to work out, though some have planked right up to the top rails in the instructions and pics it shows to leave it here and the top section the first planking that is, is covered with bog and rubbed back to a fine finish and the painted and the carvings sit on top of that.


62.jpg
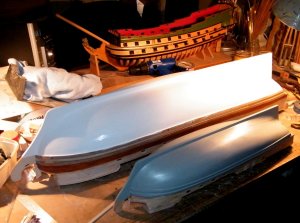
These next two pics are a comparison of the size of panarts RC at 1/48 scale and ZHL RC at 1/30 scale the hull has had appro three coats of paint at this stage.


63.jpg


.
 
Last edited:
Aussie048 said:
John

Excellent work as usual.

I would have taken the English plans.

Cheers
Geoff


The English instructions you mean, ah I suppose I just like a challenge and after you have built a Euro model with just two pages of instructions, one of which was the history of the ship, it seemed really great,
 
No I would not have screamed John

It is just about big enough to do it.

Just use the waterproof Titebond though.

Cheers
Geoff
 
She would look absolutely glorious, I saw the video of Yankovics ( I think that is his user name on MSW ) Royal William sailing, drop dead gorgeous, magnificent.
 
64.jpg
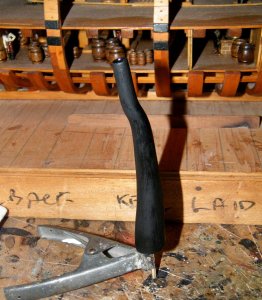
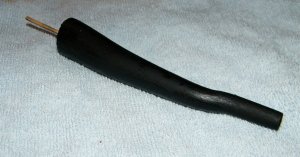
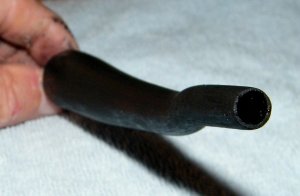
This is the galley chimney it is milled out of two pieces of pear wood
which you glue together and then drill out the top.


65.jpg
after first coat of paint.


66.jpg
second coat, I have drilled and inserted a small dowell in the base to help secure it to the deck.


67.jpg
another view


68.jpg
Planking the focsle


69.jpg
This is the two knees and the beam for under the focsle.


70.jpg
This is the part where it will go no trimming needed.


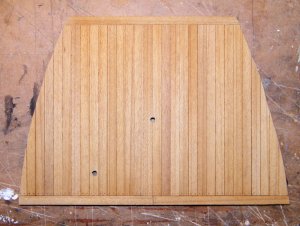
71.jpg
Focsle planked with holes drilled to show where the fore mast and the stove pipe will go.
 
Last edited:
John

I suggest you don't try it and yes it would look superb in the water.

I can vaguely remember a model in the water.

Nice work as usual

Cheers
Geoff
 
Hi John,
been away from the computer for the last week and only just catching up on your wonderful build log .

I know a quite a few model ship builders from that other forum, who are looking at this build as unregistered guests, and I guarantee they will be buying this kit in the near future.

Putting aside all the "made in China" nonsense, this represents one of the best kits in the world and any model builder with a few kits under his belt can clearly see that.
 
Thank you Geoff and Brian for the comments, Brian I hope you enjoyed your time away, and are feeling refreshed, I have been enjoying myself catching up on build logs and posting some of mine, this is a nice friendly Forum and everyone gets along OK, I suppose the main reason is that there is no conflict of interest, look forward to seeing more of your Le Requin, lovely build,

best regards John.
 
72.jpg
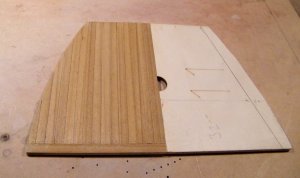
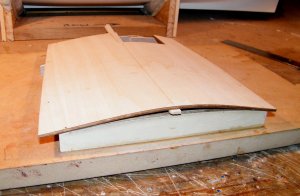
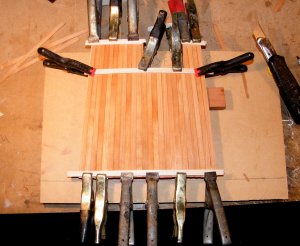
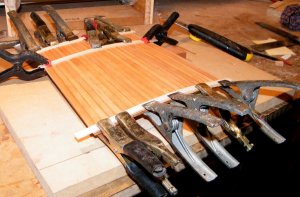
This is the plywood roof for the cabin, as with the other decks you can see the line down through the middle to help with aligning the planking. I cut a couple bits of scrap ply to the shape of the camber, I then gave the ply a soak in hot water, keeping my fingers crossed that it would'nt come apart, I then dried off the excess water and nailed it to the two piece of scrap plywood with the addition of another piece of wood in the middle to give it extra camber so that when released it would, hopefully go back to the right camber, which it did with no side effects.


73.jpg
view along the quarter deck.


74.jpg
the wood supplied is really nice, when I picked up the stack of wood I noticed it was narrower at one end, that is because the roof is also narrower at one end, so I planked out from the middle to the sides, making sure the the wide end of the plank went to the front, this pic and the next one show the planks clamped for drying.


75.jpg
another view. I then put it to one side for later in the build.


.
 
Last edited:
Hi John

One of the thing I have always liked it you show in a lot of cases how you achieve the objective. This is not just a build log but a bit of a tutorial as well.

This ZHL kit is going to be one that you will tradure.

Cheers
Geoff
 
Thank you for those kind words Geoff, now we are getting into the real beauty of this kit, see below,
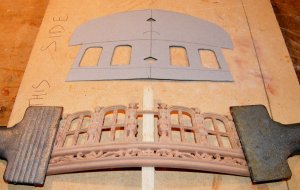
76.jpg
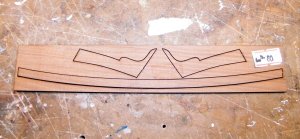
These are the stern decorations, solid pear wood, which must have been done on some sort of CNC machine,
you have to give them a good brush off and they need to be cleaned up around the edges of the carvings with a sharp knife, just to cut away alittle bit of excess wood left over from the milling process.

This piece is the lower of two carvings and here I have soaked it in hot water and I am bending it over a piece of timber to help shape to the stern.
They give you a few templates in the kit, but this one I made myself to help in positioning the carvings.
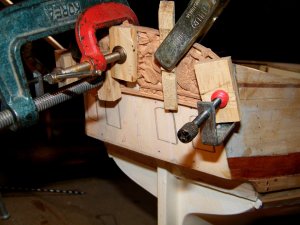

77.jpg
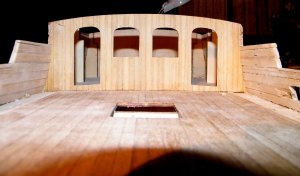
These next three pics show the upper carving being made to conform to the shape of the stern, in the instructions for all this bending they say to clamp a large wattage soldering iron in a vise and use the heat to obtain the curves, but as I did'nt have a large soldering iron I went with soaking and clamping.
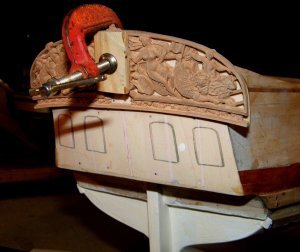

78.jpg
It takes awhile to achieve the curvature, it took me a few soaks and clamping, but I got there in the end.
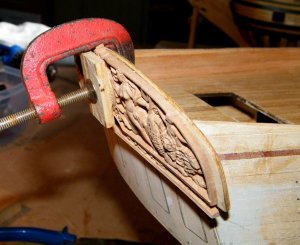

79.jpg
Just about there.


.
 
Last edited:
80.jpg
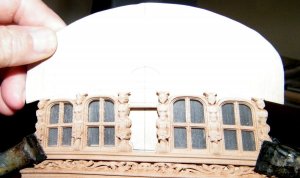
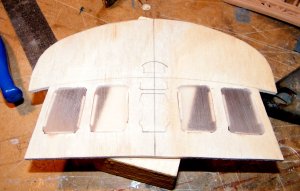
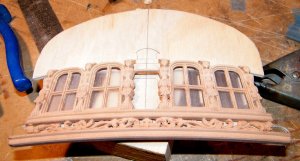
This build warts and all, I stuffed up the transom trying to cut out the openings for the lights ( windows ), so my template came in real handy, and I made another transom, I left the old one in place and will attach the new one over it,
this pic shows the new transom piece with the windows and carvings being adjusted to each other,


81.jpg
Transom and windows, I used some sheeting a little thicker than what you get in the kit, and they show to scratch the acetate in one direction to give the desired effect


82.jpg
Another view


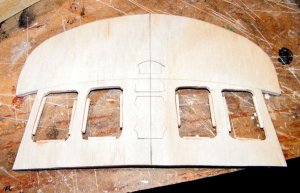
83.jpg
The transom showing the ledges for holding the windows.
 
Last edited:
I was gonna do some work on her today, but not feeling too good, so I think I will just post some more on the Royal Caroline,


84.jpg
This is one of the templates they give you for marking out where the carvings, windows etc will go, A tip, use with caution and
try everything in place, dry fit, because I am writing this with hind site and you will need to do some trimming and adjusting
to get every thing in place, Oh the fun of it all, I wouldn't have it any other way

85.jpg
Forward view. The copper studs in the wales are my addition, I'm wondering whether to leave them or not


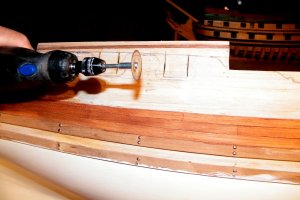
86.jpg
I used a Dremel saw to cut out the window openings, then trimmed them with a sharp knife and finished with sand paper


.
 
Last edited:
Brian077 said:
my mouth is watering. I want this kit very much.


G'day Brian, yes she is a beauty, they must have put a lot of work into the design and production of her,
thanks for dropping in,

best regards John.
 
Back
Top