ZHL Royal Caroline Kit, scale 1/30

87.jpg
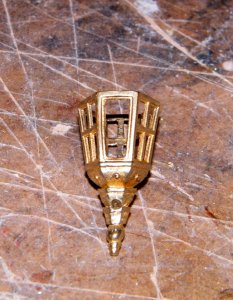
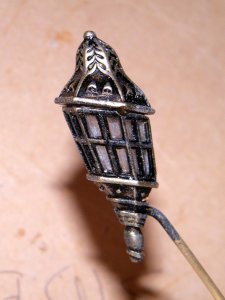
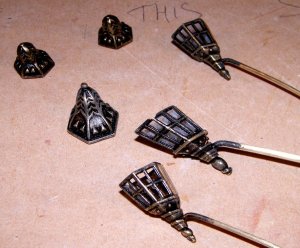
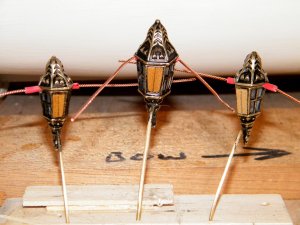
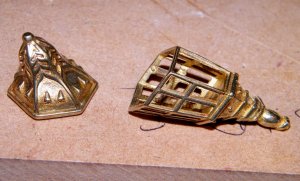
Now these are the lanterns they give you in this, ( what others would have believe is a cheap kit with inferior wood and fittings )
I think it is a bit better than some laser cut wood that some supply,


88.jpg
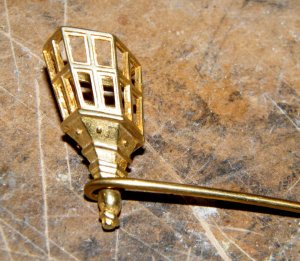
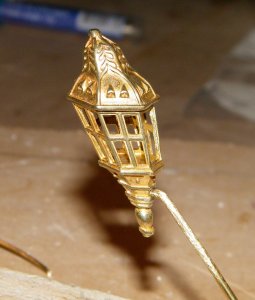
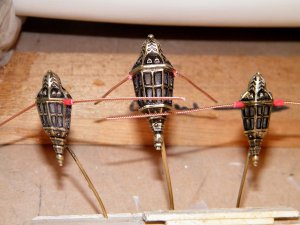
another view,


89.jpg
The only thing I changed was that they wanted you to wrap the brass wire around the lanthorn base, which seemed a bit bulky


90.jpg
So I drilled through the base and attached the support wire that way.


.
 
Last edited:
91.jpg
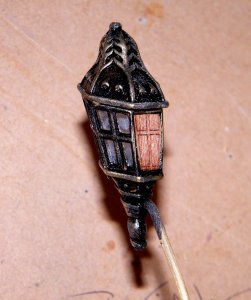
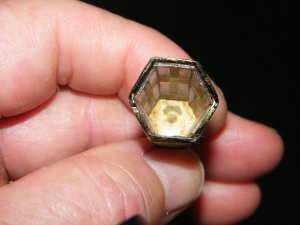
I like the lanthorns a little darker, so I antiqued them a little bit.


92.jpg
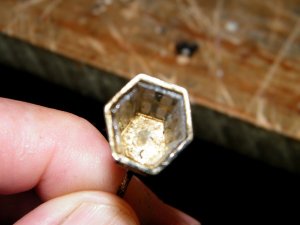
in this pic you can see the hole in the middle that the support wire will come out from, this is also the electrical wire for the LED, positive one side negative the other


93.jpg
the three lanthorns


94.jpg
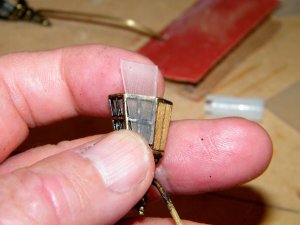
cutting the acetate to size for inside the lanthorns


95.jpg
the five pieces glued in place.


96.jpg
another view


97.jpg
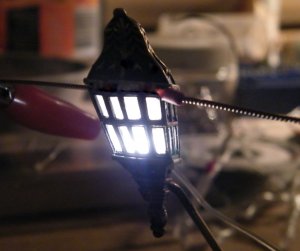
the lanthorn lit up


.
 
Last edited:
John

The fitting are superb and so is the build. I am really enjoying this one

Cheers
Geoff
 
100.jpg
Leds are supplied in the kit, but they are red and I prefer the warm white ones, so I bought a set of Xmas tree lights from Cheap as Chips, was only about $5 and they came with a resistor as well.
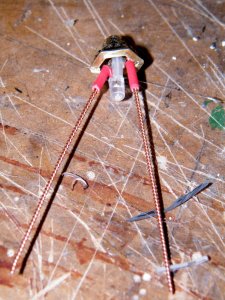
So I cut some of the lights free, I then twisted together some brass wire to use as the supports and to supply the power to the leds,
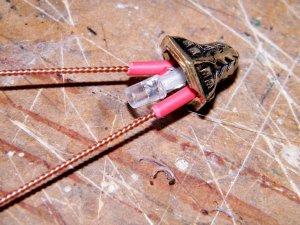
then I melted the end of a glue stick with a candle flame and dabbed it in the lanthorn top, then pushed the leds with a spacer between them into the lanthorn top


101.jpg
once the glue had dried I pushed some eletrical outer cable up over the wires to act as insulation against the lanthorn body


102.jpg
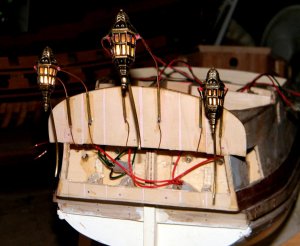
front view, the doors have yet to be painted


103.jpg
Rear view


111.jpg
the lanthorns temporarily in plce to test that they are working OK


.
 
Last edited:
John

Did you need to get Alec over to wire the lanterns up.

Cheers
Geoff
 
G'day John
Brilliant in one word. I also prefer yellow over white. Do they blink off and on like 'a flame'? The hardware that comes with this kit is breath taking.
Havagooday tomorrow mate.
Greg
 
Aussie048 said:
John

Did you need to get Alec over to wire the lanterns up.

Cheers
Geoff


for those wondering, the reply should be Alec who, and the answer is Alectrician.
 
Peglegreg said:
G'day John
Brilliant in one word. I also prefer yellow over white. Do they blink off and on like 'a flame'? The hardware that comes with this kit is breath taking.
Havagooday tomorrow mate.
Greg


Of course they do, they even have a miniature wick that you have to trim to stop them smoking


pulling your wooden leg Greg,

hey I'm a poet and don't know it,

no they are a steady light Greg and I did'nt want to get into it too much,

best regards John.
 
Last edited:
I've just spent a very enjoyable hour or so reading this log.
I've seen other build logs of ZHL kits that showed these were good quality but this log shows that that's the understatement of the year!
Things like the provision of mounting pillars, board and velvet cloth, the inclusion of LED lighting, the quality of the decorations together with the preformed masts and yards are a big step up, but the detail that really stood out for me was the provision of a set of pre-tapered planks for the cabin roof.

You're doing a great job on it.

P.S. My vote would be to remove the pins from the wales.
 
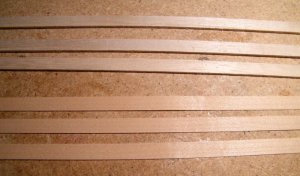
Zoltan was asking about the wood in the kit earlier on in the build, here is a pic,


159.jpg


.
the wood at the top is the first planking wood and the wood below is the second planking for the hull.
 
Last edited:
Thanks John for the picture ,looks like a high quality timber for sure.
 
A little bit about the wiring for the RC, they supply a small battery box and quite a few leds, which are red, I prefer off white so I bought some from Cheap as Chips and used them for the various lights.
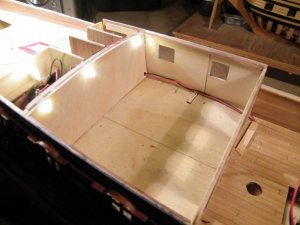

151.jpg
they say to tuck the battery box under the rear of the cabin roof, but I decided to bring the wiring up
through the hull then across under the deck to the corner of the cabin, there is a companion way that
goes in these corners and they will hide the wires, I then took the wires through the main cabin
( they will be hid under the paneling of the cabin walls ) out through the back and through to the
various points of attachment.
They give you some really nice lanthorns to go in the main cabin, but the wires are so small, I stuffed
them up, so I placed three leds along the back wall of the cabin, when the cabin roof is on you wil
l not see them.
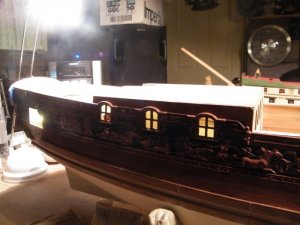


154.jpg
not a very good pioc of the lights lit up.
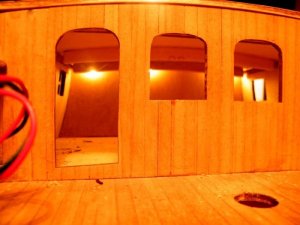

155.jpg
view through the cabin front, no flash.
 
Last edited:
Back
Top