HMS ALERT 1777 cutter POF by Uwek

Uwek

Administrator
Staff member
Administrator
Forum Moderator
Joined
Dec 25, 2017
Messages
30,718
Points
1,238

Location
Vienna, Austria
So I am the one starting the first building log of this interesting vessel and model kit.

But before I really start to show the work, I want to summarize the data and information about the ship, available documentation and the kit


Available Documentation about the HMS ALERT 1777:

Book Review of the Anatomy series book


Ships History of the Alert Class


The kit released by TRIDENT MODEL:

Kit Review here on SOS


Development of the kit with photos of test kits etc.

and if you are interested in the purchase of this kit
 
Due to the fact, that this is the first building log of the kit, I will show even more photos, for some maybe a little bit boring to see the same construction step from different sides etc. , but for others following later on, it will be a good guideline of How to do it (or even How not to do it)

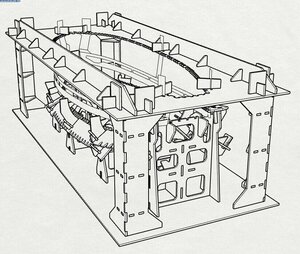
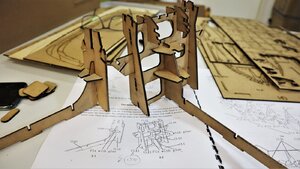
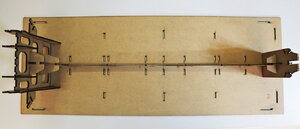
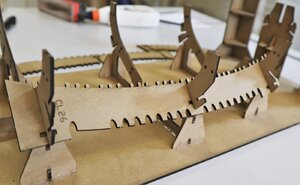
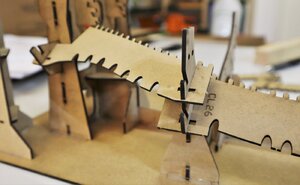
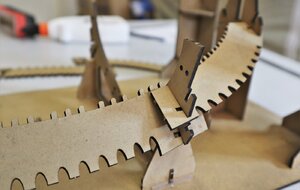
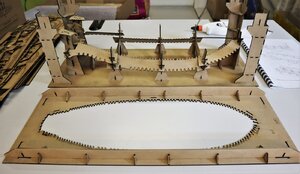
The very first highlight of this kit is the construction jig or maybe better to say YARD.
To summarize it in one word "Outstanding" - but take a look by yourself

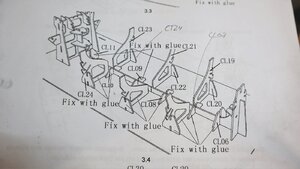
A sketch showing this Structure - looking a little bit like a spaceship in Star Wars
49811053_1240066032813667_5616041799651950592_n.jpg

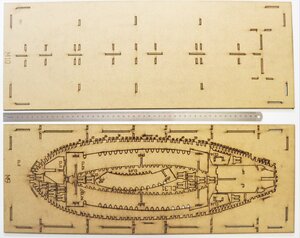
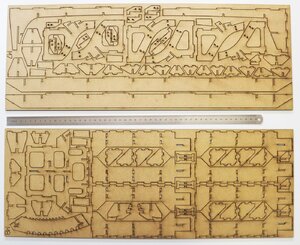
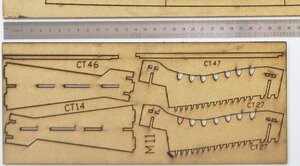
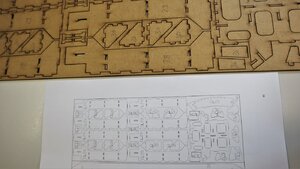
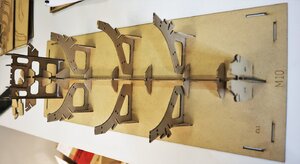
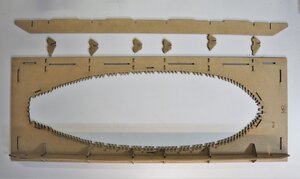
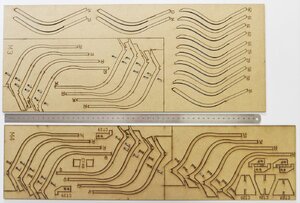
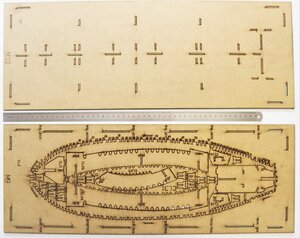
The five sheets or boards for the temporary Yard are these (already shown in the kit review)
IMG_5722a1.jpg IMG_5721a1.jpg IMG_5723a1.jpg


Construction Sequence

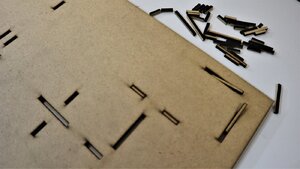
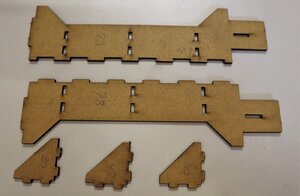
medium density boards are all laser cut - very exact cuts, so the slots are easy to open and the not necessary parts can be taken out easily
IMG_5783.JPG

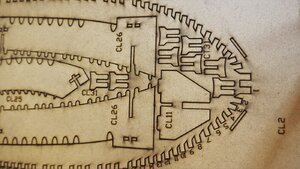
On two sheets no part numbers are written - so do not forget to transfer the numbers from the manual to the boards
IMG_5784.JPG

IMG_5785.JPG

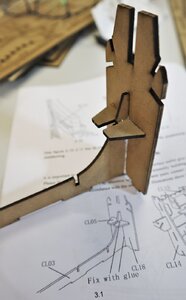
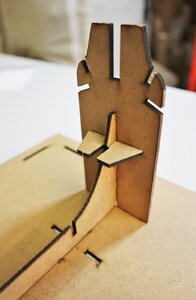
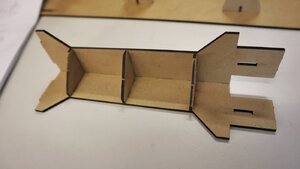
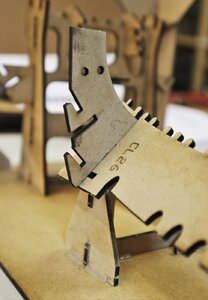
The first three elements - worked well, all parts fitted well into the slots - tight but no big forces necessary
I strongly advice to follow the information "Fix with Glue", and where is nothing written in the manual not to use glue
IMG_5786.JPG

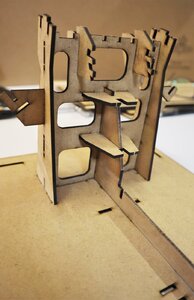
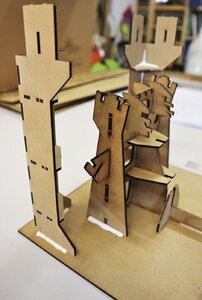
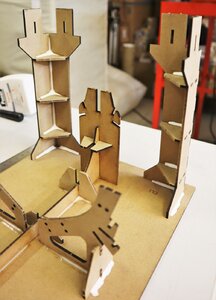
Now Star Wars construction started
IMG_5787.JPG

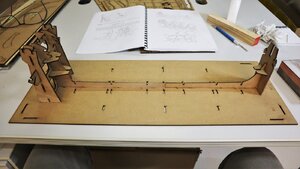
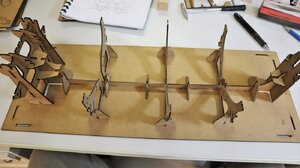
Both parts mounted on the base board - still everything fitted well into the slots - like a Meccano construction system
IMG_5788.JPG

IMG_5790.JPG

IMG_5789.JPG

and the view from the top
IMG_5791.JPG

The next work step shown in the manual - everything self explanatory and easy to understand - my handwritten notices are small info missing but absolutely easy to find out
IMG_5792.JPG

this working step done
IMG_5793.JPG

IMG_5795.JPG

IMG_5796.JPG

to be continued ....... Many Thanks for your interest
 
To continue

The construction of the four supports at the outer edges of the Jig

parts prepared for one of the supports
IMG_5797.JPG

IMG_5798.JPG

The four supports at the final places
IMG_5799.JPG

IMG_5800.JPG

IMG_5801.JPG

Now we change the movie and "Alien" started

six additional elements are prepared to take over later on the individual frames
IMG_5802.JPG

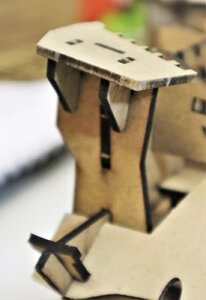
The parts are easily moved and pushed into the slots of the vertical supports
IMG_5804.JPG

The element in the middle to be installed first, fixed in three slots
IMG_5805.JPG

an the others following in slightly higher slots
IMG_5806.JPG

IMG_5807.JPG

This is approximately the view with overlapping slots for the frames
IMG_5808.JPG

IMG_5809.JPG

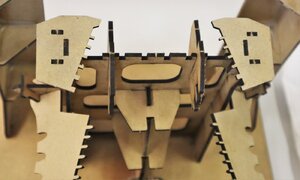
all six elements installed
IMG_5810.JPG

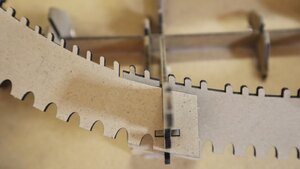
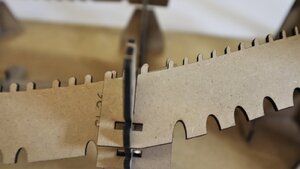
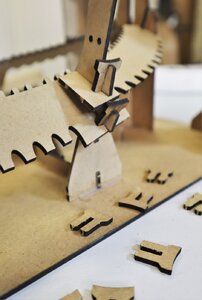
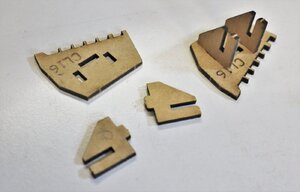
with such small clamps the six elements are fixed to the supports - here no glue is necessary - so you can remove it later without problems - very clever idea
IMG_5811.JPG

all elements fixed with the clamps visible in top view
IMG_5812.JPG

to be continued .....
 
In this post I will show the finalization of the main jig

There are two additional elements at the stern to be installed, later as a base for the frames
IMG_5814.JPG

one side installed
IMG_5815.JPG

IMG_5816.JPG


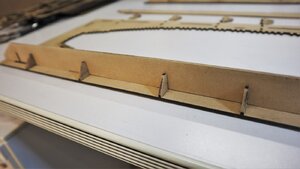
Now the final board on the top - BTW: no nipple for the frame spacing is breaking when you prepare these parts - the board material is very friendly to the modeler and the laser cutting very accurate - the material has a much better behavior than plywood - maybe an idea for other kit manufacturer ...

on the top of the photo you can see the longitudinal stiffener with it six supports - on the lower side already installed
IMG_5817.JPG

IMG_5818.JPG

IMG_5819.JPG

IMG_5820.JPG

the top board installed and fixed with the clamps - not glued
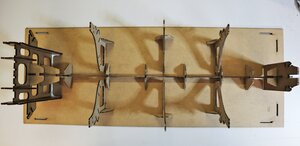
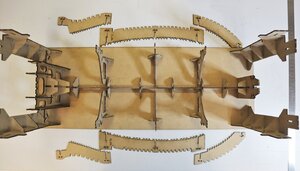
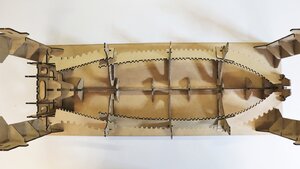
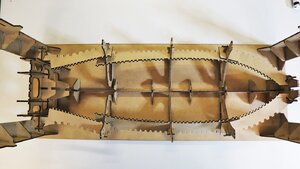
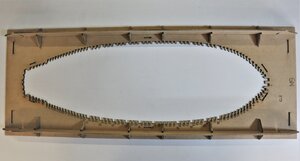
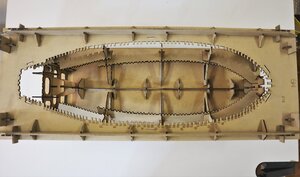
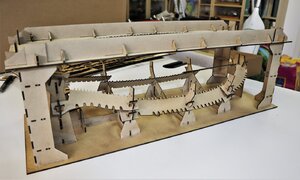
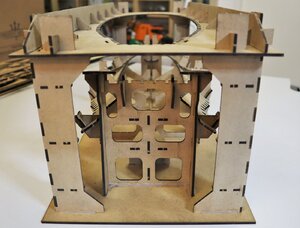
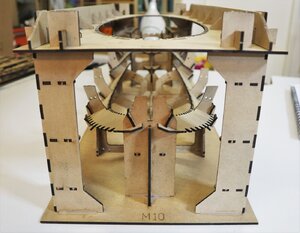
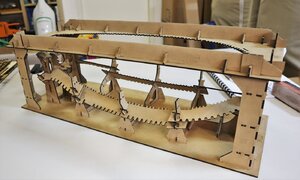
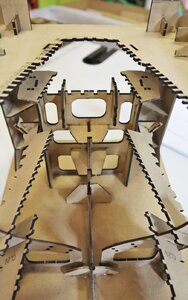
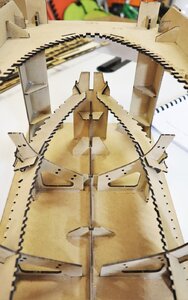
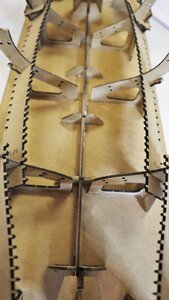
the construction jig is finished
IMG_5821.JPG

IMG_5822.JPG

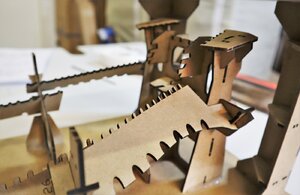
in the following several views to get an impression of this interesting and promising construction
IMG_5823.JPG

IMG_5824.JPG

IMG_5825.JPG

IMG_5826.JPG

IMG_5827.JPG

IMG_5828.JPG

IMG_5829.JPG

All together a very interesting small project in the project - well prepared and everything fitted very well
The future will show, if the model parts will fit also in this quality ....... the jig was already promising fun for the rest
 
Can't wait to see the first elements istalled in that jig. Looks like a straightforward lofting of the frames since they will be "forced" in the right position, maybe only slight sideways adjustments will be needed?!
Many Thanks for your comment.
If the keel and the notches of the keel is of the same accuracy, than it will work extremely good. In addition, knowing the additional jigs for the preparation of the frames, that they hopefully also will fit well in the width of each frame......
IMG_5725a.jpg

very promising
 
A model build completed before starting on the model itself! Masterful design with removable parts for disassembly around ships frames when fully assembled.

What is the outside measurements for the ship yard structure?

Now I can't get out of my chair while waiting on the start of frame work.
 
Fantastic jig, and a superb set of assembly photos - They are going to come in very useful!
Thanks, Uwe.

Ted
Hallo Ted,
many thanks for your interest and your kind comment.
For some it is maybe a little bit boring to see some relatively similar photos, but the main intention is to make also an additional guide for other modelers which will follow.
 
Uwe, Congrats on your first milestone on the journey of Alert building! It does look like you are having fun with the jig assembly. Did the instruction guide descriptive enough to follow?
Hallo Jim,
many thanks for the interest - For this part definitely the manual was very helpful and described the individual working steps - especially with the helpful sketches...
 
A model build completed before starting on the model itself! Masterful design with removable parts for disassembly around ships frames when fully assembled.

What is the outside measurements for the ship yard structure?

Now I can't get out of my chair while waiting on the start of frame work.
Hallo Kurt,
many thanks also to you for your interest in this log.
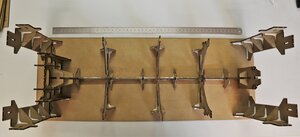
The total length is appr. 58 cm, visible at the steel ruler visible on the photo (length of 50cm)
IMG_5722a1.jpg
The other measures I have to take in the evening
 
In this post I will show the finalization of the main jig

There are two additional elements at the stern to be installed, later as a base for the frames
View attachment 157966

one side installed
View attachment 157951

View attachment 157952


Now the final board on the top - BTW: no nipple for the frame spacing is breaking when you prepare these parts - the board material is very friendly to the modeler and the laser cutting very accurate - the material has a much better behavior than plywood - maybe an idea for other kit manufacturer ...

on the top of the photo you can see the longitudinal stiffener with it six supports - on the lower side already installed
View attachment 157953

View attachment 157954

View attachment 157955

View attachment 157956

the top board installed and fixed with the clamps - not glued
the construction jig is finished
View attachment 157957

View attachment 157958

in the following several views to get an impression of this interesting and promising construction
View attachment 157959

View attachment 157960

View attachment 157961

View attachment 157962

View attachment 157963

View attachment 157964

View attachment 157965

All together a very interesting small project in the project - well prepared and everything fitted very well
The future will show, if the model parts will fit also in this quality ....... the jig was already promising fun for the rest
innovative, ingenious and bloody clever.
 
Back
Top