Hms Alert by Maarten [COMPLETED BUILD]

Maarten

Staff member
Forum Moderator
Joined
Sep 10, 2017
Messages
3,911
Points
678

Location
The Netherlands
Yeah my kit came in after exactly 30 days shipping and customs. I had to pay €46,- for VAT and customs clearing but it is well worth it for a box full of goodies.
I will build it next to my RC and already have some ideas of what I will do with it. It won't be a straight out of the box build but what it will be I will show you later during the build.
I started already with removing the saw dust from the milling process. I found it rather easy to remove it by knocking the wooden panels on its side on the workbench. This will remove some 95 % of the saw dust, the rest will be gone when removing the parts.
Tomorrow I will remove the rest of tge saw dust, number the parts and start building the berth.
 
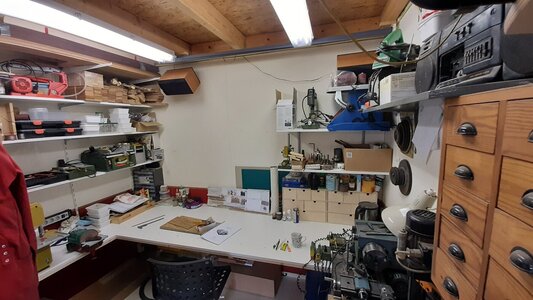
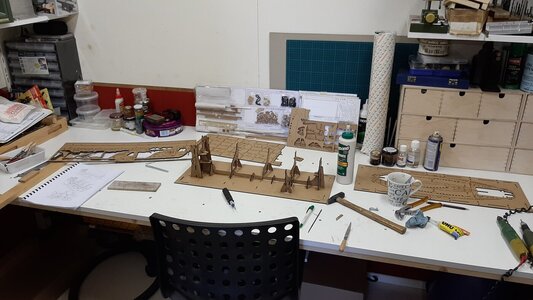
First I cleaned my workbench.
20201004_134228.jpg
Then checked if all in the box is complete, which it is.

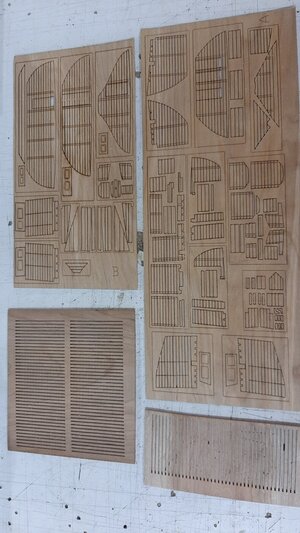
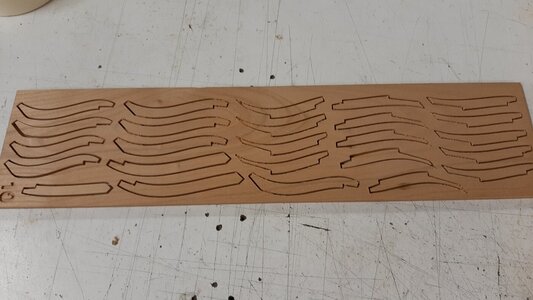
The additional items below are the interior which are not part of the default kit. The small strips are forming the bulk head beams, the other items the planks and doors.
20201004_125902.jpg

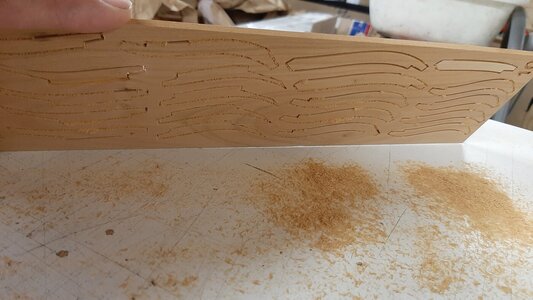
As said I removed the sawdust by tapping the billets on the workbench.
20201004_113820.jpg
As so can see you tap out the sawdust
20201004_114517.jpg
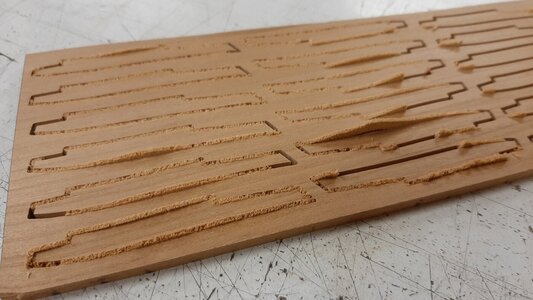
And the result without the need of a dentist tool.
20201004_114344.jpg

It took me 1 hour to remove the sawdust in all the billets.
 
This afternoon I could build the berth, as others already explained this build in detail I will only add some comments which maybe help you to speed up the process.

So let start to build this starship enterprise, uhh the berth. Everything is clearly documented in the Chinglish manual but with very clear and detailed drawings. The parts fit together very tight, camfering the butts very slightly helps to fit it more easily.
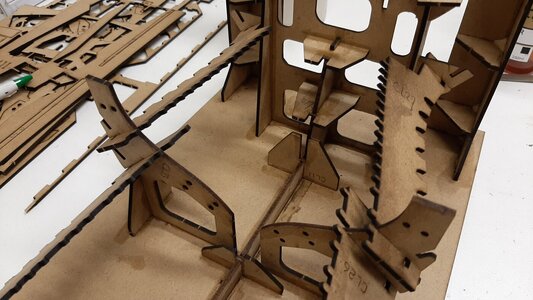
To fit it I glue it and tap it with a hammer, with a wooden block in between to protect the MDF.
20201004_155439.jpg

All the joints I reinforce with some extra glue.
20201004_163721.jpg

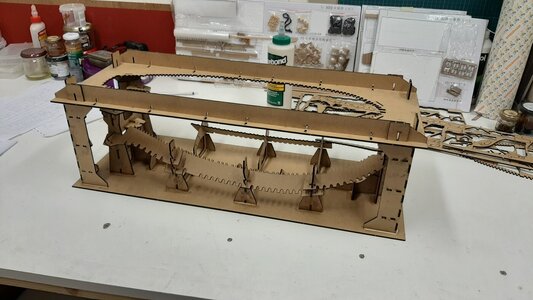
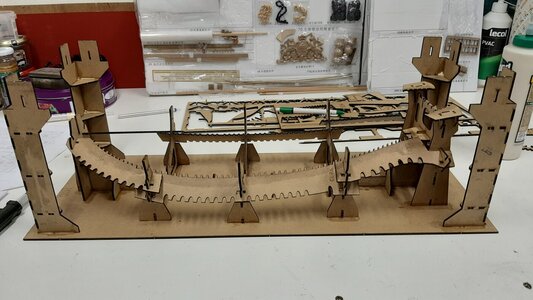
And after a few hours and a lot of fun my space ship is nearly finished.
20201004_184856.jpg

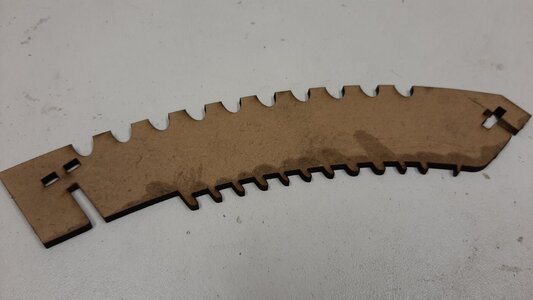
I have seen some who cleaned all the laser char which will be in contact with the hull. Especially around the slots for the frames this is an enormous task to do, so what I did is to treat these parts with shellack, this will bind and seal the laser char and avoid it from spoiling your frames with black spots. Shellack is very thin and penetrates the mdf avoiding changes in the fitting of the frames later in the build. Sealing the top plate is not needed as the frame part here will be glued to the top plate and cut off in the end. Sealing with shellack is therefore not needed and will weaken you glue joint.
20201004_211615.jpg
20201004_213334.jpg
20201004_213343.jpg

The berth is now finished and took me some 4 hrs. So after day 1 all the saw dust from the milling is removed and the build berth is finished.
 
Last edited:
IF we have some hours a week.......? Sometimes we have to be happy to have one!
Very good, that you started also your build - I am looking forward to see the next "masterpice" by Maarten
 
Yes the real work starts. Starting with the keel.
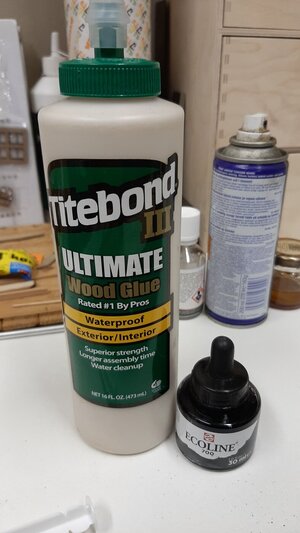
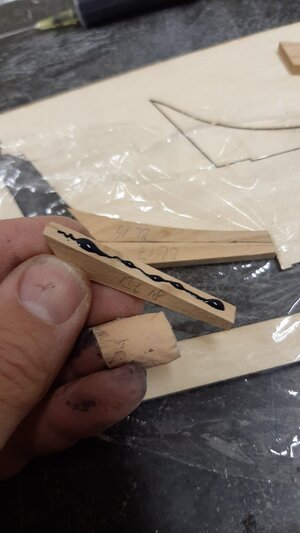
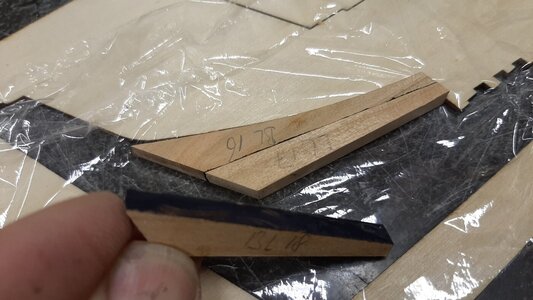
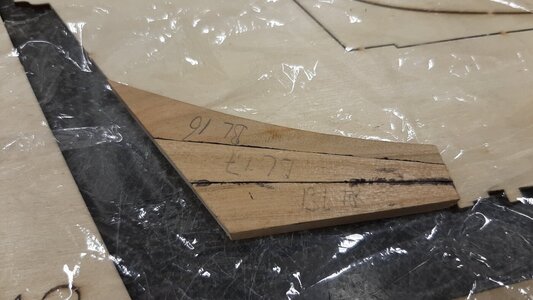
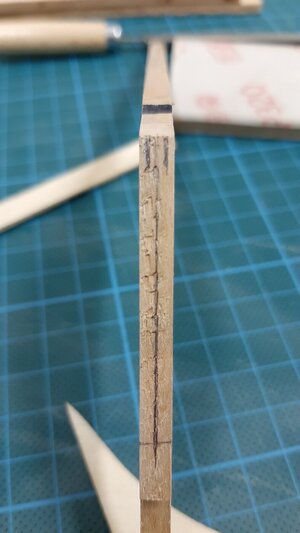
The joint I glue with black pva, this made by pva mixed with black ecoline.
20201005_171633.jpg
This mixed in a seringe helps to aplicate it in minute quantities.
20201005_173849.jpg
Then I spread it to avoid ending up with black pva everywhere.
20201005_173945.jpg

Then fitting it together.
20201005_174211.jpg
Dry it and remove to overflow of pva by scraping.
20201005_194128.jpg
After scraping, finishing will ofcourse follow later. My test piece on top, already oiled to see the final look.
20201005_194341.jpg

Now I finish the outer edges to get a perfect fit.
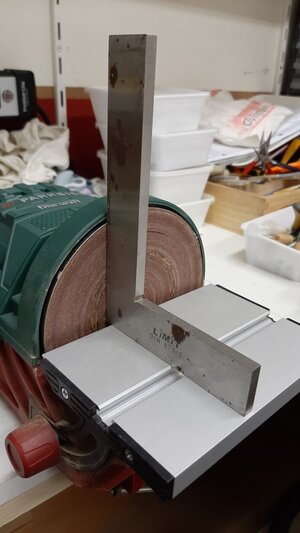
For this I first check my disc sander angle.
20201005_194721.jpg
Time for sanding contact surfaces at correct angle of 90 deg.
20201005_194840.jpg

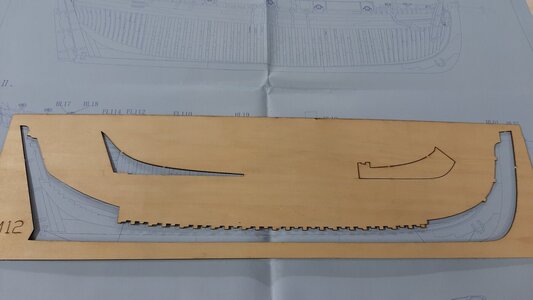
Checking the pieces on the drawing I found out the drawing and model are not the same scale. See template vs drawing, no German engineering here. :).
20201005_201003.jpg

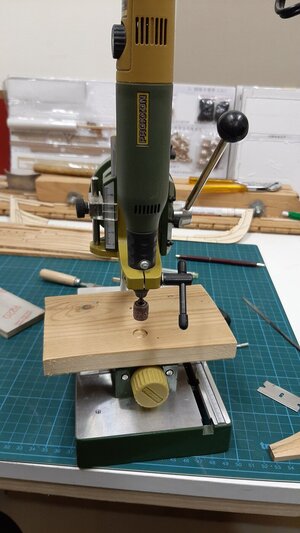
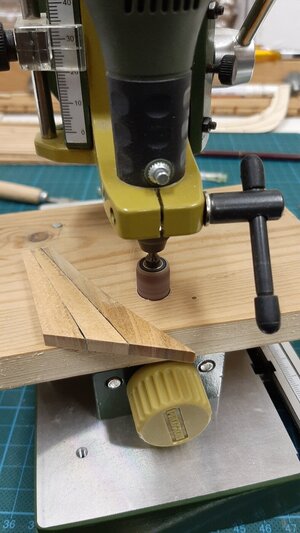
For the round edge I use my mini spindle sander. This is just my proxxon micro drill in the column drill standard with a cheap sanding drum.
20201005_202004.jpg
20201005_202114.jpg

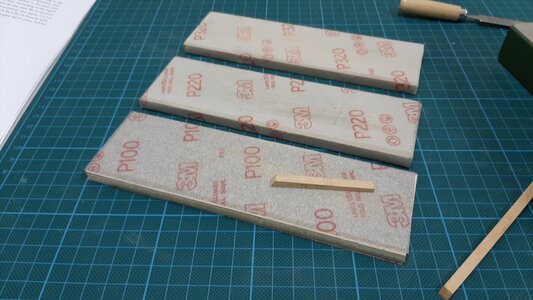
For flat hand sanding I use multiplex billets fitted with high quality 3M sandpaper in 100, 220 and 320. I fit the paper with double sided tape.
20201005_203122.jpg

All the first parts of the stern glued.
20201005_204624.jpg

Next time sanding it into shape and then the bow section.
 
Another brief update.
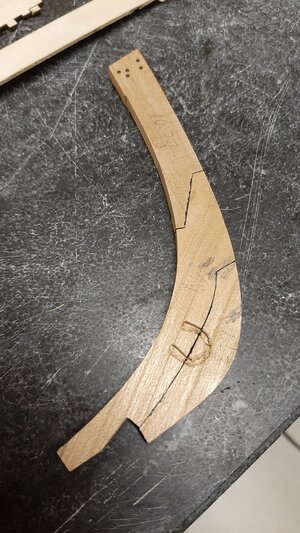
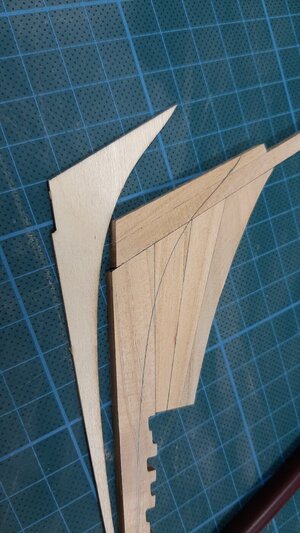
I have scraped and sanded the stern keel part ready for using the template to taper it to its correct size. From top to bottom and fwd to aft reduce its diameter from 5 to 2,5 mm.
20201007_163043.jpg
Then I draw a center line and the 2,5 mm diameter.
20201007_163053.jpg
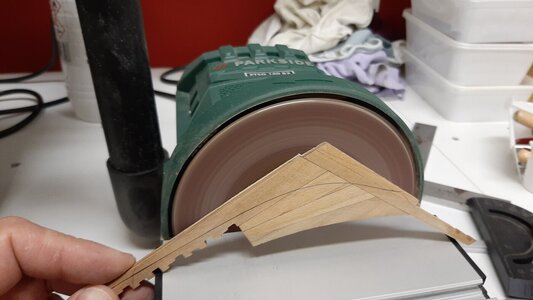
Followed by sanding it down along the curved line drawn according the template simply on the sanding disc.
20201007_164033.jpg
And the finished result of this inner part of the stern keel section.
20201007_213802.jpg.

Next is the outer bow keel section.
20201007_213813.jpg

All parts easily fit together with some sanding and filing.
 
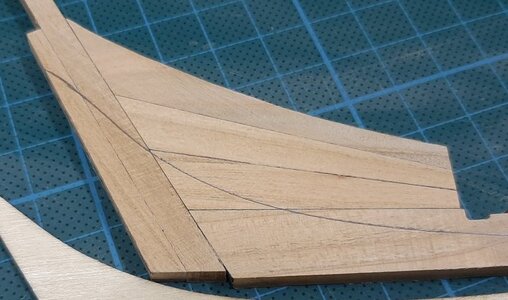
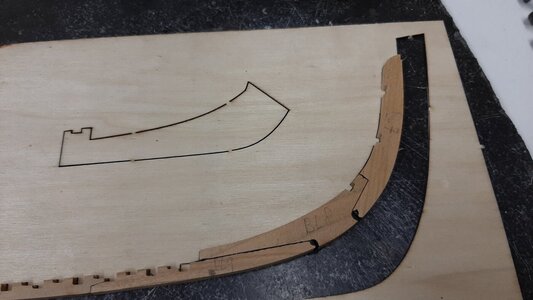
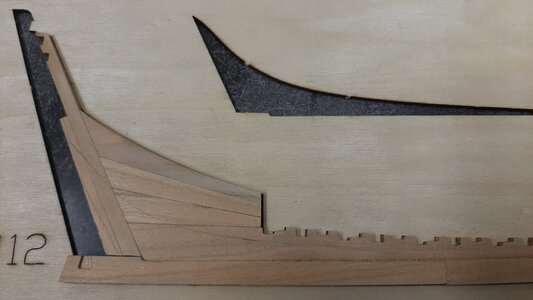
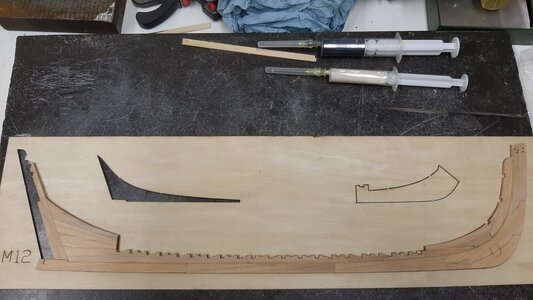
Next is the inside of the stem, after shaping the contact surfaces with a file these can be glued within the template to ensure the correct shape.
20201008_233216.jpg
As two ends have some extra space I added some additional black glue to fill the void.

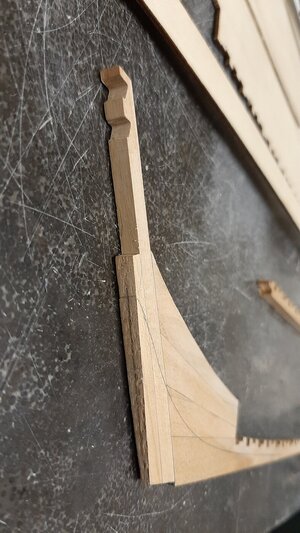
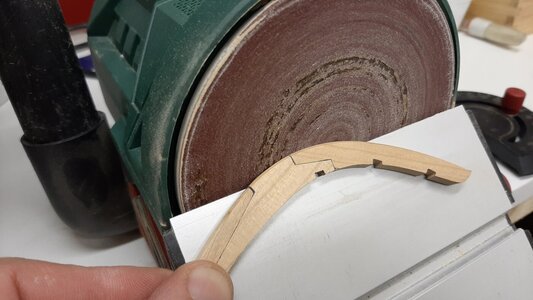
After scraping and sanding I start with the rabbet. For the stem this is a 45 deg angle of about 1 mm. I sand this on my disc sander at low rpm to have better control over it.
20201009_155030.jpg

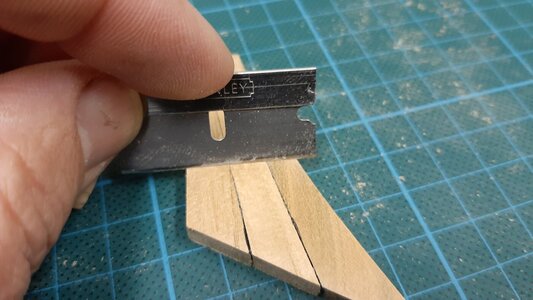
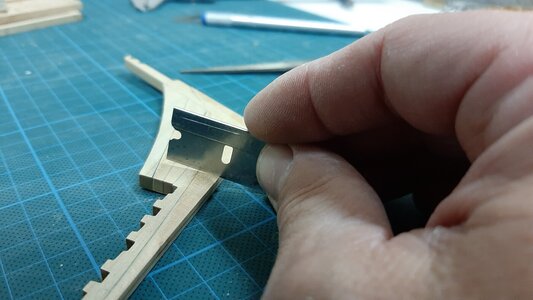
On the stern the angle is changing from 45 deg in the center to 0 deg at the stern. To create this I scrape the rabbet with a razor blade.
20201009_155831.jpg

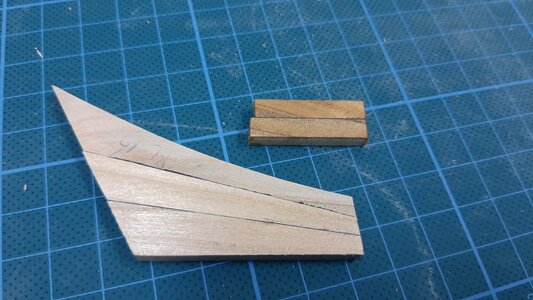
After also scraping the rabbet to the stem and fwd keel I glue this section with white pva as otherwise the rabbet will fill with black pva which is difficult to remove.20201009_162740.jpg

Same procedure on the stern section with the use of white and black pva depending on the part of the joint.
20201009_172854.jpg
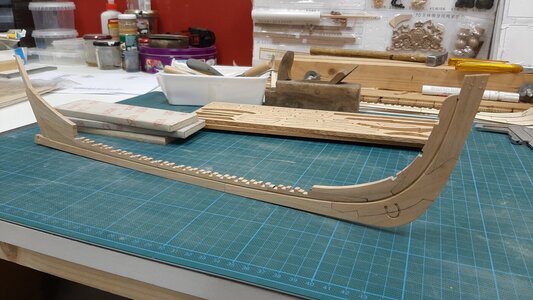
Followed by the mid section finishing the keel structure.
20201009_173000.jpg

After drying a nice keel with a razor sharp rabbet is the end result.
20201009_194104.jpg
 
Last edited:
Back
Top