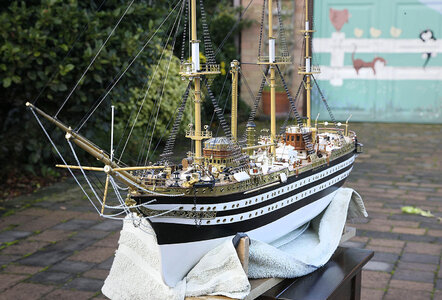
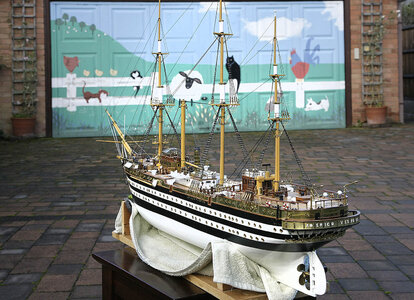
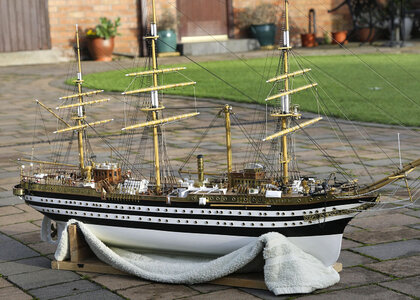
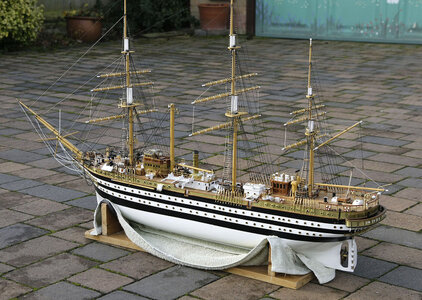
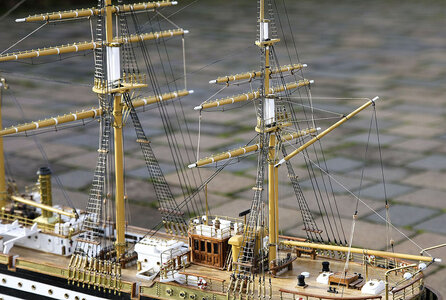
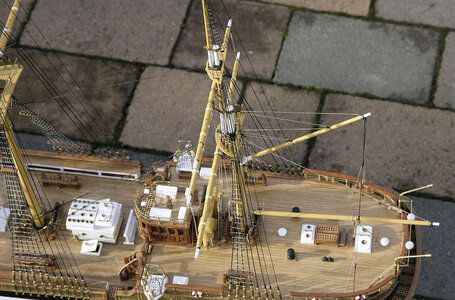
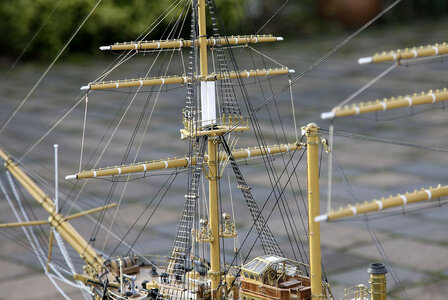
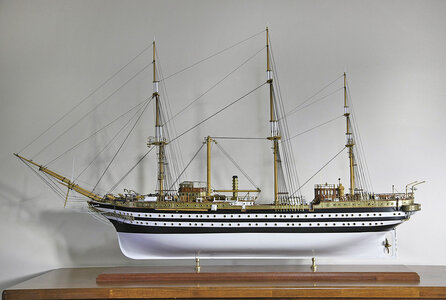
Amerigo Vespucci, Panart 1:84 scale

Hi, Thanks again for your likes and comments. Not too much to show today but I’ll do my best to be interesting.

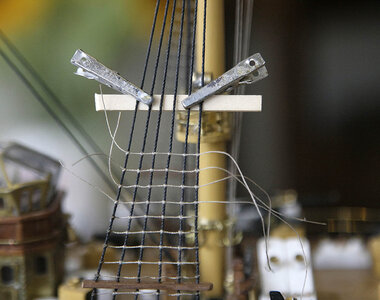
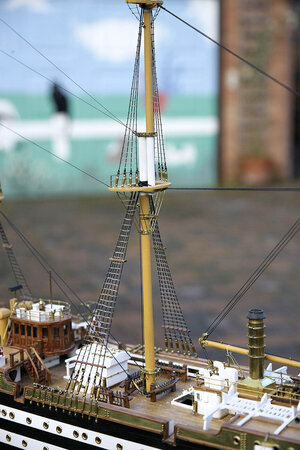
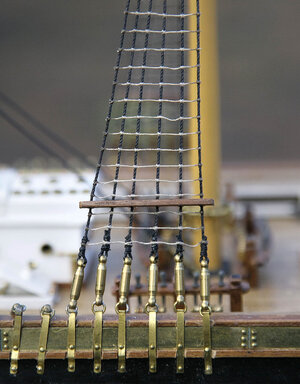
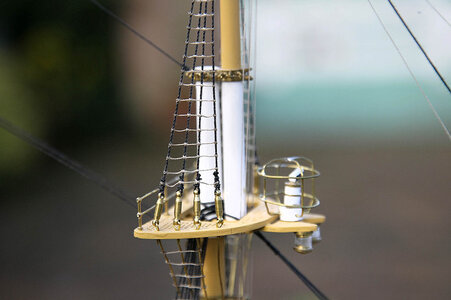
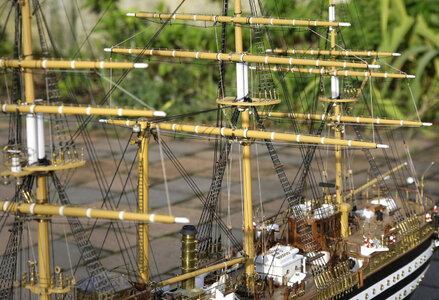
I’ve started the ratlines, I don’t mind doing these as they’re quite therapeutic if you just relax and accept that they have to be done. I do them just by eye, no graph or guide, I found that anything behind the shrouds just got in the way and is more trouble than it's worth, I think that the eyes are pretty good at getting lines and grids near perfect, enough for me anyway. What I do use is a small piece of plank clipped to each of the end shrouds to stop them being pulled inwards and inducing a curve, I do two or three lines at a time then move it upwards to continue.

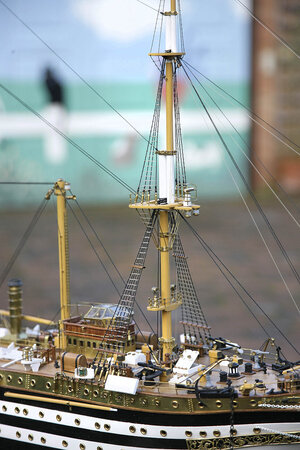
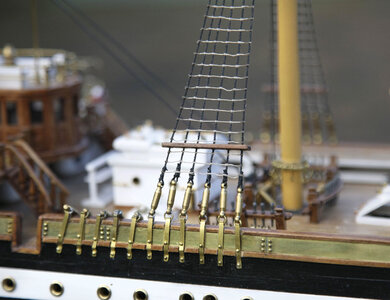
I did encounter an issue, the brass rings supplied to connect the turnbuckles to the strops, they were made from too soft a brass and when even a little tension was applied they sprung open. I had to solder all of them closed, a pain being already mounted, I wish that I had realised before making them up it would have been much easier then.

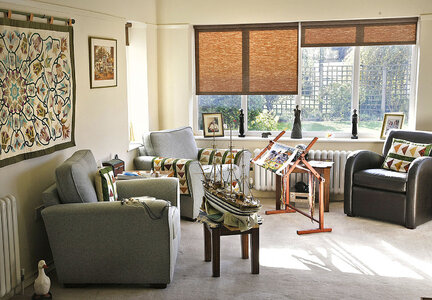
Whilst just doing the rigging my wife allows me into the comfort of the house where she practices her hobby of needlework and we work away in domestic harmony. Definitely no tools, paints or dust and if I dare go near her scissors or thread I face her wrath. Below shows how comfortable modelling can be.

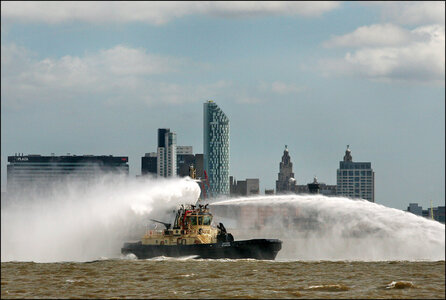
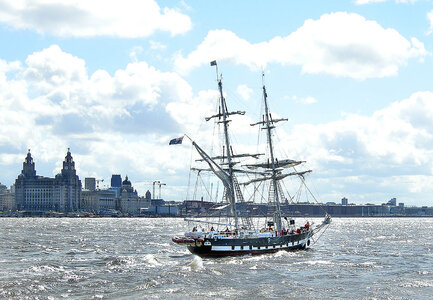
Another of my local pictures shows the Mersey fire tender ship in full display. I think that this happens when the captain has had a long lunch and a few beers, he then comes out and shows off.

Ken


254.jpg

404.jpg

024 Tall Ships.jpg
 
Indeed a most beautiful venue for a most beautiful model.
 
  • Like
Reactions: Ken
Hello All. The ratlines are now finished, no real problems were encountered and I'm happy with the result. I used about .3mm thread for the lower and .1 for the upper lines. I do a full hitch on all lines, after about five I check for position then dab a touch of cyno on the end knots to fix them and then cut them off so that the
the extra thread doesn't get in the way.

Being in the comfy part of the house whilst doing it did present an unexpected issue, my decor, carpets and walls were the the same colour as the rigging thread and especially with the .1mm it blended in with the surrounds that it seemed to just disappear, it was like using invisible thread.

Other issues doing it with my wife around were that I couldn't swear, so that when I made a mistake I couldn't relieve my frustration with the usual colourful language. We had just bought a new Hi Fi, my wife is a huge Bob Dylan fan so I was subjected to hours of listening to just about every track that he ever made. At least I am now back in my corner of the study.

Ken

255.jpg


256.jpg


257.jpg


258.jpg


259.jpg


260.jpg


261.jpg
 
You did a great job, Ken.
It gives the AV body.
And the animals around the fence likes it to!
Regards, Peter
Hi Peter, Thanks for your compliment. I’ve just read through your Ducati log and I can’t believe what I have just seen, words like fantastic, amazing, just don’t do it justice, I think that anything that I’ve done pales by comparison, I think that I’ll read it again just to take it all in. Wow!!

I painted my garage door a few years ago in moment of madness, but who wants a door the same as everyone els.

Ken
 
You also thanks for the compliment!
For a moment I want to talk about your wife's hobby, the needlework.
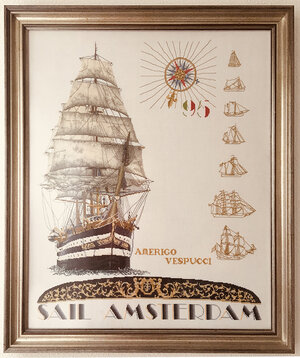
On the occasion of the 1st Sail Amsterdam, the Dutch Thea Gouveneur started designing embroidery packages. Every 5 years at a new Sail, also a new package.
In 1995 she designed this, with the Amerigo Vespucci.
AV1.jpg
My mother embroidered this for me.
The pattern is not pre-printed, but is a counting pattern.
Measuring 62x77cm (25"x31").

By then I had already planned to build the AV. But first the Robert E. Lee had to be ready. I started that in 1987, but still not finished.
As construction is progressing, I hope to start the Panart AV in 2021.
That's why I'm following your build-log with interest.

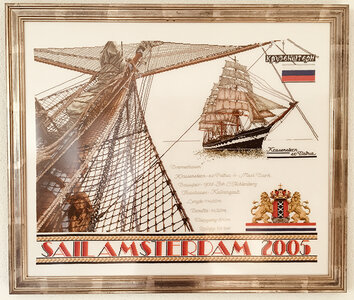
In 2005, Thea Gouveneur designed one with the Krusenstern. With the bowsprit of the AV on the left.
AV2.jpg

If it's going to tickle your wife, here's a link to a Dutch store that she's still selling:
https://www.handwerkpost.nl/catalogsearch/result/?q=sail

Regards, Peter
 
That is absolutely meticulous work and seemingly perfect rigging. That is a truly formidable build - certainly one that I wouldn't even dare to undertake. Hats off to you, Ken!
 
  • Like
Reactions: Ken
Ken, this ship is a masterpiece and I seriously doubt anyone will throw any stones at your rigging or anything else on it. You will be able to display that with pride. It’s a great accomplishment. I only hope one day I can achieve something of that magnitude building a ship.
 
  • Like
Reactions: Ken
You also thanks for the compliment!
For a moment I want to talk about your wife's hobby, the needlework.
On the occasion of the 1st Sail Amsterdam, the Dutch Thea Gouveneur started designing embroidery packages. Every 5 years at a new Sail, also a new package.
In 1995 she designed this, with the Amerigo Vespucci.
View attachment 187555
My mother embroidered this for me.
The pattern is not pre-printed, but is a counting pattern.
Measuring 62x77cm (25"x31").

By then I had already planned to build the AV. But first the Robert E. Lee had to be ready. I started that in 1987, but still not finished.
As construction is progressing, I hope to start the Panart AV in 2021.
That's why I'm following your build-log with interest.

In 2005, Thea Gouveneur designed one with the Krusenstern. With the bowsprit of the AV on the left.
View attachment 187556

If it's going to tickle your wife, here's a link to a Dutch store that she's still selling:
https://www.handwerkpost.nl/catalogsearch/result/?q=sail

Regards, Peter
Hi Peter. Both my wife and I are very impressed with your families tapestry, my wife tells me that your grandmother must be a very accomplished sewer to have produced this. This is a must to keep in the family for future generations, thanks for sharing with us.

Ken
 
Hi Peter. Both my wife and I are very impressed with your families tapestry, my wife tells me that your mother must be a very accomplished sewer to have produced this. This is a must to keep in the family for future generations, thanks for sharing with us.

Ken
Thank you Ken,
Unfortunately, I can no longer convey the compliments, my mother past away a few years ago, but she would have greatly appreciated these compliments from England.
Regards, Peter
 
Hi, Thanks for all those likes and comments. I've hade a pretty intensive couple of days on the build, All the backstays are done, I used three different diameter thread, 1mm, .75mm and .5mm. It looks good so that is now all of the standing rigging completed.

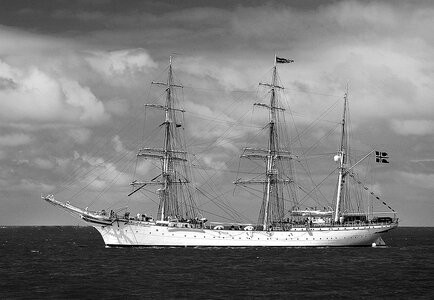
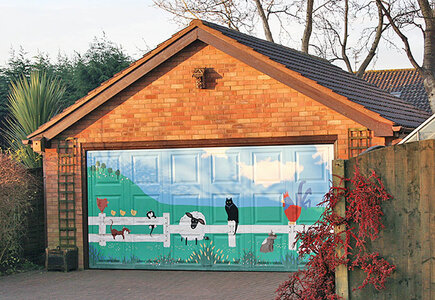
I've decided to take a very short break from the build, it's getting a bit overwhelming at the moment and I need to get other household stuff sorted before winter. I'll leave you with a few pics, my rigging, a photo of the Statraad Lewmkul on one of its visits to Liverpool, in B+W for, atmosphere and one of a brig also sailing into Liverpool. I have included one of my garage door that I painted for fun a couple of years ago, I hope that it amuses you.

Ken

262.jpg

statraad Lewmkuhl.jpg

Brig Liverpool.jpg

garage December.jpg
 
Hello All. Thanks again for your likes and encouragement.

I said that I was going to take a short break from the build and do some other things. That seemed ok at the time but was in fact just wishful thinking. I now realized that I’m just plain addicted, like any addict even if I wanted to I just can’t stop, I keep returning to the AV just for a look, a tweak and then find myself having fallen off the wagon and in full build mode once again

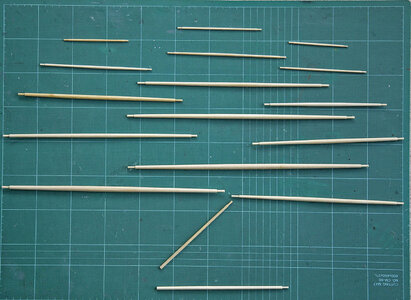
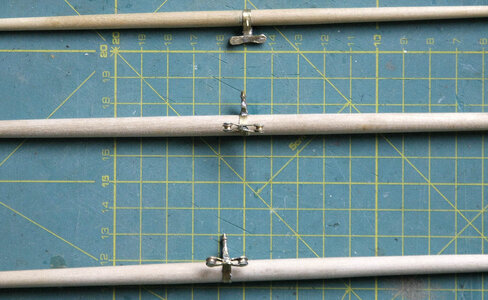
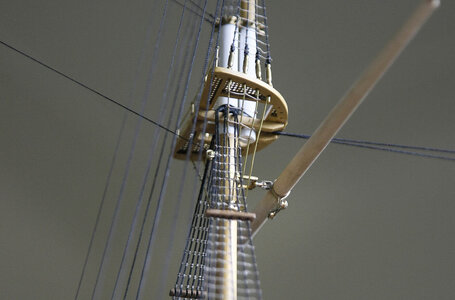
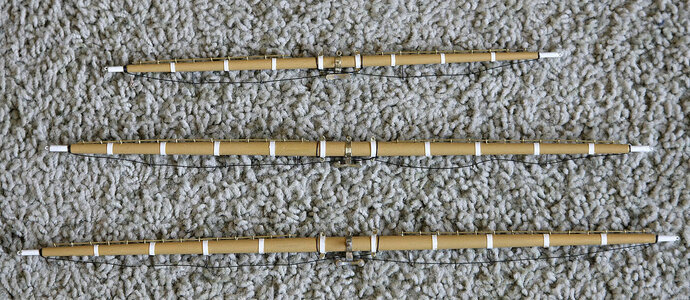
For my sins I have now shaped all the spars and have fitted out the three lower ones.

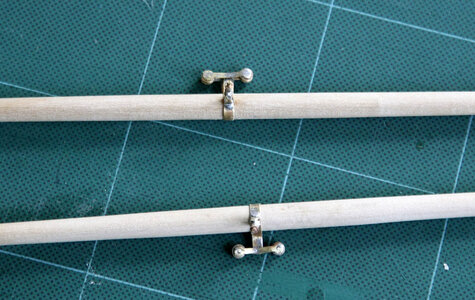
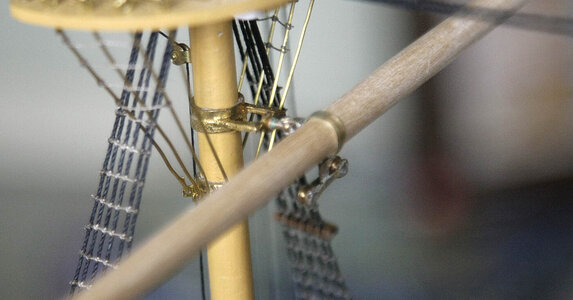
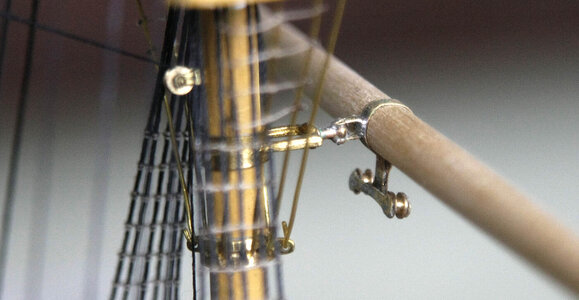
I wasn’t familiar with these types of swivel bracket for attaching to the masts but they worked out in the end. I think that there should have been parts in the kit to make them up but I couldn’t find any, only four brass rollers left in the box to work with so I got my soldering iron out and scratch built them, I was pleased with the result.

So now only twelve more spars to finish!


Ken

263.jpg

264.jpg265.jpg

266.jpg

267.jpg

268.jpg

270.jpg
 
Ken, I have the same: you think you will take a time-out, but you look to the model and the mind is building further. But don’t fight against it and go on.
Your iron skills are still ok, nice tiny parts.
Regards, Peter
 
  • Like
Reactions: Ken
Hi Everyone. The build continues apace. I’m well into the rigging of the spars and despite the awful plans I’m managing ok. I hadn’t seen spars rigged this way before and I found them a bit tricky to set correctly. The lower three spars of each mast are linked to each other, each spar still needed tensioning independently but when you tensioned one spar it affected the other two, it was a real juggling act. I eventually attached the spars and used weights on the ends of each of the six downhaul ropes to keep them at the same tension then when all were aligned a dab of cyno on an appropriate block kept them in place whilst I tied them off.


Ken

272.jpg

273.jpg

274.jpg

275.jpg

276.jpg

277.jpg
 
how do the sails sit over the spars? Is it that the three spars linked together support one sail? I have never seen this sort of setup before. Interesting detail.
 
how do the sails sit over the spars? Is it that the three spars linked together support one sail? I have never seen this sort of setup before. Interesting detail.
Hi, Not sure exactly how the spars work linked like they are but the lower two are fixed for height on a metal bracket but they swivel. The top three spars can be raised and lowered. The bottom spar is linked to the second spar by a rigging hook, the line is not attached to the lower spar but passes through it and through a set of rollers in their centre before being secured to the deck by the normal method of double blocks. The rope for the third spar is only attached at its outer end and the free end again goes to the deck through blocks. All spars will have sails but not on my model. All the spars can be raised independently so I think that the link is for getting the sails to swivel at the same time with an unseasoned crew.
I hope that you understand my attempt at describing the set up, I’m no expert, and I’m certainly not looking forward to working out the next level of rigging.

Ken
 
Back
Top