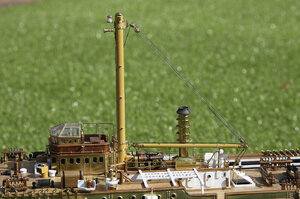
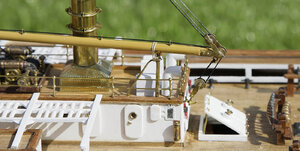
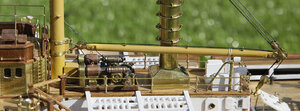
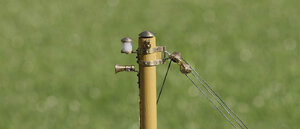
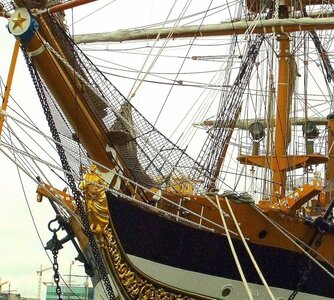
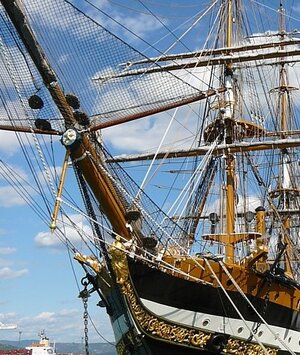
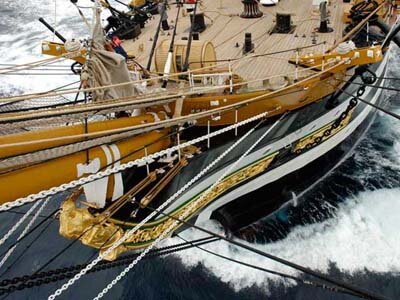
Fabulous work!Hi. The build continues, this time it’s the platform that the two large pinnace sit on, a bit fiddly to make because of the round slats but no real problem. I’ve also made and fitted some small parts but these now seem not worth mentioning. I’ve attached some pictures.
Ken
View attachment 179011
View attachment 179012
View attachment 179013
View attachment 179014
View attachment 179015
-

Win a Free Custom Engraved Brass Coin!!!
As a way to introduce our brass coins to the community, we will raffle off a free coin during the month of August. Follow link ABOVE for instructions for entering.
-

PRE-ORDER SHIPS IN SCALE TODAY!
The beloved Ships in Scale Magazine is back and charting a new course for 2026!
Discover new skills, new techniques, and new inspirations in every issue.
NOTE THAT OUR FIRST ISSUE WILL BE JAN/FEB 2026
You are using an out of date browser. It may not display this or other websites correctly.
You should upgrade or use an alternative browser.
You should upgrade or use an alternative browser.
Amerigo Vespucci, Panart 1:84 scale
- Thread starter Ken
- Start date
- Watchers 38
-
- Tags
- amerigo vespucci panart
- Joined
- Dec 16, 2016
- Messages
- 1,178
- Points
- 493

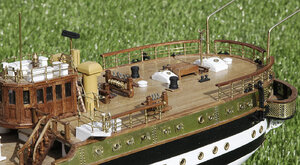
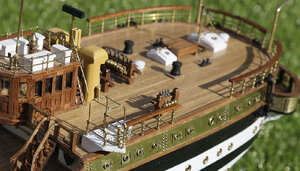
Hi, Thanks again for those likes. This is just a short update on my progress. Only the rails at the stern to show, but progress is progress. You may notice that I've started the rear boat davit, one of many, there are eleven ships boats on board, something to look forward to building, ( or not )
Ken
Ken


- Joined
- Dec 16, 2016
- Messages
- 1,178
- Points
- 493

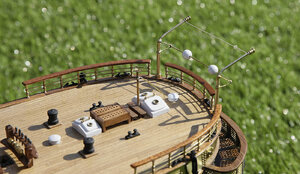
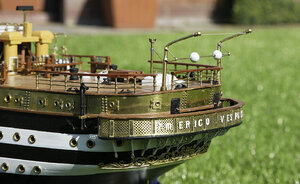
Hi. Carrying on from my last post I continued making up the stern davits. I’m getting quite a bit of soldering practice on this build and improving all the time. The davits were made up of thirteen pieces of brass rods and wire of various sizes, shaped and soldered together, again not to be painted. I won’t do the other davits just yet as I think that they would get in the way of the rigging. You will notice that I have also made and added the brass boom support. I also made and attached the reserve anchors at the stern and the lifebelts.
Next week I’ll be doing the strops and turnbuckles for the shrouds ready for the masting.
Ken
Next week I’ll be doing the strops and turnbuckles for the shrouds ready for the masting.
Ken


Last edited:
- Joined
- Dec 16, 2016
- Messages
- 1,178
- Points
- 493

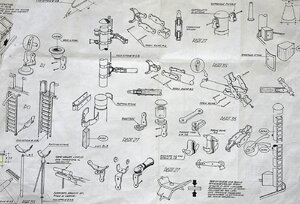
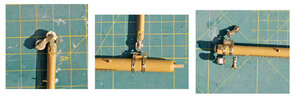
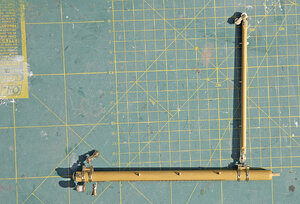
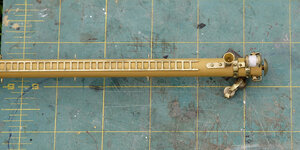
Hi, Once again thanks for your likes. Next I decided to make up the large derrick that’s used to lower the ships pinnace and motor launch from the midships. The plans for this at first glance looked easy enough but they were like a Chinese puzzle, almost impossible to interpret. First problem was that the plan was not to scale and only the diameters were given, there are three different size rollers supplied but no indication as to which size went where. There is no rigging guide for it so it was difficult to understand how it would work which would have helped understand how it all fit together.
It eventually came together and I now understand its concept. At times there were up to seven pieces that needed to be held together so that all the holes for the holding pins lined up, all of them very small and tricky to hold, I had to get my wifes help with this as I just don’t have enough fingers. I completed the set by painting, adding lights and horn and the cable guides, it is now ready to mount and rig, but I’ll do that in another session.
Ken


- Joined
- Dec 16, 2016
- Messages
- 1,178
- Points
- 493

Hi, Again thanks for your likes, please keep them coming.
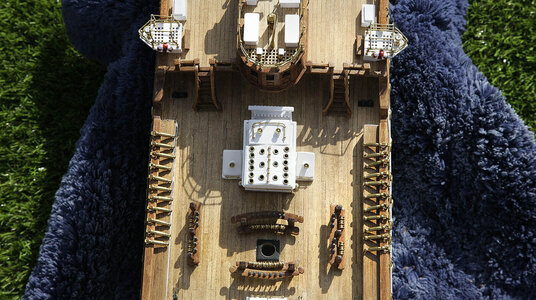
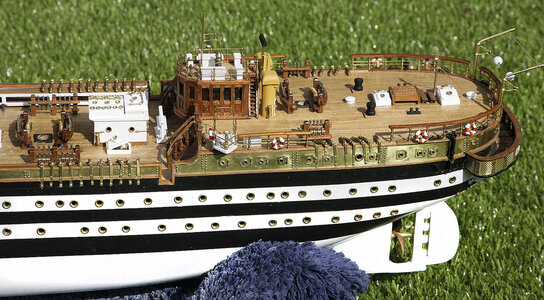
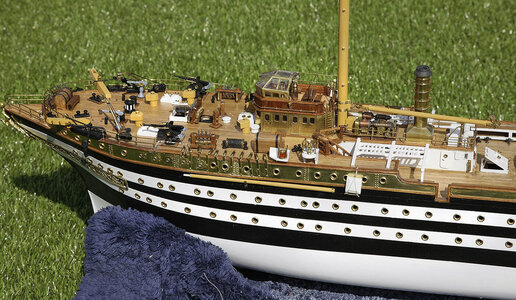
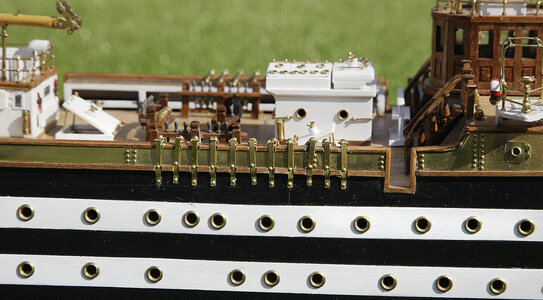
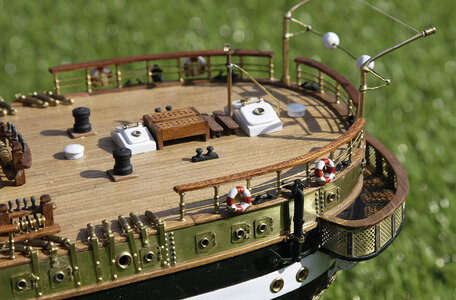
Another short update on my progress. I have now finished and fitted the strops and turnbuckles along the sides. They were easy to make, just folded over brass strips trapping a brass ring in the fold with the turnbuckle attached then nailing them to the hull. The difficulty came with positioning and spacing them. You will see that there is no way of avoiding the portholes, most models of this ship that I have seen have the strops at what looks like unrealistic angles to keep them the same length and avoid fouling the ports, they didn’t look right. I decided that I would keep the angles all the same and just cut them short where they would foul. I think that they came out well and even if they are not right they look more aesthetic.
These beat deadeyes and lanyards to make by some margin any day.
Ken


- Joined
- Dec 16, 2016
- Messages
- 1,178
- Points
- 493

Hi, More updates, I’m really flying through this build, really enjoying it and can’t put it down.
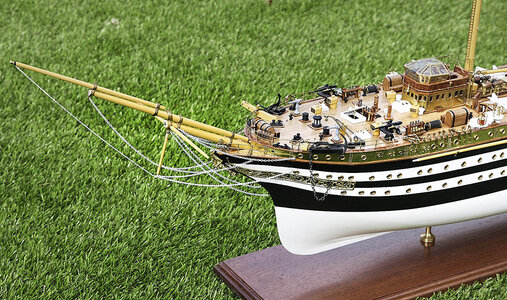
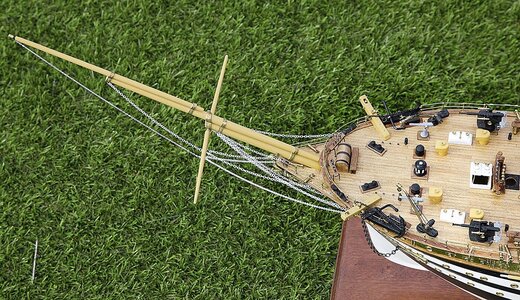
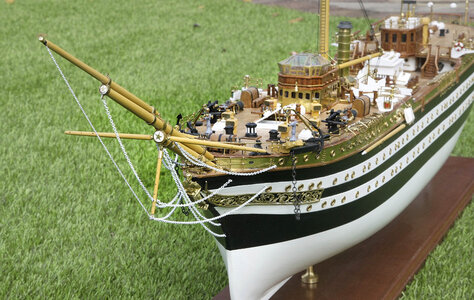
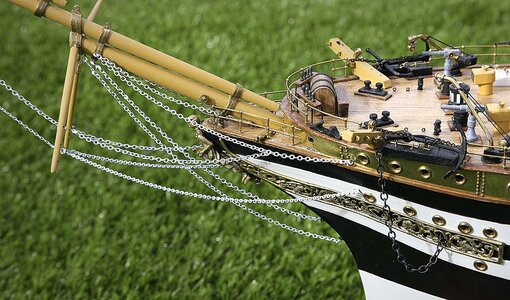
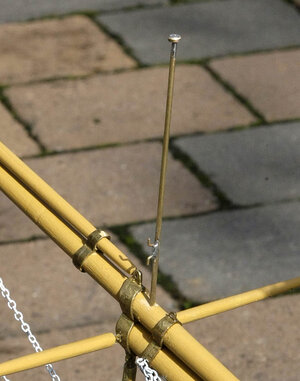
I’ve made, painted and fitted the bowsprit along with its bracing chains and flagstaff. It all went okay. The dolphin striker and side spars proved just a little awkward as they are attached on hinges which needed to be made up, the chains had to be just the right tension each side so as not to pull them out of alignment. The flagstaff was an afterthought which I made up from a welding rod topped off with one of the small portholes that were left over, I'll remove it when I do the rigging the when fitted I'll paint it white.
Ken


- Joined
- Dec 16, 2016
- Messages
- 1,178
- Points
- 493

Hi, Thanks for those great pictures, I see what you mean your right of course. I found them quite difficult, unlike cord I couldn’t just tension each of them up a bit as necessary it had to be a full link each time then re attach which affected the previous chains tension. I must admit I gave up trying but after seeing those pictures I will give it another go so watch this space. Any more ideas on giving me extra work!
ken
ken
Hi, Ken.
I found your build log today and find it to be fascinating reading. Your model looks fantastic.
Thanks for keeping up the log and I look forward to more to come.
Jeff
I found your build log today and find it to be fascinating reading. Your model looks fantastic.
Thanks for keeping up the log and I look forward to more to come.
Jeff
- Joined
- Dec 16, 2016
- Messages
- 1,178
- Points
- 493

Hi Jeff, Thanks for your kind comments and welcome aboard.Hi, Ken.
I found your build log today and find it to be fascinating reading. Your model looks fantastic.
Thanks for keeping up the log and I look forward to more to come.
Jeff
ken
- Joined
- Dec 16, 2016
- Messages
- 1,178
- Points
- 493

Hi, This ones for Uwek and those that went along with his observation regarding the tension of the chains. After seeing his pictures I just had to give them another go. It was not easy getting all the chain tensions just right as reducing by removing even one link was sometimes too much and when one side was under good tension and straight even the slightest curve on the other side became noticeable where as before a slight difference couldn't be noticed. My solution was to just tie off the chain to the eyelet making the cord the final link of the right size, that way I could easily adjust the tension, when painted you wouldn't know that it wasn't a metal link, job done. Whilst I was at it I made the front of the bowsprit from brass keeping up my theme of brass fittings, I am now delighted with the with the appearance of the bowsprit and it was well worth the extra work. Thanks for the suggestions.
Ken
Before and after pics
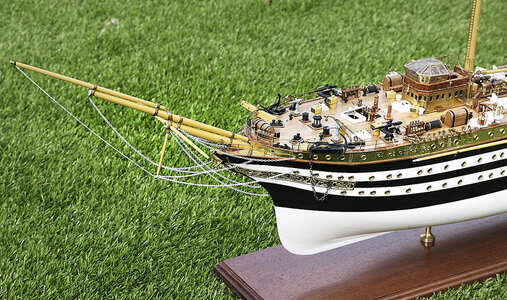
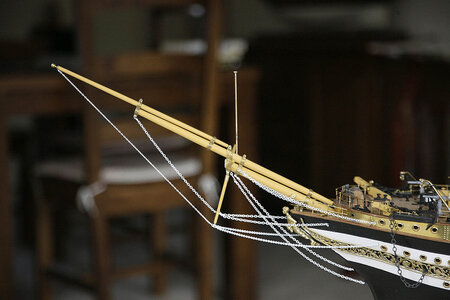
Ken
Before and after pics


Hi, Ken. Your picture quality is among the best I have seen on the site. Well lit (indoors and out) with great contrast & vibrance and just the right amount of sharpening. Can you give some details about the setup for the pictures?
Jeff
Jeff
Ken,
Just found your log - looks to be brilliant work!! - will spend time and start at the beginning.
Cheers,
Just found your log - looks to be brilliant work!! - will spend time and start at the beginning.
Cheers,
- Joined
- Dec 16, 2016
- Messages
- 1,178
- Points
- 493

Hi John, Thanks very much for your compliment and welcome aboard.
I picked up on your sovereign as that’s my next build. I picked up an even older kit, from the late 60s, early seventies a Carta Augusta, amazing in so many ways, so I’ll pick up clues from your build.
By the way I have pictures of my Royal William in the gallery, you might find it of interest.
Ken
I picked up on your sovereign as that’s my next build. I picked up an even older kit, from the late 60s, early seventies a Carta Augusta, amazing in so many ways, so I’ll pick up clues from your build.
By the way I have pictures of my Royal William in the gallery, you might find it of interest.
Ken
- Joined
- Dec 16, 2016
- Messages
- 1,178
- Points
- 493

Hi, Ken. Your picture quality is among the best I have seen on the site. Well lit (indoors and out) with great contrast & vibrance and just the right amount of sharpening. Can you give some details about the setup for the pictures?
Jeff
Hi Jeff. Thanks for the compliment on my pictures. I don’t think that I do anything special but I do process all of them in a set sequence. Photography is a vast subject so without going into too much detail I’ll try to explain what I do.Hi, Ken. Your picture quality is among the best I have seen on the site. Well lit (indoors and out) with great contrast & vibrance and just the right amount of sharpening. Can you give some details about the setup for the pictures?
Jeff
I use quite an old Canon SLR with just the one versatile lens, a 24-105 which covers just about everything I need and I always hand hold. For my models I don’t use area focusing but am careful where I select my focus point, I then have a good idea what the depth of field will show. For my indoor shots I use 1200 or above ISO, that gives me a useable speed option, for outside 200-400 is perfect. I don’t use any in camera enhancements.
I process using only basic functions of Photoshop so I think most programs of this type would do.
- After downloading I select what it is that I want to show then crop.
- I then select IMAGE SIZE, my screen is 1600 pixels so I size to that for on screen viewing, you need more for printing.
- I select LEVELS, I set manually but auto would probably be ok. Correct levels is probably the most important process for good contrast.
- I then select CURVES, adding a slight S curve will enhance the contrast, if you’re not familiar with curves try the dodge and burn tools on a very low setting, 3 – 4% to lighten or darken where you think it’s needed.
- Check that these haven’t altered any of your colours, I find they affect my reds, use SATURATION and bring the colours back to there correct value, again if your not sure try AUTO COLOURS that would probably work.
- I then use SHARPEN. This is now a variable, it depends on the pixel size of your image, larger files for printing will need much bigger values than smaller on-screen files. The most widely used is Unsharp Mask but in Photoshop I much prefer Lens Blur, you only need two parameters and it’s easier to get right I also think that the effect is better. Don’t overdo the sharpening as it can look unnatural, I use between 1 – 1.5 pixels at a level of 100 – 150%.
- Now show off your pictures to us all.
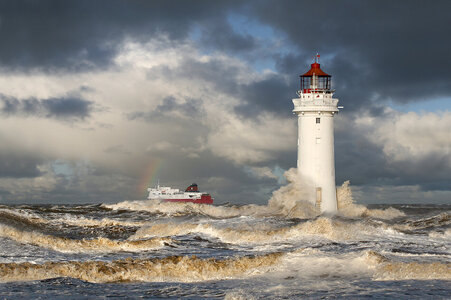
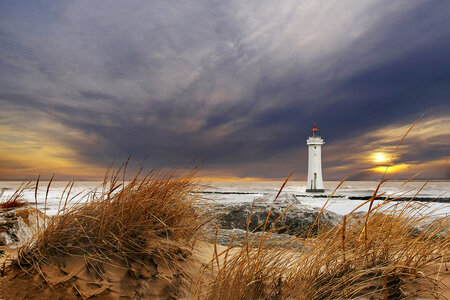
I’ve included a couple of my local photos to give this post some colour, who doesn’t like lighthouses. These are the same lighthouse on different days.
Ken
Ken,
Thanks for the explanation of taking and post processing your photos. The explanation was as detailed as your Amerigo Vespucci.
Your light house pictures are fantastic as well. Thanks for sharing them. Both should be on someone's wall.
Thanks for the explanation of taking and post processing your photos. The explanation was as detailed as your Amerigo Vespucci.
Your light house pictures are fantastic as well. Thanks for sharing them. Both should be on someone's wall.


