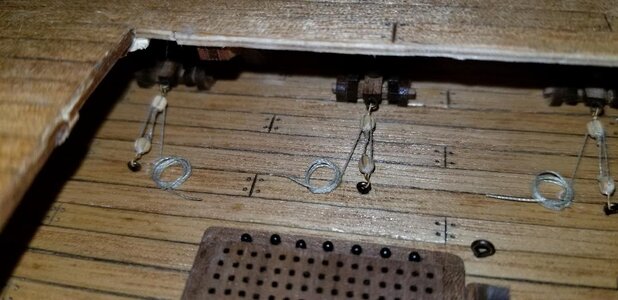
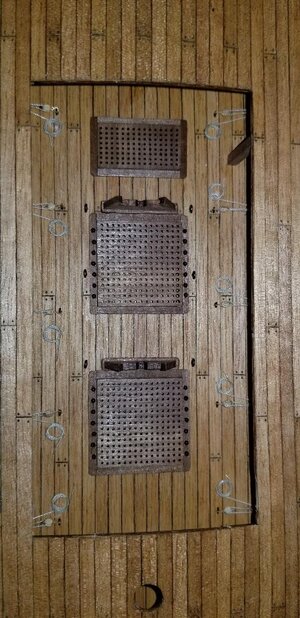
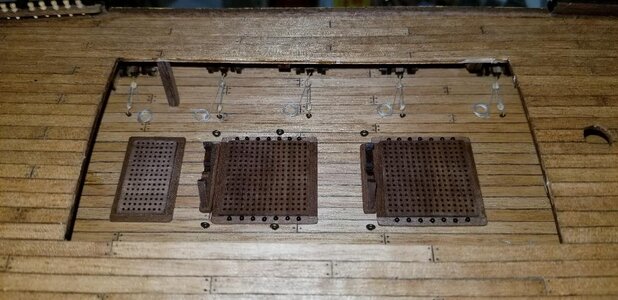
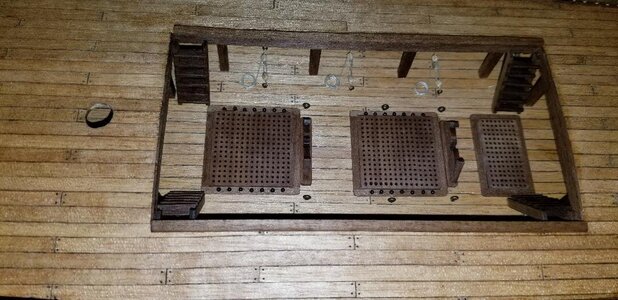
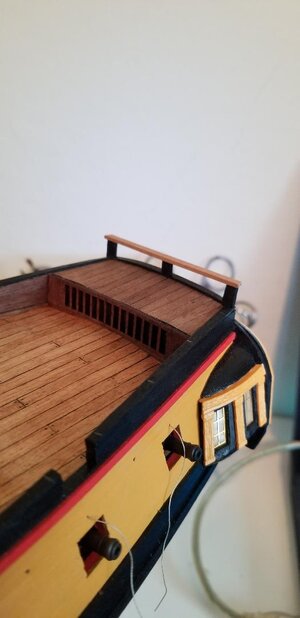
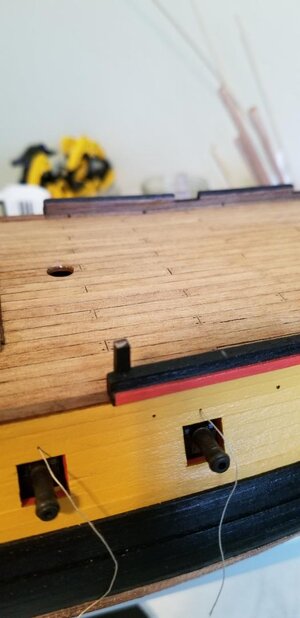
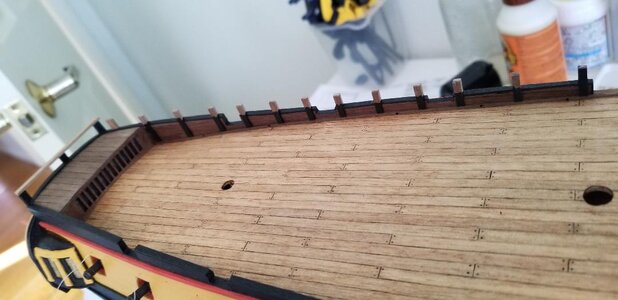
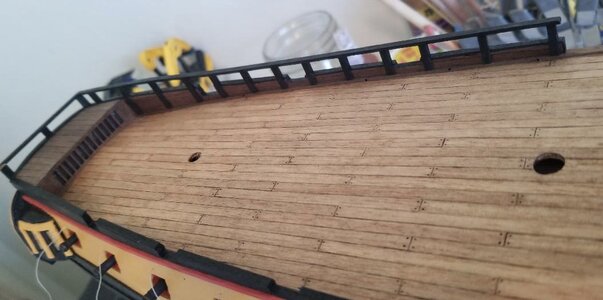
They do look fantastic!The caronades were ordinary white metal, the Caldercraft are brass and once blackened the finish is much more believable than simple black paint.
The sleds in the Mamoli kit were meant to be scratch built and lack any detail at all. As you can see the Caldercraft sleds are highly detailed and actually pivot back and forth.
-

Win a Free Custom Engraved Brass Coin!!!
As a way to introduce our brass coins to the community, we will raffle off a free coin during the month of August. Follow link ABOVE for instructions for entering.
-

PRE-ORDER SHIPS IN SCALE TODAY!
The beloved Ships in Scale Magazine is back and charting a new course for 2026!
Discover new skills, new techniques, and new inspirations in every issue.
NOTE THAT OUR FIRST ISSUE WILL BE JAN/FEB 2026
You are using an out of date browser. It may not display this or other websites correctly.
You should upgrade or use an alternative browser.
You should upgrade or use an alternative browser.
- Joined
- Mar 27, 2019
- Messages
- 821
- Points
- 403

Nice build, really like the deck colour you selected. I still scratch my head at the canon ball setup. 7 canon balls for each side of guns? That's 1 shot each and then they fight over the last 2 shots. Just doesn't seem right. I guess that's how the build goes but I would think there would be a small pile between a pair of guns so they would have at least 3-4 shots each. I'm just rambling on here...mmmm need to listen to some Led Zepplin for some reason now?
- Joined
- Mar 27, 2019
- Messages
- 821
- Points
- 403

Nice build, really like the deck colour you selected. I still scratch my head at the canon ball setup. 7 canon balls for each side of guns? That's 1 shot each and then they fight over the last 2 shots. Just doesn't seem right. I guess that's how the build goes but I would think there would be a small pile between a pair of guns so they would have at least 3-4 shots each. I'm just rambling on here...mmmm need to listen to some Led Zepplin for some reason now?
My cannon ball order still has not arrived. When it does I'll construct triangle shaped shot racks for each gun, what came with the kit were white metal triangles that look terrible. In the meantime I have these extra cannon balls alongside the gratings. These are for when the sailors are extra pissed off and need to open up an even bigger can of whoop-ass.
- Joined
- Mar 27, 2019
- Messages
- 821
- Points
- 403

Nice build, really like the deck colour you selected. I still scratch my head at the canon ball setup. 7 canon balls for each side of guns? That's 1 shot each and then they fight over the last 2 shots. Just doesn't seem right. I guess that's how the build goes but I would think there would be a small pile between a pair of guns so they would have at least 3-4 shots each. I'm just rambling on here...mmmm need to listen to some Led Zepplin for some reason now?
Led Zepplin would be perfect! And a drink or two....I took care of that part already.
- Joined
- Mar 27, 2019
- Messages
- 821
- Points
- 403

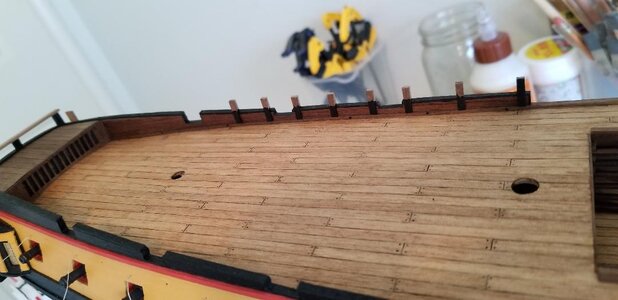
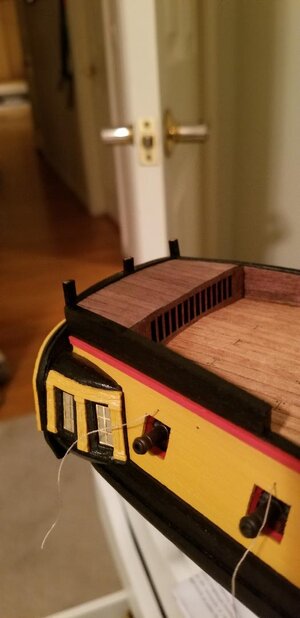
The beginnings of the upper rail for the rest of the ship. This truly is custom work, as the lower rail slopes down as it goes forward the supports for the upper rail are all different heights. Each one has to be done individually. Starting at the stern with a set height and ending at the most forward point where the external ladder will be (1/4" high) the upper rail will slope down but at a different rate as the lower rail. The plans make it look easy....it ain't.

- Joined
- Mar 27, 2019
- Messages
- 821
- Points
- 403

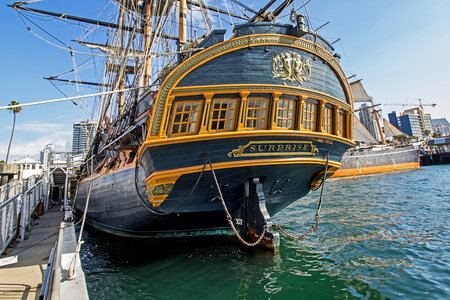
I visited Surprise when on a layover in San Diego. They actually lowered the floor of the gun room to conform to basic safety standards otherwise the ship would not be available for tourist visits. The actual headroom in the gun room is shockingly small, not even five feet tall. I can't imagine being a sailor in a frigate in the 18th century.
How did you tie up the gun power cover ropes to come out in a Y shape? I’ve tried three different methods so far on my Black Pearl.Going to show the first two gun ports closed. I may end up doing this one again as the very slight skew on the aft port cover hinge is bugging me. On pics of the replica Surprise, one pic has the gun port black and the other shows it as yellow ochre. With due respect to "Nelson's Checker" I'm doing the outside of the covers in yellow ochre so the cover hinges stand out a bit.
View attachment 196909
- Joined
- Mar 27, 2019
- Messages
- 821
- Points
- 403

How did you tie up the gun power cover ropes to come out in a Y shape? I’ve tried three different methods so far on my Black Pearl.
One thread from side to side attached to a tiny eyebolt. A hole in the side of the ship for the center thread drilled exactly center. Free float the center thread until satisfied it's in the middle, apply some tension to pull up the sides into a V, add a dot of glue to secure the center thread.
Thanks! I actually went a little further in your log and saw that. I’ve now finished my Black Pearl gun hatch rigging having used four different methods. This is my experimental ship.One thread from side to side attached to a tiny eyebolt. A hole in the side of the ship for the center thread drilled exactly center. Free float the center thread until satisfied it's in the middle, apply some tension to pull up the sides into a V, add a dot of glue to secure the center thread.
Watching your blog will help me do about 100 of these hatches on my Soleil Royal without having to experiment.
- Joined
- Mar 27, 2019
- Messages
- 821
- Points
- 403

Thanks! I actually went a little further in your log and saw that. I’ve now finished my Black Pearl gun hatch rigging having used four different methods. This is my experimental ship.
Actually instead of tiny eyebolts I used .014" wire, fed the thread through a little V created at the end, then crimped down with plyers. The tiniest eyebolts I have or could find still seemed too big. But eyebolts would work fine if you wanted.
I hope anyway, that you have made a Copy of each Bulkhead? or Frame, false Keel, etc, so if something goes wrong, you have a reserve. You can even insert halt bulkheads on each side to get more. do a copy of all possible wood material and number it. S far I can see, it generally looks good. Only missing the Keel, bow, and Stearn parts, so you can make the Cardboard. (BOU THAT IS ONLY PERSONAL TO ME)All bulkheads installed and square. I stock piece of square basswood on either side of each bulkhead glued with CA after sliding the bulkheads into place with carpenter's glue will ensure the squareness. Good quality plywood nice and thick.
View attachment 167465View attachment 167466View attachment 167467
False deck installed for the gun deck. There will be another false deck for the quarterdeck and one for the forecastle as well. These laser cut basswood plywood false decks are cut almost perfect. Just a little trimming around a few of the bulkheads. Now that it's installed the whole structure feels very solid. I used carpenter's glue and some small nails driven halfway in at strategic locations. Now that the glue is dry they nails came right out. Next step, believe it or not, according to the plans is to install deck planks for the gun deck.
View attachment 169086
AS everybody do, you have made TO ME the same mistake: INSERTING THE DECK from the Beginning. I did it when the whole hull was planked-SORRY
as it is inseted. no furter comment. well aligned.Most of the gun deck planking is complete. I must confess that deck planking is one of my favorite parts of building a model ship. Of course there is effort involved but the payoff in the finished product is huge compared to the effort expended. There is of course huge satisfaction on fabricating something difficult that takes much time and effort that pays off, that's not what I'm talking about. This is at the other end of the spectrum of time consuming fabrication and as important it isn't something that just requires days and weeks on end of repetition (like rat lining - yuch!).
I went ahead and planked the entire gun deck despite only about 1/3 will ever be seen. An additional tiny peek might, and I stress the word "might", be seen by someone peeking into the gun port, especially if I choose not to install electric lighting. But just the knowledge of the decking being from stem to stern is warm and fuzzy. I did not however go overboard and space out planks and blacken the edges and simulate tree nails of all those planks under deck. I will of course have to obtain more of the lathes from either Mamoli or MS because I've used almost half the provided supply to plank all that decking that will never be viewed.
View attachment 169552View attachment 169553View attachment 169554View attachment 169555

