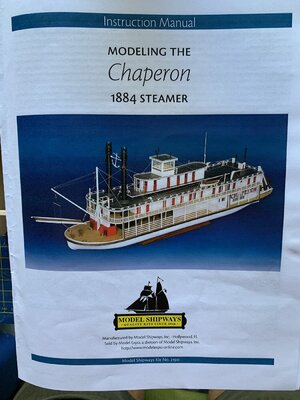
Chaperon 1884 Steamer by Model Shipways, 1:48 Scale [COMPLETED BUILD]

Joined
Jul 27, 2018
Messages
268
Points
278

Location
Maryland
After working on a couple of smaller projects during the past 12 months I decided to build a riverboat steamer. This kit is based on the Chaperon which was built in Chambersburg, Ohio in 1884. The real boat was 120 feet long, 21 feet wide and 4 feet deep. It was operated on short trade routes and excursions between Bowling Green and Mammoth Cave. The Chaperon was sold prior to WW1 and taken to the Mississippi and renamed the Choctaw where she sailed on the Tallahatchie River until 1922 when she was destroyed by fire.
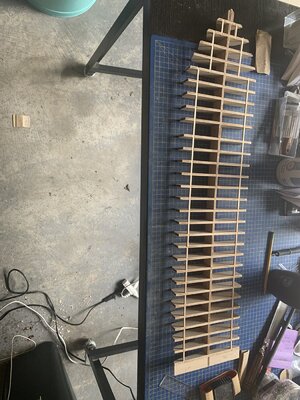
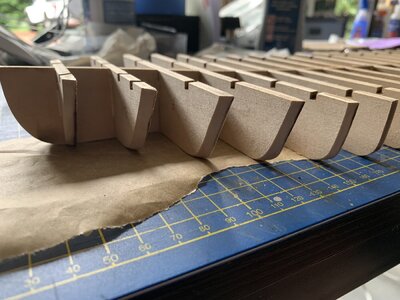
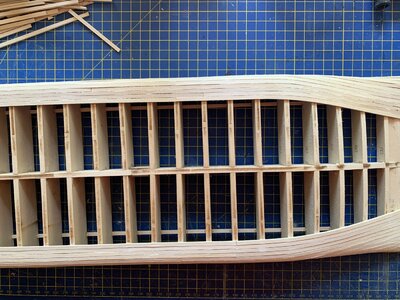
I researched the different steamer kits available and chose this one primarily as the instructions were done by Ben Lankford and Bob Crane. Crane does an excellent job with plans and instructions. The quality of the kit looks very good. The wood is all in good shape and laser cutting is excellent. The second pic shows most of the parts for the hull laid out before gluing D04FA62F-DE4F-4EBD-820C-CFFE3588E549.jpeg25ADD5BA-3476-449C-A618-35E0DE5C3115.jpeg
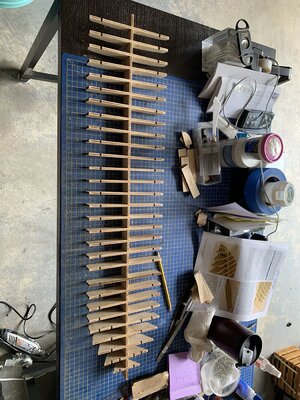
Day 1 was kit inventory, going through the various Britannia parts(they need some work) and preparing the keel and bulkhead parts for assembly. This consisted mostly of removing char and performing some intial fairing work on the first 5 bulkheads and front and rear parts. All are clearly marked for fairing lines.
 
Day 2, 3 and 4 consisting of gluing keel, attaching bulkheads, rear and stringers. The stringers add support to keep the hell aligned. They are 1/8” square stock and really do the job. After everything has fully cured I will complete final fairing and start planking. 5336E88D-B6FE-4647-BA62-15C34687DF10.jpeg9A1FBBAE-8DD9-4B72-B286-AEE13EA6611A.jpeg
 
This is awesome. I have wanted to get this kit for quite awhile. A few months back Model Shipways was having a hefty sale on many of their kits including this one and I caved and got it. The box is sitting on one end of my bench ready to go as soon as I finish the Revenge build. This will be great to get a preview watching your build log! :)
 
Last edited:
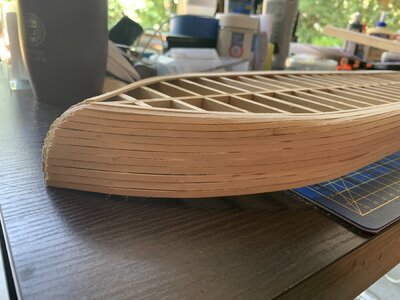
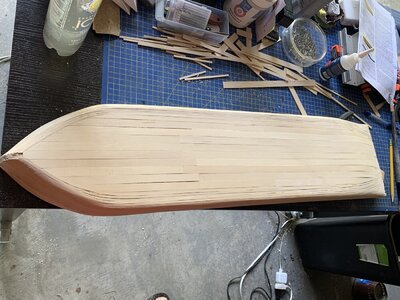
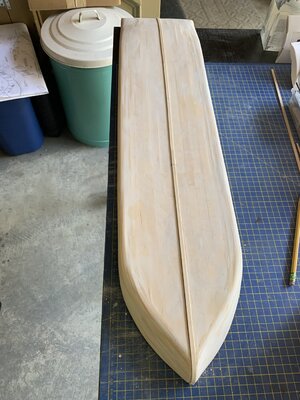
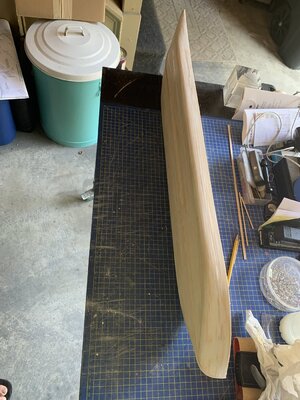
Days 4-8 were focused on planking the hull. As can be seen from the prior pics there are 29 bulkheads on the frame. Final fairing tweaked the first 5 bulkheads and the last 3 bulkheads and rear of the ship. The planking was pretty straightforward. Most of the strakes did not require any fairing. The sides of the ship use 1/8” and the bottom use 1/2”. This did leave a few gaps in the strakes where the two sizes meet. Each side required some specific shaping of one strake. Overall the planking on this ship lends itself to beginners. Next up is sand and fill, sand and fill!!5D5DCF33-D432-490A-91D7-E876CFD48B5A.jpeg3F0AC12B-8B41-4D66-81EE-E02BF58222F4.jpeg5F59DD50-191F-4903-801A-0E5430C07398.jpeg
 
Days 4-8 were focused on planking the hull. As can be seen from the prior pics there are 29 bulkheads on the frame. Final fairing tweaked the first 5 bulkheads and the last 3 bulkheads and rear of the ship. The planking was pretty straightforward. Most of the strakes did not require any fairing. The sides of the ship use 1/8” and the bottom use 1/2”. This did leave a few gaps in the strakes where the two sizes meet. Each side required some specific shaping of one strake. Overall the planking on this ship lends itself to beginners. Next up is sand and fill, sand and fill!!View attachment 252927View attachment 252928View attachment 252929
Good to see your build, I’m currently working on the same kit.

Jan
That’s great. Do you have a log for it. I am sure I will learn quite a bit from your progress.
 
Days 4-8 were focused on planking the hull. As can be seen from the prior pics there are 29 bulkheads on the frame. Final fairing tweaked the first 5 bulkheads and the last 3 bulkheads and rear of the ship. The planking was pretty straightforward. Most of the strakes did not require any fairing. The sides of the ship use 1/8” and the bottom use 1/2”. This did leave a few gaps in the strakes where the two sizes meet. Each side required some specific shaping of one strake. Overall the planking on this ship lends itself to beginners. Next up is sand and fill, sand and fill!!View attachment 252927View attachment 252928View attachment 252929

That’s great. Do you have a log for it. I am sure I will learn quite a bit from your progress.

I haven't gotten very far in the build as yet. I just finished the first sanding, filling and priming of the hull.

Under my signature there is a link to my Chaperon build.

Jan
 
Sanding and filling is done, at least for now. You can see keel strip has been added. Hull will be white and will post pic of painted hull when done. I have decided to plank the main deck and steamer deck. The inscribed planking just doesn’t look right to me. This will add some additional time and investment in the project but I think it will make a difference. The planking will be 1/32 thick so will not create any issues on future fitting. While I am waiting for wood to arrive I will focus on some of the deck structures such as boiler, forward entry way/stairs, aft cabins. Will post pics on those components in future.
96F76DA3-1FBC-404F-BB8F-27EB7F523925.jpegD516DDCA-F1F3-4C3B-AD14-94475B8658C7.jpeg
 
I tried something different, at least for me, for filling material on this project - modeling paste. I really like how easy it is to apply and it sands very well. The consistency of the paste allows you to get into some small openings with ease.
 
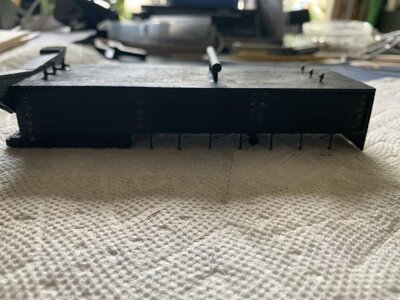
I built the boiler this week. The box is straightforward. I did add a couple of details, knobs for furnace doors and rivets on sides. I also created more of a pan look under the doors than the plans call for. I have seen others do even more to define the 3 boilers contained in the actual ship.
only tricky part was the exit spouts for the boiler. This unit required some beveling and lots of fitting work to adapt to the top front of the boiler box.
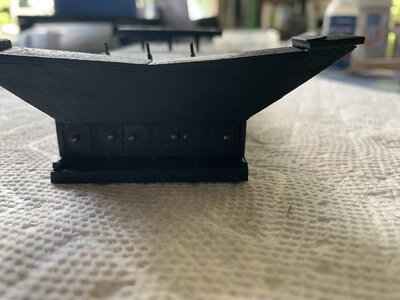
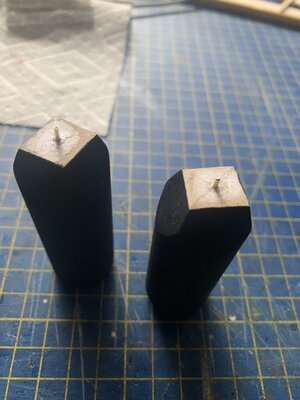
The stack bases will be attached at a later stage. So, looking ahead to securing the bases of the two stacks I added a stiff wire to each base to ensure good contact and ease of alignment later on. 99FD5225-7822-4874-BE9F-EFC01C981C00.jpeg41D4FB4B-8E53-4770-A2BD-0B9E75E8BAE8.jpeg0DEF30CB-08F7-4701-966A-029CF3FFF5C0.jpegFF0D24B3-A074-4096-9E6D-2CBA222B62AC.jpeg
 
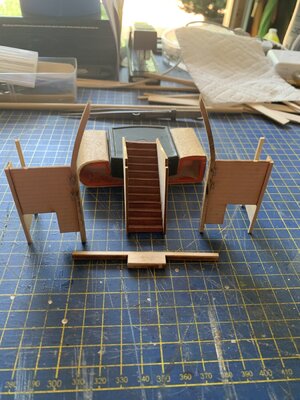
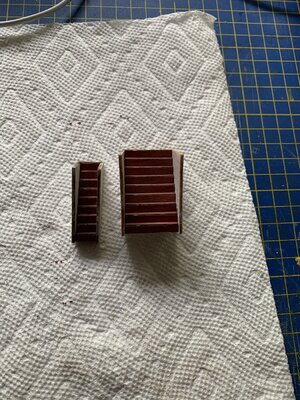
I am going to plank the deck as I do not like the look of the inscribed planking on the four main deck pieces. While waiting for deck planking to arrive I will continue to work on individual structures that can be addressed at this time. During the week I got some work done on some of the stair structures and main entry way.

7FD9C212-9D3F-4D1A-BBDE-AF1BD6323045.jpeg268FF867-7035-416B-806E-86B57C84967B.jpeg
 
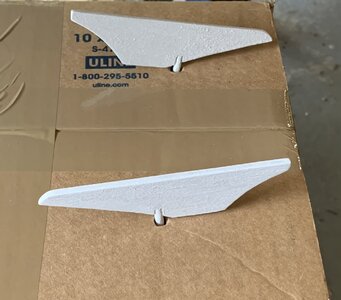
Rudders are assembled and together with the hull are painted. A little more light sanding and another coat of paint should do it. Also pulled together a base for the ship. I wanted a large base for the ship to sit on to help support it during build as well as later for display. I agree with instructions suggesting getting the hull on its base before assembling the structures on the deck. Once planking the deck is done will secure to the base. 58F16555-8A16-4DE6-B773-3EDD6F44FB48.jpeg0B04E98E-5062-438E-B194-8C413C500851.jpeg4E310FE5-6846-4ED8-8FE7-510DAB144835.jpeg
 
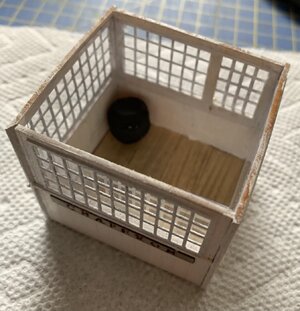
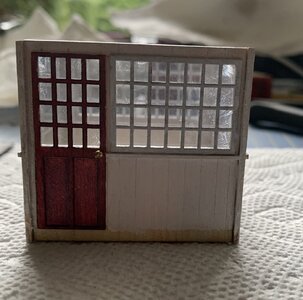
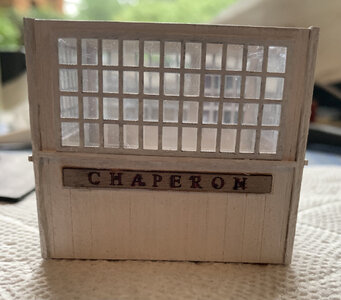
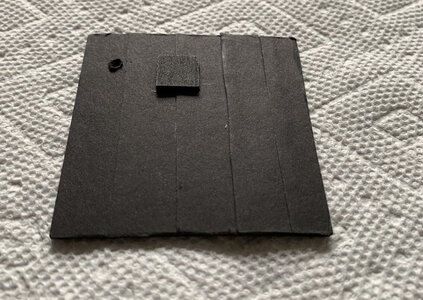
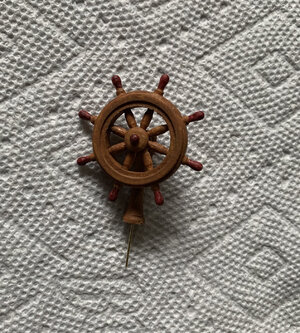
Last week while waiting for planking wood to arrive I decided to build the pilot house. This structure can be built ahead of time and it looked like fun so off I went. I decided to add a make shift stove(hard to see but I know it is there for the pilot house stove pipe to die into. Also, purchased a wheel to go into the pilot house. The closest to the scale used on this ship was located on Model Shipways. It is 1-1/8” diameter wheel with pedestal (MS0368). The pedestal needs to be shortened to fit in the pilot house but this was fairly easy to do. The roof is called out to be painted black but I used black card stock to cover it to simulate tar paper that was used on the ship. Same will be done for other roofs. I decided to present the pilot house windows as all closed and added plastic sheets to act as window glass. Doorknob was also added using ballpoint head pins. Lastly, I changed the location of the stove pipe from that indicated on plans so it would align with stove. This week wood arrived and I have been working on planking the main deck. This weekend I should be able to install the main deck structures which are done and waiting to be attached. 5666F246-A6A9-4241-81AB-453F84670949.jpegB49994F6-2D8E-4AE7-8646-D3A6B0E9976A.jpeg350524CB-233D-4384-95D9-46AB2F72686E.jpeg7356F783-E309-4B48-A6B3-C3B7AFC4651D.jpeg32E7FB2A-EFB4-4C40-AC59-4BC3BCA68349.jpeg
 
Back
Top