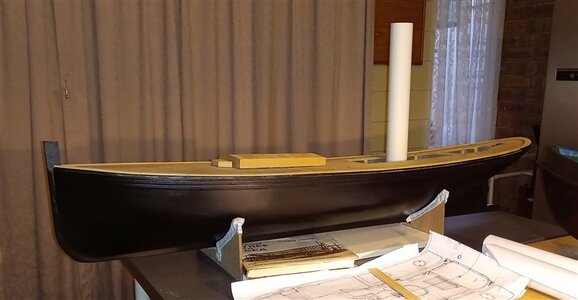
Steam powered wooden Drifter trawler, Formidable LT100, 1/20 scale by neptune

Hi John. Is that Greg's ex-Royal Caroline in the background?
 
333.jpg
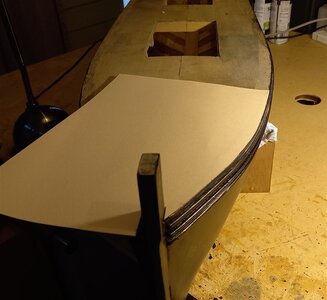
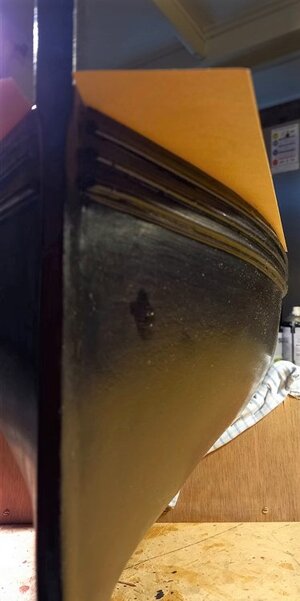
Making a template of the edge of the deck in preparation for making the covering boards,

334.jpg
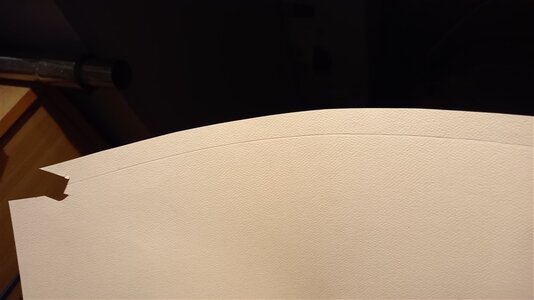
after trimming to shape,

335.jpg
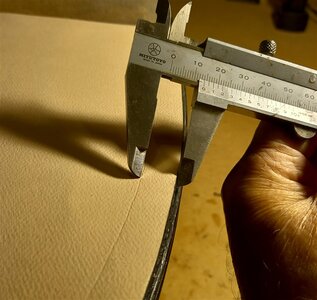
I then held the template tightly and ran a vernier along the side of the boat to get the width,

336.jpg
The vernier leaves a nice indented line to cut to,

337.jpg
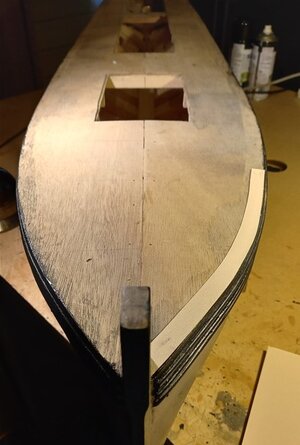
checking the template for fit,

338.jpg
and the wood covering board after cutting out, it will still need some adjusting and cleaning up,

339.jpg
both sides cut out, I will be doing these a little bit different from Steve, as I will cut the boards then scarf them together and then the stanchions will be attached to the boards with brass pins or wood dowells, I'm not sure which just yet, these boards have to be adjusted as they sat back from the edge of the hull a little bit,

best regards john,

.
 
340.jpg
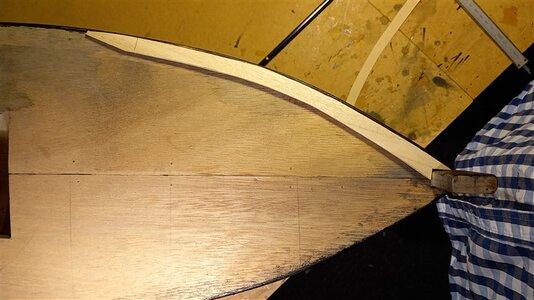
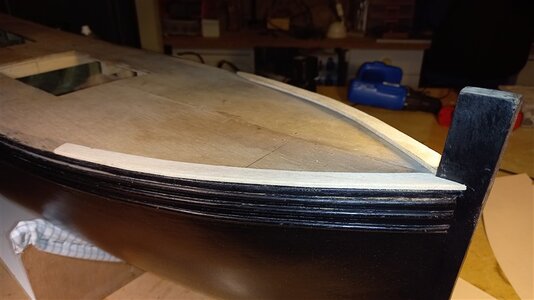
For attaching the side covering boards I first attached a thin strip of wood as you can see on the left of the pic, then I added another strip of wood to make up the full width of the covering board, the stanchions will be attached to the second strip, the stanchions are the same thickness as the second strip is wide,

341.jpg
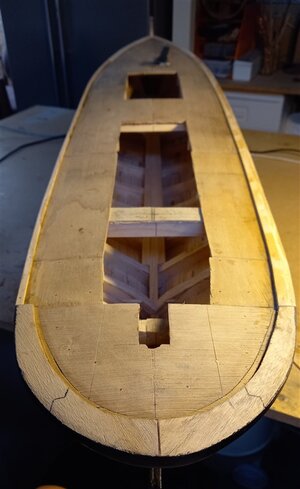
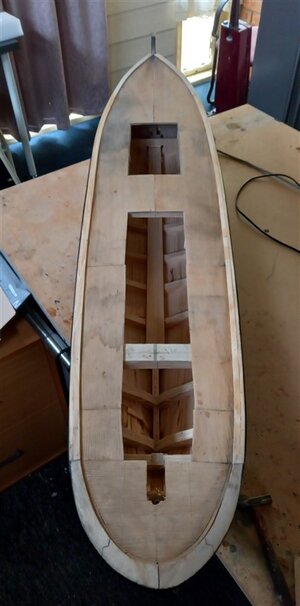
all the covering boards now attached,

best regards John,
 
342.jpg
the two end pieces and the dividing piece that will be cut in two for the main hatch,

343.jpg
I don't have a taper jig for my saw so I had to do it the old fashioned way by hand,


344.jpg
I have used just a plain box construction, this pic shows me test fitting the hatch covers,

.
 
345.jpg
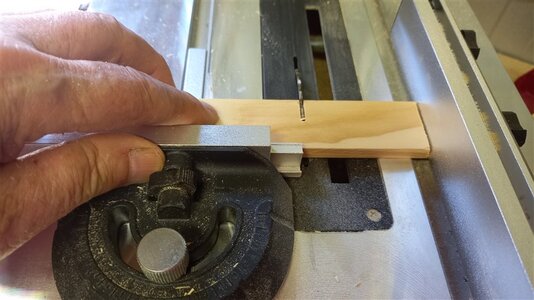
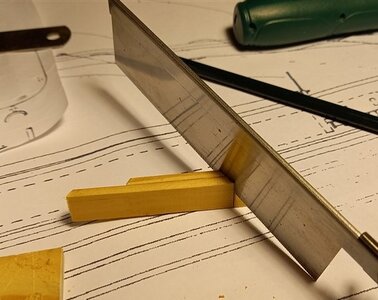
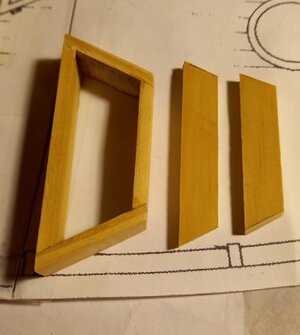
to cut the hatch covers I set the saw blade at the desired angle,

346.jpg
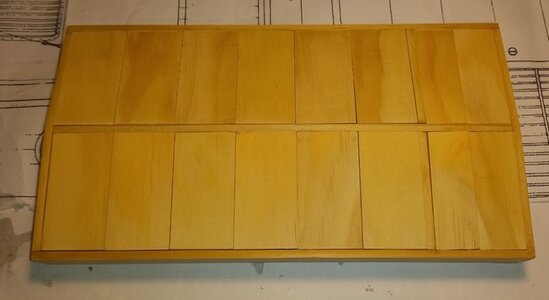
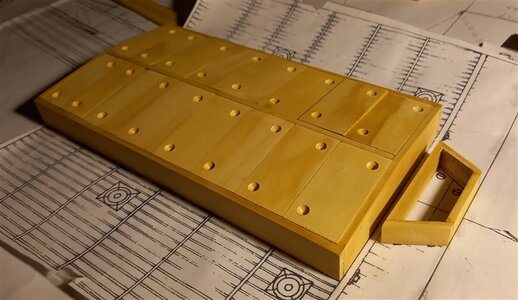
all the hatch covers cut, they still need a final sanding etc,

347.jpg
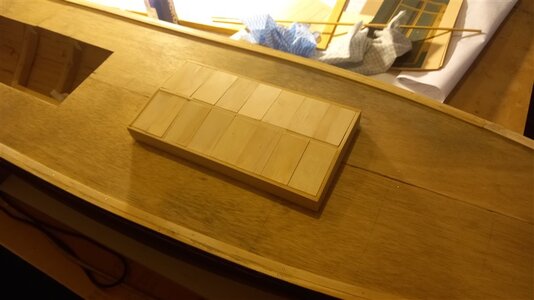
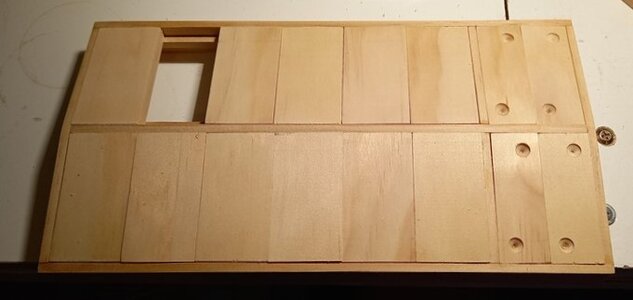
and approx where the hatch will sit, I will have to let it down into the deck allowing for the planking, this hatch will be removable but all the covers will be glued in place,

349.jpg
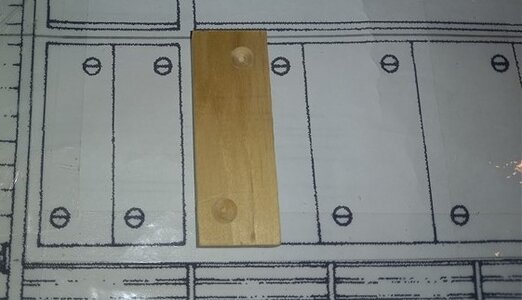
This is just a test piece to see what the hand holds will look like, I intend to drill a small hole at each side for some blackened brass wire to go in,

348.jpg
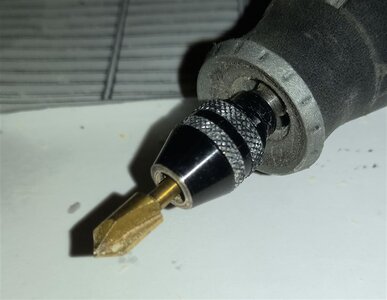
and this is the bit that i will use to drill the hand holes, I will rig the bit up in my milling machine, also make a small holding jig so all are the same and set the depth stop as well, but thats for another day,

thank you for looking in,

best regards John.
 
View attachment 281955
to cut the hatch covers I set the saw blade at the desired angle,

View attachment 281956
all the hatch covers cut, they still need a final sanding etc,

View attachment 281957
and approx where the hatch will sit, I will have to let it down into the deck allowing for the planking, this hatch will be removable but all the covers will be glued in place,

View attachment 281958
This is just a test piece to see what the hand holds will look like, I intend to drill a small hole at each side for some blackened brass wire to go in,

View attachment 281959
and this is the bit that i will use to drill the hand holes, I will rig the bit up in my milling machine, also make a small holding jig so all are the same and set the depth stop as well, but thats for another day,

thank you for looking in,

best regards John.
Really nice progress and work John,


Cheers,
Stephen.
 
350.jpg
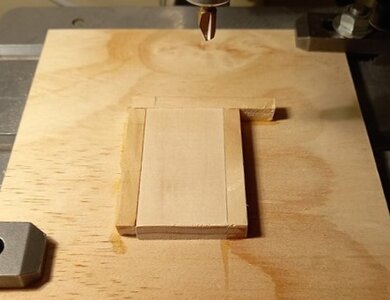
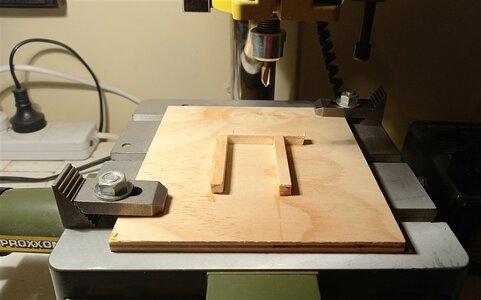
a small jig I made up for holding the hatch lids whilst I drilled the hand holes,

351.jpg
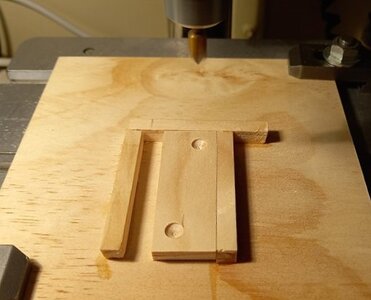
One of the four narrower lids, just have to hold it nice and steady whilst drilling the hand hole, then turn the lid around and drill the second one,

352.jpg
Thats the four narrower lids done,

353.jpg
next up were the wider lids, they sat in the jig nicely and were drilled exactly the same as the narrow ones,


354.jpg
and thats all the main hatch lids done, still have to drill for the lid handles to fit but that will be after i have done the small hatch,


thanks again for dropping in,

best regards john,
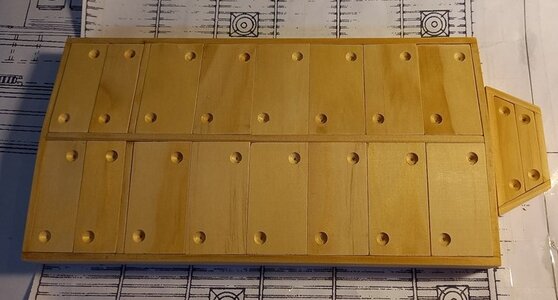
 
355.jpg
now for the smaller hatch, there are only a couple of angle cuts so I decided to do them by hand,

356.jpg
Again just a simple box construction,

357.jpg
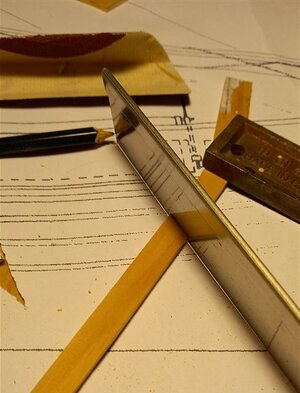
and with the first lid cut,

358.jpg
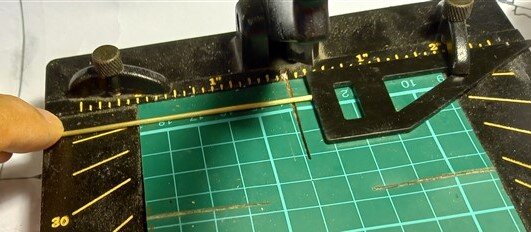
here again there are only a couple of cuts so I did them by hand as well,

359.jpg
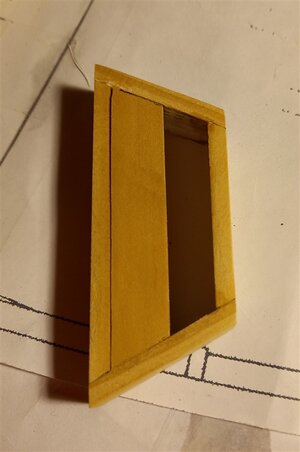
both lids cut, they still need to be trimmed but thats for tomorrow,


best regards john,
 
View attachment 283057
a small jig I made up for holding the hatch lids whilst I drilled the hand holes,

View attachment 283058
One of the four narrower lids, just have to hold it nice and steady whilst drilling the hand hole, then turn the lid around and drill the second one,

View attachment 283059
Thats the four narrower lids done,

View attachment 283060
next up were the wider lids, they sat in the jig nicely and were drilled exactly the same as the narrow ones,


View attachment 283061
and thats all the main hatch lids done, still have to drill for the lid handles to fit but that will be after i have done the small hatch,


thanks again for dropping in,

best regards john,
Hi John,

The lids look great. You cannot beat a jig for that sort of work.

Cheers,
Stephen.
 
360.jpg

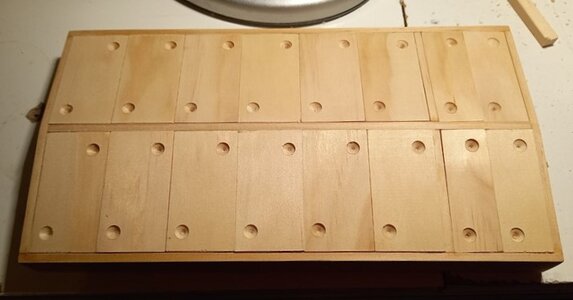
So thats all the hand holes drilled,

361.jpg
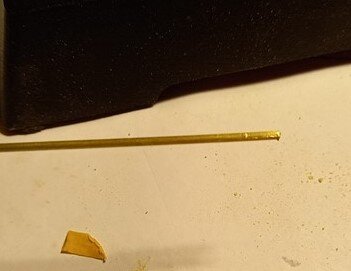
I used some 1.5mm dia brass for the handles, I decided not to drill holes, but to lay the brass handle across the hole and tap it into place, I used my North West cutter as a jig to mark the length of the handles,

362.jpg
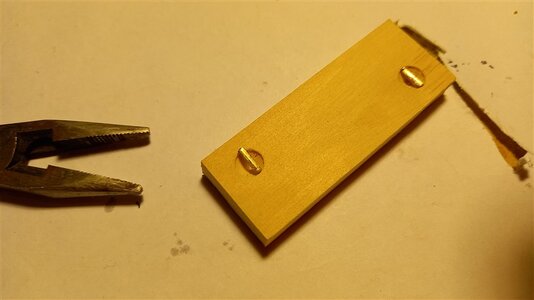
you can just see the mark on the brass rod, I used enough pressure so as to be able to snap the brass rod when held with the pliers,

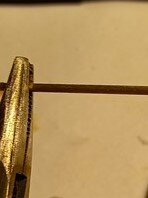
363.jpg
I held the brass rod with some pliers, you can just see the mark by the side of the pliers, then snapped the rod off leaving the pliers holding the hand bit,

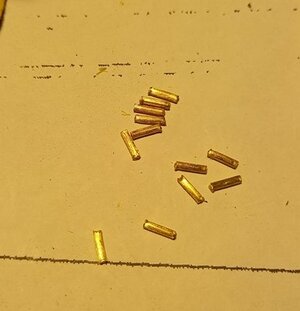
364.jpg
several pieces after being snapped off,
 
365.jpg
the handles needed to be filed a little bit for a nice tight fit as in the top handle,


366.jpg
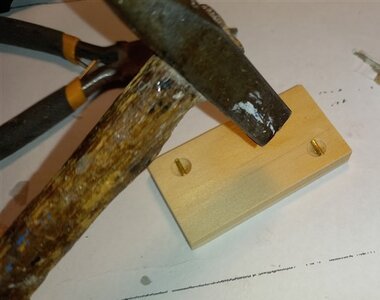
then they were tapped in place with a small light hammer, I then pulled them back out and applied a touch of CA glue and replaced them back in place,


367.jpg
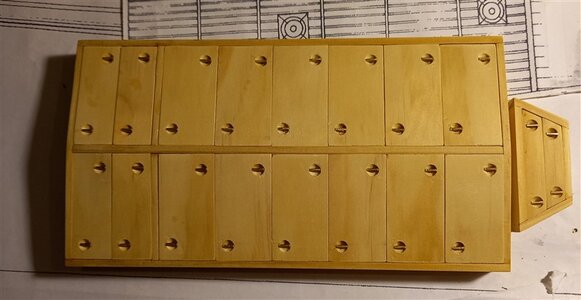
all the handles in place,

368.jpg
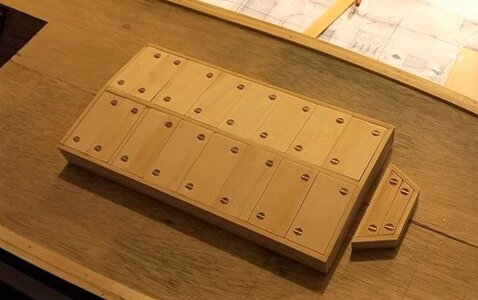
and approx where they will sit on the fore deck,

369.jpg
approx where the funnel will sit, it has of course to be trimmed to size yet,

thanks again for all the comments and the likes,

best regards John,

.
 
Back
Top