-

Win a Free Custom Engraved Brass Coin!!!
As a way to introduce our brass coins to the community, we will raffle off a free coin during the month of August. Follow link ABOVE for instructions for entering.
-

PRE-ORDER SHIPS IN SCALE TODAY!
The beloved Ships in Scale Magazine is back and charting a new course for 2026!
Discover new skills, new techniques, and new inspirations in every issue.
NOTE THAT OUR FIRST ISSUE WILL BE JAN/FEB 2026
You are using an out of date browser. It may not display this or other websites correctly.
You should upgrade or use an alternative browser.
You should upgrade or use an alternative browser.
Steam powered wooden Drifter trawler, Formidable LT100, 1/20 scale by neptune
G'day John,G'day Steve, you made a fantastic rudder assembly, over 50 percent of my rudder build is credited to you, I was just going to build a simplified version, I downloaded and studied all your photos and decided to give it a go, now I am looking at cutting out the end supports for the inner rudder post to finish the job properly like you did, thank you for posting all the detailed photos,
Best regards John,
In a sense what I meant was your slightly simplified version shows your skill at representing the real thing without putting a silly amount of time into this assembly like I did, neither one is wrong. Your version shows me a skill I don't have, that is what not to show and what to show.
This is something I hope to learn with more experience.
Keep up the great work, we can all learn something from each other and I am truly very happy you found inspiration from my build.
Cheers,
Stephen.
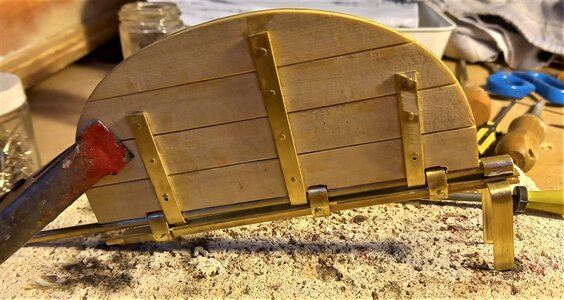
Space was getting a little bit on the tight side so I cut a slot up the inner side of the stern post for soldering the
bracket to, and I decided to solder the lower rudder post toe bracket to the outer side of the rudder post,

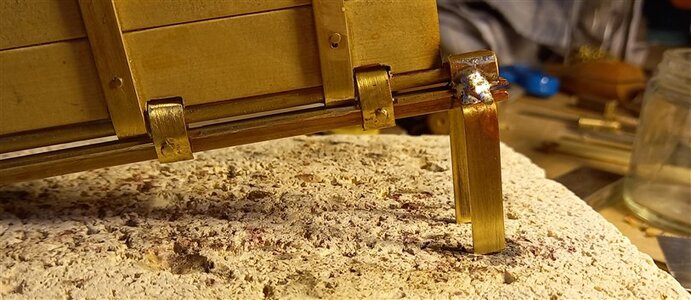
Closer view,

I was a little bit frightened to solder this close to the wooden boards of the rudder, but was lucky and only managed
to singe the very bottom corner, this is the starboard side,
and the same on the port side,
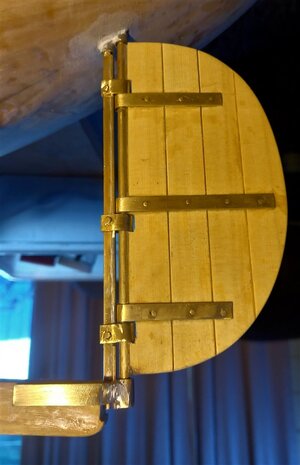
test fitting to make sure all turns OK,
.
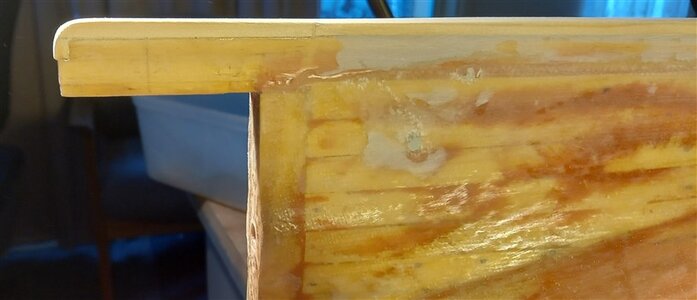
next job was to fill in the under keel area where i was originally going to have the rudder post support fitted,
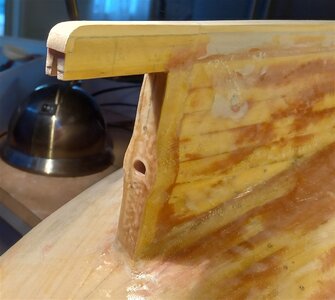
here you can see the area made good and showing the notch that the stern post will fit into,
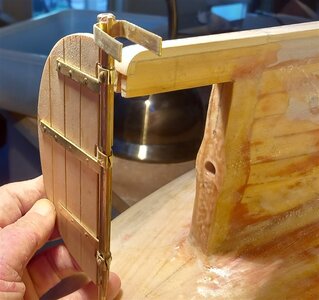
To fit the assembly in place I rotated the rudder 90 degrees and slid it down into the tube,
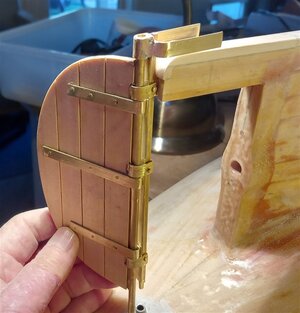
then rotated the stern post back to the fore and aft position,
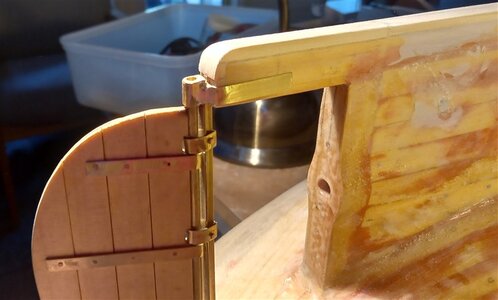
then the leg of the tee stern post fits just nicely into the slot and once I have drilled and fixed miniature bolts in place
all will be secure, I still have to cut and attach the sand iron that runs down from the top of the bow and all along the
keel, I'm trying to work out the safest way to cut the brass strip that I have,
.
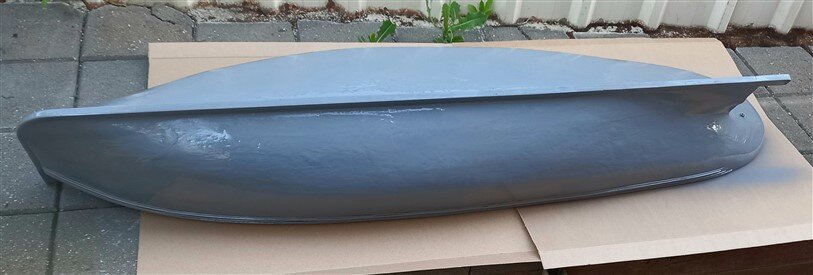
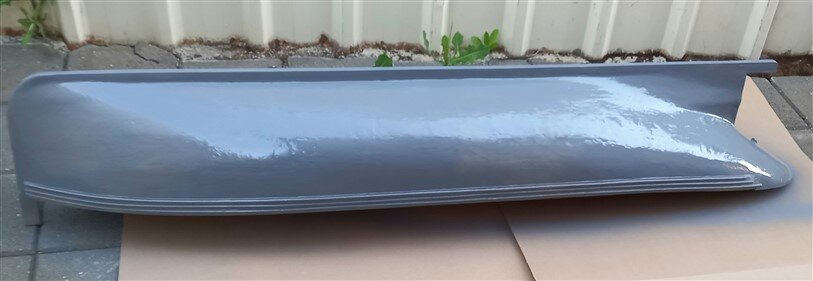
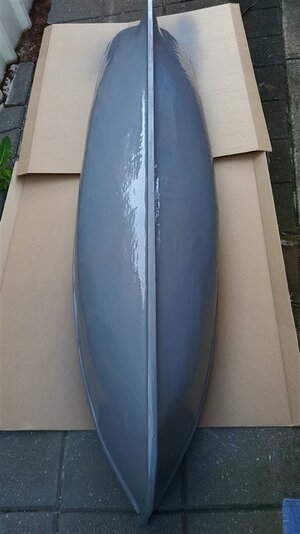
So its time to start the painting of the hull, these are three pics of the first coat of primer, she will need a couple
of good rub downs with filling and sanding in between, just got to be careful I don't want to get too good a finish
on her, she was a work boat,
Thank you for dropping in and viewing my build,
best regards john,
.
Don't worry about making Her a fine finish, usually when it comes from a factory they shine like diamonds even designated as working horseI don't want to get too good a finish
on her, she was a work boat,
Impressive. I would have burned the whole thing to ashes.View attachment 273114
Space was getting a little bit on the tight side so I cut a slot up the inner side of the stern post for soldering the
bracket to, and I decided to solder the lower rudder post toe bracket to the outer side of the rudder post,
View attachment 273115
Closer view,
View attachment 273116
I was a little bit frightened to solder this close to the wooden boards of the rudder, but was lucky and only managed
to singe the very bottom corner, this is the starboard side,
View attachment 273117
and the same on the port side,
View attachment 273118
test fitting to make sure all turns OK,
.
- Joined
- Apr 20, 2020
- Messages
- 6,257
- Points
- 738

First of all I want to commend you for the impressive work you do! Question: What material do you use to salt the brass pieces?View attachment 273114
Space was getting a little bit on the tight side so I cut a slot up the inner side of the stern post for soldering the
bracket to, and I decided to solder the lower rudder post toe bracket to the outer side of the rudder post,
View attachment 273115
Closer view,
View attachment 273116
I was a little bit frightened to solder this close to the wooden boards of the rudder, but was lucky and only managed
to singe the very bottom corner, this is the starboard side,
View attachment 273117
and the same on the port side,
View attachment 273118
test fitting to make sure all turns OK,
.
Beautiful work John.View attachment 273123
next job was to fill in the under keel area where i was originally going to have the rudder post support fitted,
View attachment 273124
here you can see the area made good and showing the notch that the stern post will fit into,
View attachment 273125
To fit the assembly in place I rotated the rudder 90 degrees and slid it down into the tube,
View attachment 273126
then rotated the stern post back to the fore and aft position,
View attachment 273127
then the leg of the tee stern post fits just nicely into the slot and once I have drilled and fixed miniature bolts in place
all will be secure, I still have to cut and attach the sand iron that runs down from the top of the bow and all along the
keel, I'm trying to work out the safest way to cut the brass strip that I have,
.


Cheers,
Stephen.
Hi John,View attachment 273130
So its time to start the painting of the hull, these are three pics of the first coat of primer, she will need a couple
of good rub downs with filling and sanding in between, just got to be careful I don't want to get too good a finish
on her, she was a work boat,
View attachment 273131
View attachment 273132
Thank you for dropping in and viewing my build,
best regards john,
.
Looking forward to seeing her painted.
Cheers,
Stephen.
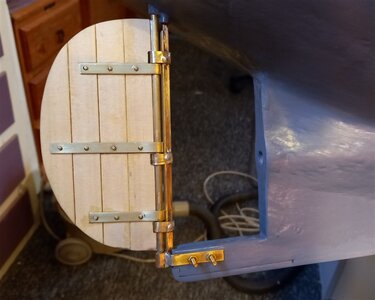
a couple of pics of the rudder bracket bolted to the keel,
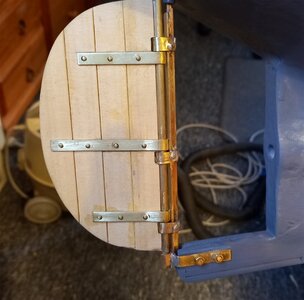
and with the bolts cut back,
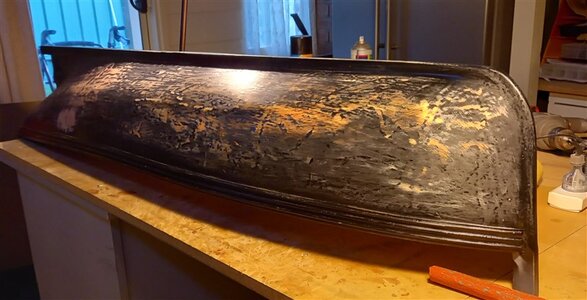
after a coat of black paint on the port side and a good rub down,

and the same on the starboard side, the the large white area in the middle is where the Fibre Glass matting over
laid each other and it took a bit more sanding to flatten it,
.
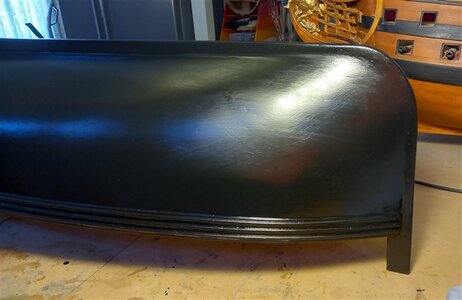
Hi John,View attachment 275167
This is after a coat of primer and a rub down, then a coat of black and a rub down and another coat of black
I'm getting there, i reckon another rub down and a final coat of black should do it,
View attachment 275171
.
She is Looking good.

Cheers,
Stephen.
Thank you Steve, I'm pleased with her, but I was sorry to have to cover the planking, I have to check the book to see if she had a red anti fouling coat, I think she was just black tarred,Hi John,
She is Looking good.
Cheers,
Stephen.
Best regards John,
Hi John,Thank you Steve, I'm pleased with her, but I was sorry to have to cover the planking, I have to check the book to see if she had a red anti fouling coat, I think she was just black tarred,
Best regards John,
Pretty sure it is red oxide, at least that is what I will be painting mine when I get that far.
Cheers,
Stephen.
It would make a nice contrast with a upper black hull, will check out what Fred says,Hi John,
Pretty sure it is red oxide, at least that is what I will be painting mine when I get that far.
Cheers,
Stephen.
Best regards John,
- Joined
- Jan 9, 2020
- Messages
- 10,566
- Points
- 938

Hi John. I really had to play catch-up now, You have made excellent progress on your build. The rudder construction and your soldering are both top notch. The painted hull looks good - industrial and workman-like keeping in character with the boat. But I do agree with Stephen - a red oxide finish will just break the black somewhat.
Hi John. I really had to play catch-up now, You have made excellent progress on your build. The rudder construction and your soldering are both top notch. The painted hull looks good - industrial and workman-like keeping in character with the boat. But I do agree with Stephen - a red oxide finish will just break the black somewhat.
Thank you Heinrich, for the nice comments and yes I think also that red oxide would finish her off nicely,
best regards John,
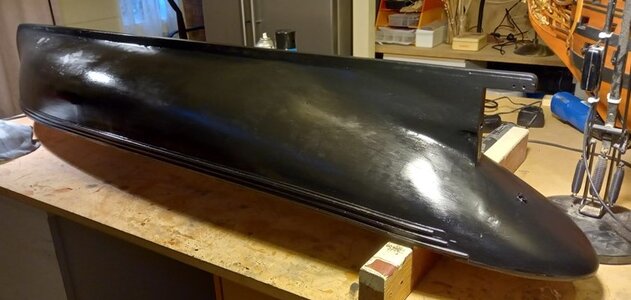
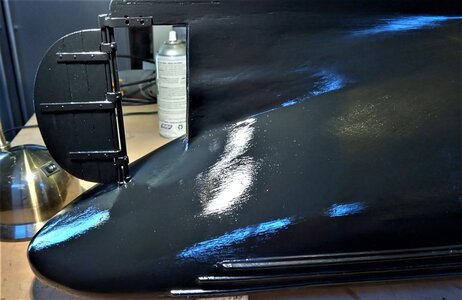
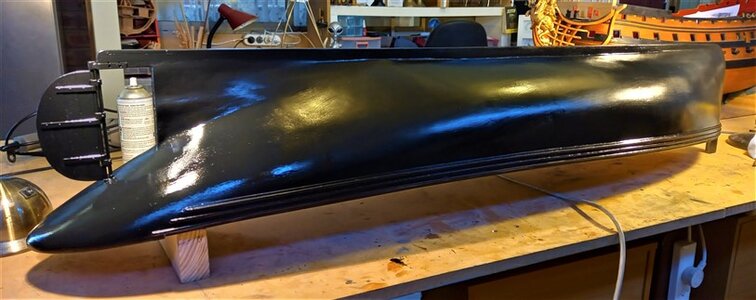
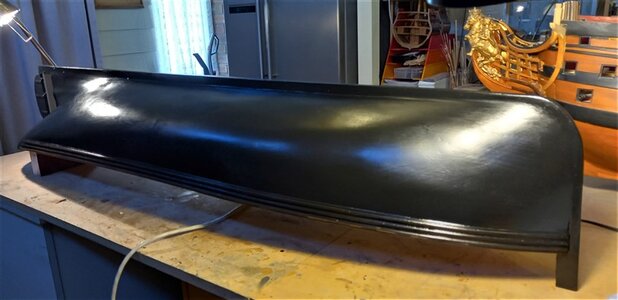
Hi John,View attachment 275694
So this is after another rub down and two coats of black, I think this is the best I am going to get so I will
add another couple of coats,
View attachment 275698
View attachment 275699
View attachment 275700
.
Great progress, it is a pity to cover up all that lovely brass work.
Cheers,
Stephen.


