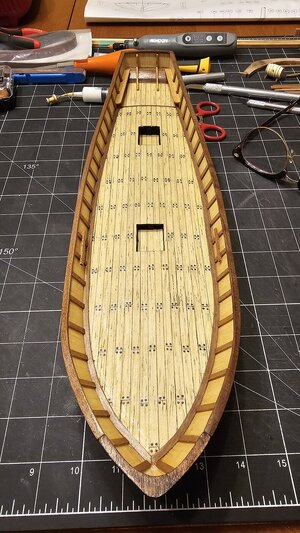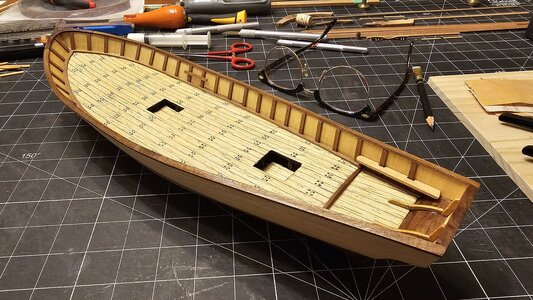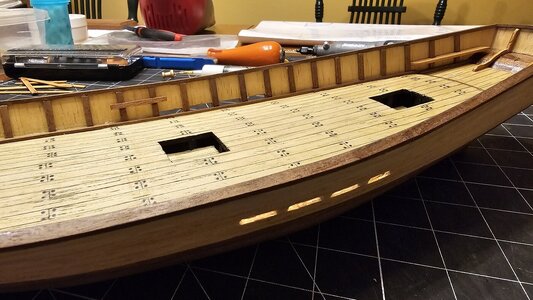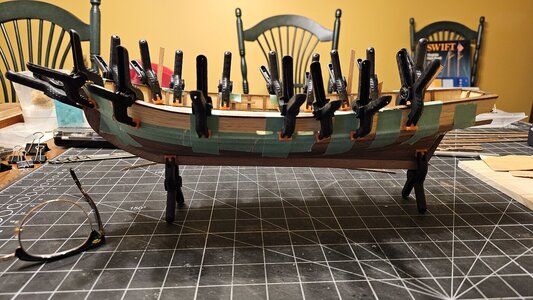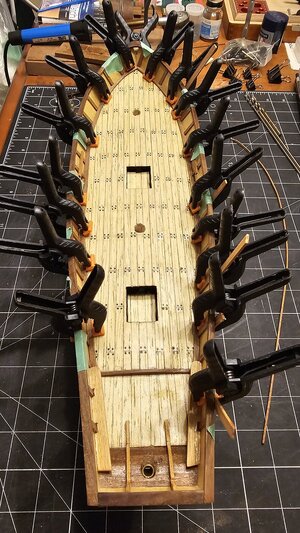
, I needed a break from mucking around with the hull and broken and missing bits. So I deviated from the instruction manual and decided to build the two cabins that mount on the deck. So here's the start of the process...
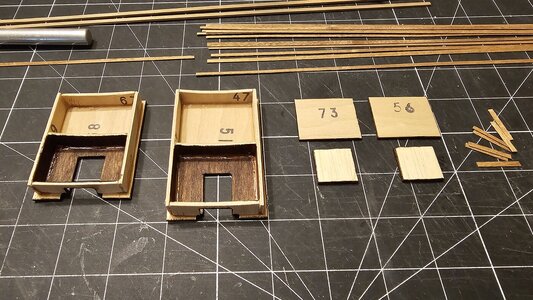
I used a wood touch-up marker to colour the thin plywood inside that would be visible if the hatch is slid back.
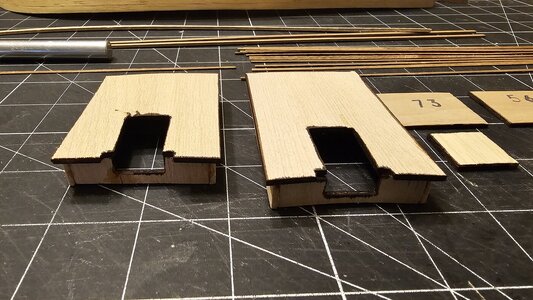
And I then used the same marker to go around the edges of the plywood that would be seen from the outside. You have to apply a layer of 0.5mm x 3mm walnut strips to the top and sides, so if the edges of the plywood weren't dealt with, I think it would have stuck out like a sore thumb. I had two options. One would be to make thin strips of that same walnut and veneer the edges of plywood... or use the wood repair touch-up marker. The marker seems like a viable option.
Here is the end result with all the walnut applied: Floquil finish added, and hardware put in place.
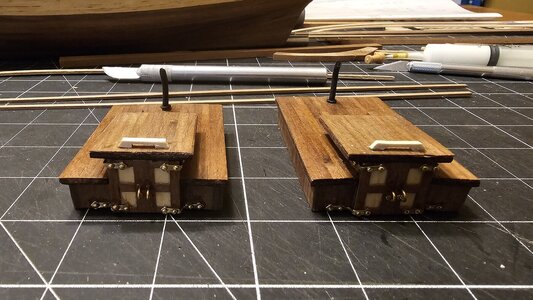
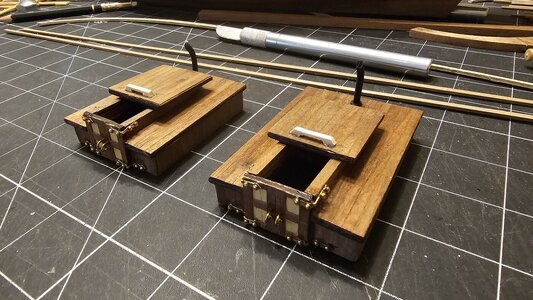
Again, I wandered a bit from the kit instructions (and I just noticed I forgot to apply Floquil glaze to the sliding hatch handles. Once I do that, they'll be a nice light golden colour). So what did I deviate to? First off, the hinged doors were supposed to be the same white plywood with frames of walnut applied over top. I had lots of ramin wood left over from deck and bulwarks, so I added a layer of that 05mm x 5mm strips to the plywood doors, and then put the walnut frame on top of that. But that also resulted in the finished doors being a bit thicker, which in turn would have buggered up the brass hinges... so once everything was dry, I sanded the backs of the doors till the plywood portion was about half removed in thickness. The doors didn't have any handles, so I just bent four brass nails and glued them in pre-drilled holes. I'm okay with it. Not the best... not the worst.
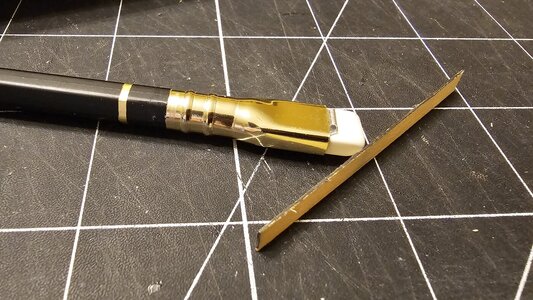
Once thing I did discover is that the hinges (really they're just pre-cut brass strips with holes in place for the nails to go through, and are then bent to the required shape to fit to the doors and frames)... had holes that were actually smaller diameter than the brass pin nails supplied with the kit. Hmmm.... what to do? I first tried drilling the holes a bit larger using my small electric handheld drill. That resulted in the bit grabbing the brass strip and resulting in something akin to an airplane propeller. I ponder this for a while. Solution? I have a small set of four jewelry reamer tools... two of them are long, round tapered tools covered with industrial diamond grit. They're normally used for enlarging holes drilled in softer gemstones and pearls so they can be strung on necklaces. In this case, since the starting diameter of the tool is 0.5mm, I was able to insert that into the openings in the brass strips and use it to grind away material to enlarge the holes such that the pin nails would easily fit into them.
Then I glued the brass pieces to the wood using CA, and used a hand twist drill to create the holes in the wood for the nails to pass through. The last step was to cut the pin nails to about 3 ~ 4mm in length, insert them into the holes, and then add a drop of CA to set them in place permanently.
One last thing.... the back part of the roof where the ventelation pipe comes out is quite thin... again, just that thin ply and 0.5mm thick walnut. I wanted something a bit more robust to glue the black pipes into, so inside the cabin and out of site, I used some of the scrap plywood and glued a couple extra layers on the inside of the roof. Then when I drilled the hole for the pipes to go into, they're nicely settled in about 6mm of wood. Nice and sturdy.
So now, back to the hull...

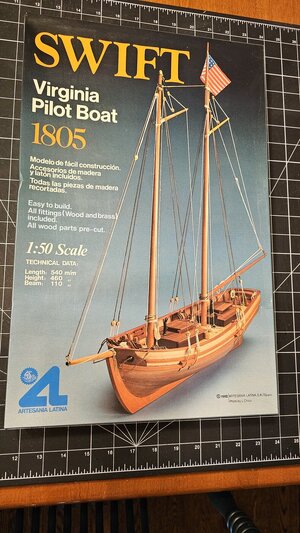
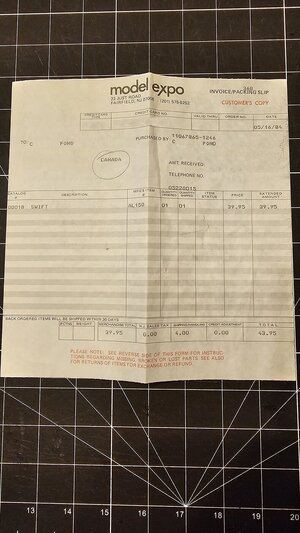
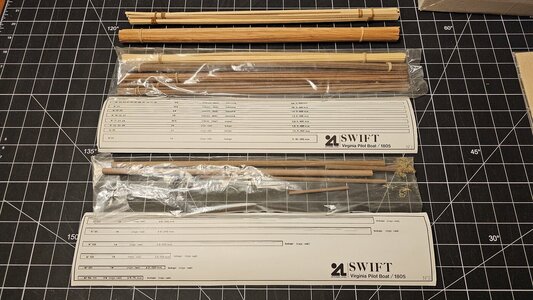
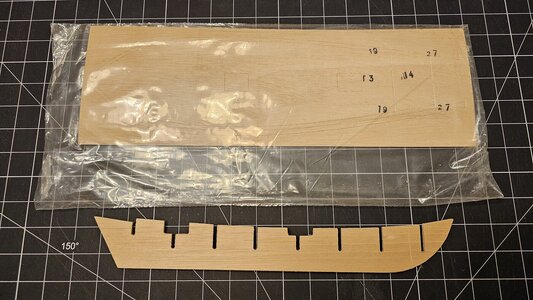
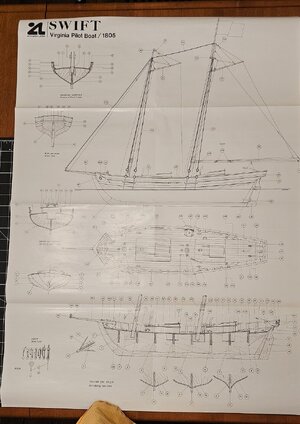
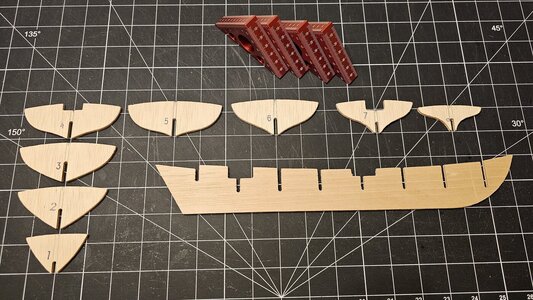
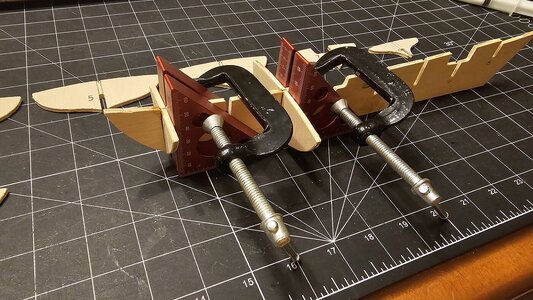
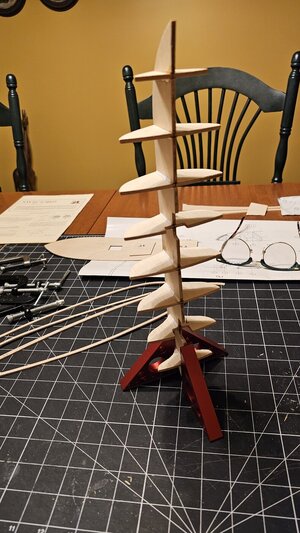
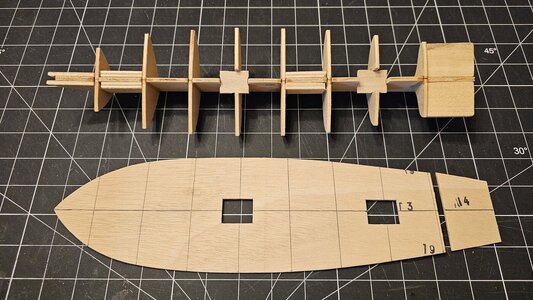
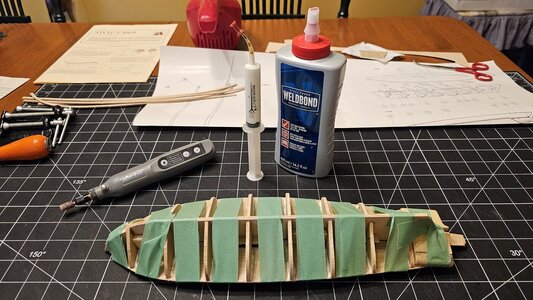
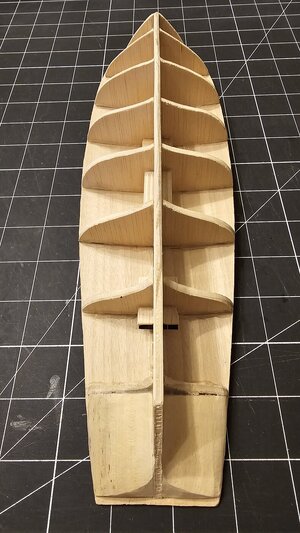
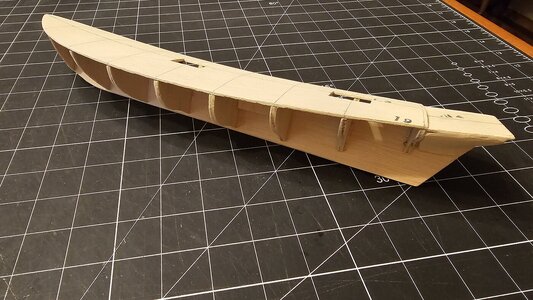
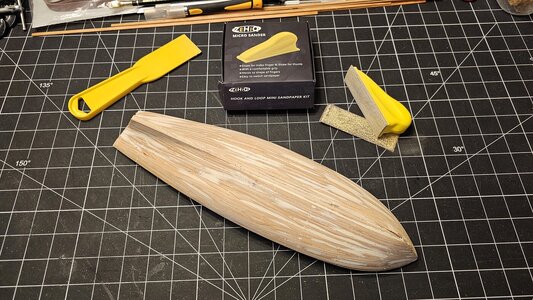
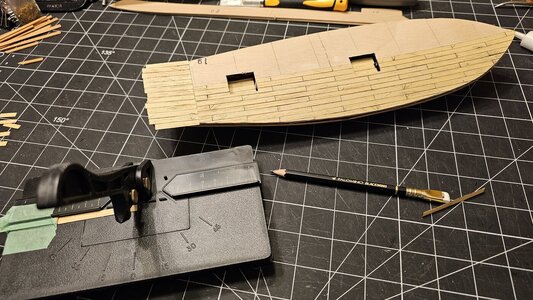
 I had purchased another one that I planned on tackling eventually because I wanted my own version of the model. Well, we can see how that progressed. Not. But finally, without further delay (LOL), it's off the shelf and onto the table. Let the entertainment begin...


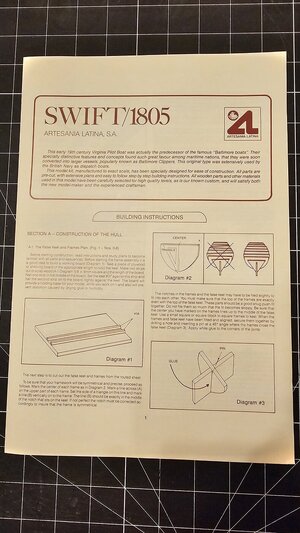











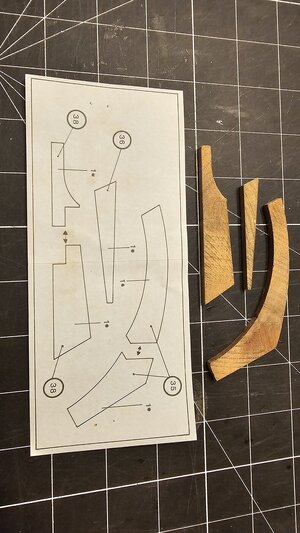
 , I needed a break from mucking around with the hull and broken and missing bits. So I deviated from the instruction manual and decided to build the two cabins that mount on the deck. So here's the start of the process...


