It is my pleasure to introduce to you my next build of the First Airplane the "Wright Bros. Flyer".
Orville Wright made the first powered manned flight at Kitty Hawk, North Carolina, USA, on December 17th, 1903, in a biplane called The Wright Flyer. They made 2 flights that day the first covered 120 feet and the second covered 852 feet. Afterwords while Orville and Wilber were celebrating their accomplishment, a gust of wind turned the plane over and it never flew again.
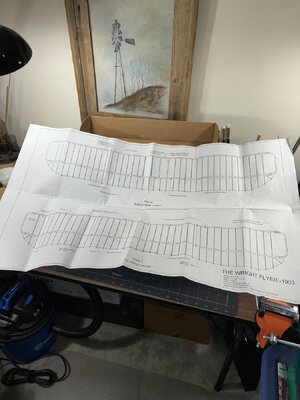
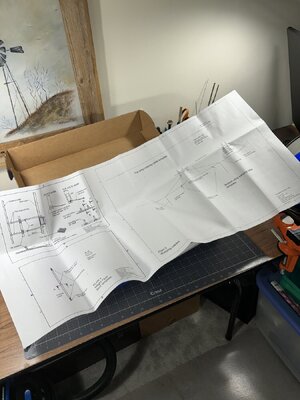
I have always marveled at this machine, except for its wings its quite odd looking in terms of function. It is a push plane with an odd front and rear design but what the heck it was the first of its kind. Here are some introductory photos of the kit. As you will see I need to expand my build hanger a little to accommodate the plans.

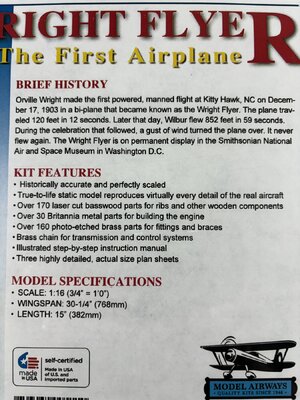
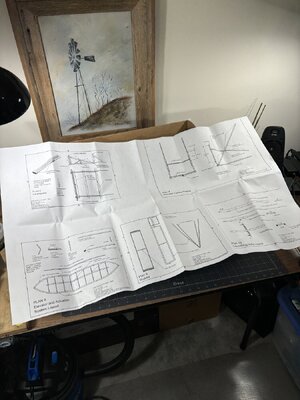
This kit comes with a nice 27-page instruction manual. Looking inside the box.


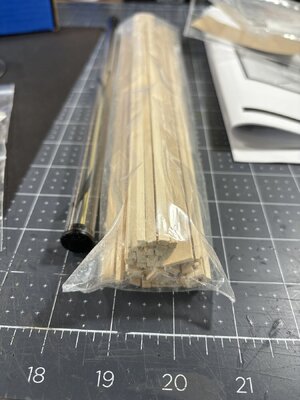
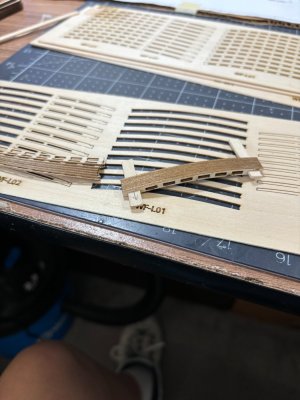
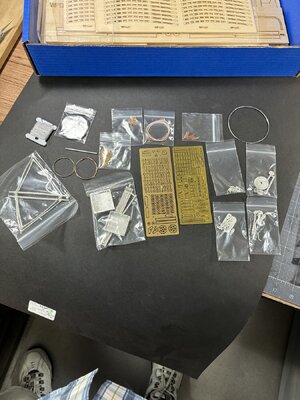
The wood is all basswood, some of that I will replace with a more substantial wood species. A large portion of the wood is for the wing assembly jig. This kit is designed to be all open framework with no wing covering but my intent is to cover the wings with silkspan for a more realistic look. The last time I used silkspan on a balsawood airplane was back in the 1960's so I see some practice pieces coming my way in the near future. One of the features that attracted me to this kit are the metalized parts including the engine which has several components to be built up and painted. Here is a closer look at those. The photo etched brass sheet on the left is thicker than any I have had before 0.50mm.
Well, I hope you all liked the intro here, I'm excited to get started however this probably will not be a fast build as I still have other projects I'm working on so will try and split time accordingly.
Thank you for checking in and as always Happy Modeling.
Orville Wright made the first powered manned flight at Kitty Hawk, North Carolina, USA, on December 17th, 1903, in a biplane called The Wright Flyer. They made 2 flights that day the first covered 120 feet and the second covered 852 feet. Afterwords while Orville and Wilber were celebrating their accomplishment, a gust of wind turned the plane over and it never flew again.
I have always marveled at this machine, except for its wings its quite odd looking in terms of function. It is a push plane with an odd front and rear design but what the heck it was the first of its kind. Here are some introductory photos of the kit. As you will see I need to expand my build hanger a little to accommodate the plans.


This kit comes with a nice 27-page instruction manual. Looking inside the box.


The wood is all basswood, some of that I will replace with a more substantial wood species. A large portion of the wood is for the wing assembly jig. This kit is designed to be all open framework with no wing covering but my intent is to cover the wings with silkspan for a more realistic look. The last time I used silkspan on a balsawood airplane was back in the 1960's so I see some practice pieces coming my way in the near future. One of the features that attracted me to this kit are the metalized parts including the engine which has several components to be built up and painted. Here is a closer look at those. The photo etched brass sheet on the left is thicker than any I have had before 0.50mm.

Well, I hope you all liked the intro here, I'm excited to get started however this probably will not be a fast build as I still have other projects I'm working on so will try and split time accordingly.
Thank you for checking in and as always Happy Modeling.


 .
.

