• LUCZORAMA SHIPWRECK SCAVENGER HUNT GIVEAWAY. 4 Weeks of Fun • 1 Legendary Prize ((OcCre’s Fram Ship)) • Global Crew Welcome!
    **VIEW THREAD HERE**

HMS Victory Occre 225 - build log

Joined
Oct 25, 2022
Messages
156
Points
253

Location
Eindhoven
After finishing my previous build, the xebec from ZHL models, I almost could not wait to start my new challenge. This time, I have chosen for the HMS Victory from Occre (number 225). Although, I have seen many discussions on this kit on it's lack of accuracy and 'better' alternatives, the main reason to choose this kit is it's originality and possibilities of add-ons/changes. I have been studying this kit for a couple of weeks (including some of the partial build logs on this site) and came to the conclusions, that I will make a few changes to make it to my liking.
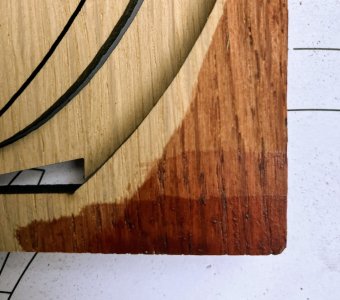
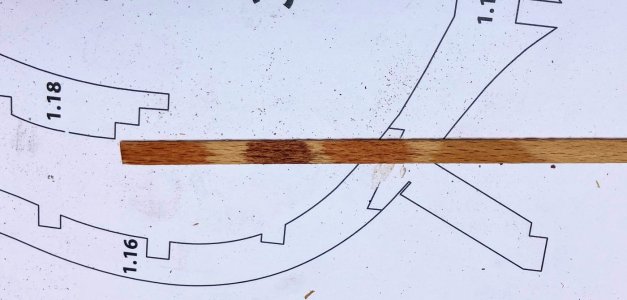
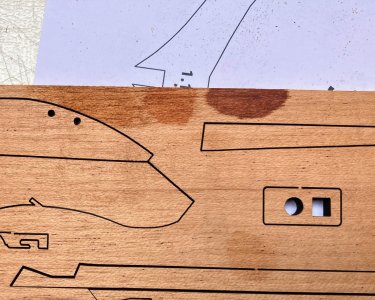
First, the original coloring of this kit is a bit flat. The untreated oak in combination with the beech wood does not give enough contrast, especially compared to the mahogany wood at the keel. I think even the photographer of Occre, responsible of the pictures at the website, agrees, since most pictures are taken with light reflecting from the beech wood with a black background, to enhance the contrast. Anyway, I'll use my usual arsenal of wood stains to give it a similar color setting as my previous build. The oak wood will get 2 layers of a mahogany colored stain, while the beech wood will get a transparent stain.
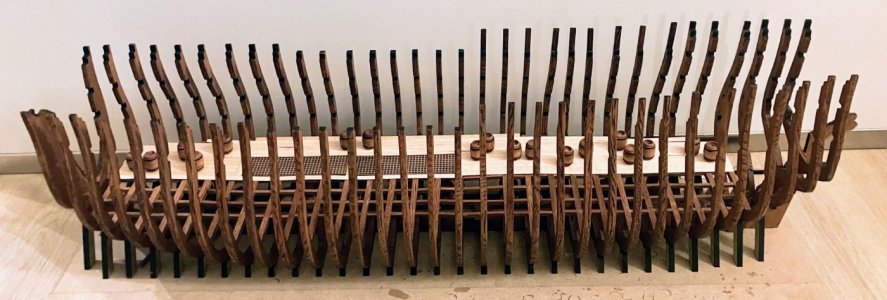
Second, I'll close one side of the hull by using the planking pack of Occre. I will close half of the lower deck and fill it with barrels and other stuff.
Third, I'll make all the brass black, except for the decorative parts on the front and back.
Furthermore, I'll make some smaller changes along the way depending on the looks.
Next week, more progress!
IMG_1205.jpg

IMG_1202.jpg

IMG_1201.jpg

IMG_1196.jpg

IMG_1195.jpg

IMG_1193.jpg

IMG_1191.jpg
 
After finishing my previous build, the xebec from ZHL models, I almost could not wait to start my new challenge. This time, I have chosen for the HMS Victory from Occre (number 225). Although, I have seen many discussions on this kit on it's lack of accuracy and 'better' alternatives, the main reason to choose this kit is it's originality and possibilities of add-ons/changes. I have been studying this kit for a couple of weeks (including some of the partial build logs on this site) and came to the conclusions, that I will make a few changes to make it to my liking.
First, the original coloring of this kit is a bit flat. The untreated oak in combination with the beech wood does not give enough contrast, especially compared to the mahogany wood at the keel. I think even the photographer of Occre, responsible of the pictures at the website, agrees, since most pictures are taken with light reflecting from the beech wood with a black background, to enhance the contrast. Anyway, I'll use my usual arsenal of wood stains to give it a similar color setting as my previous build. The oak wood will get 2 layers of a mahogany colored stain, while the beech wood will get a transparent stain.
Second, I'll close one side of the hull by using the planking pack of Occre. I will close half of the lower deck and fill it with barrels and other stuff.
Third, I'll make all the brass black, except for the decorative parts on the front and back.
Furthermore, I'll make some smaller changes along the way depending on the looks.
Next week, more progress!
View attachment 475082

View attachment 475083

View attachment 475084

View attachment 475085

View attachment 475086

View attachment 475087

View attachment 475088
Good morning. After you wonderful Le requin, I will follow this build with interest. Cheers Grant
 
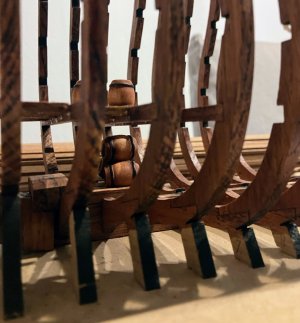
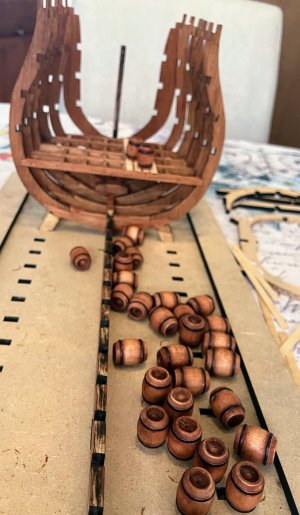
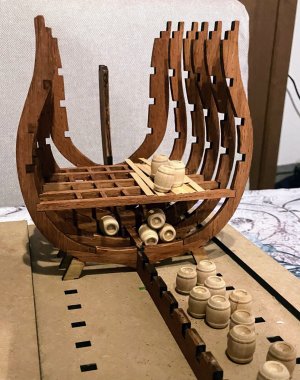
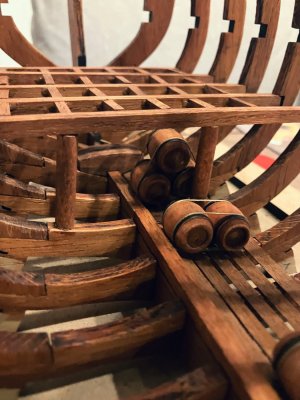
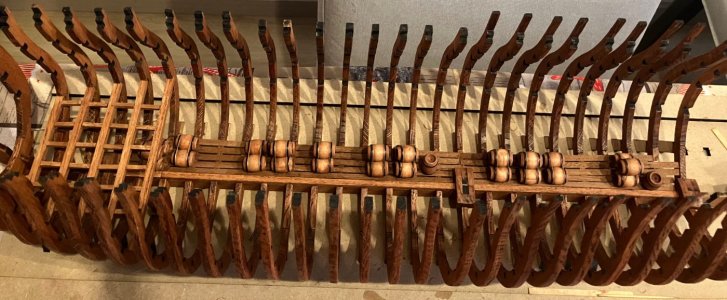
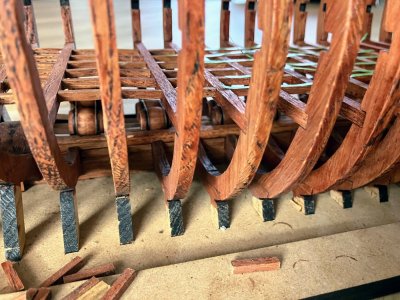
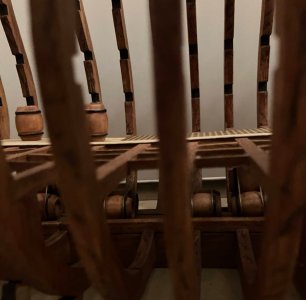
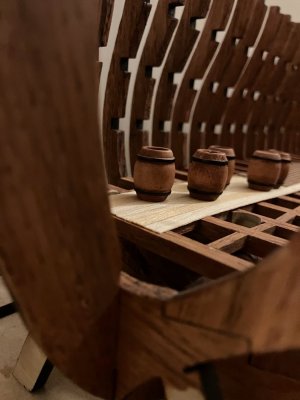
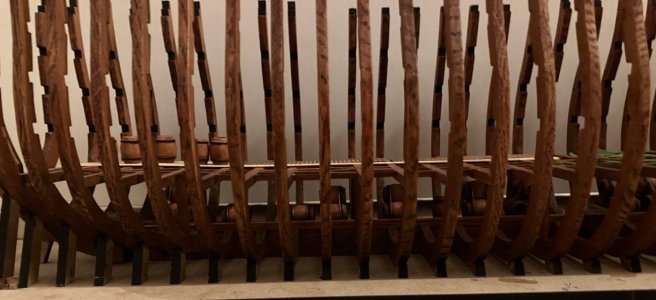
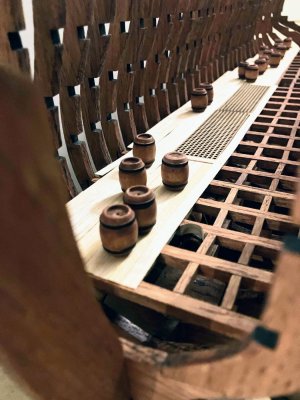
This week the barrels arrived! I ordered a pack of 50 from aliexpress, gave them a quick layer of paint. I'm happy with the looks and how they are going to fit. I'll need to make a flooring for the barrels. This makes the order of the construction deviate from the manual a bit, but so far it is an easy and straightforward build.
Furthermore, I'll add some vertical poles as supports of the deck, but I still need to figure out where and how many.
More next week!

IMG_1273.jpg

IMG_1272.jpg

IMG_1268.jpg

IMG_1267.jpg
 
Fantastic work, truly! Congratulations on the precision and care you've put into it. I’m following your model project with great interest, especially since I’m about to start my own model after Christmas. I hope to draw inspiration from your experience and share my progress with the community as well.
 
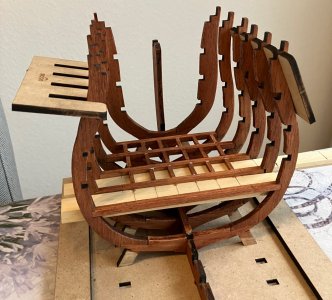
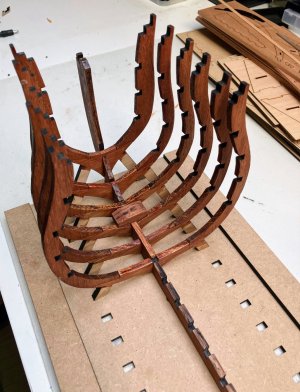
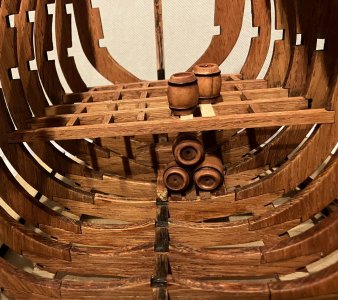
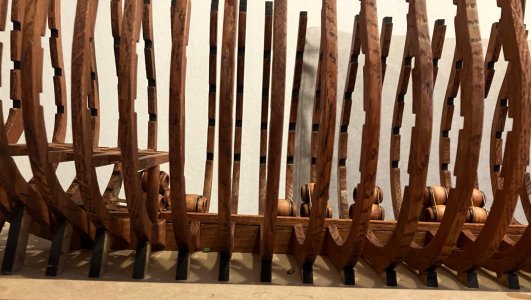
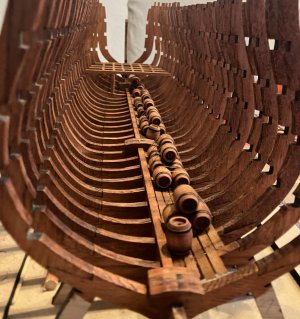
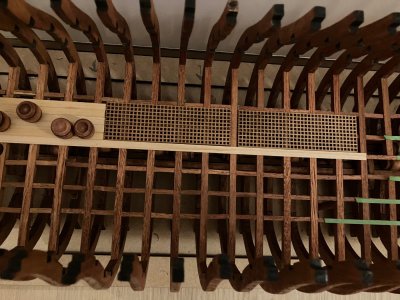
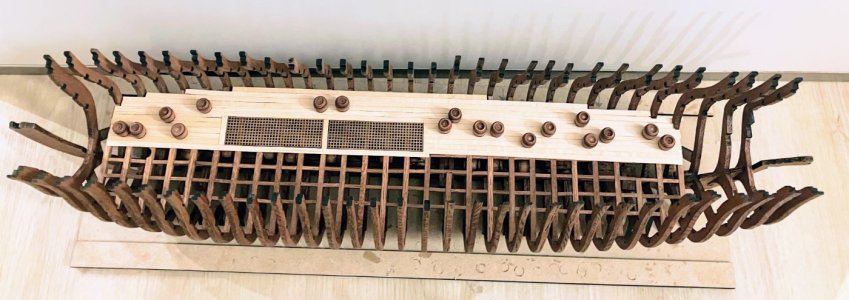
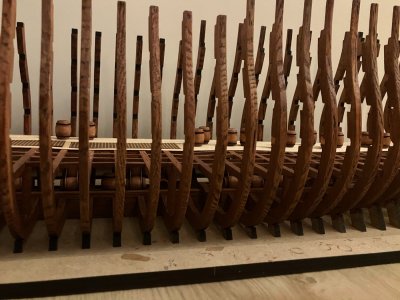
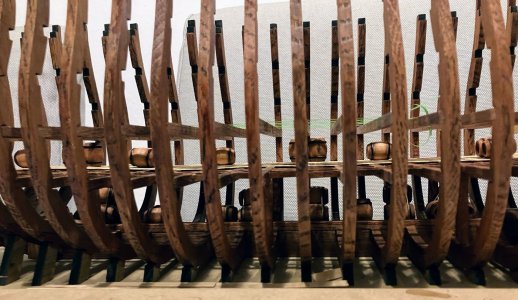
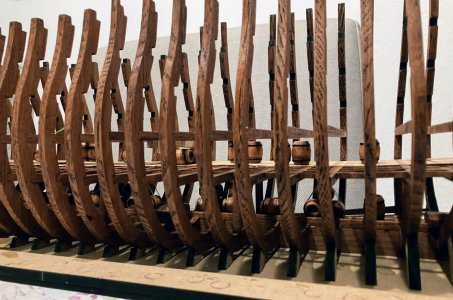
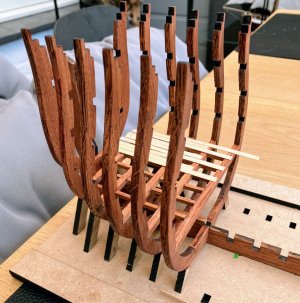
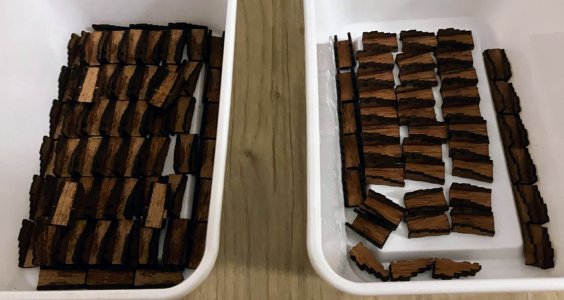
This week I got sore fingers from sanding :). The oak is pretty hard but nice to work with and it stains well. I'm almost finished with the bulkheads, put in a simple floor for the barrels, and started glueing the barrels on their place. The floor and barrels are located on the same half as the hull that gets planked. I'm guessing that the barrels will be just visible enough from the open side to give some impression of fullness. If not, I'll illuminate the interior with some lights.
More next week!

IMG_1339.jpg

IMG_1338.jpg

IMG_1337.jpg

IMG_1335.jpg
 
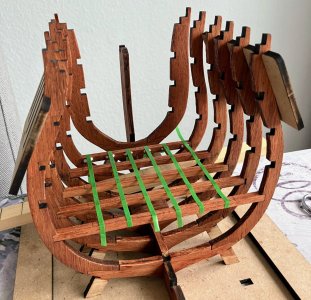
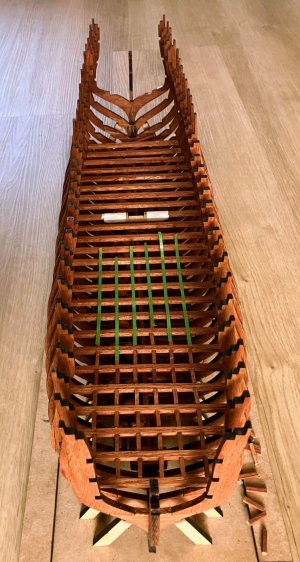
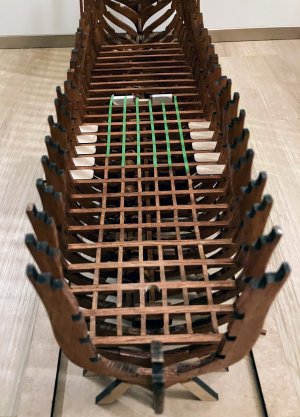
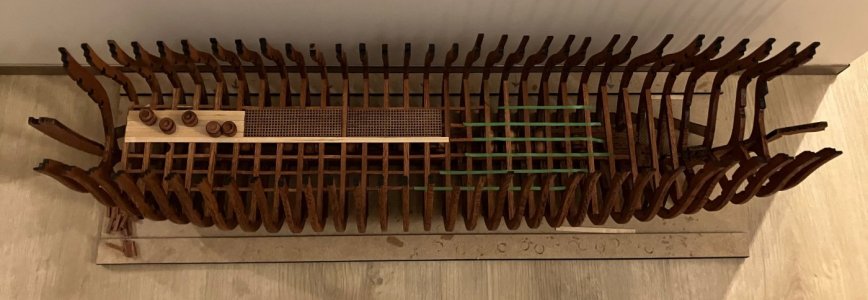
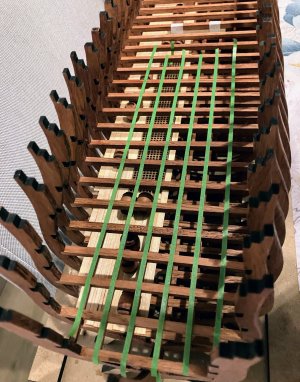
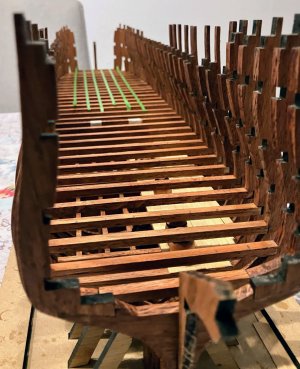
After gluing all the barrels, I continued to create the first deck. This process is a bit slow, since I need to make the 3x3 sticks on the exact length and I glue them with 'normal' white wood glue. To keep them aligned, I use a 3 mm (green) masking tape, which works pretty well so far. This will keep me busy for some weeks, I guess.

IMG_1365.jpg

IMG_1363.jpg

IMG_1361.jpg
 
Super, it’s taking shape! It is true that this kind of work requires patience and precision, especially with the 3x3 sticks to cut and align. Excellent idea to use masking tape to keep everything in place! I can’t wait to see the final result. Thank you for the progress photos. It must be really rewarding to see each step move forward slowly. Bravo !
 
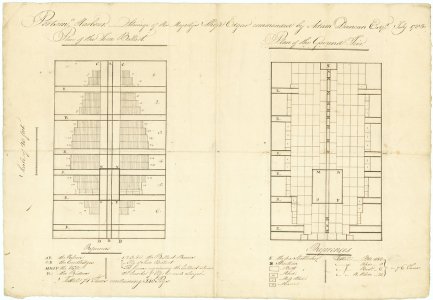
For the future, the below drawings may be of interest to you and others on the lay of ballast on the left with the barrels on top of the ballast on the right. The Victory would probably be a bit different, but there would definitely be ballast to keep the ship from capsizing, much like the SS Principessa Jolanda did when launched because they forgot to load her ballast before the launch.
Allan
1730118406032.jpeg
 
Thank you very much, Allan! These drawings are truly interesting and provide an excellent insight into the importance of ballast for a ship’s stability. Ballast is the material or weight used to stabilize a ship, generally made up of stones, sand, gravel, or even water, placed in tanks located in the bilge (the lowest part of the ship).

Its primary role is to lower the center of gravity and increase the ship’s draft, making it more stable at sea and preventing it from capsizing under the effect of waves or wind. In model shipbuilding, ballast is reproduced on a smaller scale to simulate the buoyancy and stability conditions of a real ship. It’s fascinating to learn that the SS Principessa Jolanda capsized due to a lack of ballast—I didn’t know that! It really underscores the importance of balancing every detail in a sailing model while keeping a touch of realism for static models. I will certainly study this information to refine the accuracy of my project. Thanks again for sharing!
 
Thank you for this information. I also noticed the new Victory kit from Artesania Latina has a different and probably far more accurate ballast. For me it is just a visual detail on the already not so accurate Victory.
 
It’s fascinating to learn that the SS Principessa Jolanda capsized due to a lack of ballast
The capsizing of Principessa Jolanda was given as an example, along with photographs in a Naval Architecture class I took in 1966 or 1967 otherwise I would never have heard about it either. :) There are photos on the internet if you do a search of her.

Allan
 
That's fantastic progress! Starting the second deck must truly feel like a great step forward. It’s true, the barrels fit perfectly, and those little details really bring the model to life! Even though the process can sometimes feel repetitive, the final result is always worth it. Keep up the great work—you’re doing an amazing job, and I’m sure the finished model will be stunning!
 
Back
Top