-

Win a Free Custom Engraved Brass Coin!!!
As a way to introduce our brass coins to the community, we will raffle off a free coin during the month of August. Follow link ABOVE for instructions for entering.
-

PRE-ORDER SHIPS IN SCALE TODAY!
The beloved Ships in Scale Magazine is back and charting a new course for 2026!
Discover new skills, new techniques, and new inspirations in every issue.
NOTE THAT OUR FIRST ISSUE WILL BE JAN/FEB 2026
You are using an out of date browser. It may not display this or other websites correctly.
You should upgrade or use an alternative browser.
You should upgrade or use an alternative browser.
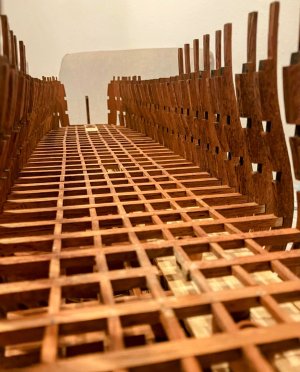
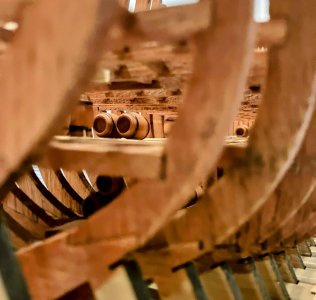
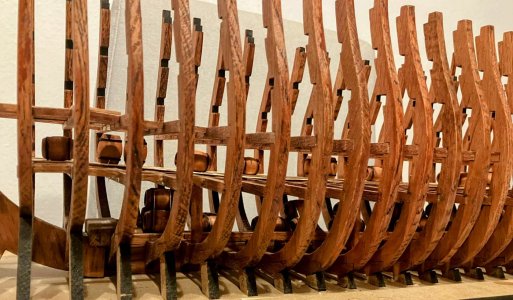
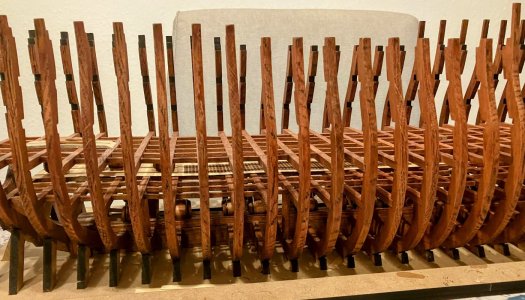
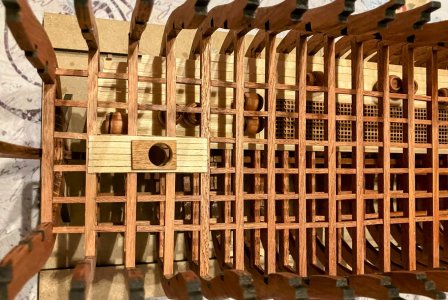
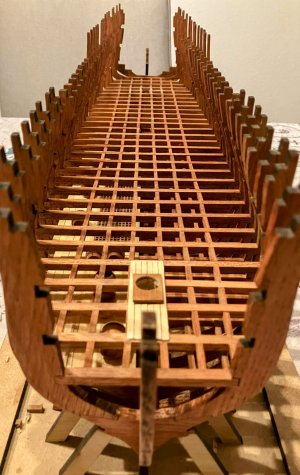
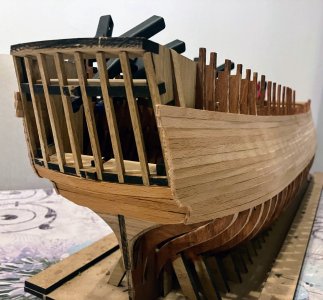
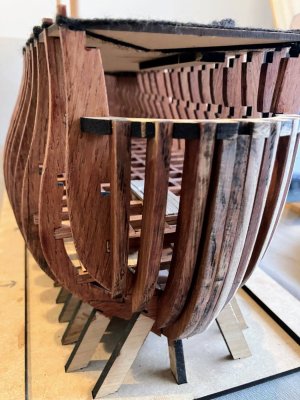
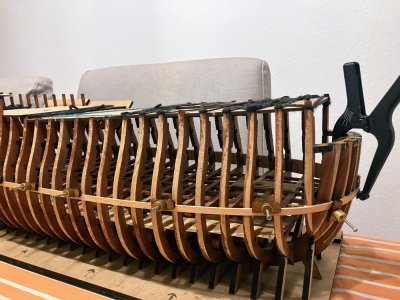
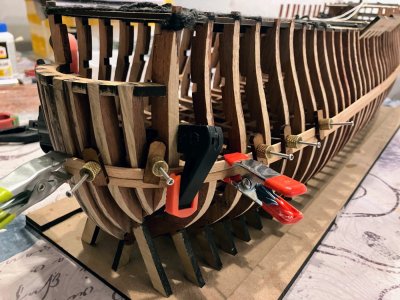
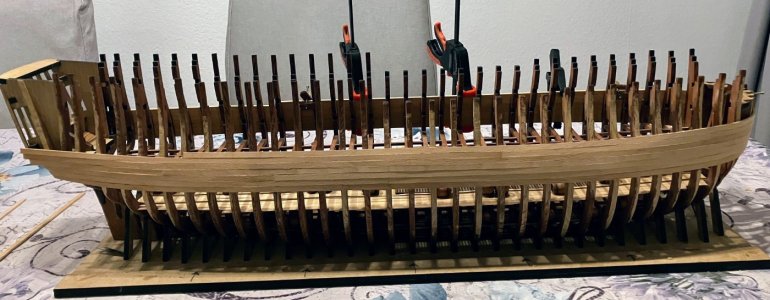
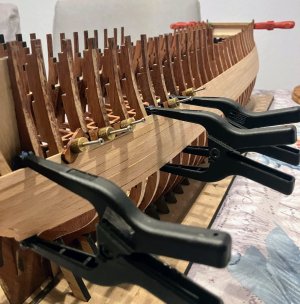
I've started with the next phase of the ship. The front and back parts are quickly glued together. The frames are temporarily fixed at the top by prefab plates. Furthermore, I saw some are using elastics to hold some of the frames in place. However, I prefer to used some strings, which I glued to the prefab plates. Now it is time to sand the top half of the frames to be able to get a neat planking results.
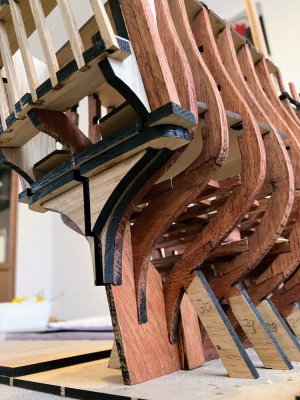
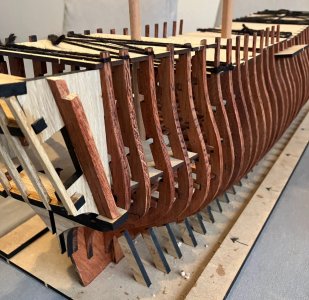

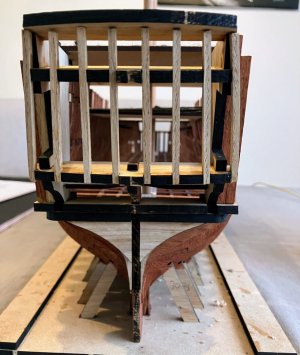
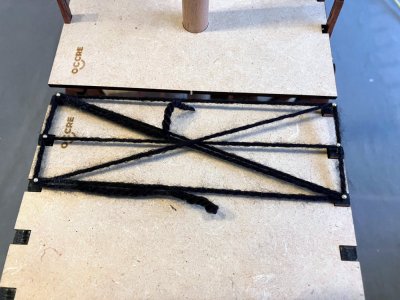

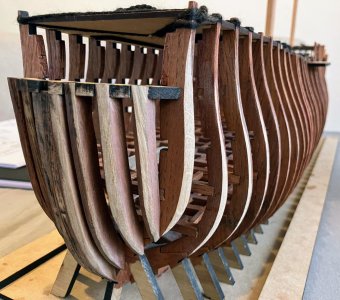
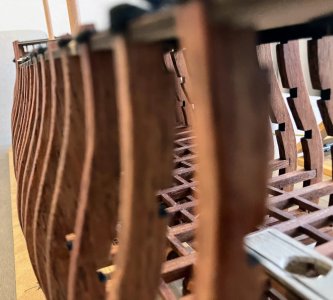


So what’s the difference between stringing them and rubber banding. Explain please ?
Using strings allows you to pull the frames in different directions, which in my case was needed for the frames at the corners of the boards. The strings give also a more stiff connection ones they are glued to the board.So what’s the difference between stringing them and rubber banding. Explain please ?
After my Xmas break, I'm happy continue to work on this project again. At this moment I'm sanding and grinding trough the oak. It takes a lot of time and effort, at least much more than the other types of wood I used to work with. Also, there is a lot of wood to remove by sanding; these frames are 5 mm thick and some at the back need to be almost fully sanded away. For the coming week, I'll just continue sanding, afterwards the top half of the hull needs to be planked. The bottom part needs to be sanded in a later step, after removing frame supports. Occre created a clever way of constructing this kit!
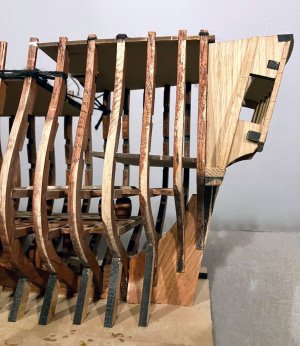


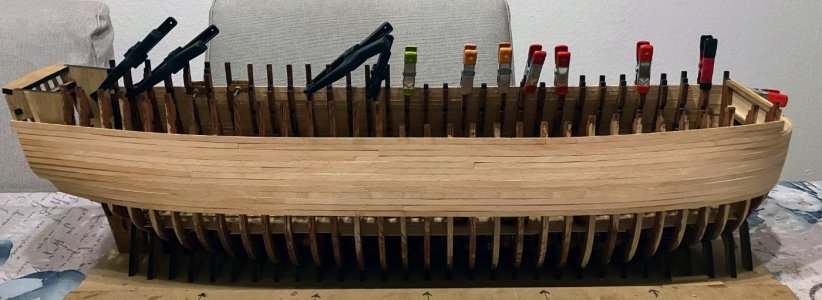
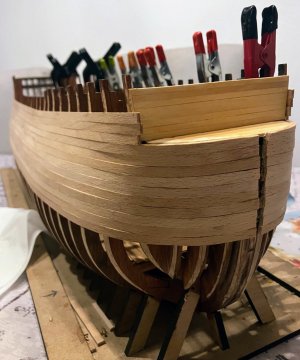
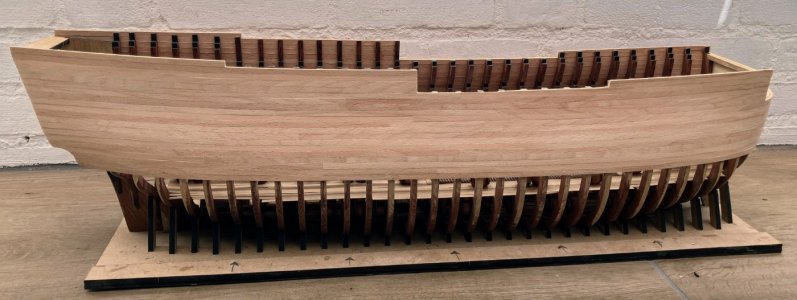
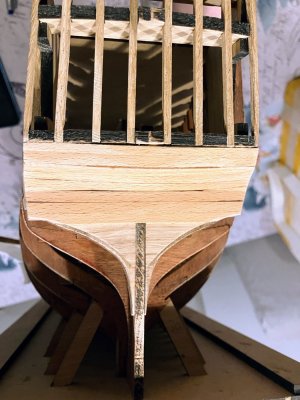
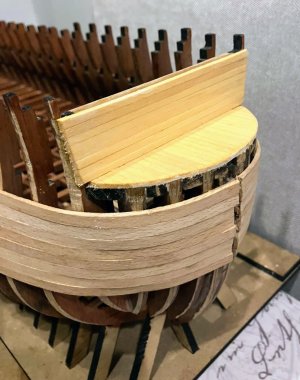
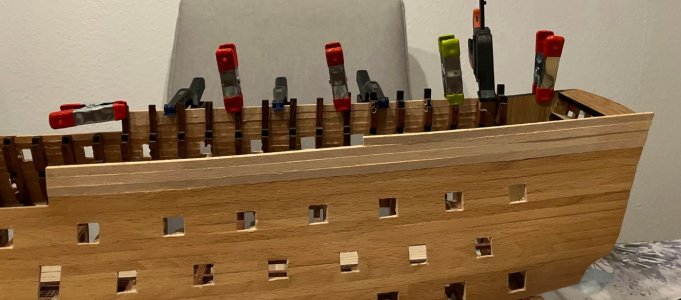
After the sanding the top part, I started with planking the back. I will still need to finish it, but I will do that after sanding the bottom part. The support frames, which need to be removed, are too much in the way. Furthermore, I have decided to plank the sides without using nails and use my frame clamps instead. It takes a bit longer, but I think it will make the final sanding better.


...and Happy Birthday from different parts of the world! 

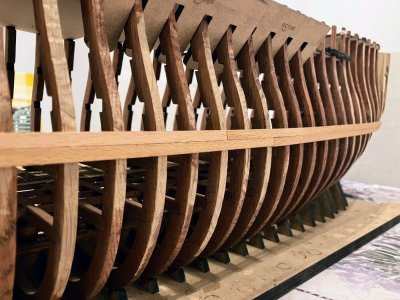
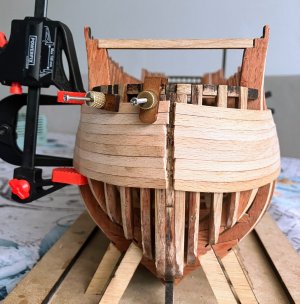
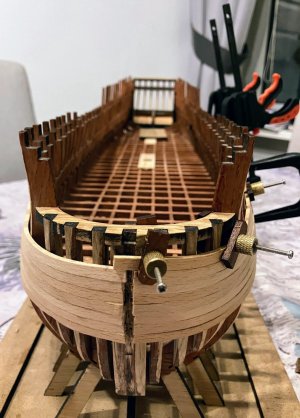
Thank you for the birthday wishes! I have not posted for some weeks due to a hard-disk crash of my computer. Luckily it has been resolved, and in the meantime I have been working on the planking of the hull. Still going slow, since I do not use any nails, I need to wait until the glue is dry for every strip. I'm happy with the results so far.


Have you looked at the topic Making Cannon? Look at posts #21 and #22 which are most appropriate for Blomefield pattern ordnance on Victory.. There is a little note on an easy way to make the ends of the axles round. https://shipsofscale.com/sosforums/threads/making-cannon.14545/
Allan
Allan
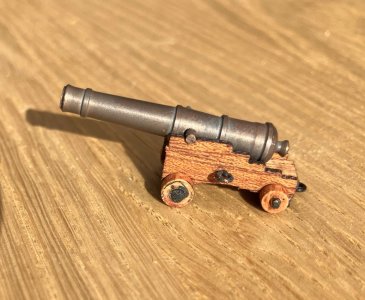
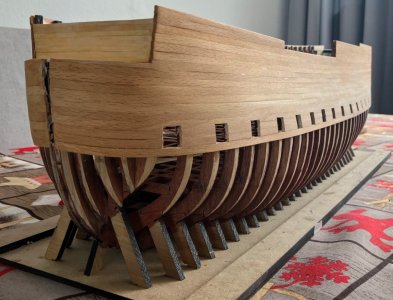
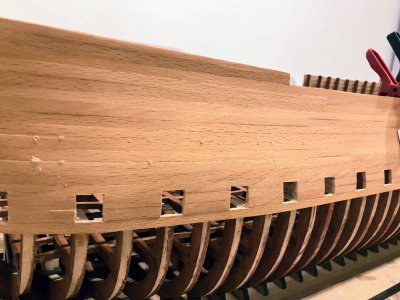
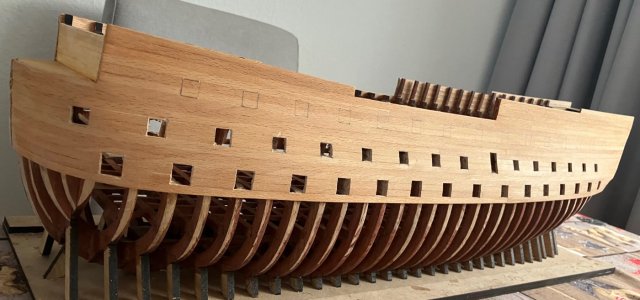
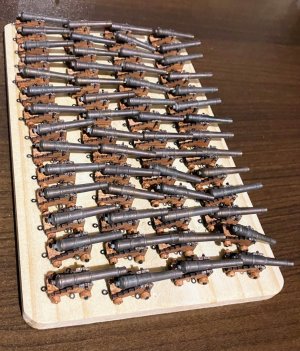
This week, I finished the first batch of cannons. These will fill-up the lower 2 decks. Next, I have been staining the hull to protect it and started carving the ports for the cannons. These ports are not aligned with the bulk-wards of the hull, so I'll need to cut trough some solid oak.
Looks like I will be carving for the coming weeks
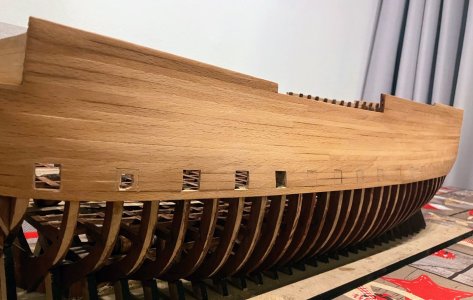
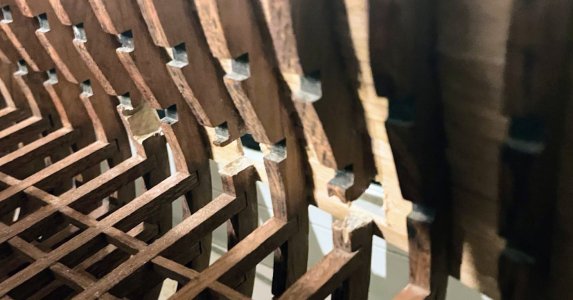
Looks like I will be carving for the coming weeks


Is there to be a second layer of planking? The reason I ask is that the line of the gunports follow the sheer of the decks which is not the same as the sheer of the hull planking, including the wales. It does not matter for the first layer but will look odd if on the second layer, especially the wales.
Allan
Boyne 1790 You can see the sheer line of the wales which is the same as the adjacent planking. It is different than the line of the gun ports.

Glory 1788. You can see difference of the sheer of the wales/planking compared to the deck beams and deck planking. There is a high resolution version of this plan on the Wiki Commons site, page 1. https://commons.wikimedia.org/wiki/Category:Ship_plans_of_the_Royal_Museums_Greenwich If you download it the details are very clear.
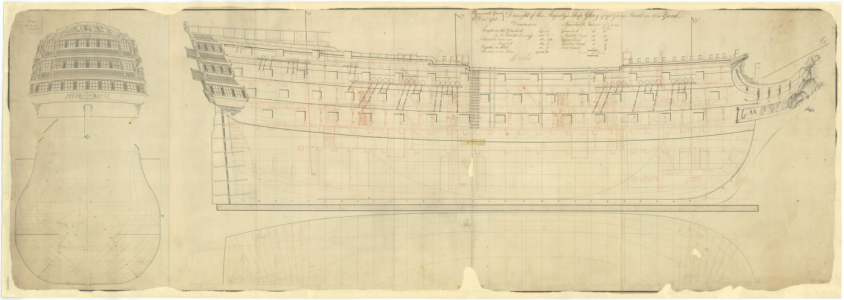
Allan
Boyne 1790 You can see the sheer line of the wales which is the same as the adjacent planking. It is different than the line of the gun ports.

Glory 1788. You can see difference of the sheer of the wales/planking compared to the deck beams and deck planking. There is a high resolution version of this plan on the Wiki Commons site, page 1. https://commons.wikimedia.org/wiki/Category:Ship_plans_of_the_Royal_Museums_Greenwich If you download it the details are very clear.

Hi Alan, thank you for this information. There will be no second layer. For this product, Occre does not aim to have an accurate model, but just something that looks likes. I will make some changes to the guidelines of the kit, but this will for sure not be an improvement of accuracy.Is there to be a second layer of planking? The reason I ask is that the line of the gunports follow the sheer of the decks which is not the same as the sheer of the hull planking, including the wales. It does not matter for the first layer but will look odd if on the second layer, especially the wales.
Allan
Boyne 1790 You can see the sheer line of the wales which is the same as the adjacent planking. It is different than the line of the gun ports.
View attachment 506097
Glory 1788. You can see difference of the sheer of the wales/planking compared to the deck beams and deck planking. There is a high resolution version of this plan on the Wiki Commons site, page 1. https://commons.wikimedia.org/wiki/Category:Ship_plans_of_the_Royal_Museums_Greenwich If you download it the details are very clear.
View attachment 506103
I agree with you Crypton and it is a shame. The materials would have the same costs in this example so it must be something else. Perhaps it is to help keep costs down for the end product. To get accuracy takes research and doing research takes time and a person's time carries a cost. I have emailed with Xavier at OcCre in the past and he has kindly responded that he is not in charge of the technical department but passed on my notes to the technical department. They have never responded. Time to give it another try on this mistake.Occre does not aim to have an accurate model
Allan
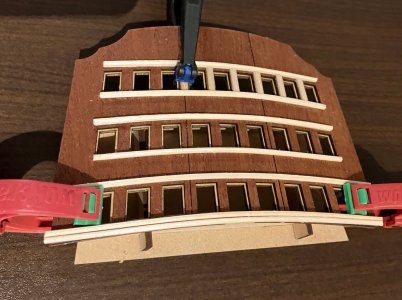
I made a mistake with the positioning of the gun ports of the top row.  I placed them 5 mm too high. So I decided to fix it by removing the wooden strips of the hull and put new ones. This worked better than expected. Now it is just a matter of sanding it to get a smooth surface and staining it to the right colour. In the meantime, I have started the work on the backside
  .
.
What a nice hobby to have!

What a nice hobby to have!


