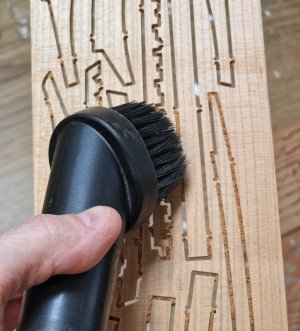
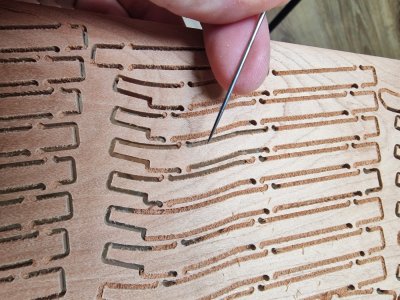
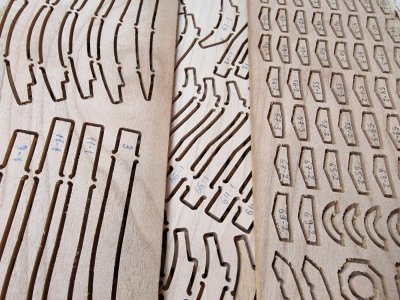
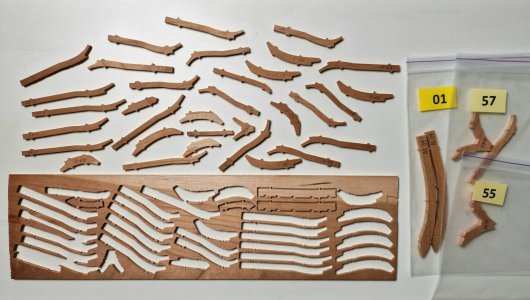
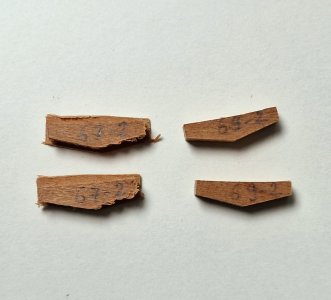
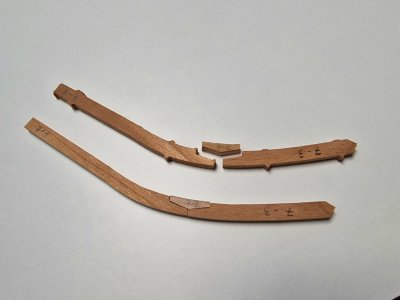
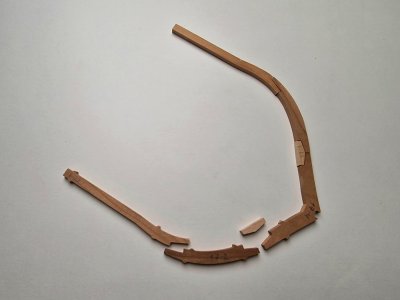
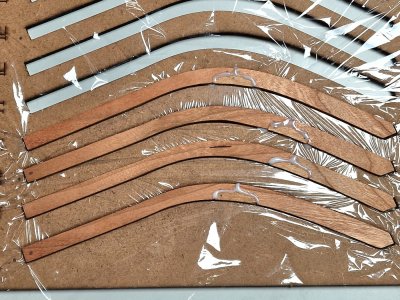
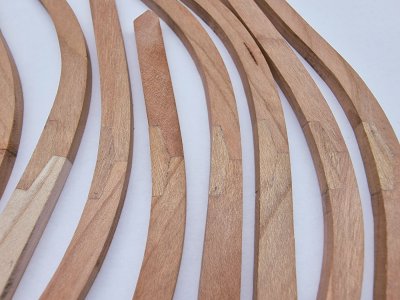
Continuing with the already mentioned types of frames (type 1 is one fragment on each side, i.e. two halves; type 2 is exactly like the one in the photo below, made of 4 fragments, two on each side...
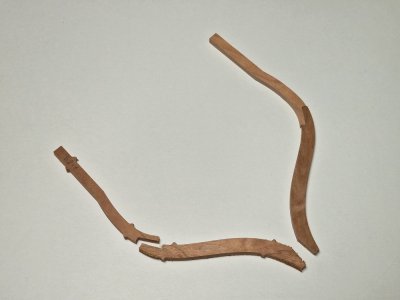
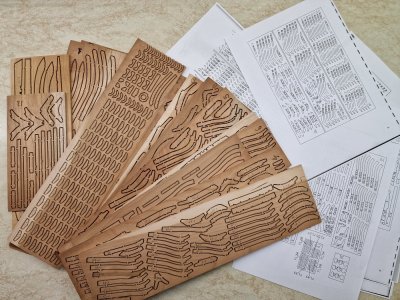
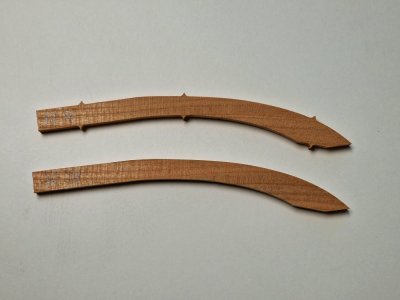
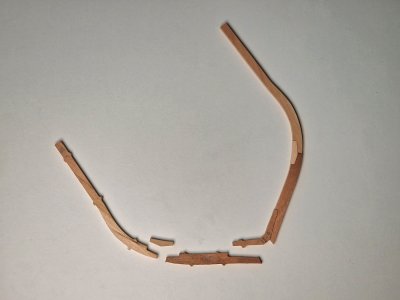
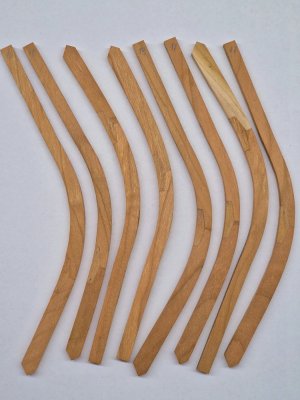
... type 3 - I showed above, it is from 3 fragments on each side, i.e. 6 parts; and type 4 and 5, I also indicated in the previous post, 7 parts in a frame, different configurations). But there is another type, we can say type 6 - this is a frame that consists of 8 parts, as shown below in the photo.

So, it turns out that there are as many as 6 types of frames in the set and this is great!
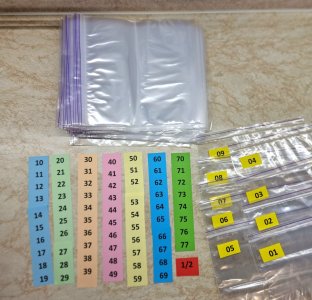
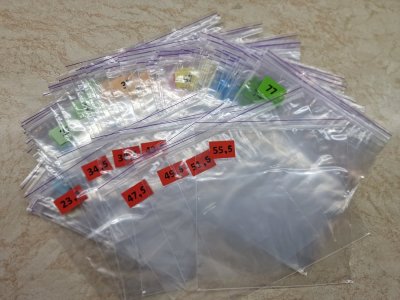
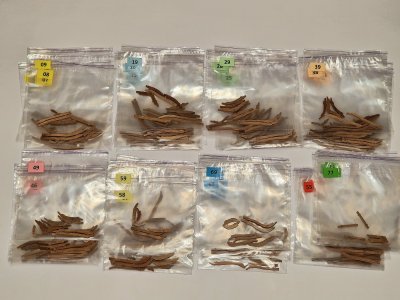
So, we continue to prepare all 6 types of frames for gluing.
From the features, or rather from the flaws in the set! I thought that there were none, but still there were a couple, but it's good that they are not serious.
1. I thought that I had one extra part AL-61-3 (a fragment of a frame), but it turned out that AL-53-1 was also duplicated, BUT! No, what's worse, it turned out to be part AL-55-1. But, fortunately, it is completely the same as the extra AL-53-1, only shorter in the straight section, so I shortened it and replaced the number.
2. The second point is that these are different parts that should be the same. But, here too, I was lucky, because you can always make a smaller one from a larger one)))

3. But the third point is a little worse. Parts AL-67-1 and AL-69-1 have different contours after milling. I don't know how critical this will be, I will try to place the defective parts where the frame profiling will take place, and maybe these parts will be ground off. Or I will have to add a little material where there will be a depression, but I think everything will be fine.

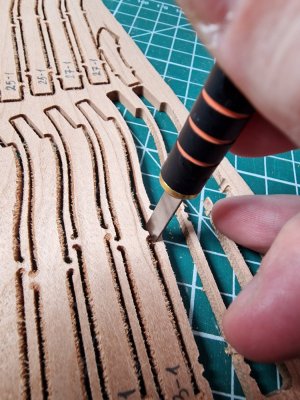
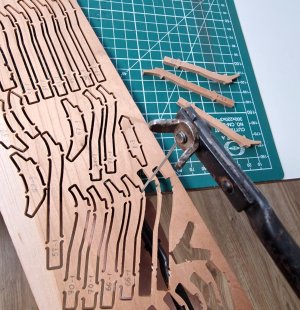
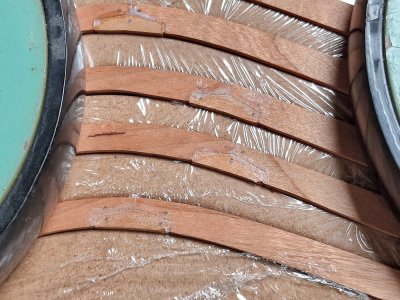
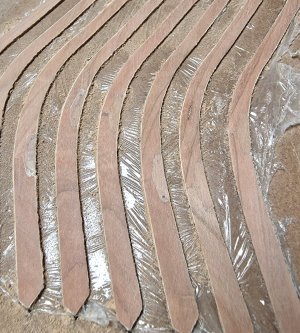
Let's continue. The half frames were turned in a different way. And after removing them from the die, it was necessary to remove the circular holder.
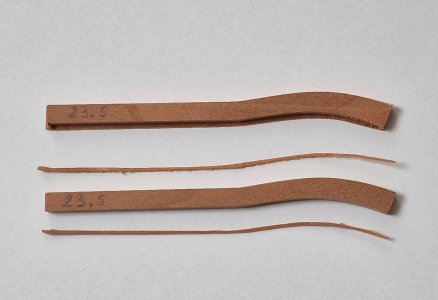
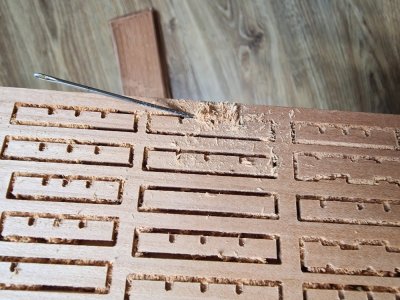
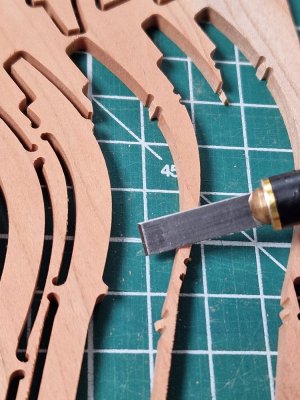
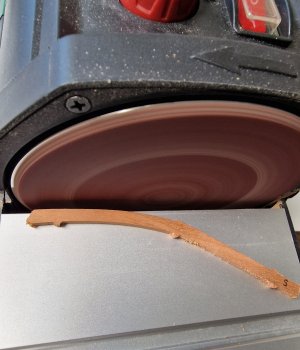
And after I had prepared all 85 sets of frames, I began to prepare them for gluing. And for this, it was necessary to create sharp corners for joining the parts. After the milling cutter, slightly rounded corners remained and I created a sharp angle with a file and corrected the plane, as shown in the photo below.

Without these manipulations, the parts cannot fit together as accurately as in the photo below.

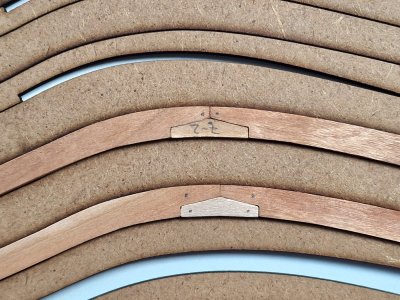
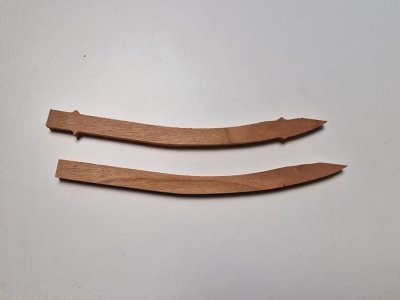
In order to put it all back together correctly later, I put dots in certain places to mark where and what is connected.

Well, those cracks that you see will be filled with glue and after sanding everything will look great.

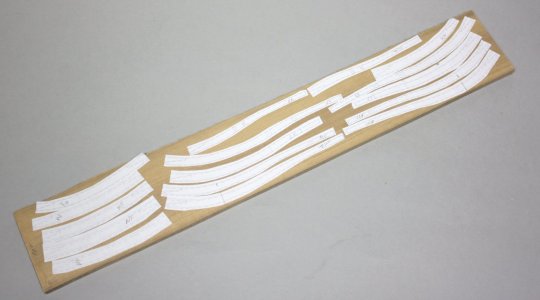
Now all this needs to be taken out and put into the template film and glued in it, but this is in the next post...

