• LUCZORAMA SHIPWRECK SCAVENGER HUNT GIVEAWAY. 4 Weeks of Fun • 1 Legendary Prize ((OcCre’s Fram Ship)) • Global Crew Welcome!
    **VIEW THREAD HERE**

My 1/72 scale aircraft

Well…holes drilled in the struts and they are painted. The machine gun assemblies are painted.
View attachment 535462

View attachment 535463
Next is the hard part…

View attachment 535464
These struts are smaller than toothpicks and glued with tiny pins in the end into tiny holes in the wing. Problems? Little to no surface area for a glue bond and they are not positively located. In fact they are free to be oriented just about any way you want them to be. This makes orienting them, and locating the upper and lower wings together with no less than 16 interfaces of holes and pins, a bit daunting. A strategy will need to be used…wish me luck.
I see a WW2 airplane build in my near future! ;)
Until next time…
The lack of locating features is awfully familiar. When I build the Rhoden Fokker DVII, I filled a swearjar just because of that. I thought it was just me, being familiar to all kinds of (self-)locating parts and assemblies in modern day aircraft designs.
I find that I'm incorporating these features in my scratch-build models and even the Bluenose saw the application of some.

Wishing you luck!
 
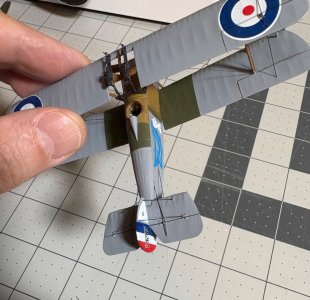
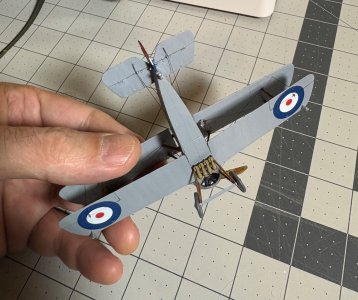
Well, the upper wing has been glued on. I do not like how difficult this is, they really should improve the model to locate the struts better with more than a tiny pin to locate and hold them.
The first attempt ended in disaster after half the struts were broke off. The second time I added some clear PVA (Weldbond) around the struts in addition to the model glue on the pin to help hold them on. I also measured the location of the holes in the upper wing and made sure the struts were the same distance.
In addition, I thought it would be good to use painters tape to hold the upper wing on since the struts would never be able to withstand the clamping force of a rubber band. Hindsight proved that was a bad decision when it stuck to one of my decals and ripped it apart. Which I then had to hand paint to repair and then clear coat. Still not sure how that happened when it was clear coated.
Pics…

View attachment 535673View attachment 535674View attachment 535675
Having survived that, I now am faced with the rigging…and there is so much on the camel. Fun stuff!

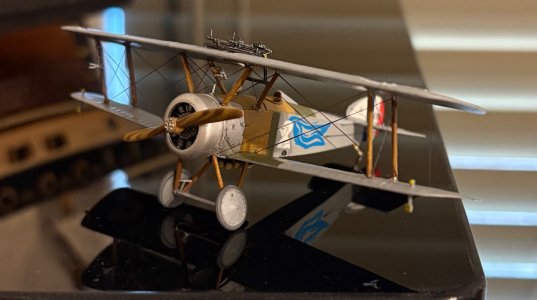
My next WW1 airplane build…

View attachment 535676
No upper wing and struts… and no rigging! ;)

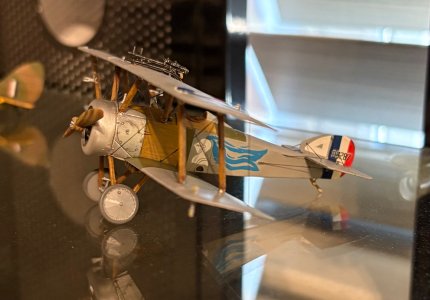
Also I wanted to share a WW2 model I found recently…

View attachment 535677
This will be another nice addition to my WW2 collection.
Time for rigging…see ya next time!
Those are some really ugly looking birds, with some rather interesting design features.
 
The lack of locating features is awfully familiar. When I build the Rhoden Fokker DVII, I filled a swearjar just because of that. I thought it was just me, being familiar to all kinds of (self-)locating parts and assemblies in modern day aircraft designs.
I find that I'm incorporating these features in my scratch-build models and even the Bluenose saw the application of some.

Wishing you luck!
Thanks, the Spad XIII kit by Academy had a nice solution, they had a cross bar that held two struts together top and bottom. Those glued into a slot in the wing. But normally they are like the Roden kits where you really need to be very careful and align the top wing properly or it can be crooked. :(
 
Those are some really ugly looking birds, with some rather interesting design features.
lol, not all aircraft are good looking, but they still have historical significance and that’s what I am most concerned about. So I will have some ugly ducklings in my collection.
But fear not, I have another Fokker DVII to build. ;)
 
Not trying to pick nits here Dean, but I assume the lower portion of the nav lights were landing lights. Wouldn't the upper portion be red and green like traditional nav lights? Also, were there cables to the rudder bellcrank? :)
 
Not trying to pick nits here Dean, but I assume the lower portion of the nav lights were landing lights. Wouldn't the upper portion be red and green like traditional nav lights? Also, were there cables to the rudder bellcrank? :)
Hey Russ, good attention to detail.
The kit gave no color codes on the lights, I wasn’t sure how they did it back then in WW1?
On the rudder, there is a tiny short run…however it is covered by the lower elevator cable, so I figured it wasn’t worth my effort! So I left it off. ROTF
 
I figured it wasn’t worth my effort! So I left it off.

I'm so disappointed.


ROTF

I wasn't sure about the nav lights either. Other than landing lights, I would be surprised if they used them at all in a dog fight - it seems like they would make it easier for the enemy to see (and aim at) you!
 
I'm so disappointed.


ROTF

I wasn't sure about the nav lights either. Other than landing lights, I would be surprised if they used them at all in a dog fight - it seems like they would make it easier for the enemy to see (and aim at) you!
Well... all I can find on the subject is the fact that they helped the pilot fly and navigate at night. How they accomplished this is not mentioned. I suspect they were more for landing at night, but I can only speculate. And if they had different colors for left and right, then I can always copy the aircraft for WW2 as you mentioned with red and green. That would have helped them tell which way the others were flying in their squadron. However the lights were only facing the front. But WW1 aircraft were the first aircraft used in combat and they were learning as they went. I guess I will change the color of the lights…
Here ya go…

IMG_9027.jpeg
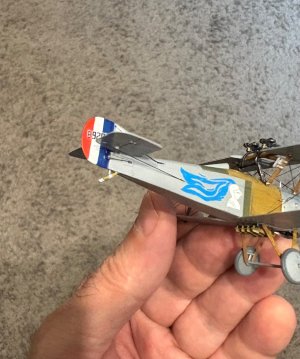
Red and green above and just some yellow lights below for visibility. That’s how mine is going to be. ;)
Then there was the missing rudder cables…

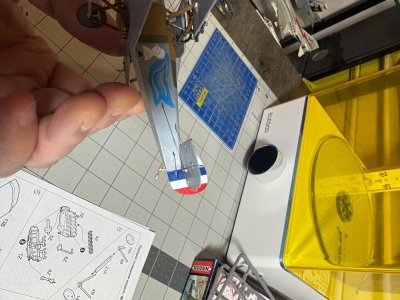
IMG_9023.jpegIMG_9022.jpeg

Now that Russ is happy, so am I …ROTF

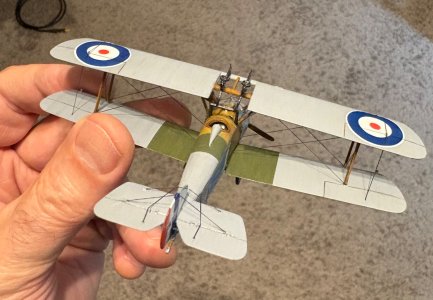
A bonus pic as she flies into the sunset…

IMG_9025.jpeg

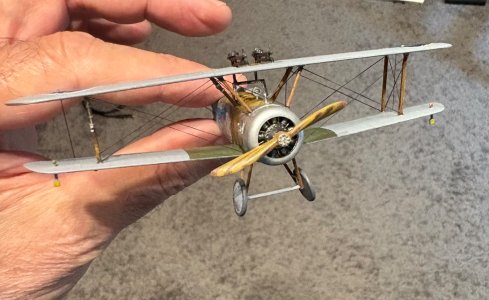
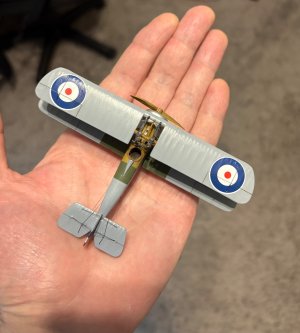
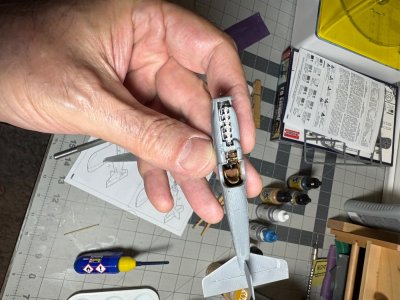
And one for size reference…they fit in my hand…

IMG_9030.jpeg
So goodbye to the Camel F1.3 Comic…on to the shelf she goes…to the WW1 hangar! ;)
 
Last edited:
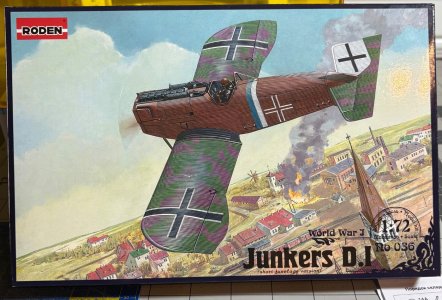
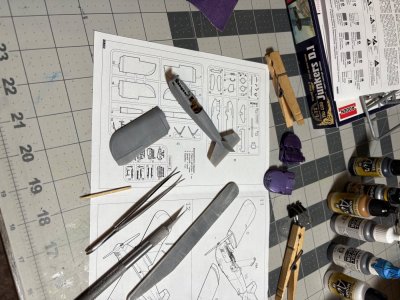
Next up is the Junkers D.1
IMG_9032.jpeg
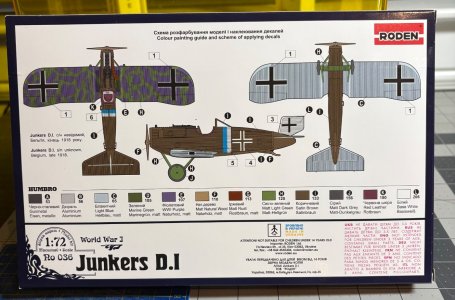
IMG_9031.jpeg
Using the color scheme above…

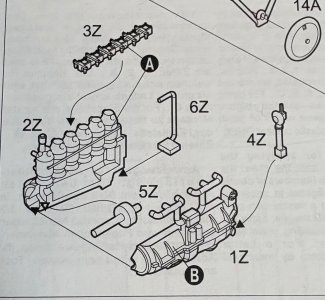
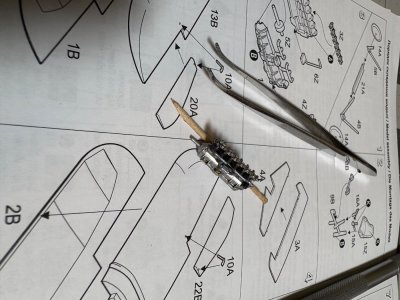
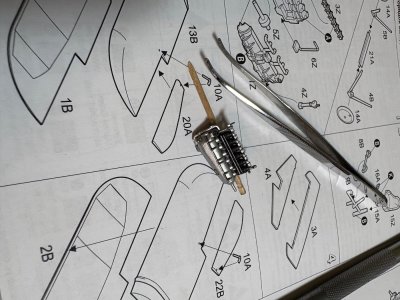
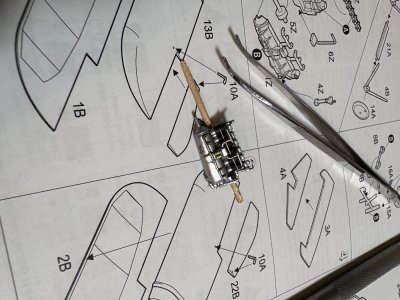
First step is the motor assembly…

IMG_9033.jpeg
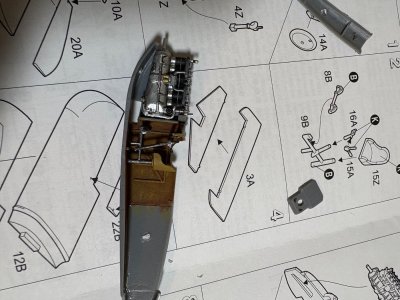
It’s very tiny and sometimes just cutting parts off the sprue breaks them! Part 6Z broke and had to be glued in two places…sigh. And once the plane is assembled, I doubt you will ever see it. But just in case I detailed everything.

IMG_9017.jpegIMG_9016.jpegIMG_9015.jpeg
That’s it for now…time to start removing more parts and cleaning them up.
See ya next time…
 
Now that Russ is happy, so am I …ROTF

Ok, so I feel guilty now ... Speechless

At the same time, it looks fantastic! Those rudder cables turned out to be a lot more visible than you thought they would be - and they look great.

As for the lights, like you, I can't say for sure what the color scheme was. I saw some images online with red/green lights, but they were all models, so you can't be sure. Of course, any photographs from that era would be B & W, so perhaps we'll never know.

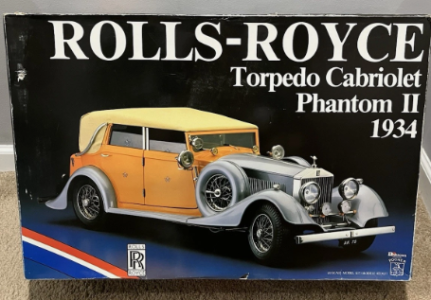
On another note, my Pocher 1934 Rolls Royce Torpedo Cabriolet Phantom II will be arriving today. Planning for my retirement. ROTF

1754479779326.png
 
Ok, so I feel guilty now ... Speechless

At the same time, it looks fantastic! Those rudder cables turned out to be a lot more visible than you thought they would be - and they look great.

As for the lights, like you, I can't say for sure what the color scheme was. I saw some images online with red/green lights, but they were all models, so you can't be sure. Of course, any photographs from that era would be B & W, so perhaps we'll never know.

On another note, my Pocher 1934 Rolls Royce Torpedo Cabriolet Phantom II will be arriving today. Planning for my retirement. ROTF

View attachment 536287
No worries, you are correct on all accounts, so it was a change for the better. I guess I build so many that I sometimes forget to strive for perfection...lol
The Rolls Royce looks like it will be a nice model...enjoy! Hopefully the motor has some nice detail. ;)
 
That’s going to be very nice!

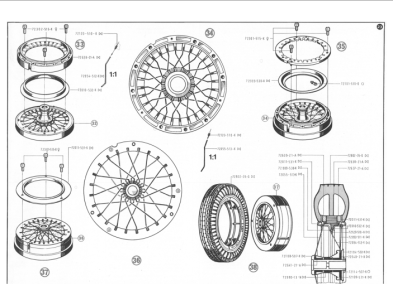
Indeed. This is supposed to be the most complex kit Pocher put out. Something like 3000 pieces. Even the generator is assembled!

1754504404980.png

As are the spoked wheels - 6 of 'em - one spoke at a time!

1754505118456.png

This will be a very long project. But! Discipline must reign! First, the Oseberg, then the 1:160 Enterprize stern, then this one ... maybe. ;)
 
A little more progress on the Junkers D.1


IMG_9037.jpeg
The motor and cockpit assembly was added to one side of the fuselage, also the instrument panel.


IMG_9040.jpeg
IMG_9042.jpeg
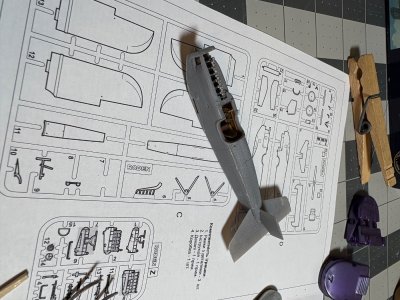
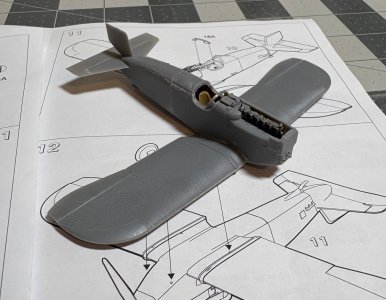
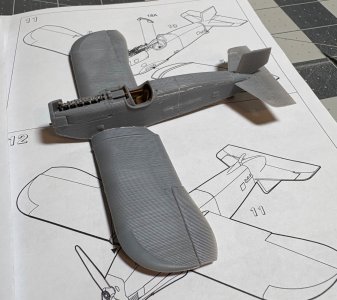
Then the fuselage was assembled and putty was needed in a lot of areas. So a lot of prep work prior to starting paint.

I also started assembling the main wings…

IMG_9044.jpeg
They are two halves and then the aileron is glued on.
Unfortunately this kit has a lot of flash, and sometimes fitment issues that require a lot of sanding and prep work. Oh well, it happens and we just make the best of it. I actually am excited to see how this one turns out. I think it’s going to be nice in the end. ;)
See ya next time…
 
Back
Top