- Joined
- Aug 8, 2019
- Messages
- 5,524
- Points
- 738

You have to be very old to be allowedLooks like it, If I was going to tour Europe, that's how I'd do it.
 |
As a way to introduce our brass coins to the community, we will raffle off a free coin during the month of August. Follow link ABOVE for instructions for entering. |
 |
 |
The beloved Ships in Scale Magazine is back and charting a new course for 2026! Discover new skills, new techniques, and new inspirations in every issue. NOTE THAT OUR FIRST ISSUE WILL BE JAN/FEB 2026 |
 |

You have to be very old to be allowedLooks like it, If I was going to tour Europe, that's how I'd do it.
Good afternoon Paul. A beautiful spot. Looks like you guys are having a wonderful time. Cheers GrantI discovered where all the Habsburg wealth went. It’s in Vienna.
View attachment 543432View attachment 543431
View attachment 543430
 .
.

Thanks, Richie. I look forward to when you return to your build!Oops sorry Paul, very late to this party, only 21 pages in with a few hundred more to go right.
I will have to return to the begining to follow the progress to this point.
Have not been very engaged here myself lately as my mind has been distracted with other things so my builds have stalled, but they are always there for me when I want to carry on.
Looking forward to following along with your build which I am sure will be as amazing as your previous work.
Yeah, those guys know how to show off their wealth.I discovered where all the Habsburg wealth went. It’s in Vienna.
View attachment 543432View attachment 543431
View attachment 543430
Wait untill you go to Spain or even the UK all HabsburgI discovered where all the Habsburg wealth went. It’s in Vienna.
View attachment 543432View attachment 543431
View attachment 543430

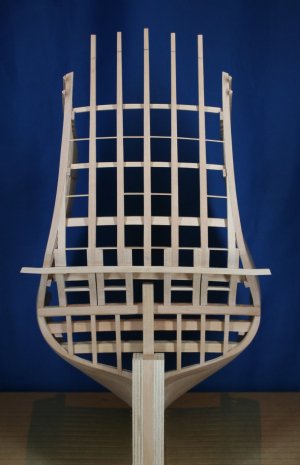
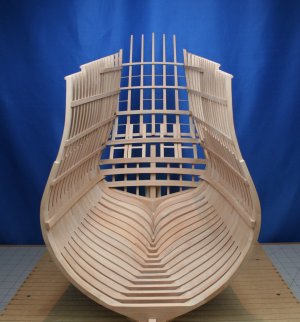
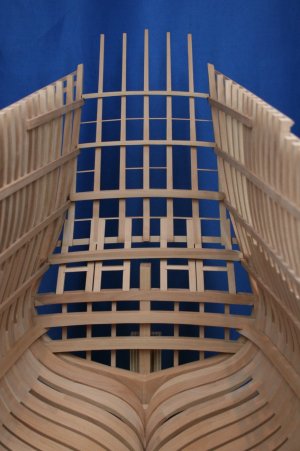
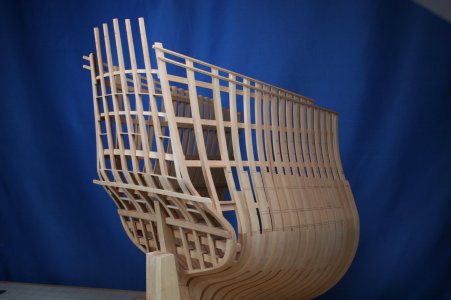
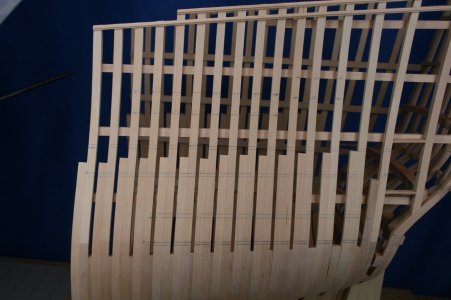


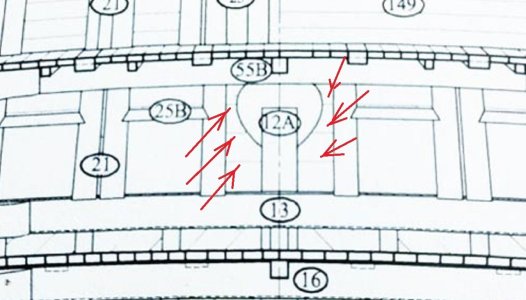
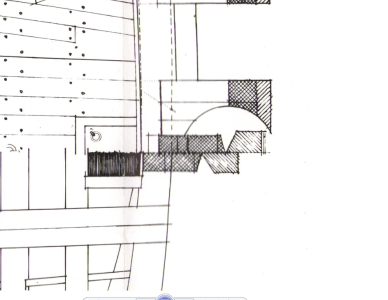
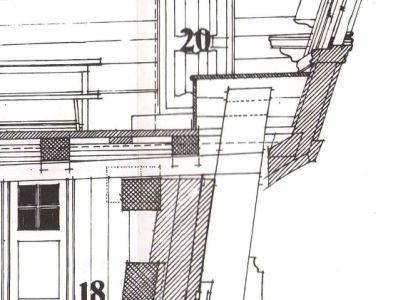
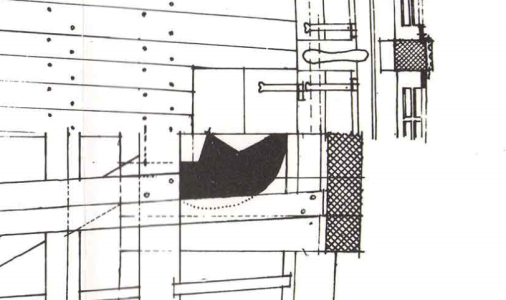
Paul I only have the Bonhomme Richard drawings to compare to it, so I don't know if it helps but it has these fillers in there with a straight vertical round cutout in them.I can't quite figure out what to do in the region of the stern post. Surely there should be some fillers to frame an opening for the head of the rudder - but I can't find a drawing that shows this region. Once again my lack of knowledge and experience has caught up with me.
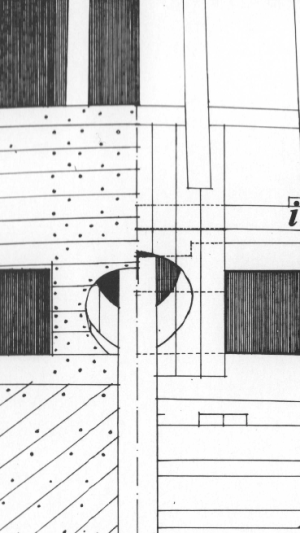

Wow that workmanship is just supurb, stunning.Back to the real world - but better for the memories of a wonderful trip...
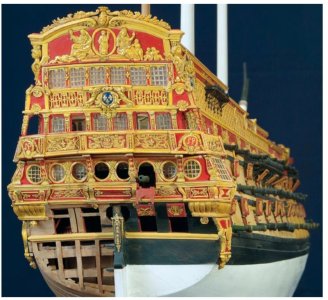
Just wrapping up a few more elements on the stern facade: specifically, here you see the upper sills (headers?) for the stern gunports as well as three levels of sternlight sills. There is some question as to whether or not Mr. Lemineur has it right by showing four stern gunports - lots of votes on the French forum arguing for two...
View attachment 545232
View attachment 545230
View attachment 545231
View attachment 545233
I can't quite figure out what to do in the region of the stern post. Surely there should be some fillers to frame an opening for the head of the rudder - but I can't find a drawing that shows this region. Once again my lack of knowledge and experience has caught up with me.
In the meantime, I've started laying out for the gunports:
View attachment 545229
Thanks for stopping by!


as always, wonderful on your newest piece of art !Hello Friends,
Over the past week I have continued to add components to the stern facade. Three more aft deck beams were installed along with six vertical stern counter timbers. I marked these elements with arrows...
View attachment 540819
A keen eye will notice the apparent 'thinness' of the fashion timbers - especially on the starboard side. Here is a closer look:
View attachment 540816
This thinness is an illusion of sorts. While installing the stern counter timbers (again, the six vertical pieces) it became quite clear that I had the fashion pieces either fabricated incorrectly or installed incorrectly. I can't explain how - but relative to the wing transom (the large horizontal timber at the top end of the counter timbers) as well as to the rabbet in the sternpost - the fashion pieces were either too far forward or not wide enough (when viewed from the side).
I thought about taking everything apart and trying again - but then reason took over and I decided to just laminate a thin layer of wood to the aft surface of the fashion timbers. Since it would be virtually impossible to fair the inner/upper surface of the lamination, I made it narrower than what I was laminating it to. Once the counter is planked this will all disappear.
Here is a view of the lamination from the side - I think the fashion piece now has an improved appearance (more robust):
View attachment 540820
Here is a closer look at the upper counter:
View attachment 540817
And now from the inside:
View attachment 540814
I have always struggled to work on the stern of the models I have made. On the Vasa I ended up standing the ship vertically on the floor with a pillow cushioning the bow - and on the Kingfisher I sat on a small step stool with the ship above me on my worktable.
I have LOTS of work to do on the SP stern, so I made this gizmo. I think this will be a good solution...
View attachment 540815
My wife and I are off on holiday for a bit, though I will certainly have some opportunities to check in on your respective projects.
Thanks for the visit!
I agree. The entire space (Helm-port) was filled with wooden inserts.Paul I only have the Bonhomme Richard drawings to compare to it, so I don't know if it helps but it has these fillers in there with a straight vertical round cutout in them.
I can't quite figure out what to do in the region of the stern post. Surely there should be some fillers to frame an opening for the head of the rudder - but I can't find a drawing that shows this region. Once again my lack of knowledge and experience has caught up with me.
