• Win a Free Custom Engraved Brass Coin!!!
    As a way to introduce our brass coins to the community, we will raffle off a free coin during the month of August. Follow link ABOVE for instructions for entering.

Constitution Cross Section MS20245 Model Expo

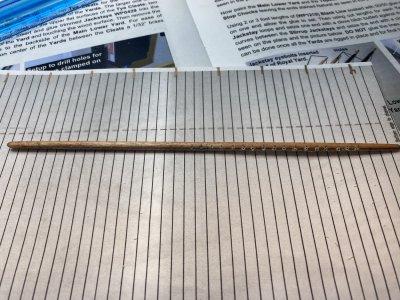
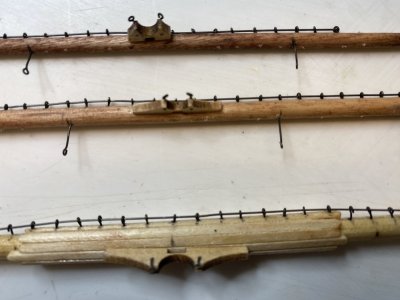
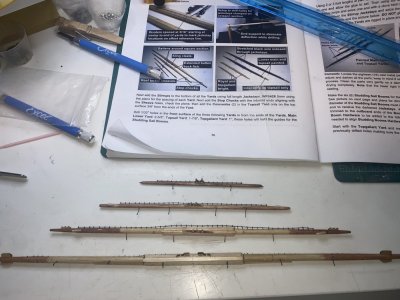
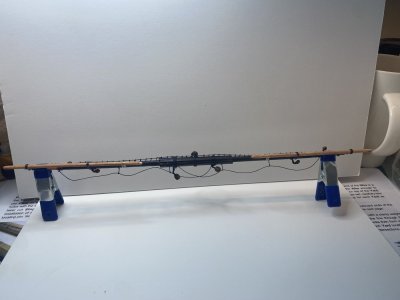
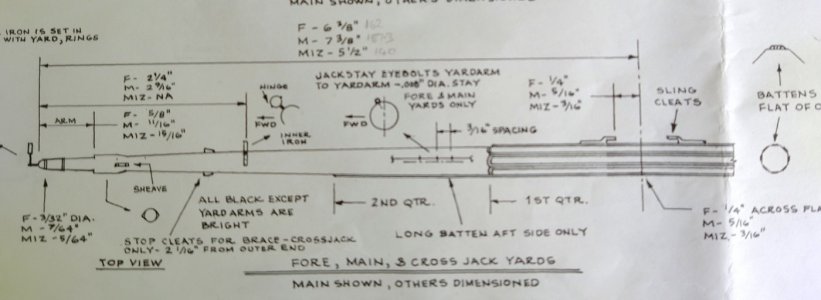
I started to drill the holes for the jackstays. The spacing they suggested was the same 3/16" spacing for the ratlines so I used the ratline spacing guide instead of a dividers to space the eyebolts. Interestingly the instructions suggest the line for the jackstays be placed slightly to the rear of the top of the yards. Instructions for the full Constitution show them a bit forward of the top the yard. I have no idea which is correct. To be honest I doubt it really matters at this scale.
IMG_20250729_165454.jpg

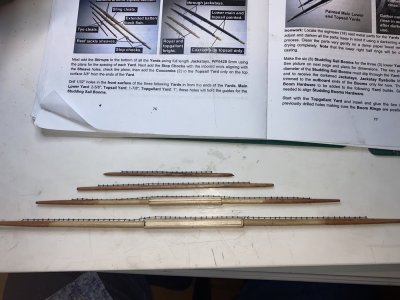
It is also a bit unclear of where the jackstays end on the topgallant yard. The ends are hidden in the drawings. There was one photo on page 77 of the instructions showing the ends of the yards and I could gauge where to stop from that. Downloading the PDF of the instructions allows you to magnify the pictures clearly and is of great help.

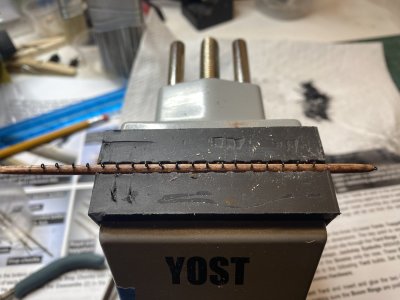
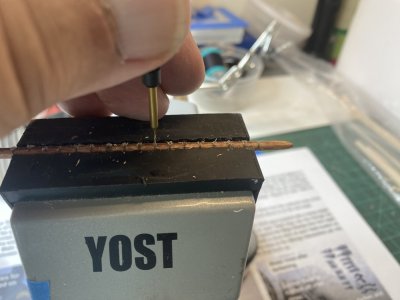
The instructions would have you use a drill press and X-Y table to drill the holes. I do not have either so I had to improvise a bit. After marking the lines, I secured the yards to my vise and used a small bit on my pin vise to start a small hole. After the started holes were done, I used my nail drill fitted with a 0.3mm drill bit to make the holes. This worked very well.
IMG_1081.jpeg

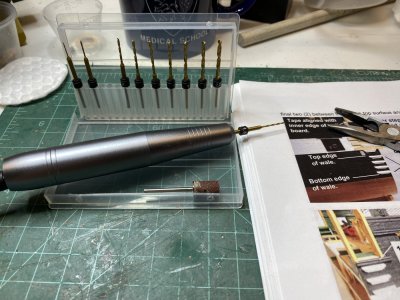
I use a set of the Arromax drill bits. They only run about $18 for a set of 10 on Amazon. They fit perfectly on my $13 nail drill and do a superb job.
IMG_0275.jpeg

IMG_1082.jpeg
 
After drilling all the holes in the yards I cut most of the end off small eyebolts and secured them to the yards using CA.
IMG_1087.jpeg

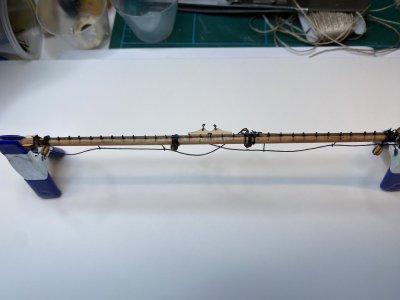
Once the CA dried I measured some 28 gauge wire, cut it a little longer than the length I needed. I then straighten the wire by holding the two ends with some pliers and stretching the wire. I then threaded the wire through the eyebolts, which actually went easier than I thought it would. Using small drops of CA I glued the wire to the eyebolts. I will cut the ends flush once the CA dries.

IMG_1089.jpeg
 
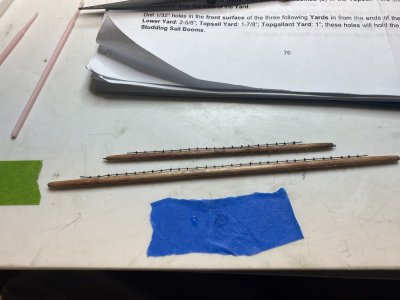
Taking way too long, I trimmed every eyebolt and glued them into place with CA and completed all the jackstays. There is still al to of work to be done on these yards. I have been reading on the rigging and how it was used. The amount of engineering used to sail these ships is truly amazing.

IMG_1093.jpeg
 
I heard in the Royal Navy to be fully qualified deck hand, you had to know purpose and location of every line on a mast, which was a bit easier due to standardization between all the masts and between ships.
 
I heard in the Royal Navy to be fully qualified deck hand, you had to know purpose and location of every line on a mast, which was a bit easier due to standardization between all the masts and between ships.
I have been reading the magnificent trilogy by Ian Toll covering the U.S. Navy in WWII. In the Silent Service (submarines) a fully qualified sailor would be required to know the function of every switch and valve in the boat.

Probably impossible today.
 
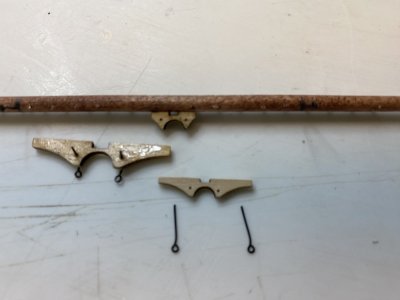
I next added the tye cleats or yolk for the topsail, top gallant and royal yards. After cleaning them up I placed some eyebolts on them. These eyebolts will be used to secure the parrel which will wrap around the mast.The instructions would have you drill holes along the length of the cleat, but I thought it was easier and probably stronger to drill small holes along the surface, insert and bend the eyebolts into position and then glue them into place with CA. I also painted the surface of the wood with CA to hopefully strengthen them.
IMG_1095.jpeg

The excess portion of the eyebolts were then trimmed away. Stirrups were then placed on the bottom of the yards to hold the foot ropes. The spacing for these taken from the drawings. The tye cleats were then glued to the yard using CA. I will drill a hole into the yard to set a pin, which will index with holes I drilled into the mast to help position dn hold the yards in place.

IMG_1096.jpeg
 
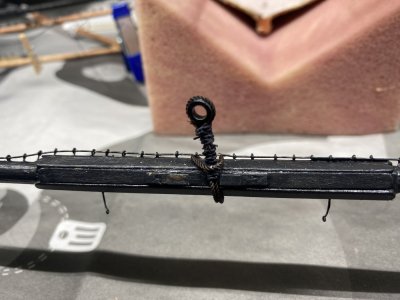
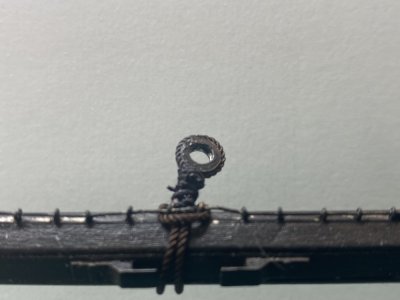
The lift rimg and harness were made from the included hardware and the same line I used to make the upper shrouds. EDITED I just noticed that the lift ring should be rigged so it lifts BEHIND the jackstays. I will redo this. Somehow it seems if there are 2 ways of doing something I will inevitably do the wrong way first. Just wrote this to help others in the future who will be doing this.

IMG_1104.jpeg

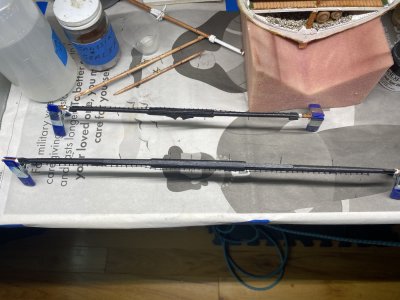
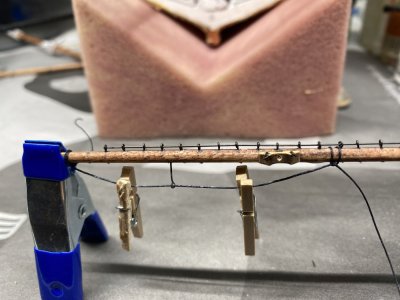
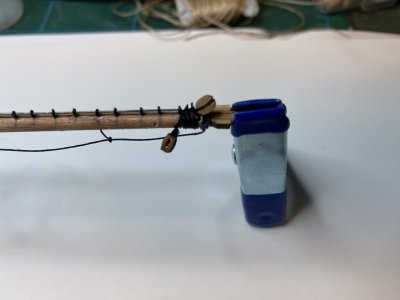
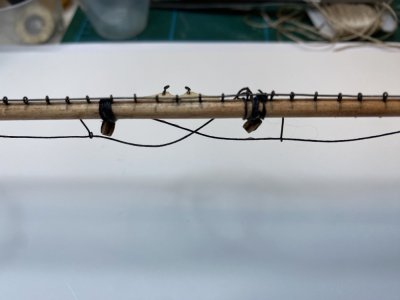
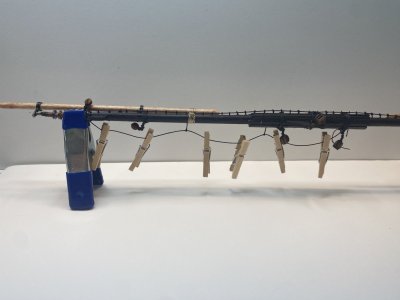
The foot ropes are being installed by using the recommended instructions. Line was soaked with 50:50 glue:water and the line was dried by hanging it and having a weight (clamp) on one end until dry. It was then installed by tying what I hope are clove hitches :) . The ropes were then tensioned by hanging small clothes pins on them.
IMG_1103.jpeg
 
Last edited:
As I wrote above I erroneously placed the lift ring so it was in front of the jackstays. I cut the old one off and redid it.
IMG_1111.jpeg

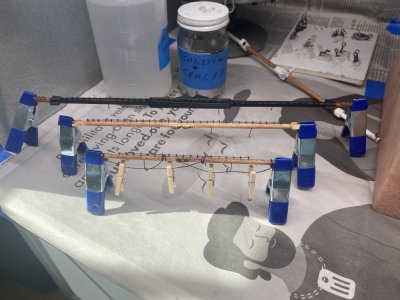
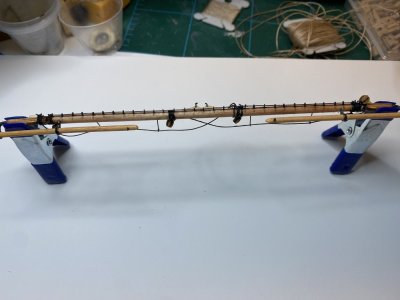
Also another tip. I find that holding these yards on the small metal clamps really makes them much easier to manipulate and store without damaging them.
IMG_1108.jpeg

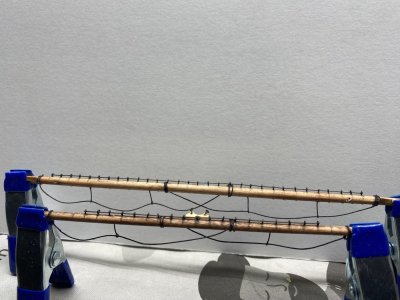
2 yards were completed with their foot ropes. I think the miniature clothes pins provide just the right amount of tension to shape the foot ropes.
IMG_1114.jpeg

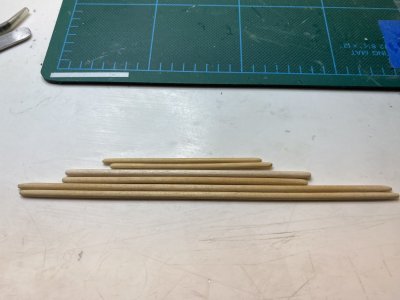
I then cut and tapered the dowels for the studding sail brooms. At least in my case I did not have enough dowel supplied to do all the 1/8" booms and none at all for the 3/32" set. Luckily I am one of those of us who seldom throws away any left over parts from pervious kits (much to the dismay of my Admiral) so I was able to find suitable dowels to use.
IMG_1113.jpeg

I made sure the dowels could fit easily through their proper boom rings. To do that I used a small diamond needle file to clean out the inside of the rings. Some of them required quite a lot of work to get and easy fit, but eventually they all slid in and out without problem.
 
Last edited:
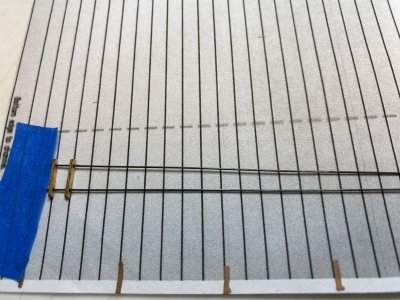
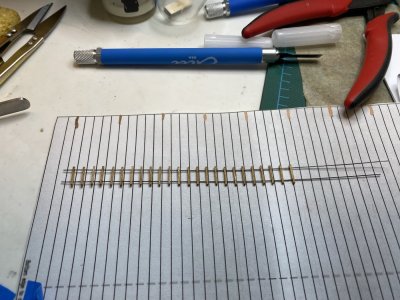
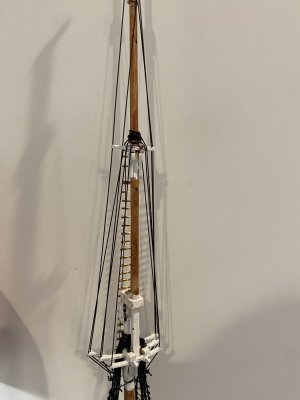
Jumping around a bit, I stepped the royal/ top gallant mast into place. There is a Jacobs latter that goes along the rear of this mast up until the royal mast portion. The instruction would have you use line, but I used the 27 gauge wire instead. It was a much easier build. The spacing was 3/16th the same spacing as the ratlines so I used the ratline guide to build on. I straightened the wire and taped two ends down.
IMG_1115.jpeg

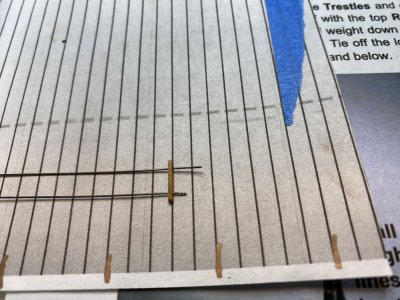
At the top I cut one wire a little shorter so it would be easier to thread one line then the other with the ladder funds instead of having to fit them together.
IMG_1116.jpeg

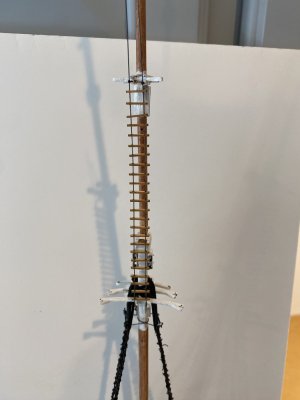
The instructions said you needed 21 rungs for the ladder but I required 24. I am not sure why the discrepancy, but luckily they provide plenty of spare rungs.
IMG_1117.jpeg

I threaded in the upper wire through the eyebolts previously installed on the rear of the cross trees. It was then an easy matter to put the lower wires into the bottom eyebolts and glue the ladder into position.

IMG_1118.jpeg

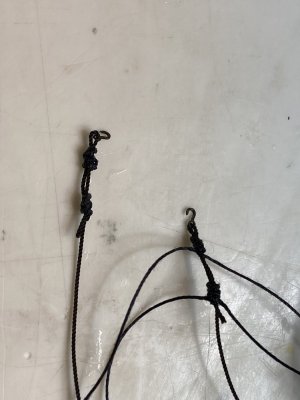
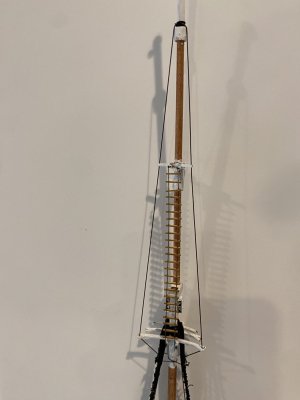
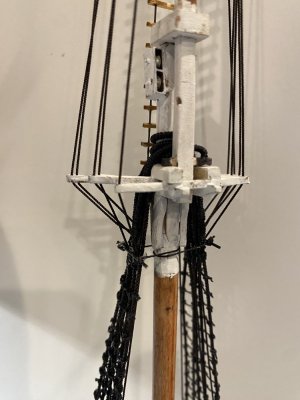
After the glue had set the upper wires were trimmed. I then started on the Royal / Top Gallant shrouds. Instead of the provided 0.020" line which was fairly "fluffy" I instead used some nice 0.019 thread from ropes of scale, which looks a lot neater. As per the instructions I double seized some small hooks on one end, hooked those to the eyebolts on the fighting top and threaded the line through the topmast shrouds onto the notch on the topgallant crosstree arm and then through the hole on the royal crosstrees arm. The end of the line was seized with a clove hitch and a drop of CA on top of the royal mast stop. This actually worked out a lot easier than I thought it would.

IMG_1124.jpeg

IMG_1121.jpeg
 
Last edited:
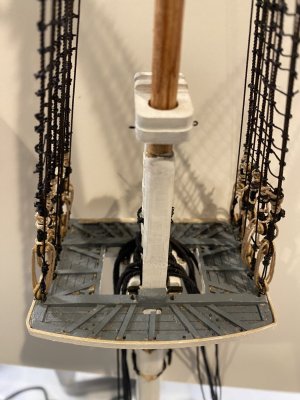
I have slowly been completing the work on the yards, mostly trying to understand the instructions and where and why blocks and lines are put where they are. I have put off stepping the mast as long as possible because it is so much easier to work on it when it is not part of the hull, and I am much less likely to damage the hull.

Here is the Top Gallant yard being fitted with blocks. The instructions have you seize 6, 3mm blocks on the yard 2 on each end then 2 facing downward 5/8" from the center. These are to winch out the stunsails. I believe mistakenly it then has you put 2, 4mm blocks also 5/8" from the middle. The plans show no such blocks and I assume this is an error.

Some of the blocks I am using are from the Syren ship model company and are very nice. I am using them here because they are more noticeable than the ones buried on the cannons.
IMG_1133.jpeg
IMG_1134.jpeg
IMG_1135.jpeg

Once the blocks were seized into place I put on the "iron works" and slipped in the stunsail pieces. When everything fit well I secured the iron works with some CA and put eyebolts on the other ends of the stunsails.

IMG_1136.jpeg
 
I have slowly been completing the work on the yards, mostly trying to understand the instructions and where and why blocks and lines are put where they are. I have put off stepping the mast as long as possible because it is so much easier to work on it when it is not part of the hull, and I am much less likely to damage the hull.

Here is the Top Gallant yard being fitted with blocks. The instructions have you seize 6, 3mm blocks on the yard 2 on each end then 2 facing downward 5/8" from the center. These are to winch out the stunsails. I believe mistakenly it then has you put 2, 4mm blocks also 5/8" from the middle. The plans show no such blocks and I assume this is an error.

Some of the blocks I am using are from the Syren ship model company and are very nice. I am using them here because they are more noticeable than the ones buried on the cannons.
View attachment 547969
View attachment 547970
View attachment 547971

Once the blocks were seized into place I put on the "iron works" and slipped in the stunsail pieces. When everything fit well I secured the iron works with some CA and put eyebolts on the other ends of the stunsails.

View attachment 547972
good work. You are chugging along at a good pace. I have been working on my Constitution as well but I am slow...
 
Back
Top