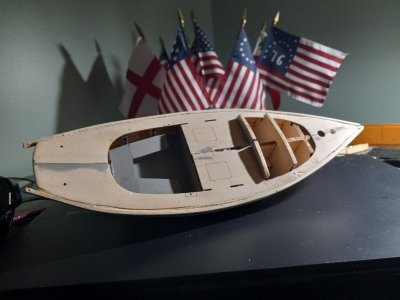
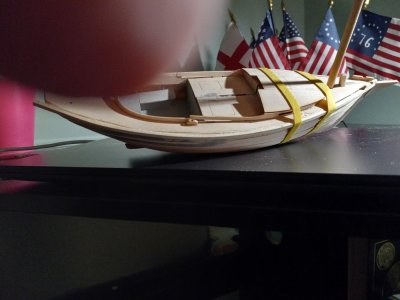
I have 3/32 rails to install after bending, it was suggested to use steam to soften these...would soaking in boiling water work as well?
-

Win a Free Custom Engraved Brass Coin!!!
As a way to introduce our brass coins to the community, we will raffle off a free coin during the month of August. Follow link ABOVE for instructions for entering.
-

PRE-ORDER SHIPS IN SCALE TODAY!
The beloved Ships in Scale Magazine is back and charting a new course for 2026!
Discover new skills, new techniques, and new inspirations in every issue.
NOTE THAT OUR FIRST ISSUE WILL BE JAN/FEB 2026
You are using an out of date browser. It may not display this or other websites correctly.
You should upgrade or use an alternative browser.
You should upgrade or use an alternative browser.
- Joined
- Jun 29, 2024
- Messages
- 1,508
- Points
- 438

Yes, heat is heat. Water boils at 212F. Steam from boiling water is also at 212F.
Roger
Roger
Hot water works well. What I find also helpful is to rub some regular windex (that has ammonia) on it and let it soak in for a few minutes. I find the ammonia really helps with the flexibility of the wood.
Rob
Rob
z
Ok, thanks for that. Since the "Boss" is going out today I will snitch some of her Windex, and heat water in her kitchen, which she is overly protective of, and get on with it.Hot water works well. What I find also helpful is to rub some regular Windex (that has ammonia) on it and let it soak in for a few minutes. I find the ammonia really helps with the flexibility of the wood.
Rob
Thank you for the tips Rob444. Successfully bent the 3 3/4 railings, using Windex and hot water' and had it done before the "Boss" returned! Waiting for it to dry.
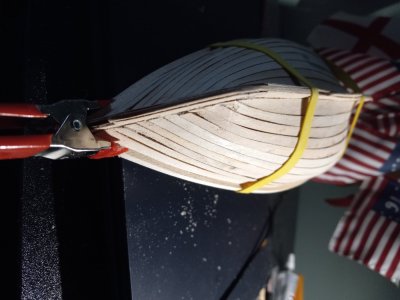
Last edited:
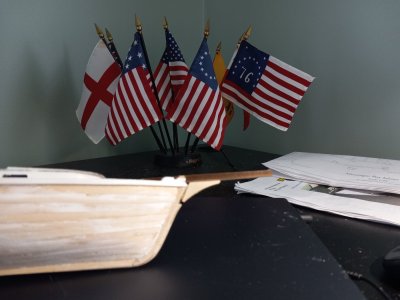
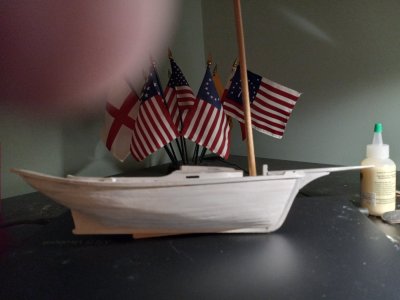
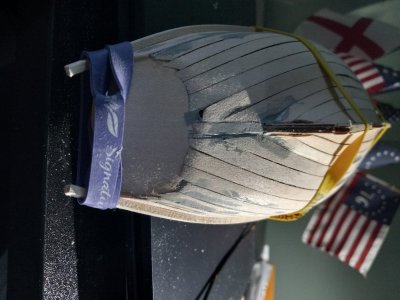
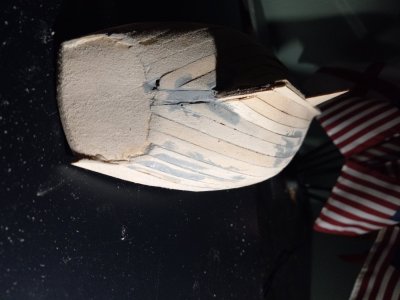
Super structure done, needs sanding, using Model Light white filler on deck cabin and hull planking. Questions, when using the filler do you put it on dry from the container or put it on wet? I put it on dry, and it will need a second coat of filler, do you just sand and recover? Once done and sanded, do you seal it prior to painting?
On a second note, disaster was averted when I caught my son headed into the bathroom with the lobster smack, he wanted to see if it would float!!! I sounded just like my own father..."Son, what's WRONGGGG with you". Something I had promised I would never say to my own son because Dad was always asking me the same thing. (I hated that!)
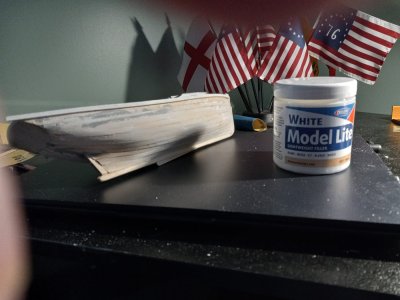
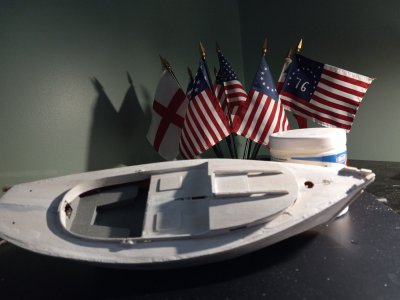
On a second note, disaster was averted when I caught my son headed into the bathroom with the lobster smack, he wanted to see if it would float!!! I sounded just like my own father..."Son, what's WRONGGGG with you". Something I had promised I would never say to my own son because Dad was always asking me the same thing. (I hated that!)


Last edited:
I think one of the mistakes I made was in not soaking the planks long enough in boiling water. If I had more patience I think they would have gone on better.
I fooled around with the wood filler and found it too dry, adding water and stirring was much better and a lot easier to work. Have to get some fine sandpaper for final prep prior to painting. What grade sand paper for final sanding prior to painting?
I fooled around with the wood filler and found it too dry, adding water and stirring was much better and a lot easier to work. Have to get some fine sandpaper for final prep prior to painting. What grade sand paper for final sanding prior to painting?
Last edited:
Looking ahead, what would be a good project for a newbie who has done Mid Wests trio for beginners, not a warship and about 24 inches at least in length? Sczle of about 1/12? And not overly complicated?
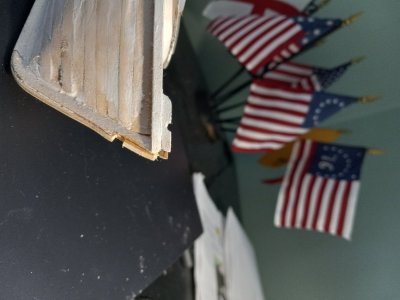
I messed up the beak. I had some rubber contCt cement spilled on it ans tried scraping it off with my Exacto. I took too much off so the beak didn,t align properly. Glued some scrap balsa on it to build the stem back up, we'll see if that works. I added filler at first with my fingers, need to put it on with a spatula, will have to add more filler , I also failed to mix enough water. After the beak repair is finished, I willredo the filler. Two more newbie mistakes!

Last edited:
With the filler, I find using several light "coats" letting the previous coat dry seems to work better than just putting on a single thick layer.I messed up the beak. I had some rubber contCt cement spilled on it ans tried scraping it off with my Exacto. I took too much off so the beak didn,t align properly. Glued some scrap balsa on it to build the stem back up, we'll see if that works. I added filler at first with my fingers, need to put it on with a spatula, will have to add more filler , I also failed to mix enough water. After the beak repair is finished, I willredo the filler. Two more newbie mistakes!
View attachment 553832
I believe I spent as much time repairing and replacing as I did building. Still ended up with a decent model, and I created some new words.A few years into my retirement I have decided to attempt wooden ship model building. My first foray is the Model Expo Lowell Grand Banks Dory.
I know my skill set would make the three-piece bottom fairly simple. However, as it is my first build I took the easy way out and chose the one-piece bottom.
View attachment 530240
I measured and marked out the cleats, and chamfered the edges before cutting them, requiring only chamfering the ends when placing them.
View attachment 530241
Following the guide I prepared and installed the stem and transom. Then set the bottom curve.
View attachment 530242
View attachment 530243
I encountered an issue (my own) with the frames. They assembled all right. Getting them into the jig, and having them set at 90 degrees was the first issue. After sanding the inside of the slots, where needed, I placed each from and support. I found I needed to file opposite top and bottom long edges to get the frames to align at 90 degrees.
View attachment 530244
Now, my next issue with the frames. In a number of builds there were comments about the fragility of some wood pieces due to the angle of the grain to the piece. I found that out the hard way. Attempting to be as careful and gentle as possible I had two frames break from the rubber band pressure. For one frame the broken piece landed in the middle of the workspace. The second broken piece disappeared into the ether. [Update: When cleaning up after this build, before starting the Norwegian Pram, I found the errant piece on a window sill. Oof.] Using the template I was able to manufacture the missing piece. Unfortunately, I miscalculated and the piece was a tad short. When the bottom was laid out over the frames there was a gap of a few millimeters. I filled the gap with a piece of scrap from a piece sheet that was the right thickness. Glued that in place, and sanded to shape. What I learned from this particular occurrence is in the future, put the template on a piece of carboard or dense foam and use pins to wedge the pieces in place while mapping out the 'missing' section.
View attachment 530247
Forming and attaching the garboard planks presented a minor problem. While soaking the port plank I used a metal weight to hold under the water. Oops. The metal left a stain, Hoping paint will correct that error. While working the starboard plank, sanding down to the laser printed sanding mark, the edge split and separated along much of the the mark. Apparently I put too much lateral pressure on the edge while cleaning them up. using diluted PVA glue I filled the gap and clamped the piece in place.
View attachment 530248View attachment 530249
So, to this point I have the port garboard plank glued in place, and the starboard garboard plank bent. While bending the starboard plank the plank split at the guide line, again. Re-glued and clamped. Will attempt to glue into place later today.
View attachment 530250
Has been quite enjoyable, a real test of patience (waiting for the next step).
Cheers
Same here,I'm on the Chesapeake Bay Lobster Smack. and it seems like repairing goofs and breaks takes longer than the build. My wife charges me a dollar for every cuss word too.I believe I spent as much time repairing and replacing as I did building. Still ended up with a decent model, and I created some new words.
I think the beak will be presentable after painting. I have tried differing glues, and have come to the conclusion that yellow PVA is best for these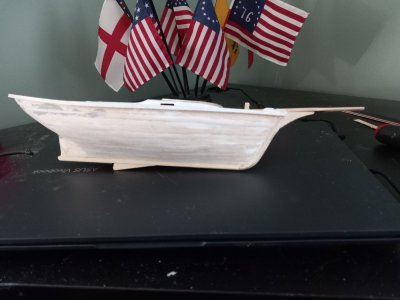 models. Most of the problems started when I broke the stern frame work, that repair was a royal pain and I am not sure everything lined up
properly afterwards. I also think that the planking was not allowed enough time to become flexible enough in hot water, and I used the hottest water I could get from the tap, but now wish I had used boiling water instead. I used glues I had on hand instead of purchasing PVA, that resulted in set up times, clampimg issues and holding issues. I went to my local hoppy shop and purchased a bottle Evergreen yellow wood glue, enough for several more kits! and it works great!
 models. Most of the problems started when I broke the stern frame work, that repair was a royal pain and I am not sure everything lined up
properly afterwards. I also think that the planking was not allowed enough time to become flexible enough in hot water, and I used the hottest water I could get from the tap, but now wish I had used boiling water instead. I used glues I had on hand instead of purchasing PVA, that resulted in set up times, clampimg issues and holding issues. I went to my local hoppy shop and purchased a bottle Evergreen yellow wood glue, enough for several more kits! and it works great!
I miss oil based paint! Painting is not my forte. I hate acrylic paints.
Last edited:
I miss oil based paint! Painting is not my forte. I hate acrylic paints. When I try to apply a second coat of acrylic paint. it seems to dissolve the first coat and mix with it. The coverage is not good. Is there a trick to using the second coat with acrylic paint?


