- Joined
- Dec 26, 2021
- Messages
- 71
- Points
- 78

Installing The Boat Deck
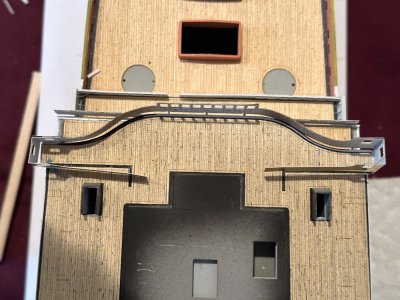
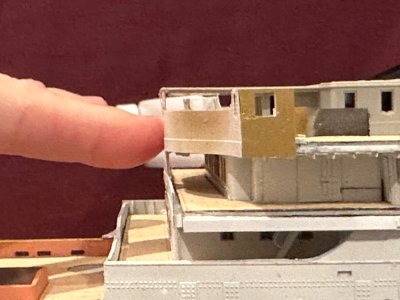
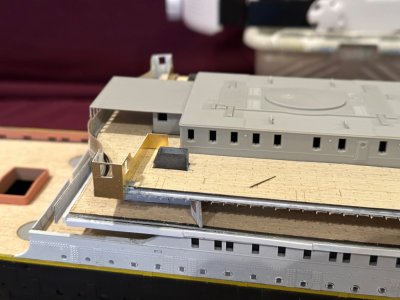
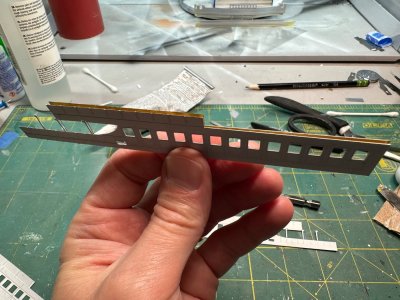
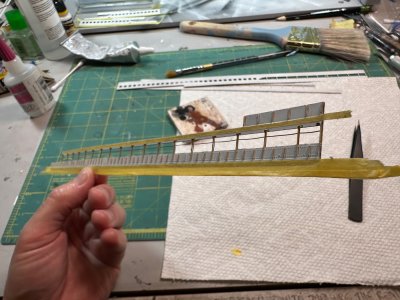
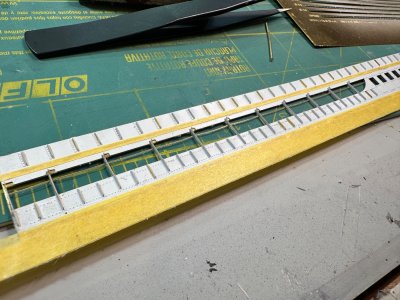
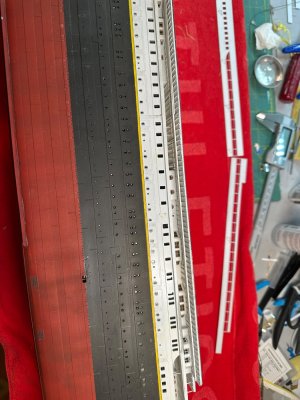
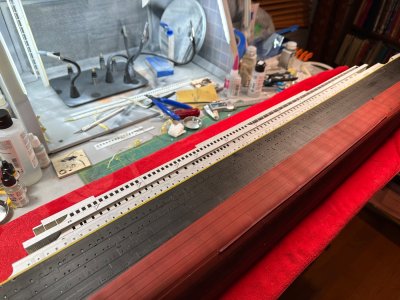
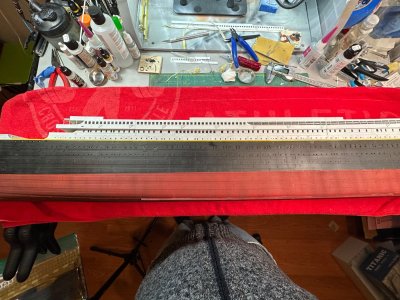
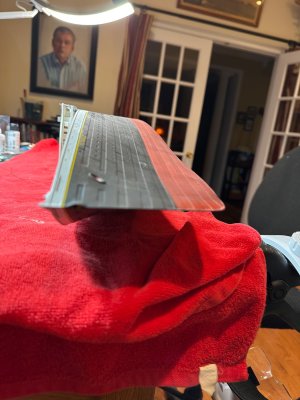
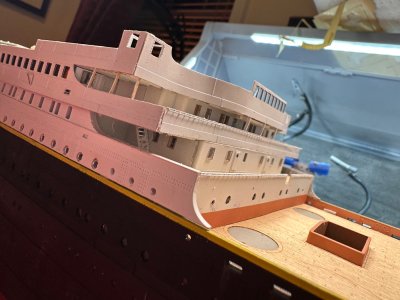
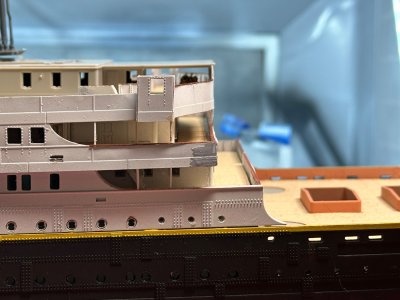
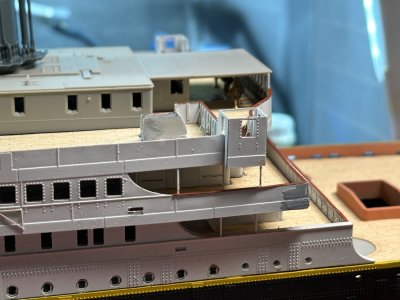
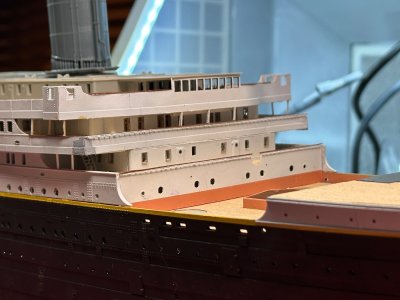
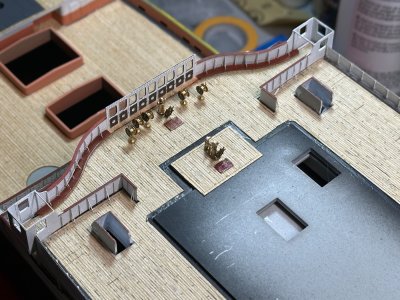
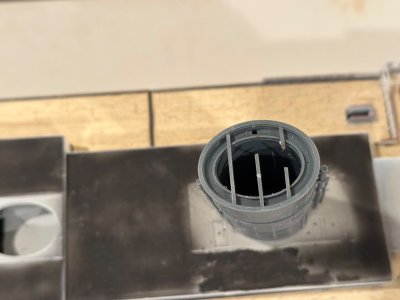
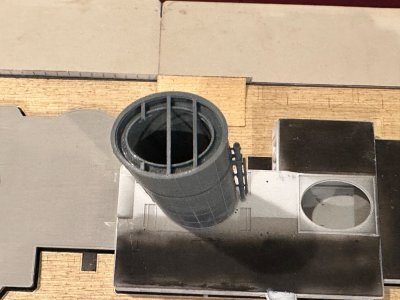
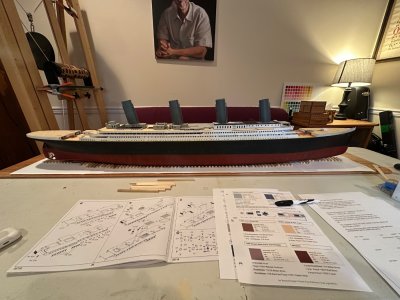
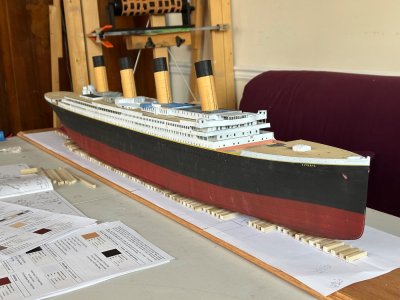
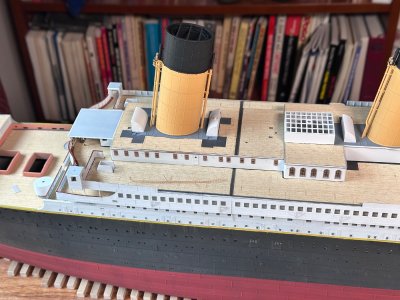
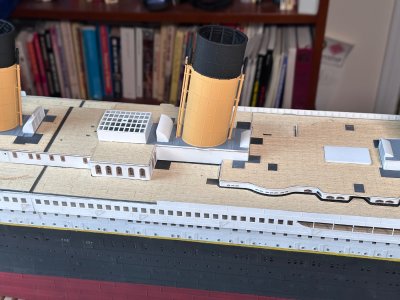
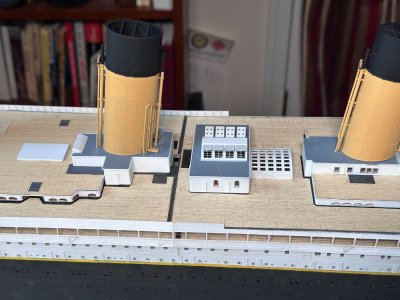
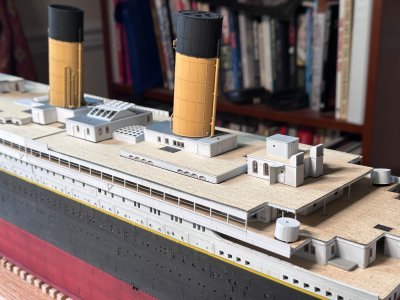
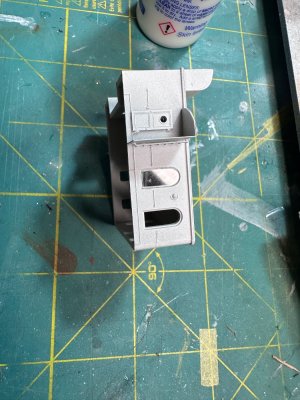
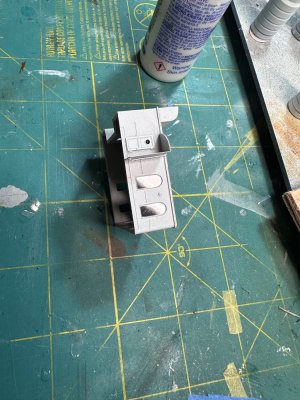
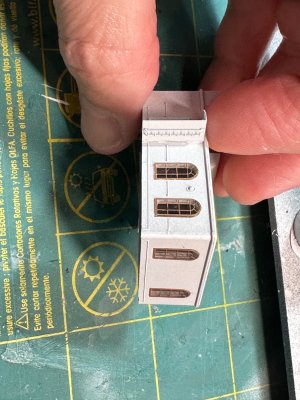
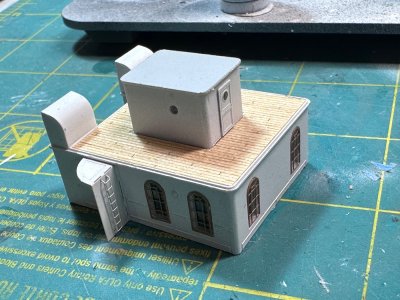
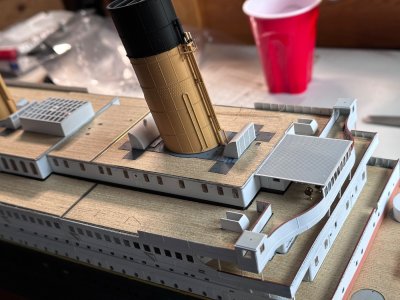
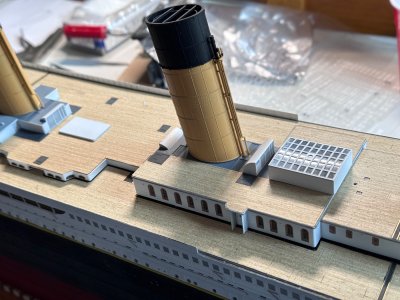
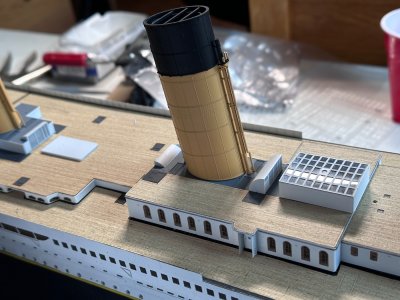
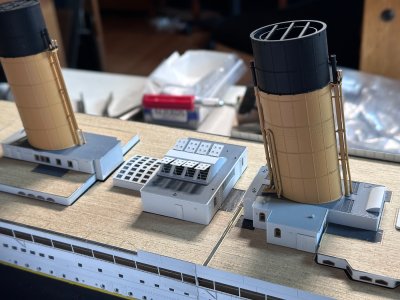
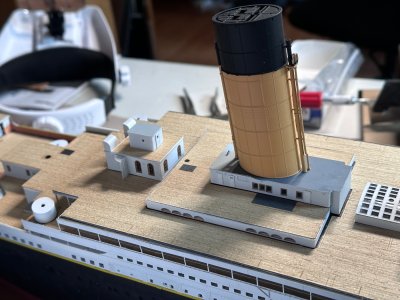
This is a quick post to tie-off my Boat Deck work and installation.The Boat Deck mounts on top of the A Deck structures, but it lacks any alignment pins or slots. You have to look for alignment around the stair case openings and check around the top edges of the A Deck structures. This is particularly important with the Woody’s Model Works beam set. I spent time ensuring that the beams weren’t getting caught on the top edges of the A Deck structures. I also checked to see if the Boat Deck and A deck were aligned. This is critical to ensuring that the Woody’s A&B deck superstructure PE will align correctly on the outside later on.
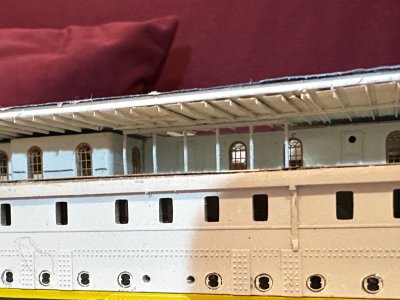
Looking at the underside of the Boat Deck to check alignment with A Deck structures.
I used standard Tester’s model cement to secure the boat deck. I like this stuff - reminds me of my youth.
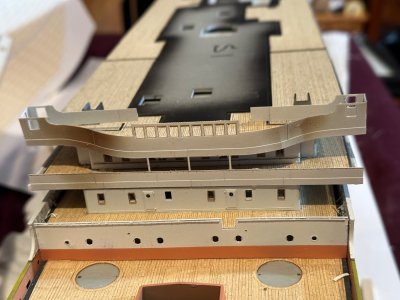
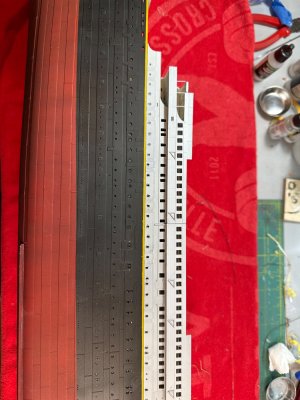
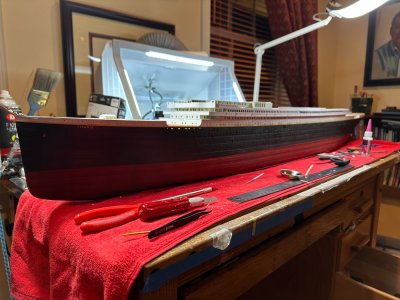
 It also forms an excellent bond and stays wet long enough to make adjustments. I piled a ton of weight on top of the Boat deck to ensure that it fit snugly.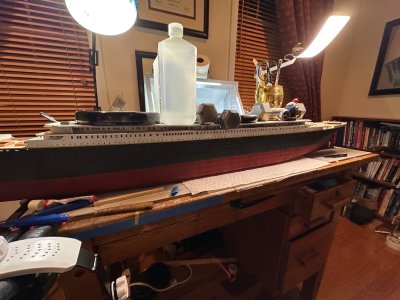
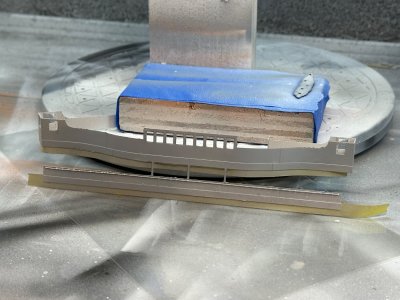
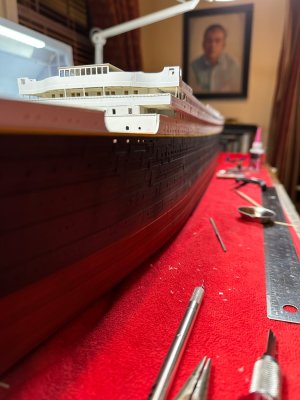
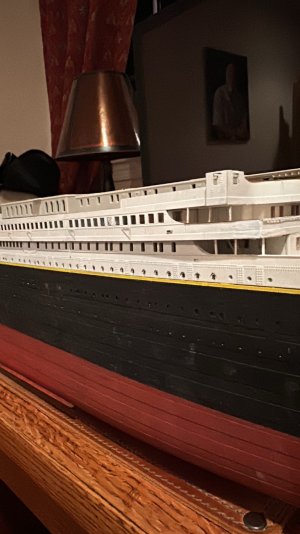
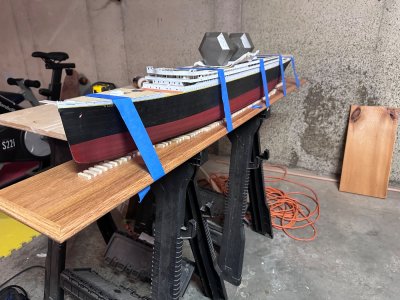
Boat Deck being held in place with pretty much everything that I could find to weigh it down.
With this step done, it’s on to installing the Woody’s A&B Deck superstructure and the Bridge!