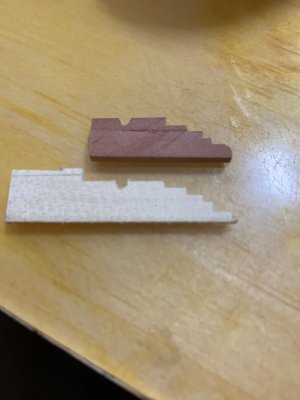
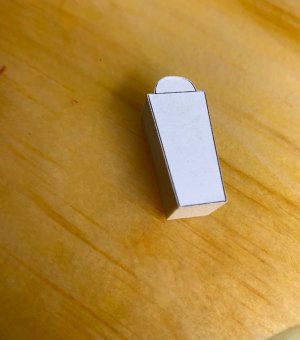
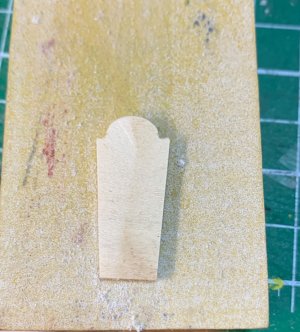
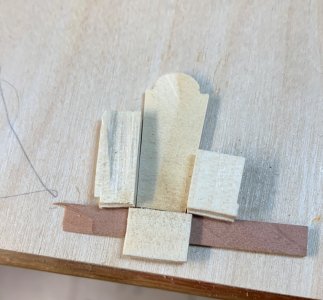
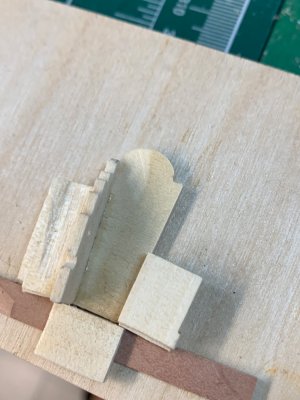
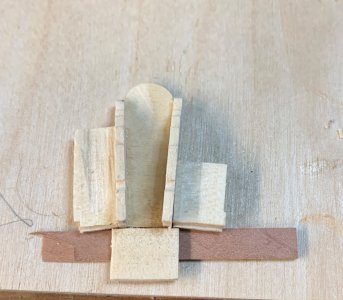
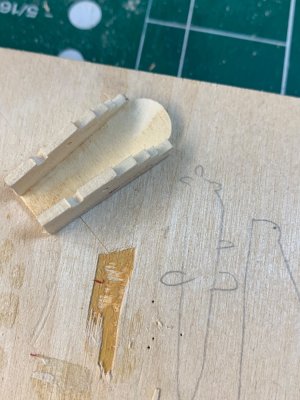
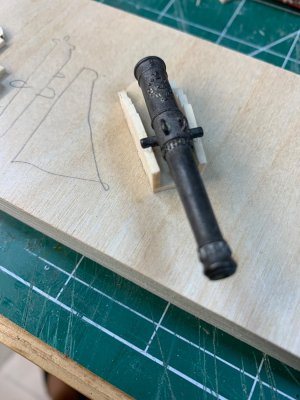
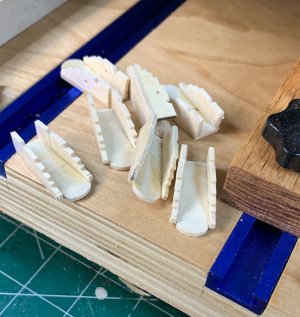
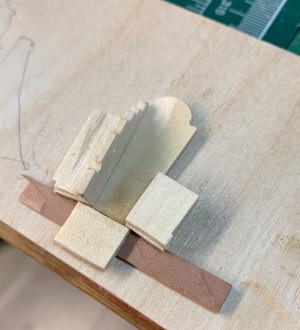
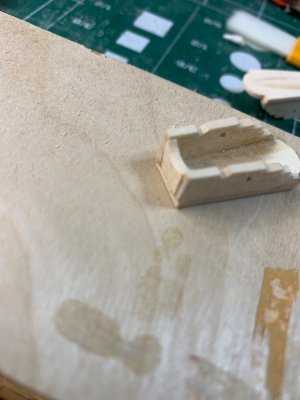
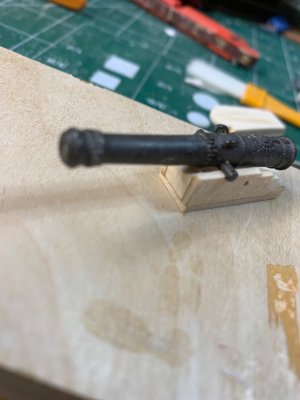
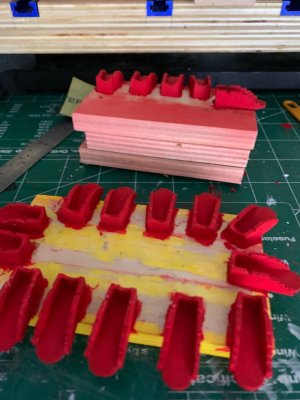
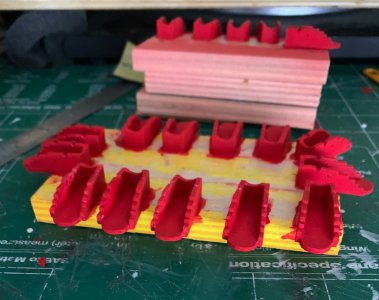
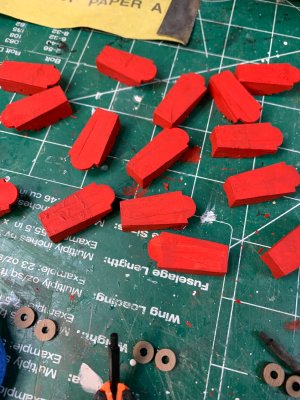
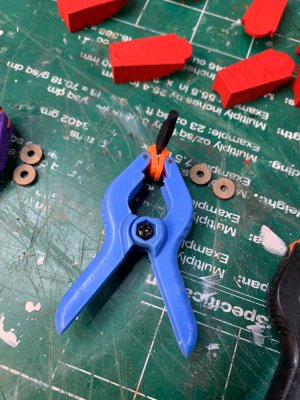
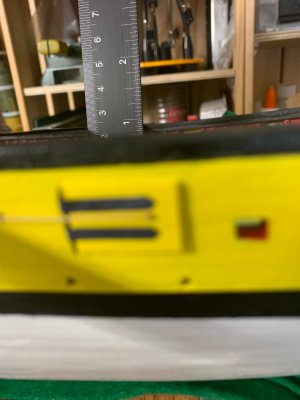
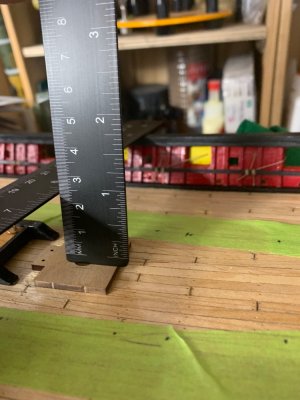
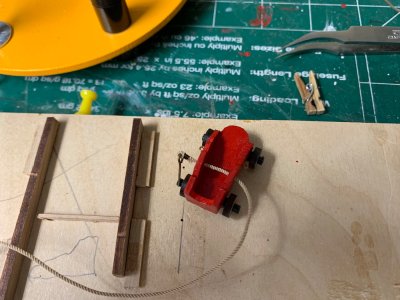
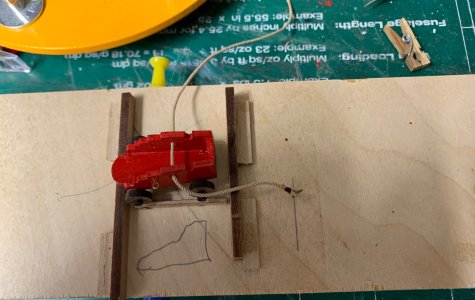
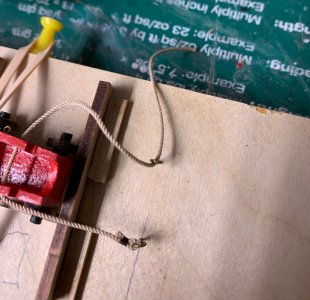
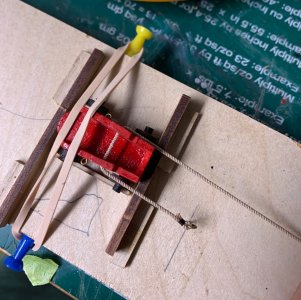
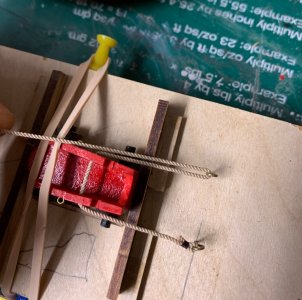
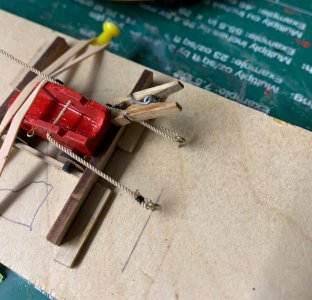
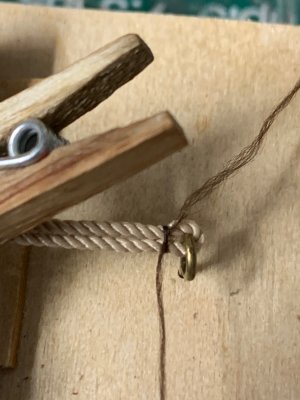
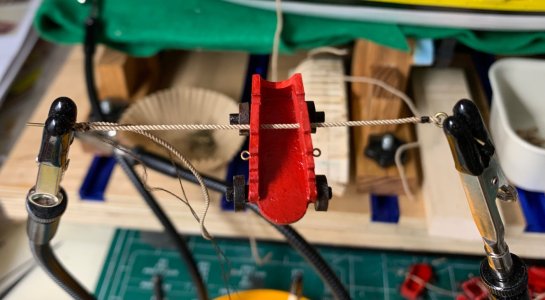
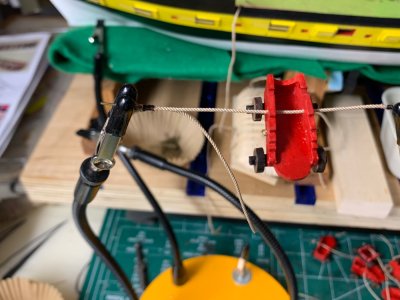
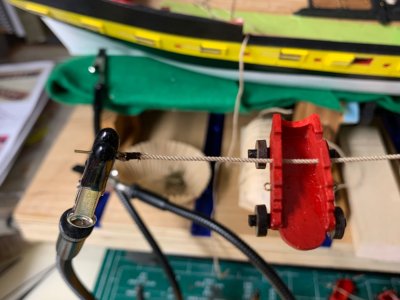
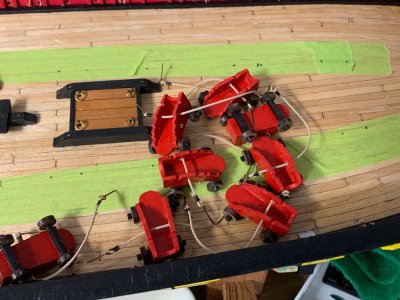
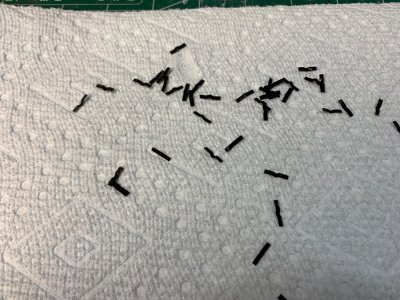
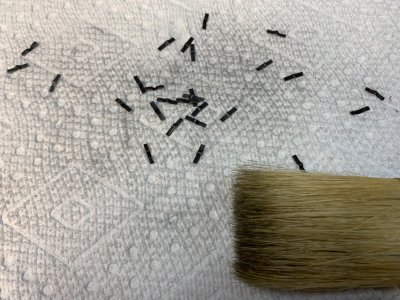
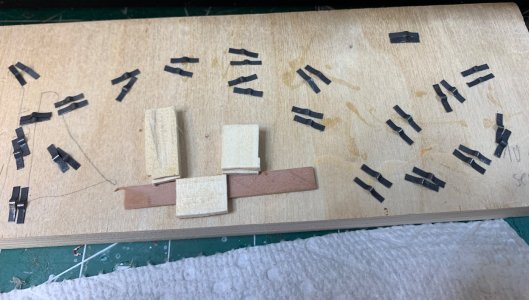
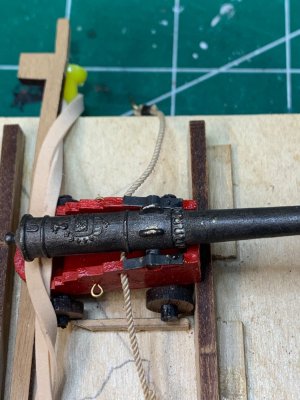
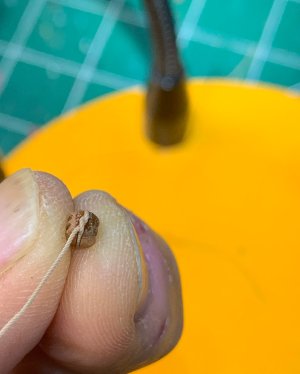
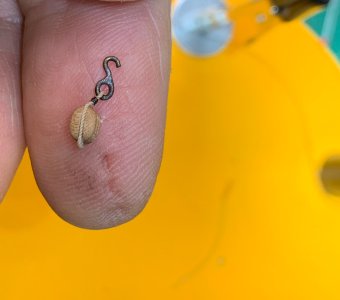
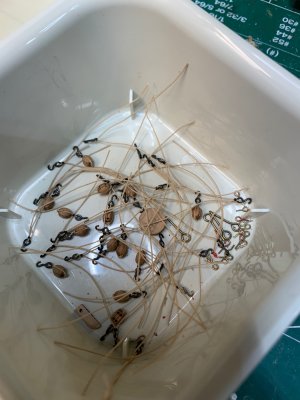
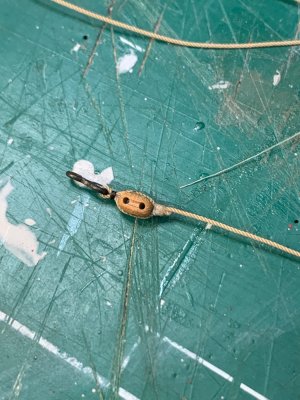
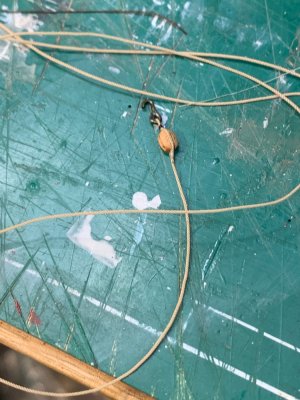
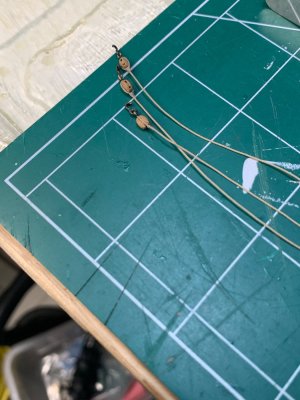
It is time to add a front axle to the carriage.. For this I made a small template to unify the position of the axle on all carriages..
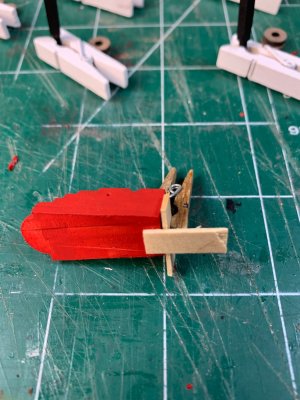
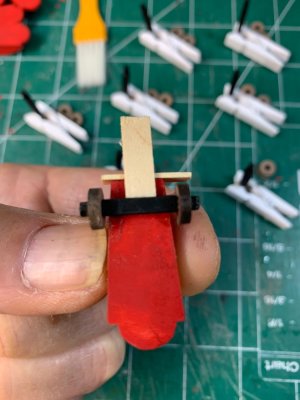
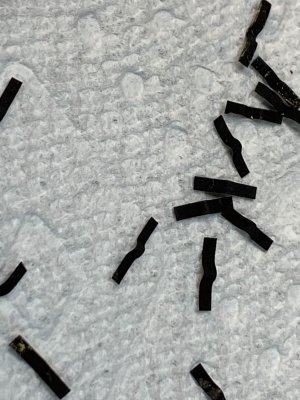
I noted I have to visit my manicure salon soon

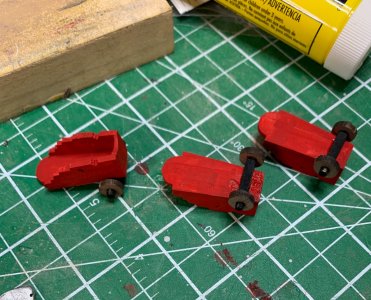
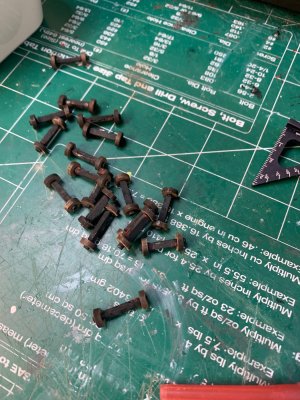
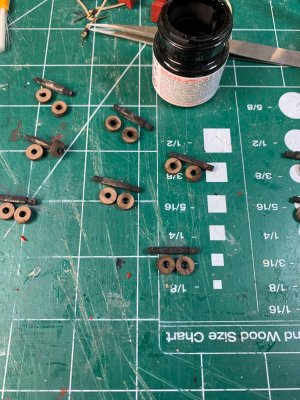
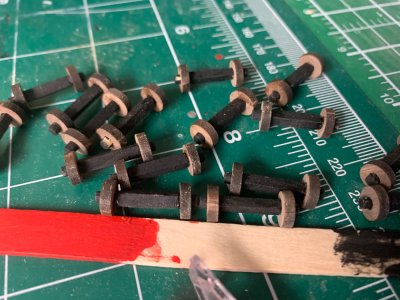
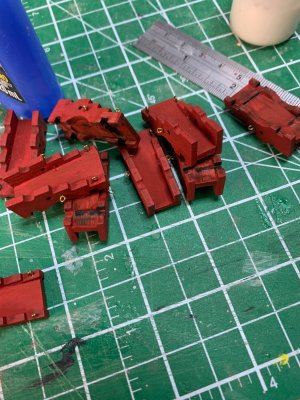
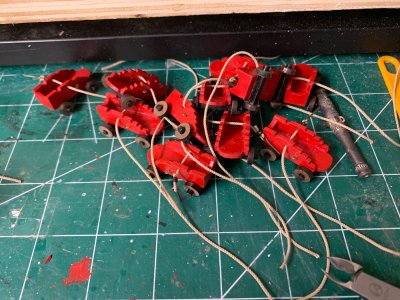
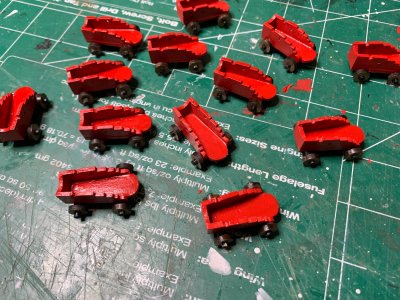
After front axle, I worked on the same process for rear axle.. all wheels removed and axles repainted and wheels sanded and cleaned.
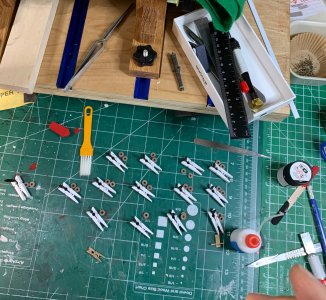
Once all dried, I mounted them to carriages..
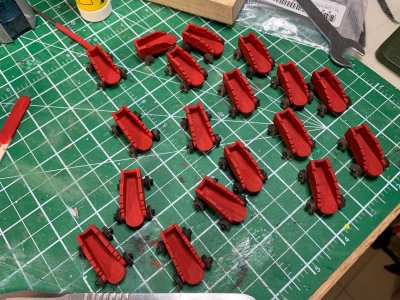
Now the protective layer of varnish was applied..
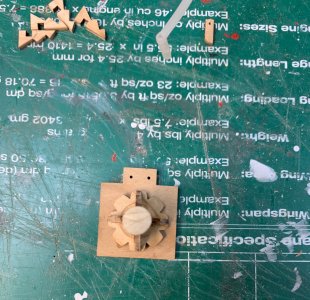
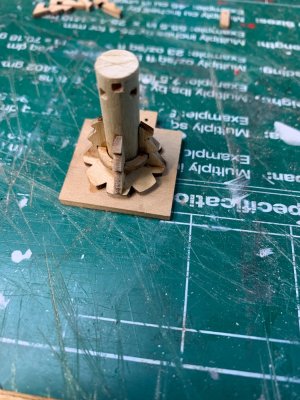
While varnish is drying, I worked a bit on capstan.. the kit calls for 8mm rods but after close examination, it actually need a bit wider than 8mm, otherwise the rod will be woblly so I will need to use thicker rod and sand it to correct dimension.. In the meantime I decided to assemble temporary all parts to see if anything needs adjustment..
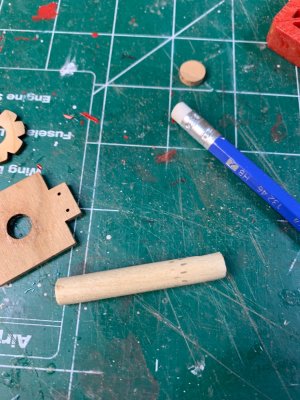
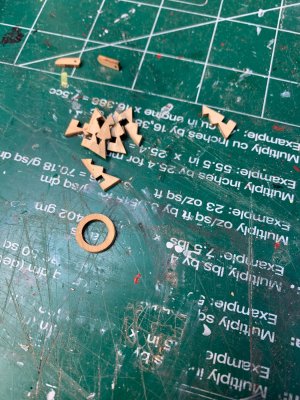
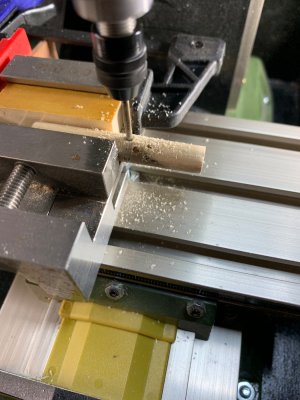
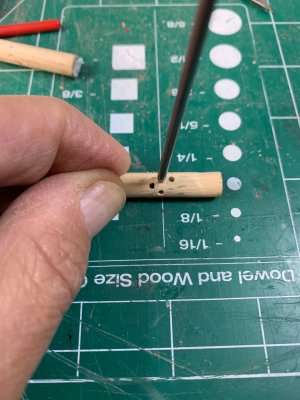
I used a nail to make bar openings in capstan rounded... the rod is soft enough so light push is all what is needed. Rounded file is also ok but I think I have more control with nail.
Dry assembled capstan; I had to use few drops while glue but no problem separating them after.
OK, that will be all for today..
Happy modelling..