• Ships of Scale has incorportated an extra level of security when you log In. Please follow on-screen prompts to acknowledge that you are not a robot via a "Check Box" or a "Pictorial Check Box Puzzle". This is needed due to higher level of AI Activity Security.
  • SUBSCRIBE TO SHIPS IN SCALE TODAY!

    The beloved Ships in Scale Magazine is back and charting a new course for 2026!
    Discover new skills, new techniques, and new inspirations in every issue.

    NOTE THAT OUR NEXT ISSUE WILL BE July/August 2026
  • Win a Free Custom Engraved Brass Coin!!!
    As a way to introduce our brass coins to the community, we will raffle off a free coin during the month of August. Follow link ABOVE for instructions for entering.

Misticque, 1/36 - Build Log by Moreplovac

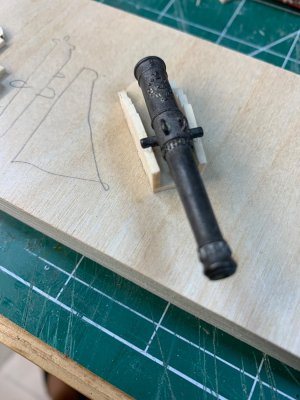
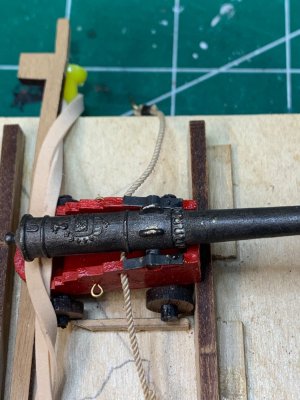
If I could, gentlemen... it was common for the French (and a few other nations) to run the breech rope through the carriage - it was an English (and American) practice to rig the guns through eyebolts and around the corbel on the barrel. Having now shared this, keep in mind that my wife assures me that I am often wrong...about most everything... :).
"keep in mind that my wife assures me that I am often wrong...about most everything... :)." floored me absolutely, The Truth of all Truths in a married life. Amen! :rolleyes:ROTF
 
Good morning. Now we are talking. Most kit carriages just don't do it.......I remember making my own on my Xebec.....a bit of a Grants creation - This is looking good. Cheers Grant
Yeah, getting ready to pickup again Rochefort build...
:) ... just like this option to build your own parts if possible...

Cheers
 
I finally realized why my builds are taking twice as long.... well, I am making several versions of the same item, for fun and for learning the process..

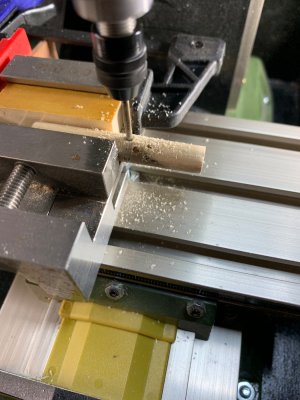
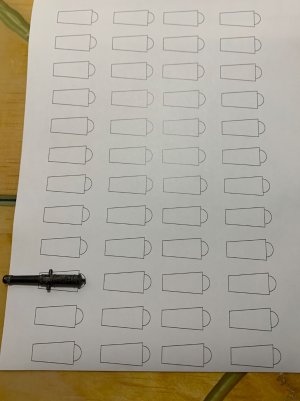
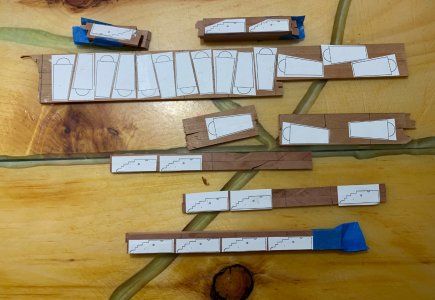
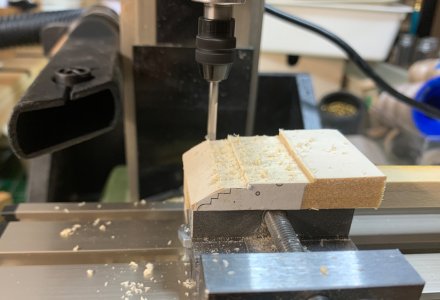
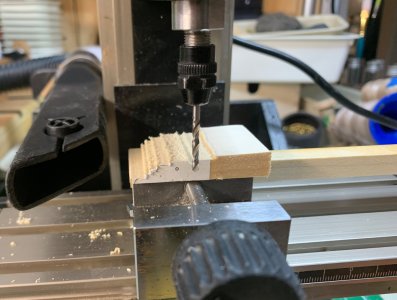
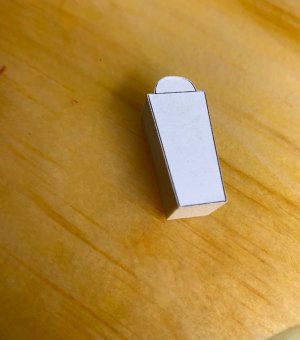
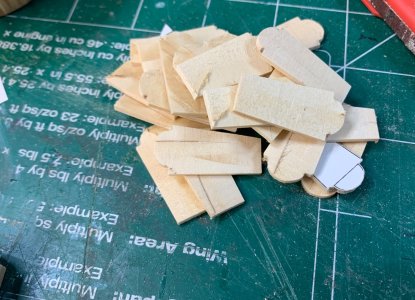
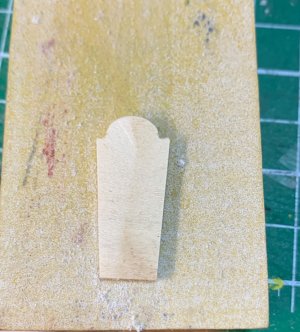
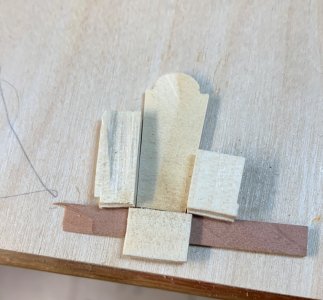
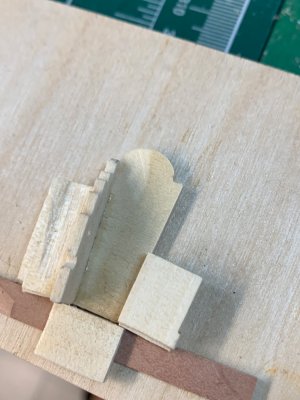
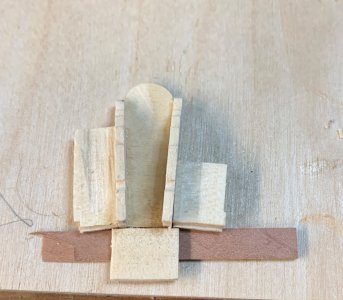
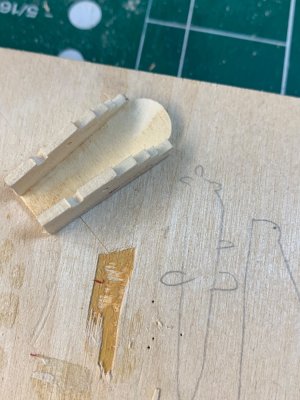
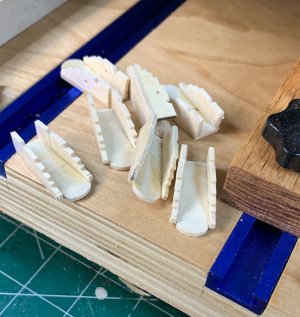
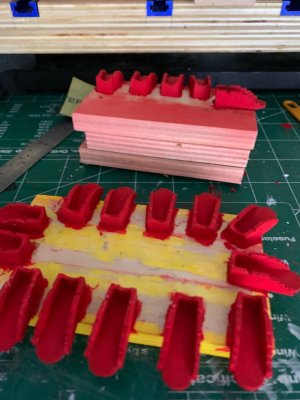
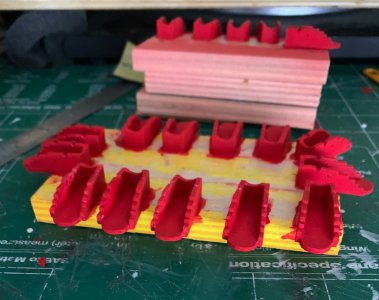
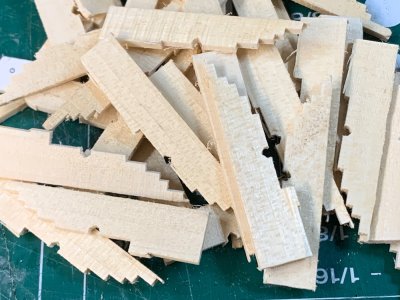
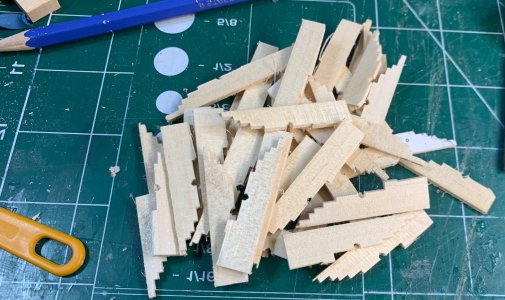
This time I wanted to try another way of cutting gun carriage cheeks, by milling them lengthwise and then cutting in opposite direction at 2mm width...

There is also a few version of this attempt, when I realized to cut excess wood on band saw so I dont have to make such a dust in my little workshop...

The piece of wood was glued to another one so it can be easily secured in the wise...

First run...

Mistique 580.jpg

Then the groove for gun are cut using 3mm drill...

Mistique 581.jpg

Here are end results..

Mistique 582.jpg

Then I cut lengthwise all cheeks 2 mm wide...

Mistique 583.jpg

Mistique 585.jpg

Now I need to trim the excess and clean up after milling..

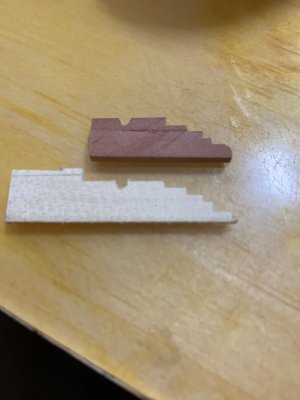
Unless I decide to try with different wood again, this might be final result in addition to previous one, from cherry but I like cherry more... will see..

Mistique 586.jpg

Happy modelling..
 
Bunch of gun carriage beds cut in the same way I have prepared carriage cheeks...

Mistique 596.jpg
... and cut in 2mm width

Mistique 586.jpg

A. it of sanding is needed ...

Mistique 587.jpg

My little assembly line..

Mistique 589.jpg

Mistique 590.jpg

One cheek added..

Mistique 592.jpg

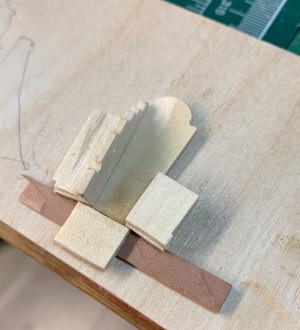
Second one as well... for this I used white glue to keep the cheek in place and once aligned, used a little bit of CA to strengthen the bond..

Mistique 593.jpg

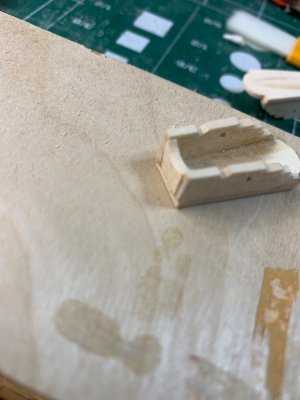
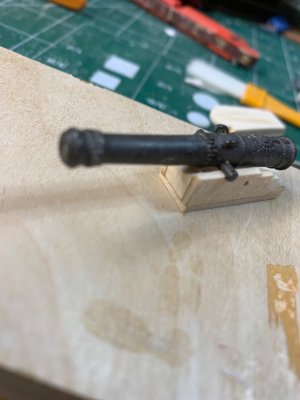
Testing in half finished carriage..

Mistique 594.jpg

Few done, few to go..

Mistique 595.jpg

Happy modelling..

Mistique 591.jpg
 
Last edited:
Can't believe I am already on 600 posted pictures :)

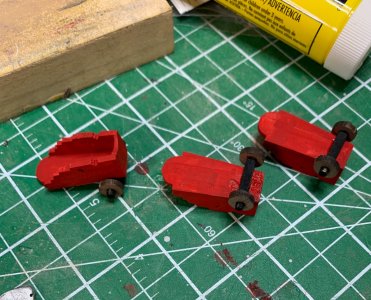
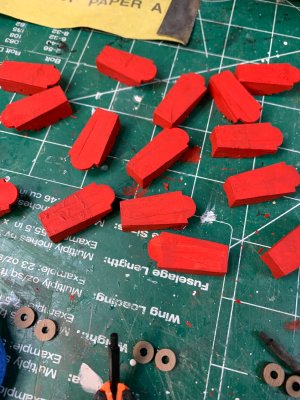
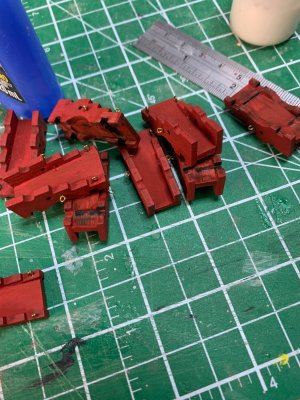
The new carriages are all painted in red..

Mistique 599.jpg

Mistique 600.jpg

Mistique 601.jpg

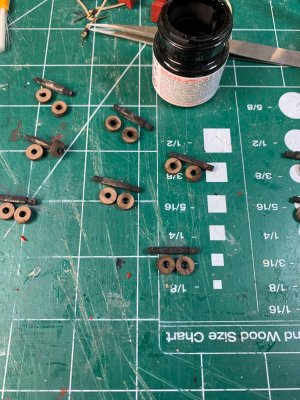
Since I remaking all carriages, I decided to cleanup wheels and axles ... first I removed them from old carriages.

Mistique 604.jpg

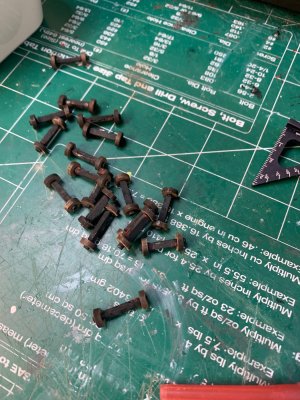
Then removed wheels from axles

Mistique 602.jpg

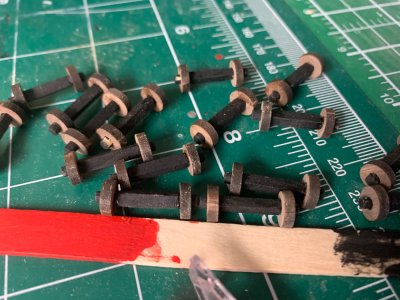
Then I painted axles in black and sanded/cleaned both sides of wheels..

Mistique 603.jpg

Now they are looking nicer and new... this set is for front wheels, the same process has to be done work back side of the carriage...

Mistique 608.jpg

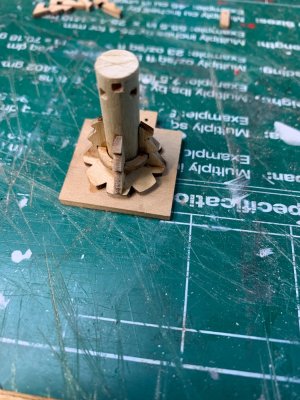
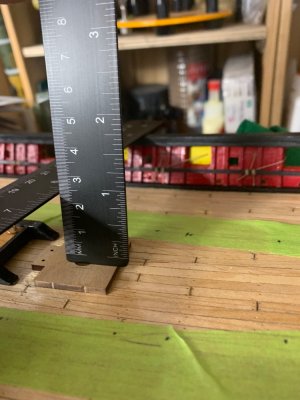
In the meantime, I started to work on capstan; part if it is to use 8mm rod but hight is not mentioned in kit... so with a bit of improvisation, I managed to get approximate hight..

Mistique 605.jpg

Mistique 606.jpg

It should be around 30mm, I believe...

And the old carriages are sent to retirement place..

Mistique 607.jpg

I will pull out all eyebolts and reused them in new carriages...

Happy modelling..
 
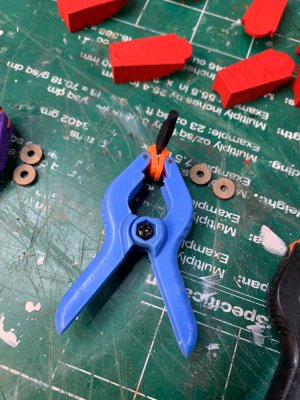
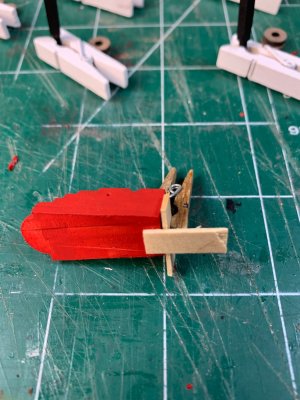
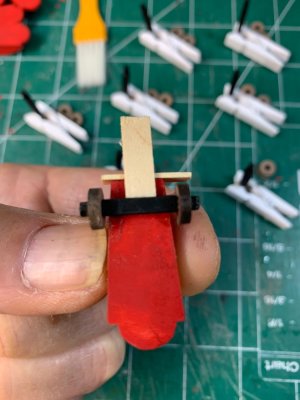
It is time to add a front axle to the carriage.. For this I made a small template to unify the position of the axle on all carriages..
Mistique 609.jpg

Mistique 608.jpg

I noted I have to visit my manicure salon soon :)

Mistique 610.jpg

After front axle, I worked on the same process for rear axle.. all wheels removed and axles repainted and wheels sanded and cleaned.
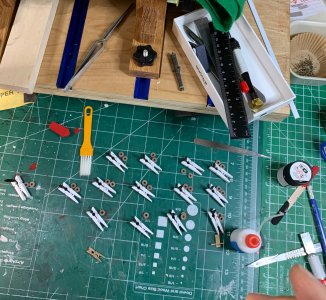
Mistique 619.jpg

Once all dried, I mounted them to carriages..
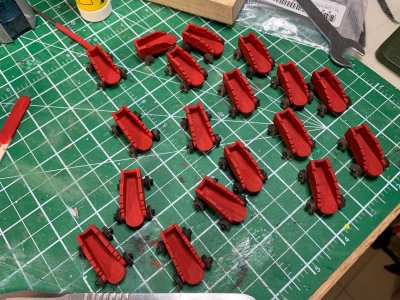
Mistique 611.jpg

Now the protective layer of varnish was applied..
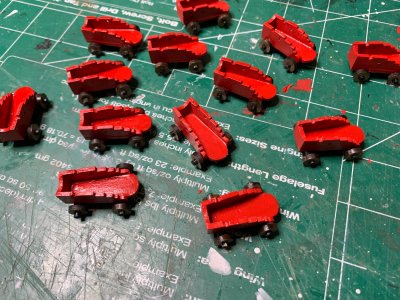
Mistique 612.jpg

While varnish is drying, I worked a bit on capstan.. the kit calls for 8mm rods but after close examination, it actually need a bit wider than 8mm, otherwise the rod will be woblly so I will need to use thicker rod and sand it to correct dimension.. In the meantime I decided to assemble temporary all parts to see if anything needs adjustment..
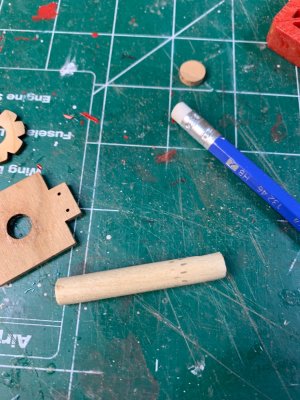
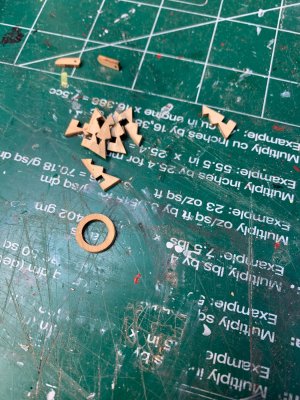
Mistique 613.jpg

Mistique 614.jpg

Mistique 615.jpg

I used a nail to make bar openings in capstan rounded... the rod is soft enough so light push is all what is needed. Rounded file is also ok but I think I have more control with nail.
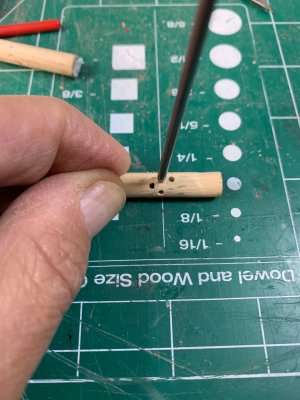
Mistique 616.jpg

Dry assembled capstan; I had to use few drops while glue but no problem separating them after.
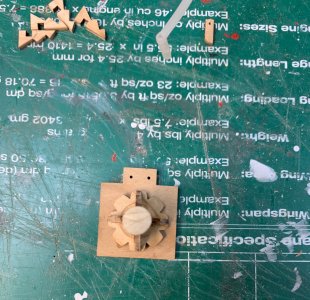
Mistique 618.jpg

Mistique 617.jpg

OK, that will be all for today..

Happy modelling..

 
Last edited:
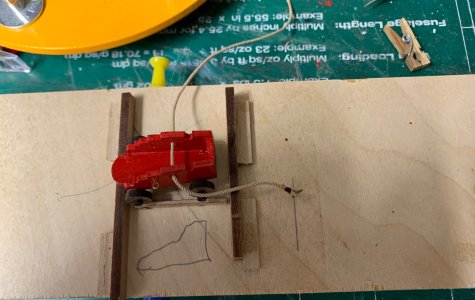
The carriage rigging started...

Mistique 620.jpg

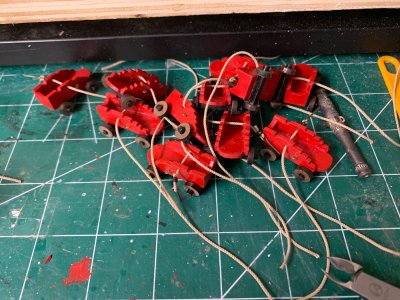
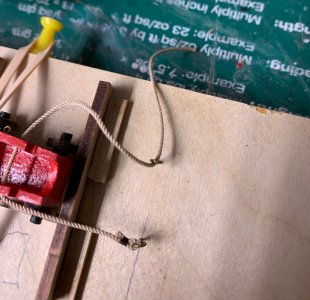
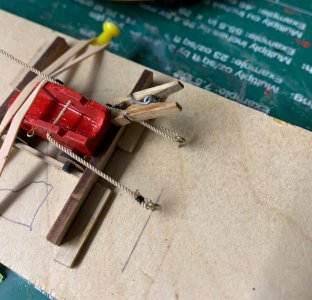
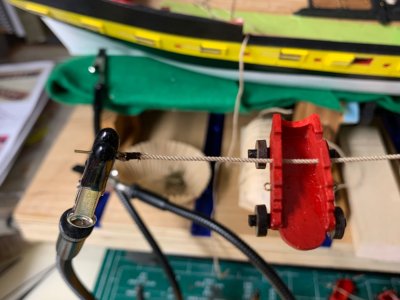
First I cut the rigging lines in required length and attached eye bolt to one side of the rope.. then the rope was dragged thru the carriage...

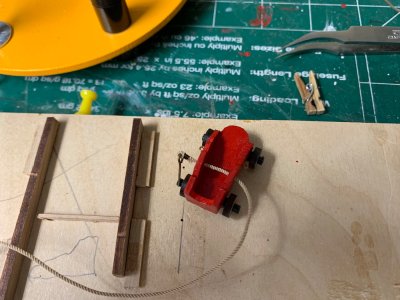
After that the carriage was placed on a small jig..

Mistique 621.jpg

Simple jig, two hole where eye bolt ill be inserted so I can get the same rigging rope length for all carriages..

Mistique 622.jpg

Mistique 623.jpg

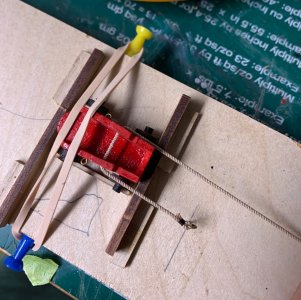
Then the other side of the rope is stretched a bit and ...


Mistique 624.jpg

... pulled back..

Mistique 625.jpg

... and secured with a small cloth pin..

Mistique 626.jpg

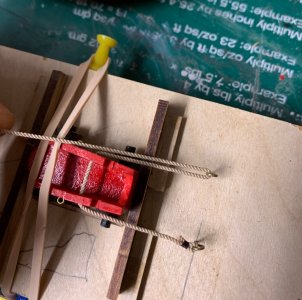
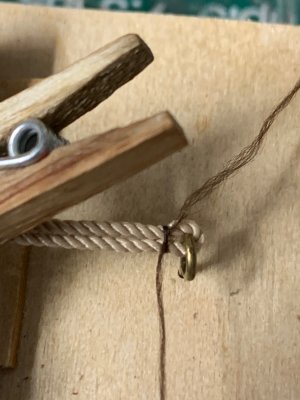
Then siezing rope was put around...

Mistique 627.jpg

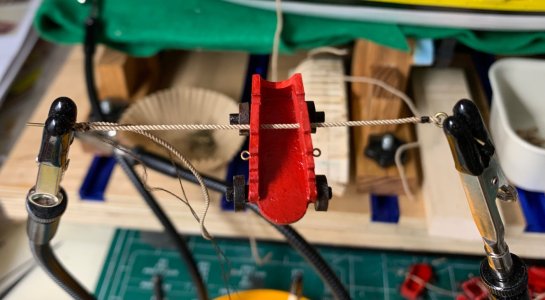
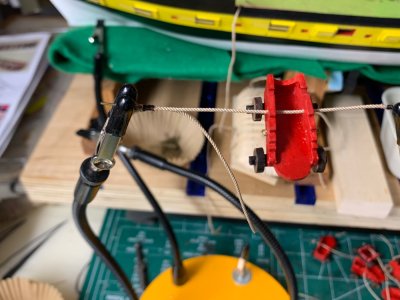
A drop of CA will keep it in place... while I move the carriage to helping hand.

Mistique 628.jpg

Then the seizing rope was twisted around about 10 times to match the other side of the rope..

Mistique 629.jpg

Mistique 630.jpg

The drop of CA will freeze all and excess seizing rope was removed..

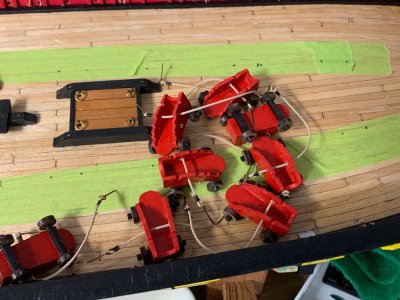
The completed carriage in "done" pile...


Mistique 631.jpg

Today is very bad air in my area due to big forest fires so no much outdoor activities for me... which means more work on the ship..

Happy modelling..
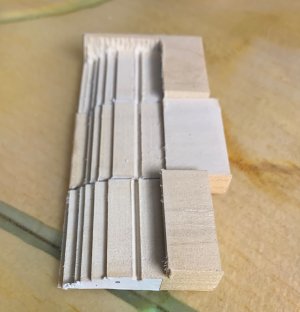
 
Today I worked a bit on guns, preparing and adding trunnions...

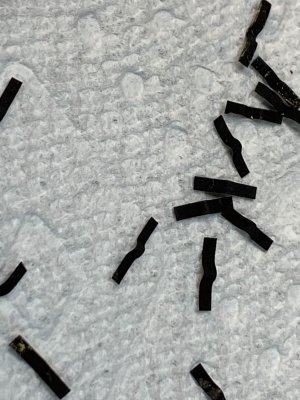
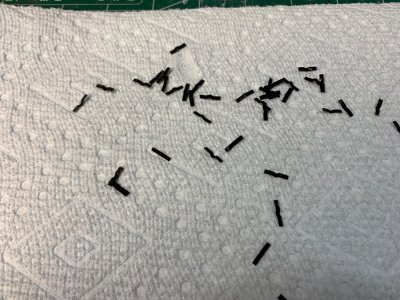
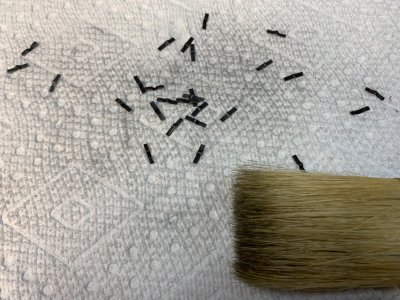
After they being cut and the curvature applied, they received a short bath in blackening solution... then cleaned in water and dried on paper towel.

Mistique 632.jpg

Mistique 634.jpg

Then using the "brush-for-all" I just polished them a bit, mostly paying attention to top part since it will be visible..

Mistique 633.jpg

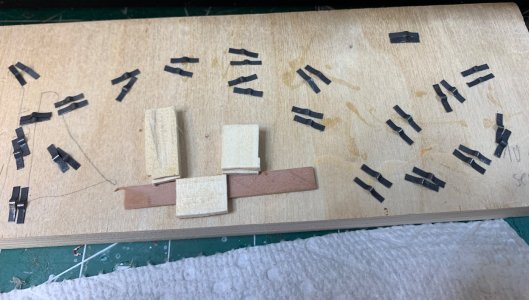
Picked up 18 best looking pairs..

Mistique 635.jpg

and started to assemble them on guns... two small drop of CA will hold them in position until I drill a pilot hole and squeeze in two nails on each side. First need to make nails..

Mistique 636.jpg

Happy modelling..
 
OK, they are here.... now I can continue working...

Mistique 670.jpg

So let start with this and making a little assembly line..

Mistique 671.jpg

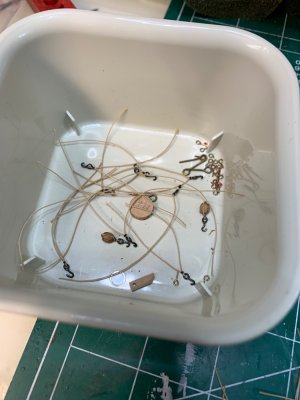
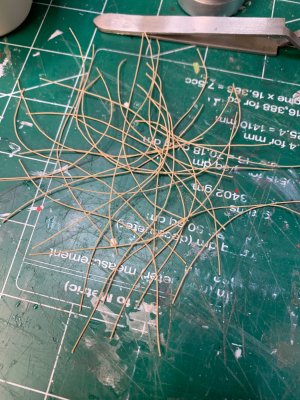
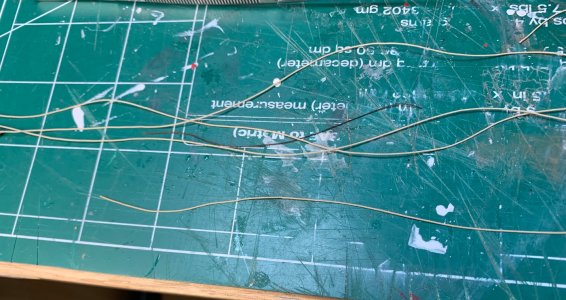
First all remaining ropes are cut...

Mistique 672.jpg

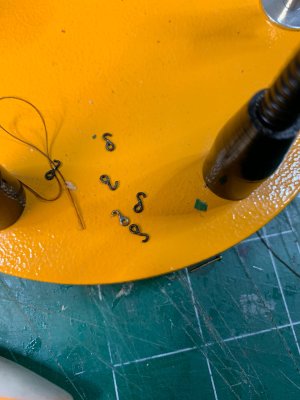
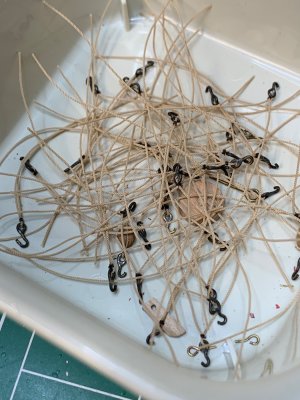
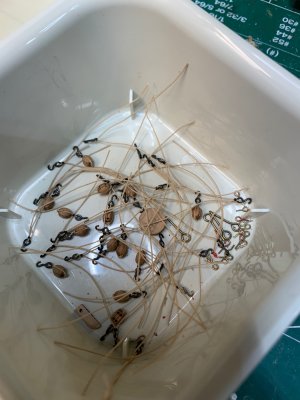
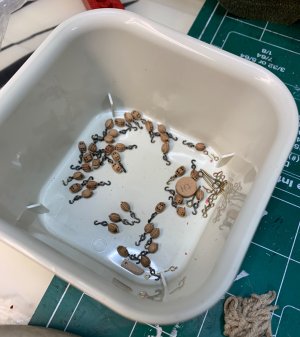
Then all hooks are made and blackened.. plenty of hooks in the box set aside... with different end results so I can choose the best looking.

Mistique 673.jpg

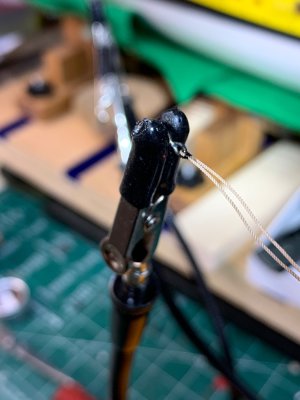
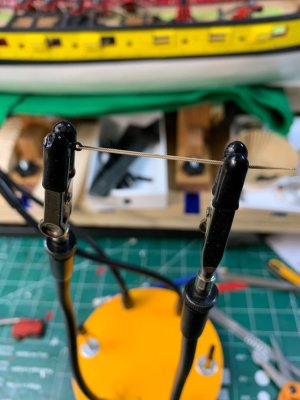
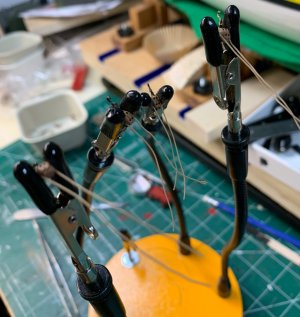
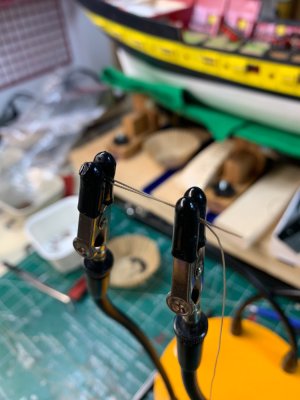
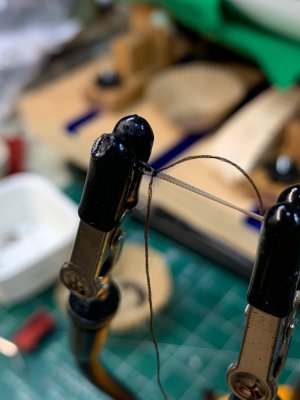
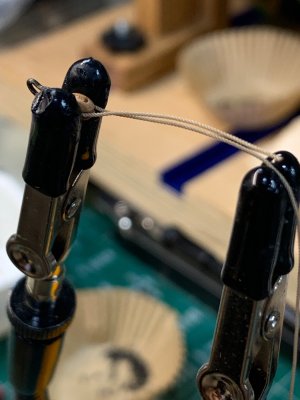
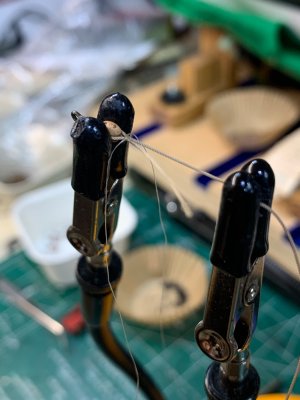
Helping hands assisting with assembly...

Mistique 674.jpg


Mistique 676.jpg

Just a simple know was added towards the hook and drop of CA will freeze it safely..

After two hours...

Mistique 675.jpg

To be continued...

Happy modelling..
 
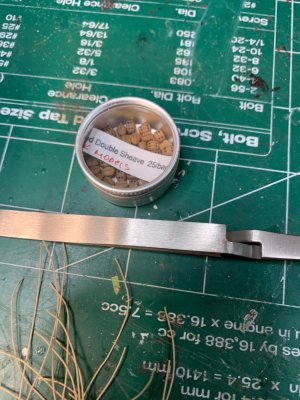
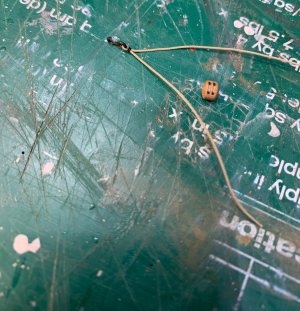
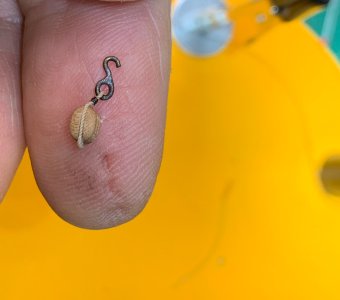
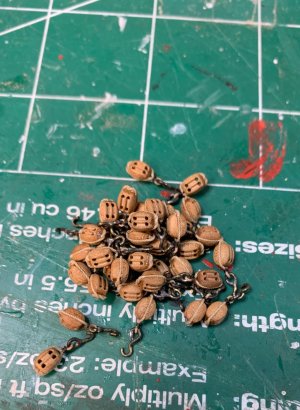
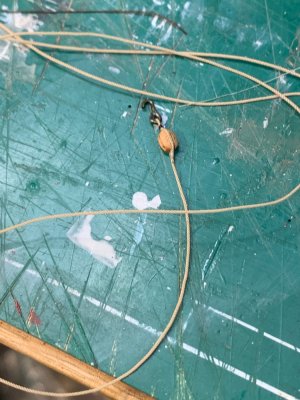
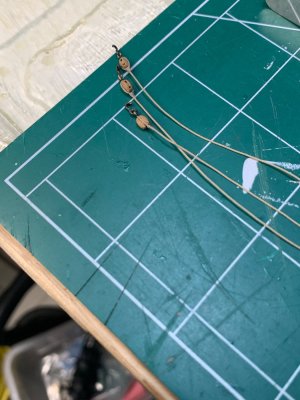
Here is the process... one hook and one sheave..

Mistique 678.jpg

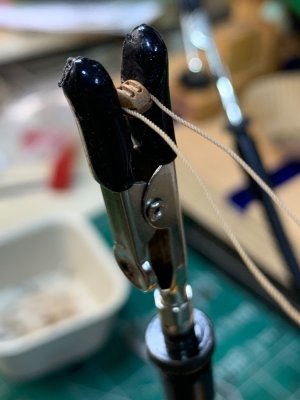
The challenging part is to position hook correct or at least very close to the middle of the sheave. Once that is achieved, I put them into helping hand.

Mistique 679.jpg

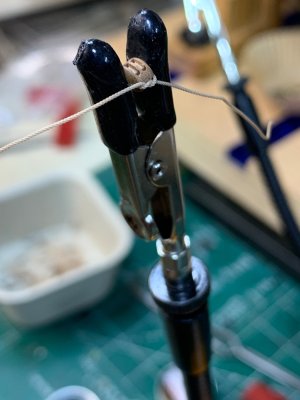
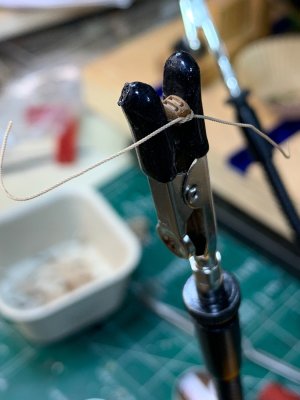
Simple knot do the trick.. polyester rope won't untwist...

Mistique 680.jpg

Drop of a CA to freeze the knot.

Mistique 681.jpg

Ready to cut the excess rope..

Mistique 682.jpg

Just with a sharp knife cut the excess rope following the knot. Make sure not to bend the knife otherwise you might cut the rope also...

Mistique 683.jpg
Excess cut...

Mistique 684.jpg

And the whole assembly completed..

Mistique 685.jpg

Still lots to do..

Mistique 686.jpg

...might as well speed it up a bit, like mr Ford with model T...

Mistique 687.jpg

And done, all 36

Mistique 688.jpg

Nice pile...

Mistique 689.jpg

Continue with single sheaves now...

Happy modelling..
 
Last edited:
Lets work continue... First I cut several ropes in approximately same length that will be used for single sheave..

Mistique 690.jpg

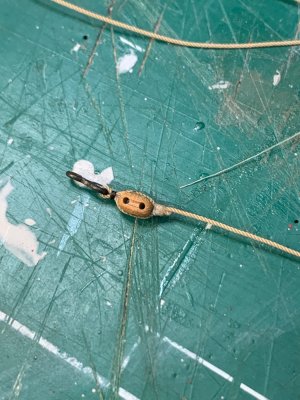
Then I attached a eyehook.

Mistique 691.jpg

Hook is secured with a simple knot, the same type as for double sheaves..

Mistique 692.jpg

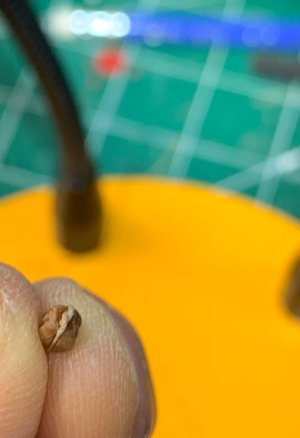
Then single sheave is added to the picture.. very tiny part and hard to properly position particularly with bigger fingers...

Mistique 693.jpg

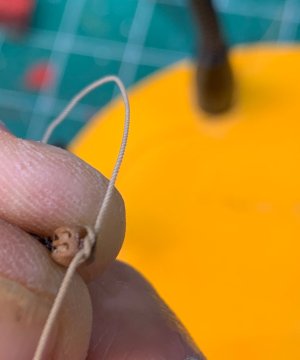
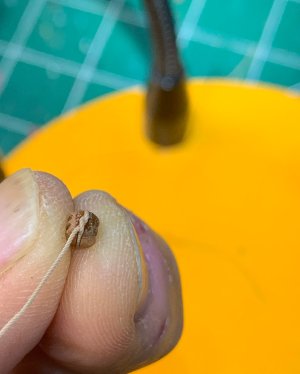
Then one more simple know was applied, this time with seizing matching the colour or a rope.

Mistique 694.jpg


Drop of CA keep all in place and excess rope is removed. The seizing rope was also twisted several times around the riggin rope to hold all in place.

End result..

Mistique 695.jpg

Mistique 696.jpg

Mistique 697.jpg

Task continue, so far 6 are done..

Happy modelling..
 
Back
Top