• Ships of Scale has incorportated an extra level of security when you log In. Please follow on-screen prompts to acknowledge that you are not a robot via a "Check Box" or a "Pictorial Check Box Puzzle". This is needed due to higher level of AI Activity Security.
  • SUBSCRIBE TO SHIPS IN SCALE TODAY!

    The beloved Ships in Scale Magazine is back and charting a new course for 2026!
    Discover new skills, new techniques, and new inspirations in every issue.

    NOTE THAT OUR NEXT ISSUE WILL BE July/August 2026
  • Win a Free Custom Engraved Brass Coin!!!
    As a way to introduce our brass coins to the community, we will raffle off a free coin during the month of August. Follow link ABOVE for instructions for entering.

Artesania Latina Anatomy of Lord Nelson’s HMS Victory 1805

Ok
On their main menu click on accessory kits
Scroll down to Hms Victory 1/84-1/87 click on that them choose the items you want
Unfortunately it looks like I got the last set of standing and running blocks for the moment
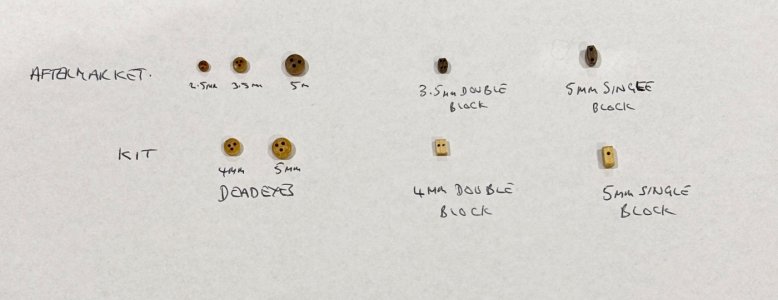
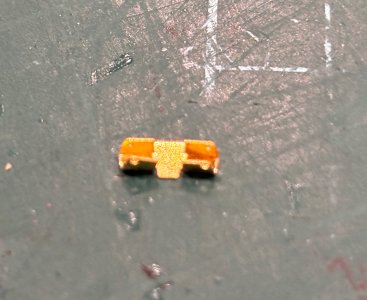
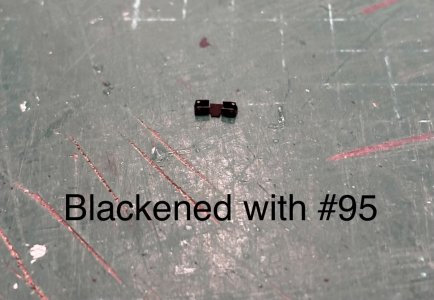
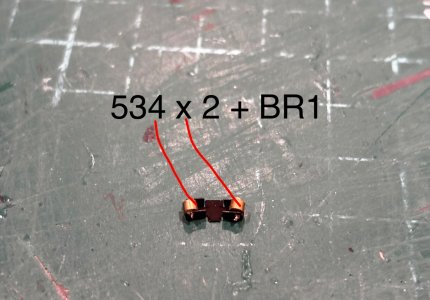
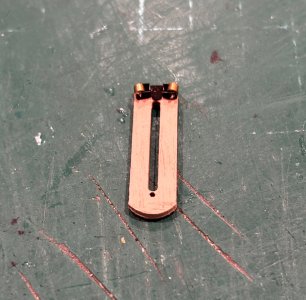
If you know exactly what you want click on ship accessories from the main menu then click on rigging blocks and choose from the list

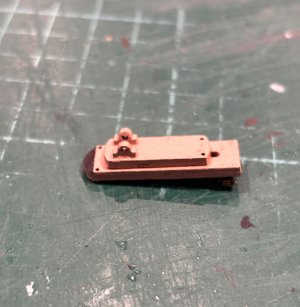
View attachment 612652

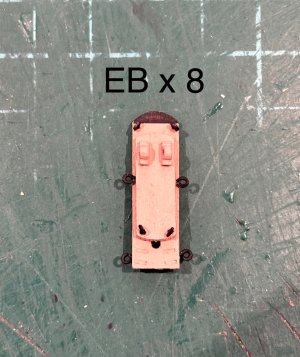
View attachment 612653

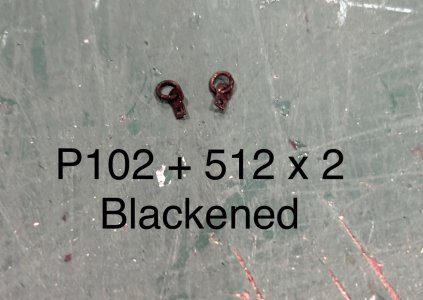
View attachment 612654

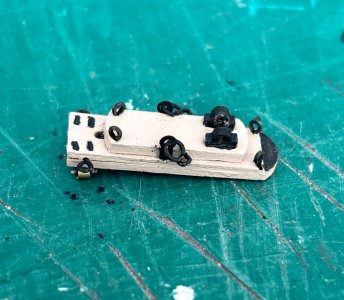
View attachment 612655
Hey Alan,

Even though it’s late, I’ve got a question about the blocks: Do the two block sets really cover the entire rigging? I mean, for running and standing rigging? Are you happy with the quality – do they look neat? Would it be OK if you could perhaps post a few photos of them? That would be brilliant.

Many thanks

Günther :D Thumbsup
 
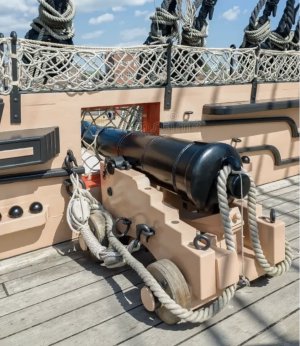
Maybe just for securing the guns against rolling seas and such???
Hey Alan,

They were used for positioning and securing. In heavy seas, they prevented the guns from sliding around. They also allowed the gun carriage to be pulled right up against the ship’s side, which was useful for repairs as well. So they were very useful …
 
Hey Alan,

I’ve caught up on what I’d missed and followed your build log. It’s amazing!! Really beautifully done. The build log is absolutely brilliant. Thanks for sharing and for the insights … :D Thumbsup
 
Hey Alan,

Even though it’s late, I’ve got a question about the blocks: Do the two block sets really cover the entire rigging? I mean, for running and standing rigging? Are you happy with the quality – do they look neat? Would it be OK if you could perhaps post a few photos of them? That would be brilliant.

Many thanks

Günther :D Thumbsup
Hi Gunther
Sorry for delay in responding but I’ve been away all weekend
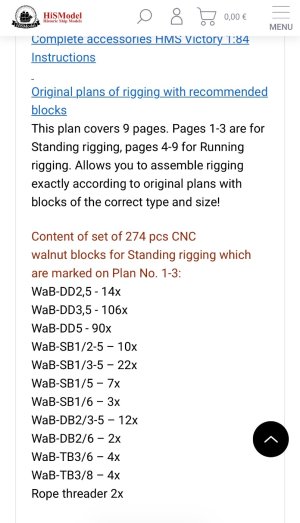
Yes, according to their site you get every block required from accurate rigging plans
Not only are they better quality than the kit blocks, but you get a greater variety of block sizes so you don’t have to use not quite the right size as you would by using the supplied kit blocks

IMG_6107.jpeg

IMG_6106.jpeg
 
Hey Alan,

There’s no need to apologise!! It’s all fine, and I’m really glad you replied. As you know, I’m mad about your building style, and it looks absolutely brilliant the way you’ve created it… Thanks for all your effort with the blocks, and yes, I agree with you. The blocks definitely look better… I suppose I’ll have to get some myself to make it look really great. :D Thumbsup
 
Hey Alan,

I’ve caught up on what I’d missed and followed your build log. It’s amazing!! Really beautifully done. The build log is absolutely brilliant. Thanks for sharing and for the insights … :D Thumbsup
Thank you Gunther
Nice to see you back again Thumbsup
 
Instructions video #41 Part 1

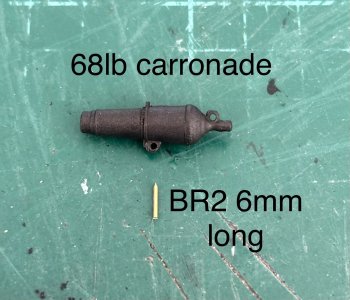
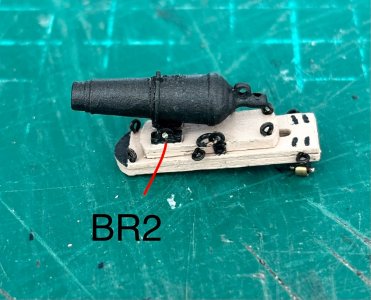
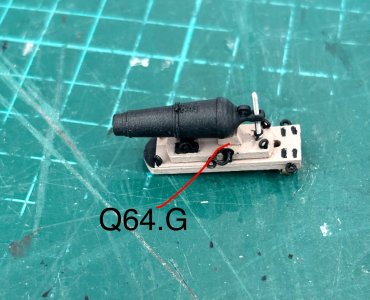
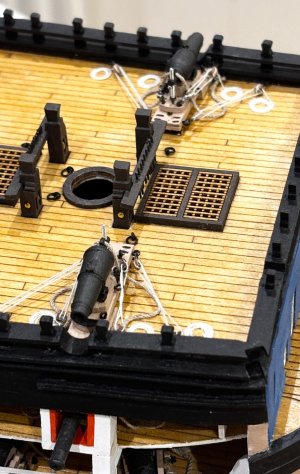
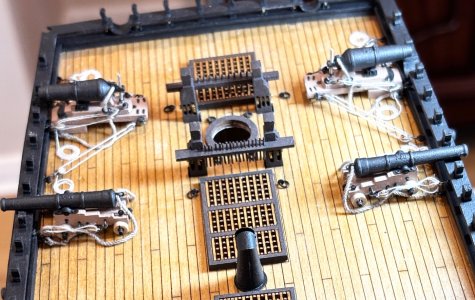
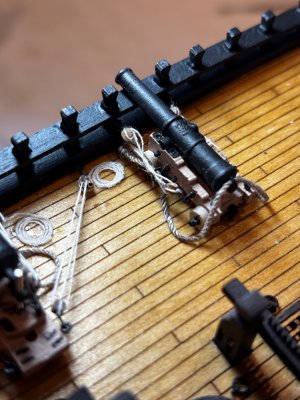
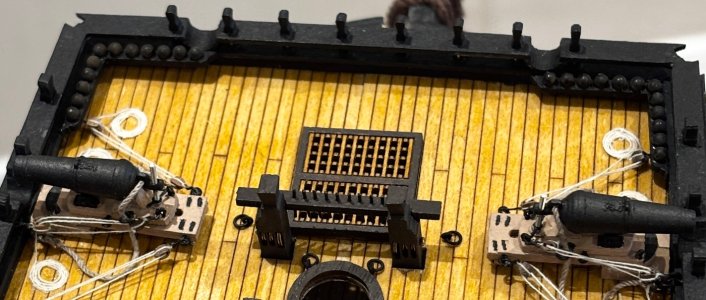
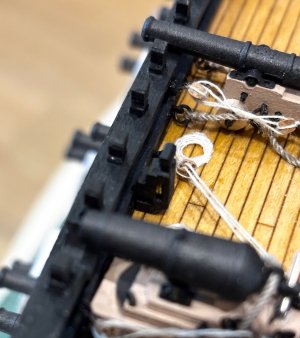
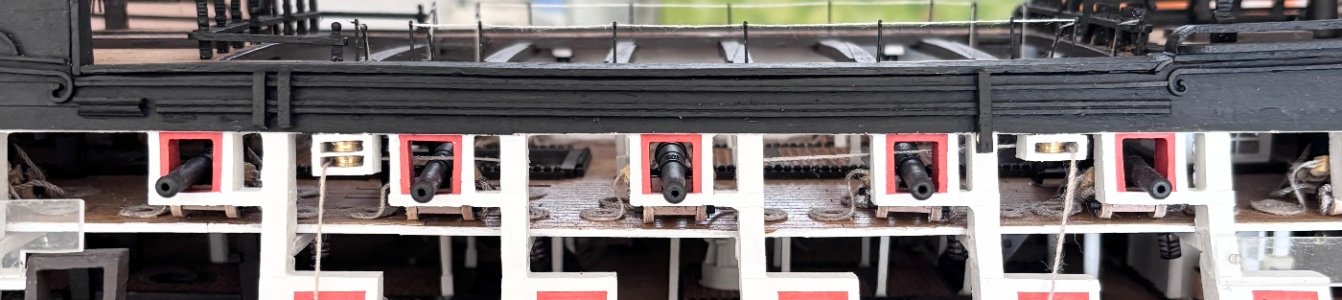
In this first part I construct the 68lb carronades that reside on the forecastle. It made a change to do a different type of gun carriage and there’s a fair bit of work to it
As mentioned in my previous post, there weren’t enough pre drilled holes in the foc’sle rail to accommodate all the gun tackles so I had to drill additional ones , other than that everything went smoothly. Again, I used aftermarket blocks and stropped them with hooks

IMG_5757.jpeg

IMG_5758.jpeg

IMG_5759.jpeg

IMG_5760.jpeg

IMG_5761.jpeg

IMG_5768.jpeg

IMG_5769.jpeg

IMG_5770.jpeg

IMG_5771.jpeg

IMG_5772.jpeg

IMG_5773.jpeg

IMG_5774.jpeg

IMG_5775.jpeg

IMG_5786.jpeg

IMG_5788.jpeg

IMG_5791.jpeg

IMG_5792.jpeg

IMG_5793.jpeg

IMG_5794.jpeg

IMG_5795.jpeg

IMG_5797.jpeg

IMG_5799.jpeg

IMG_5800.jpeg

IMG_6122.jpeg

IMG_6125.jpeg
 
Instructions video #41 Part 2

Yippee!! In this final part I build the final two guns of the 104Explosion
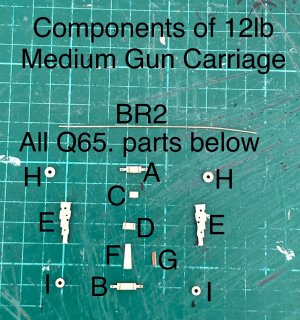
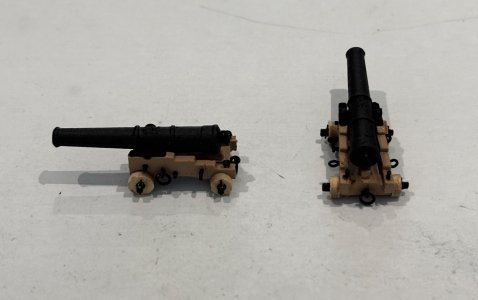
These final two on the foc’sle are 12lb medium guns. I haven’t gone into detail with the construction of these as it’s been covered before, if you want to see a detailed assembly process check out my post for video #23
The only difference here is that the video seems to show the running out tackles wrapped up, so I had a go at that, also there is no tackle at the rear of the gun carriage.
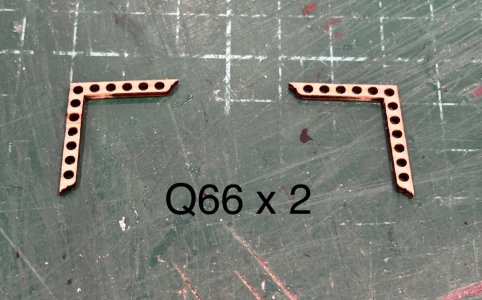
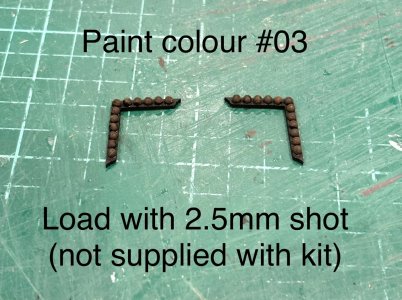
Next I do the shot garlands for the carronades. The kit supplies 2 shot sizes to fill the racks or garlands, 2mm for the 32 and 24 pound guns and 1.5mm for the 12 pounders. The video instructions are to load these garlands with the 2mm shot, but it seemed logical to me that the shot for the 68lb carronades would be larger than that for the 32lb guns, so I sourced some 2.5mm ball bearings and used those.
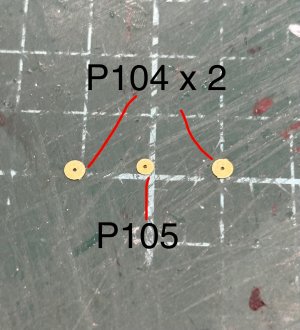
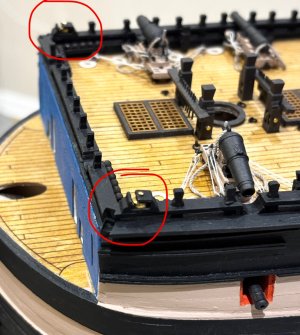
Next I construct some brass sheaves and holders that fit around the foc’sle then finally fit the hammock crane shelves that run along the outside of the foc’sle rail.

IMG_6126.jpeg

IMG_6127.jpeg

IMG_6128.jpeg

IMG_6129.jpeg

IMG_6132.jpeg

IMG_6133.jpeg

IMG_6134.jpeg

IMG_6135.jpeg

IMG_6136.jpeg

IMG_6138.jpeg

IMG_6139.jpeg

IMG_6140.jpeg

IMG_6141.jpeg

IMG_6142.jpeg

IMG_6143.jpeg

IMG_6144.jpeg

IMG_6145.jpeg

IMG_6148.jpeg

IMG_6149.jpeg

IMG_6151.jpeg

IMG_6152.jpeg

IMG_6153.jpeg
 
Last edited:
Hey Alan,
IT is amazing to see what you built! I like your buikt so much. Thanks! You are a Modelmaster...!:)Daumen hoch
 
Instructions video #42 Part 1

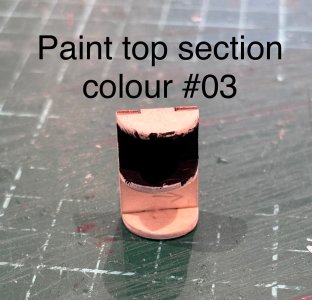
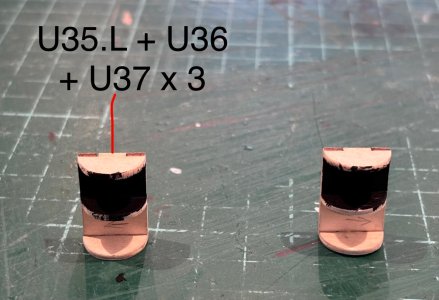
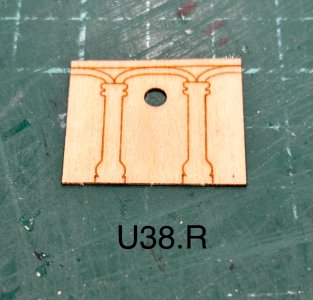
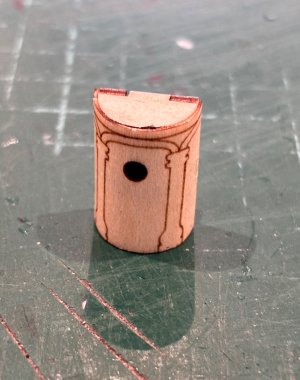
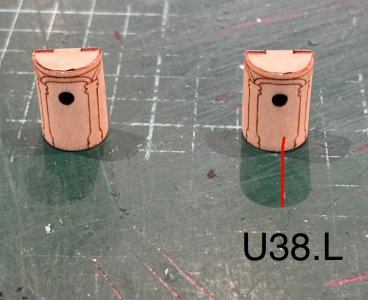
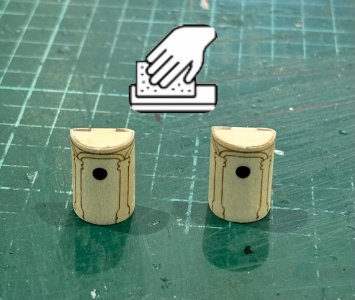
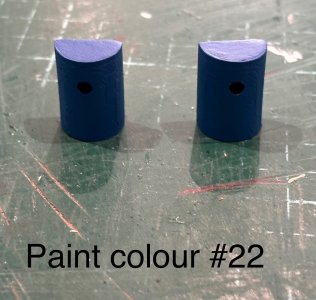
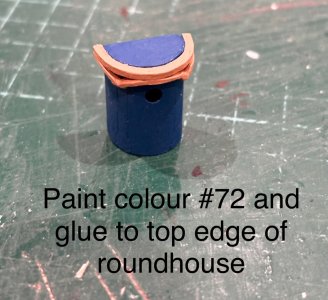
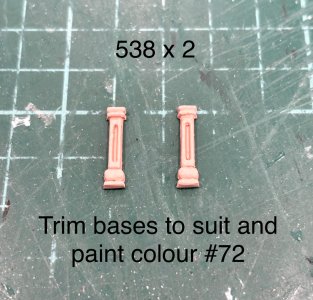
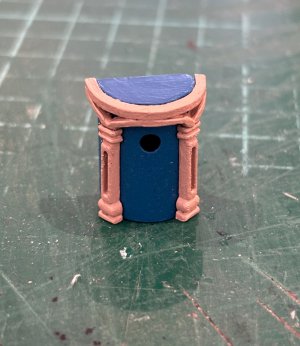
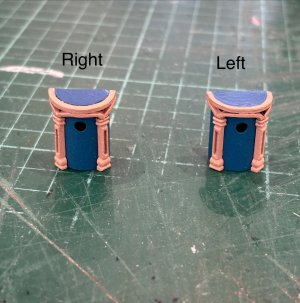
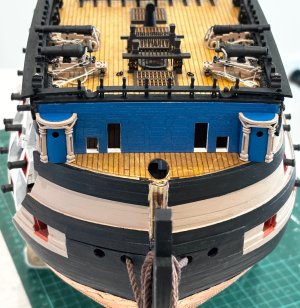
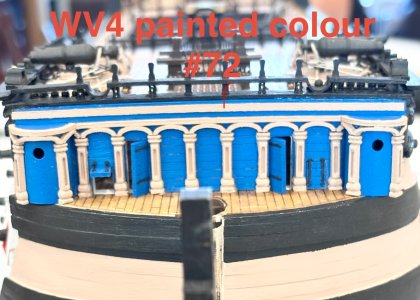
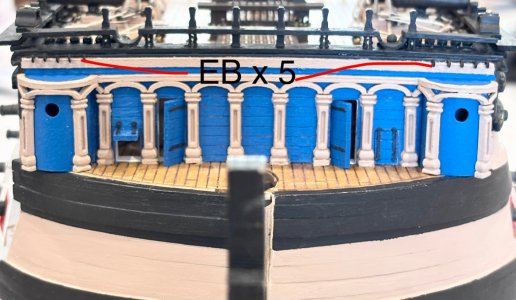
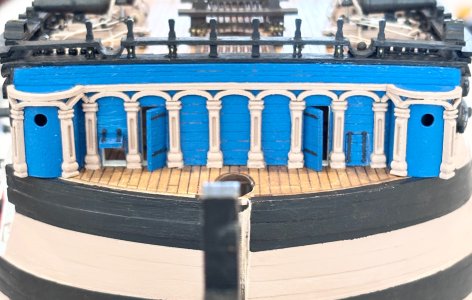
In this first part I construct the roundhouses at the bow of the ship
For those that don’t know, these are the toilets for junior officers , warrant officers and midshipmen, who used the portside roundhouse, the starboard side was for recovering patients in the sick bay. Senior officers had access to private toilets off their cabins at the stern of the ship. Ordinary seamen had to use open air toilets known as “seats of ease “ out on the beak of the ship.
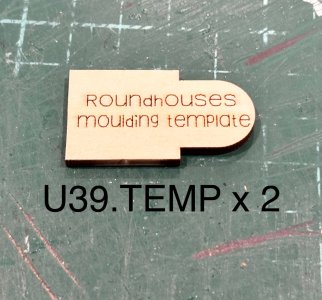
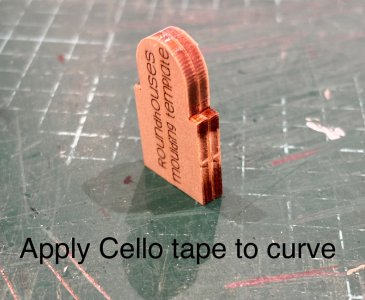
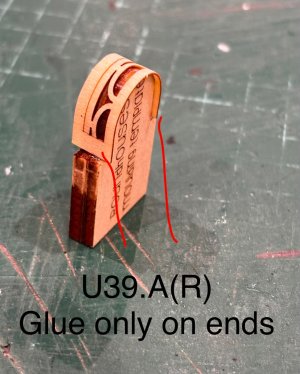
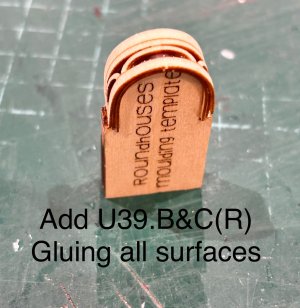
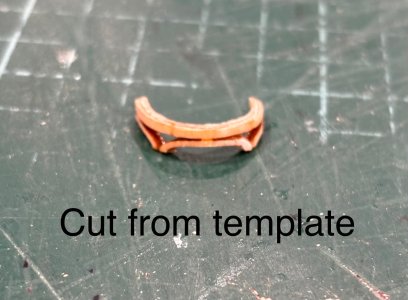
The only thing I had trouble with was making the mouldings around the top of the roundhouses, the parts that need bending around the temple are very fragile, luckily the kit supplies 2 of each as my first attempt didn’t go well
IMG_6160.jpeg

IMG_6161.jpeg

IMG_6162.jpeg

IMG_6164.jpeg

IMG_6166.jpeg

IMG_6169.jpeg

IMG_6170.jpeg

IMG_6172.jpeg

IMG_6173.jpeg

IMG_6174.jpeg

IMG_6175.jpeg

IMG_6176.jpeg

IMG_6177.jpeg

IMG_6179.jpeg

IMG_6180.jpeg

IMG_6181.jpeg

IMG_6182.jpeg

IMG_6185.jpeg

IMG_6189.jpeg

IMG_6190.jpeg

IMG_6191.jpeg

IMG_6192.jpeg
 
Instructions video #42 Part 2

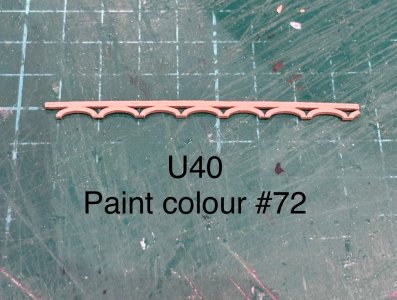
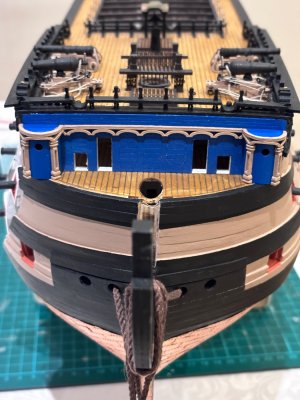
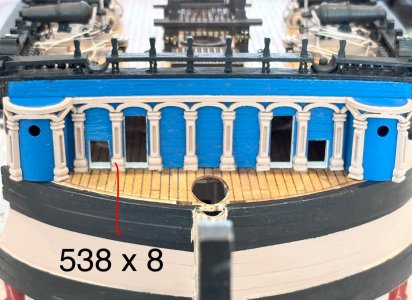
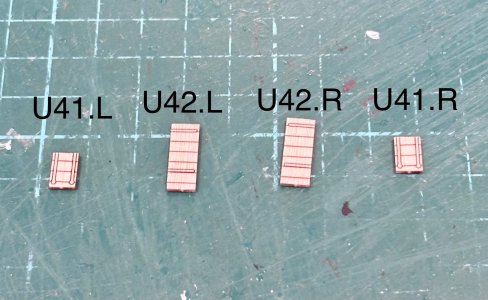
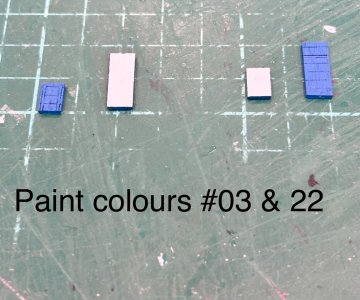
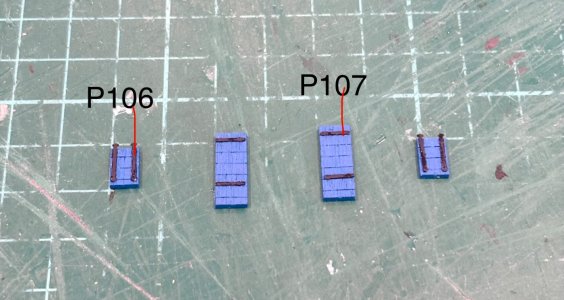
In this part I continue adding the mouldings to the bulkhead between the roundhouses. As you may notice in my photos, part U40 was missing a small part at one end so I had to fabricate a piece myself. Next I fit the doors and hatches leading out onto the beak head, the instructions show both hatches closed and the doors partly open but I decided to have one of the hatches open too. Finally another flat moulding is fitted along the top of the bulkhead and I add the ring bolts above the roundhouses The instructions only show 3 ring bolts on either side and if I remember correctly from research I did for my other Victory model over 20 years ago, only 3 are used for the rigging. But if you look closely at photos of Victory you will see she actually has 5 ring bolts over each roundhouse, so that’s what I have done
IMG_6204.jpeg

IMG_6205.jpeg

IMG_6208.jpeg

IMG_6209.jpeg

IMG_6211.jpeg

IMG_6212.jpeg

IMG_6213.jpeg

IMG_6214.jpeg

IMG_6215.jpeg

IMG_6216.jpeg

IMG_6217.jpeg
 
Instructions video #43 Part 1
Completed (almost)

In this first part of instruction video #43 I fit the fenders and chesstrees,
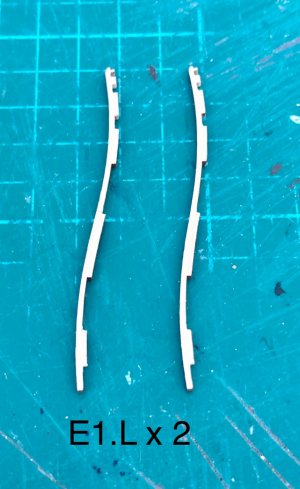
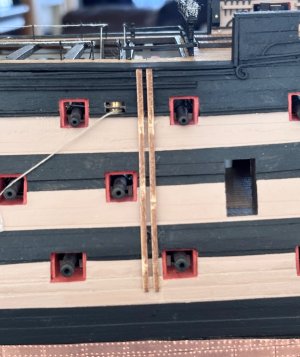
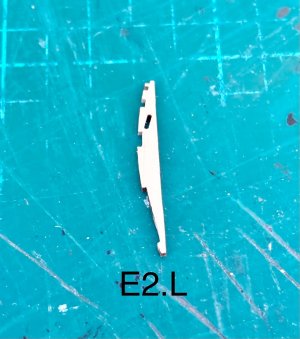
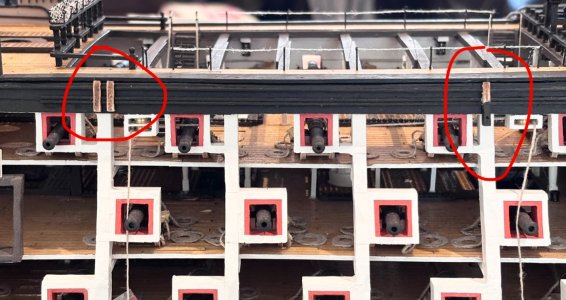
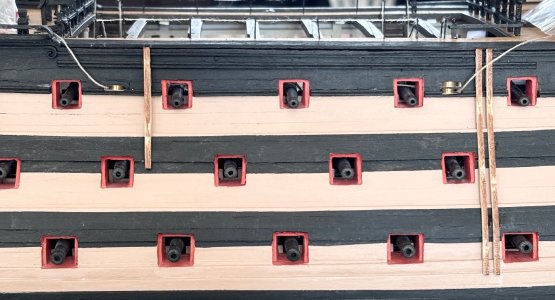
as usual, not as easy as he makes it look painting the fenders to match the stripes, several visits with the masking tape to get a reasonable line on all sides of them. The same parts for the starboard side come off the sheet shorter than the port side ones, but it seems in the video that they have been shortened further. That makes sense for the fenders as there’s not much hull below the top mouldings, but I kept the chesstree the original length as it has to house a brass sheave
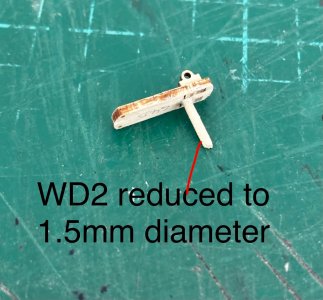
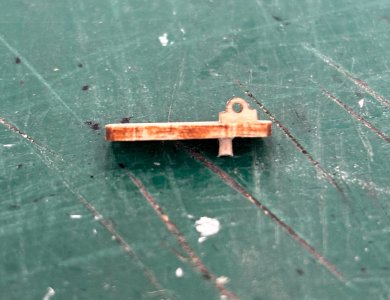
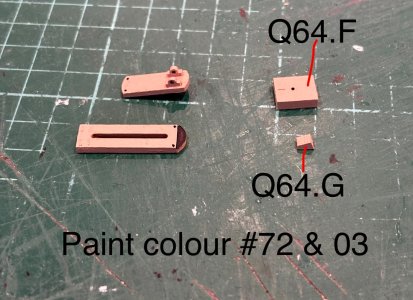
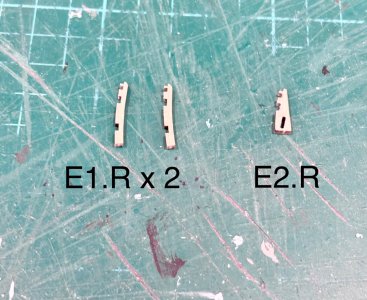
Finally in this part I should be fitting the billboards, that’s where the “almost “ comes in. These are the small platforms at the top of the hull that are used in stowing the anchors. Each platform is made up of two pieces, but as I tried to remove them from the sheet, three of them crumbled into small pieces at the rounded end, perhaps a flaw in the sheet timber, a straight break I could have dealt with but these were beyond repair
I’ve been assured by AL that they will send me replacement parts asap and luckily these parts can be added at any time so It won’t hold up my build

IMG_6234.jpeg

IMG_6237.jpeg

IMG_6238.jpeg

IMG_6239.jpeg

IMG_6240.jpeg

IMG_6241.jpeg

IMG_6242.jpeg

IMG_6243.jpeg

IMG_6244.jpeg

IMG_6247.jpeg

IMG_6248.jpeg

IMG_6278.jpeg
 
Artesania Latina. Anatomy of Lord Nelson’s HMS Victory

Instructions video #43 part 2

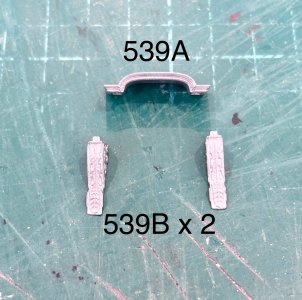
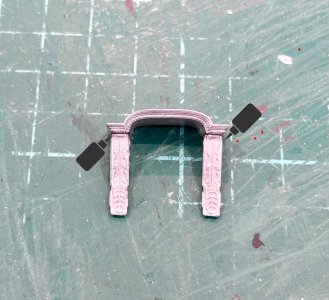
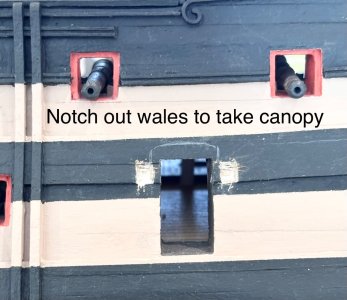
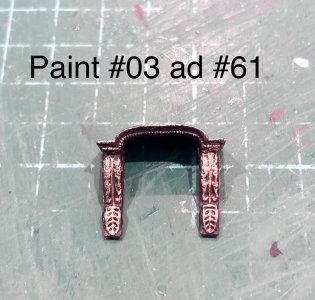
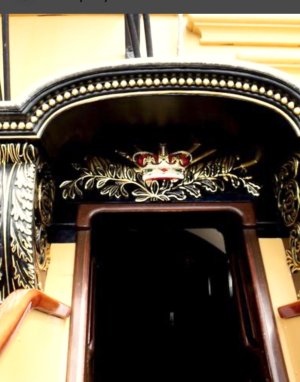
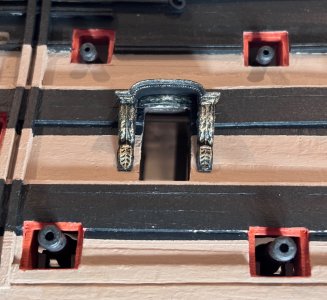
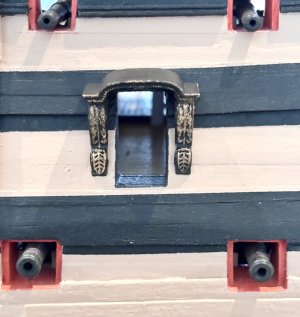
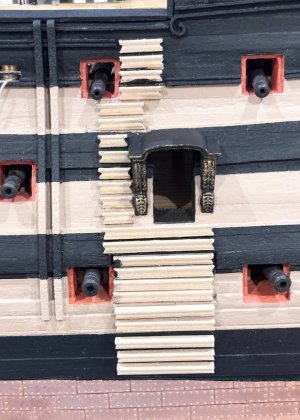
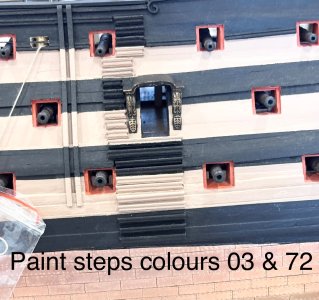
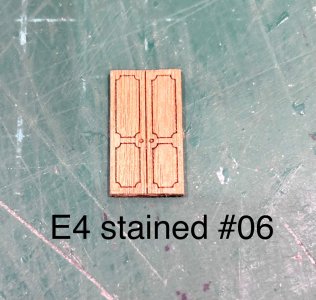
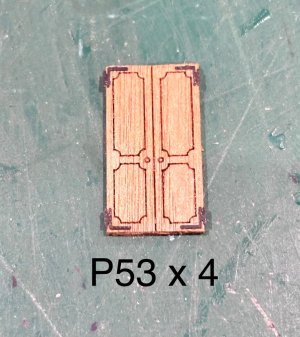
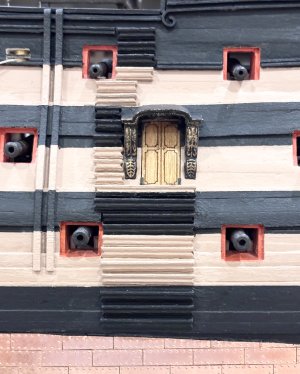
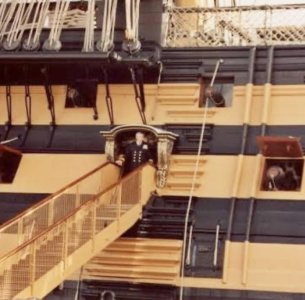
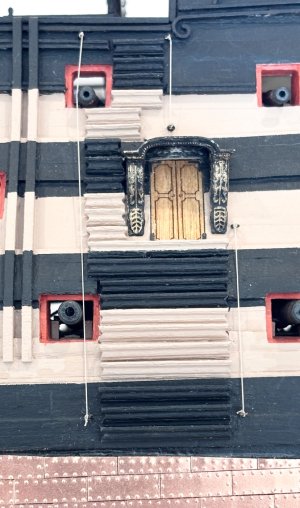
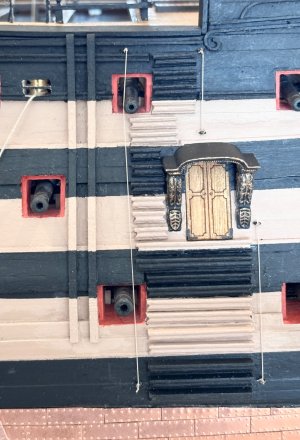
In this final part of video #43 I fit the entry port canopy and door, on one of my visits to Victory I took a photo of the crest above the entry door, so I reduced it in size and placed above the door, it’s hardly noticeable under the canopy so another one to file under the “I know it’s there “ category. Next I make and fit the side steps , then add the “man ropes” that run down the sides of the steps. I did consider not actually fitting the ropes as they are not a permanent fixture and would only be in place when the ship was in port or taking on cargo or personnel, but I thought it’s another little detail on a very detailed kit. I initially fitted the kit supplied 0.1mm white thread, but even after running it through bees wax it was still fuzzy on close up photos, so I exchanged it for some of my 0.25mm light beige rope from Ropes of Scale, which surprisingly , as I think I’ve mentioned before, is not much bigger than AL’s 0.1mm

IMG_6249.jpeg

IMG_6250.jpeg

IMG_6251.jpeg

IMG_6255.jpeg

IMG_6246.jpeg

IMG_6256.jpeg

IMG_6258.jpeg

IMG_6259.jpeg

IMG_6264.jpeg

IMG_6267.jpeg

IMG_6268.jpeg

IMG_6269.jpeg

IMG_6270.jpeg

IMG_6273.jpeg

IMG_6277.jpeg

IMG_6276.jpeg
 
Instructions video #44 completed

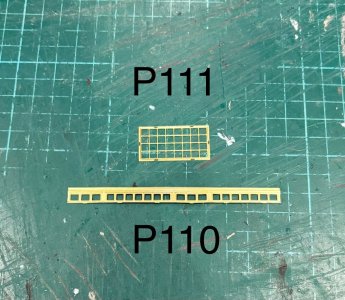
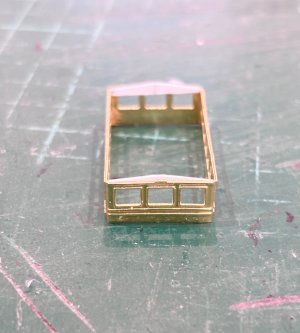
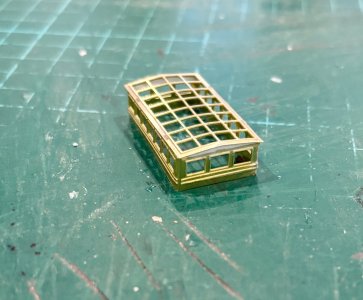
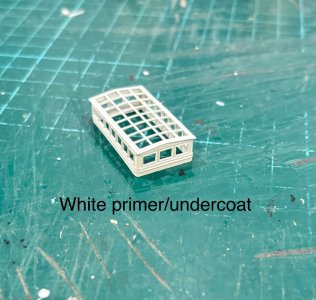
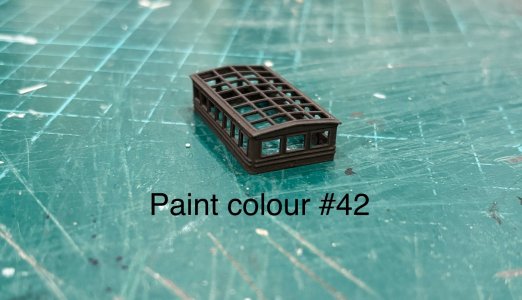
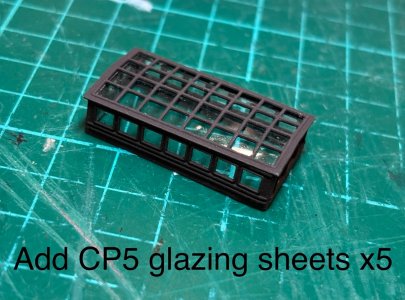
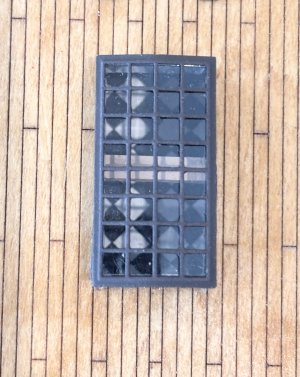
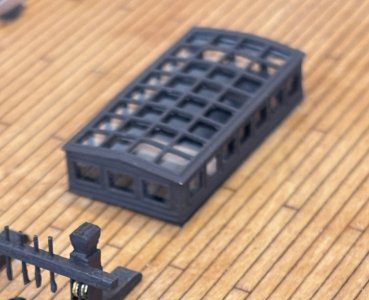
In this video I start with the construction of the poop deck skylight.
Most kits including this one get this wrong in my opinion, by having a flat top to the skylight My reference books have differing accounts, a couple just show drawings of a flat top, others, including Longridge’s Anatomy of Nelsons Ships mention the cambered top and that’s how he constructed his model. I’ve certainly seen old black and white photos of Victory from the early 1900’s that show a curved top too, and it seems logical that this would be the case to assist with the run off of water
I certainly prefer that look so decided to adapt the kit parts by making curved end sections from Evergreen strip then formed to top section to follow the profile. This just meant that I had to adapt the glazing strips (CP5) to fit the slightly smaller internal dimensions.
Overall I think it came out really well and I’m happy with my efforts
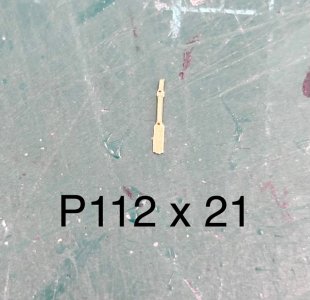
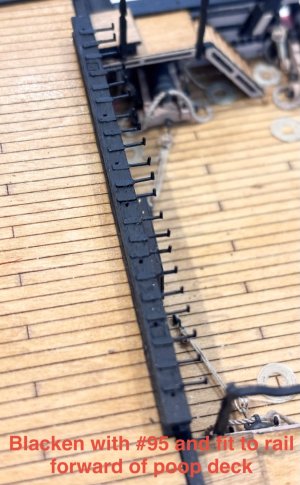
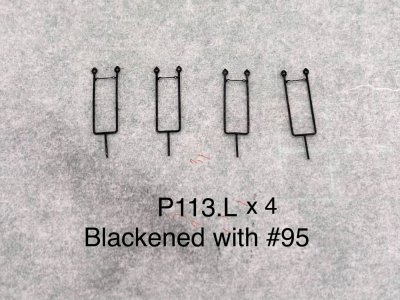
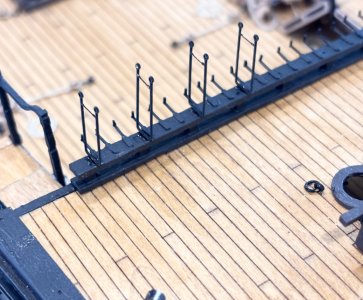
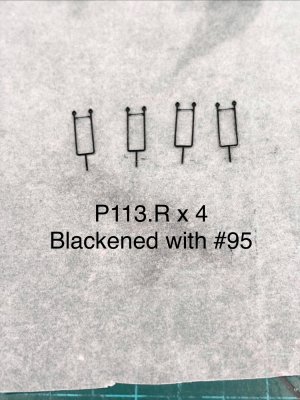
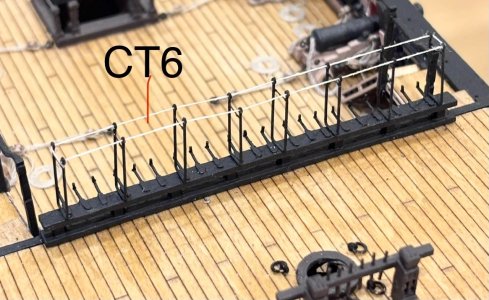
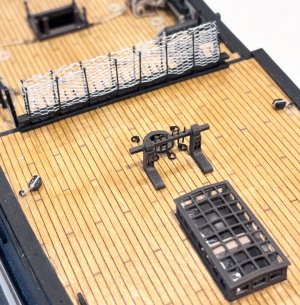
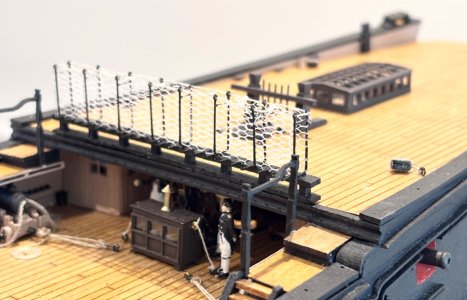
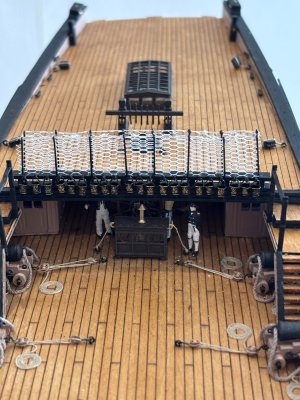
Next I fit the fire bucket hooks and hammock cranes to the rail above the binnacle at the front of the poop deck
The hammock cranes are labelled left and right, but after studying the video in zoom mode I couldn’t see any obvious differences in the way they are oriented. Feedback from AL said that some of the tiny holes in them were a different way round but I couldn’t see this on the video and decided to put them all the same way with the hooks facing forward. Again I have added my own netting
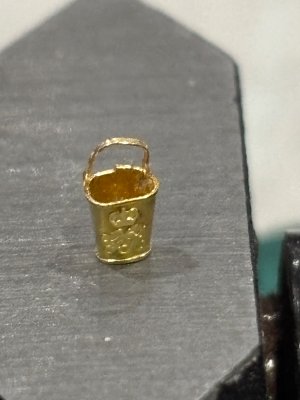
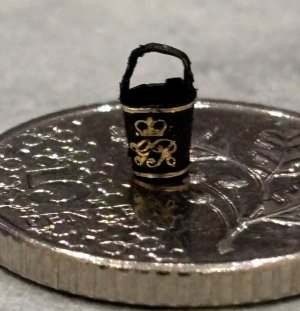
Finally in this video I make the fire buckets. I’d been looking forward to this but not, if you know what I mean
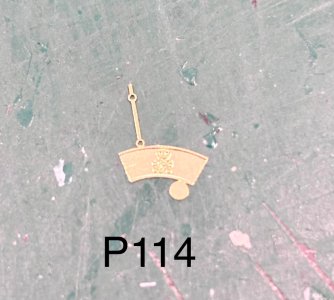
The video tells you to anneal the brass,
but after doing that with the first couple I was concerned that the discolouration would effect the brightness of the brass when finally scraping off the black paint, so I formed them straight off the sheet
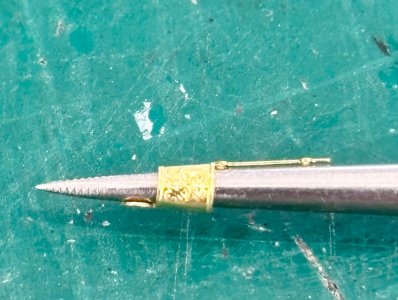
I found forming them around a bradawl I had gave pretty good results. Don’t think I got many perfectly round ones but to my knowledge these buckets were made from leather with a copper rim riveted top and bottom to give their shape. I’m sure that would of taken many knocks and got a bit misshaped,
so mine are probably more prototypical
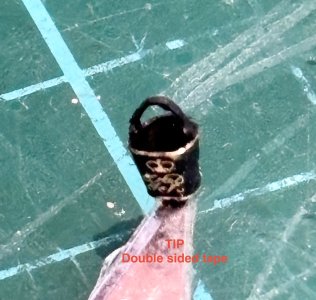
I struggled trying to transfer the first couple of buckets onto the hooks using tweezers as they kept dropping off at the final approach, so I devised a very quick and easy way to do the rest by using a small piece of double sided tape on the end of my scalpel, the final 19 went on quicker than the first 2 !

IMG_6406.jpeg

IMG_6283.jpeg

IMG_6289.jpeg

IMG_6291.jpeg

IMG_6293.jpeg

IMG_6294.jpeg

IMG_6296.jpeg

IMG_6326.jpeg

IMG_6328.jpeg

IMG_6329.jpeg

IMG_6330.jpeg

IMG_6331.jpeg

IMG_6332.jpeg

IMG_6333.jpeg

IMG_6334.jpeg

IMG_6335.jpeg

IMG_6336.jpeg

IMG_6342.jpeg

IMG_6343.jpeg

IMG_6345.jpeg

IMG_6352.jpeg

IMG_6351.jpeg

IMG_6393.jpeg

IMG_6402.jpeg

IMG_6405.jpeg
 
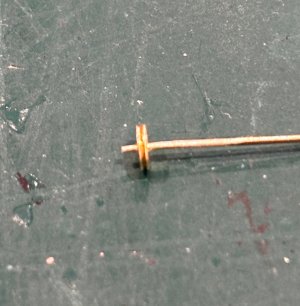
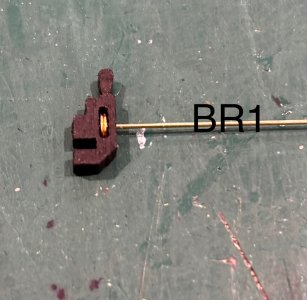
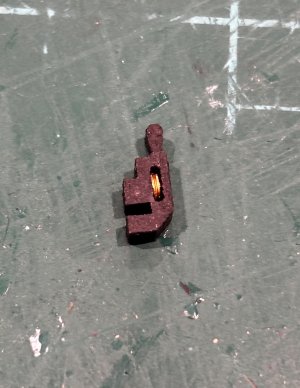
Alan. Hoping you can help me. On my build I am working on the 12 cannons on the quarter deck. I am having issues locating parts Q35.A and Q35.D. They go on the axel to the cannons. Do you remember what sheet yours were located on.
 
Alan. Hoping you can help me. On my build I am working on the 12 cannons on the quarter deck. I am having issues locating parts Q35.A and Q35.D. They go on the axel to the cannons. Do you remember what sheet yours were located on.
Hi David
Yeah, Q35.A is on sheet 13
Q35.D is on sheet 10
Regards
Alan
 
Back
Top