
-

SUBSCRIBE TO SHIPS IN SCALE TODAY!
The beloved Ships in Scale Magazine is back and charting a new course for 2026!
Discover new skills, new techniques, and new inspirations in every issue.
NOTE THAT OUR NEXT ISSUE WILL BE July/August 2026 -

Win a Free Custom Engraved Brass Coin!!!
As a way to introduce our brass coins to the community, we will raffle off a free coin during the month of August. Follow link ABOVE for instructions for entering.


You are using an out of date browser. It may not display this or other websites correctly.
You should upgrade or use an alternative browser.
You should upgrade or use an alternative browser.
Artesania Latina Anatomy of Lord Nelson’s HMS Victory 1805
- Thread starter AlanOES
- Start date
- Watchers 44
-
- Tags
- artesania latina victory


I'm Under Pressure to stop you now

 FLASH!
I think I'm Going Slightly Mad. I keep thinking The Victory sailed the Seven Seas of Rhye or was it a Bicycle Race watching Fat Bottomed Girls looking for Good Old Fashioned Lover Boys Lazing on a Sunday Afternoons.
oh Mama Mia

- Joined
- Nov 30, 2024
- Messages
- 269
- Points
- 158

Instructions video #38 Part 1
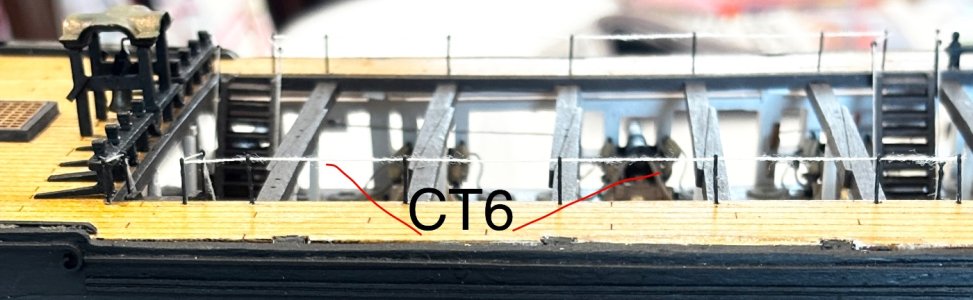
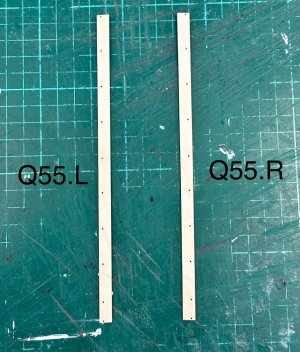
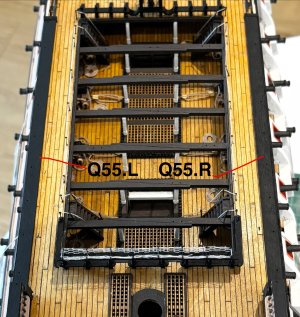
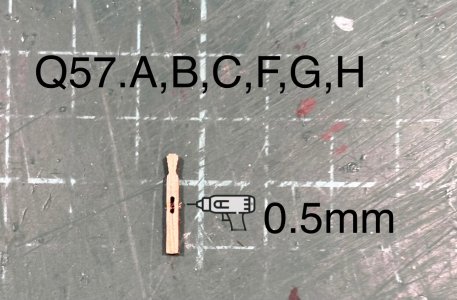
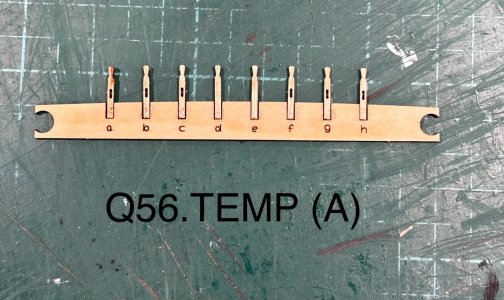
In this first part I install the hammock cranes on the rail at the stern of the waste area and fit the hand rails and ladders around the waste
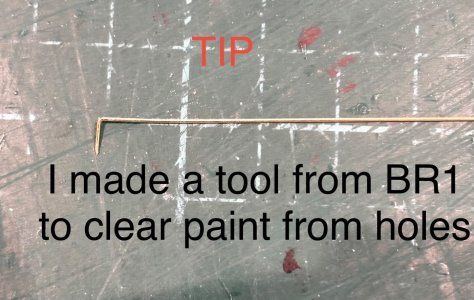
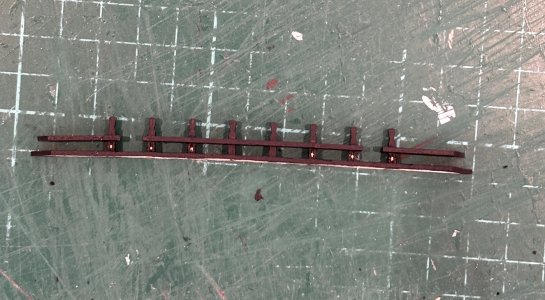
A couple of tips here, for those like me who haven’t quite mastered the art of blackening without leaving a residue that gets on your fingers, I suggest painting these parts after blackening making sure to get some paint inside the eyelets otherwise the nice white thread that threads through them won’t stay white for long, another tip that is probably quite well known is to stiffen the end of the thread with some CA glue and cut it to a nice small point to ease getting it through these very small eyelets. For that reason I didn’t wax this small thread and will have to suffer the fuzz, but I’ve ordered a gas barbecue lighter and I will experiment on a spare piece of thread to see if the open flame method burns off the fuzz without damaging the thread
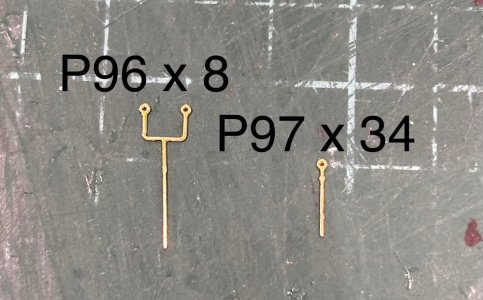
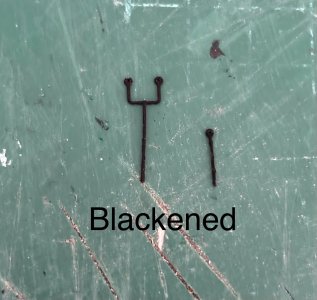
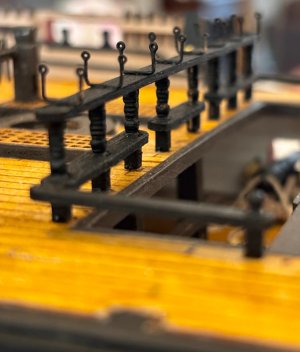
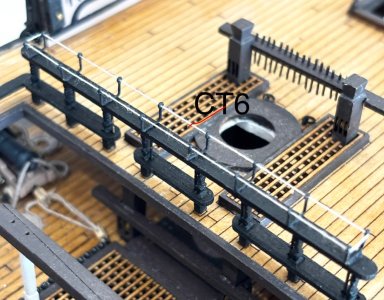
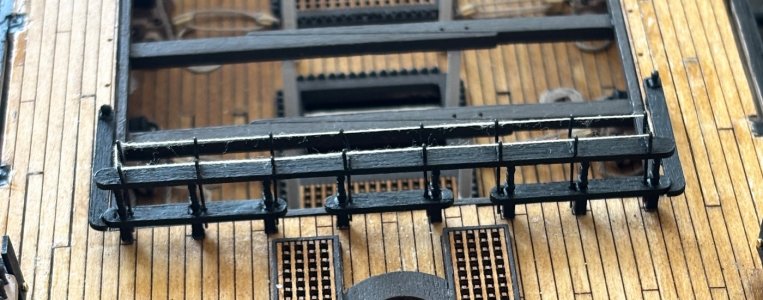
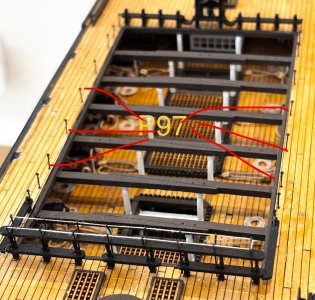
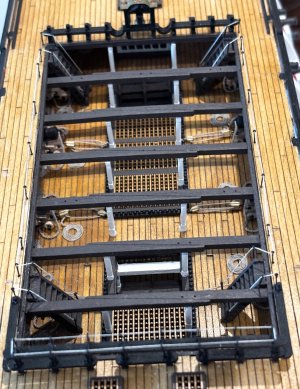
In this first part I install the hammock cranes on the rail at the stern of the waste area and fit the hand rails and ladders around the waste
A couple of tips here, for those like me who haven’t quite mastered the art of blackening without leaving a residue that gets on your fingers, I suggest painting these parts after blackening making sure to get some paint inside the eyelets otherwise the nice white thread that threads through them won’t stay white for long, another tip that is probably quite well known is to stiffen the end of the thread with some CA glue and cut it to a nice small point to ease getting it through these very small eyelets. For that reason I didn’t wax this small thread and will have to suffer the fuzz, but I’ve ordered a gas barbecue lighter and I will experiment on a spare piece of thread to see if the open flame method burns off the fuzz without damaging the thread
- Joined
- Nov 30, 2024
- Messages
- 269
- Points
- 158
Instructions video #38 Part 2
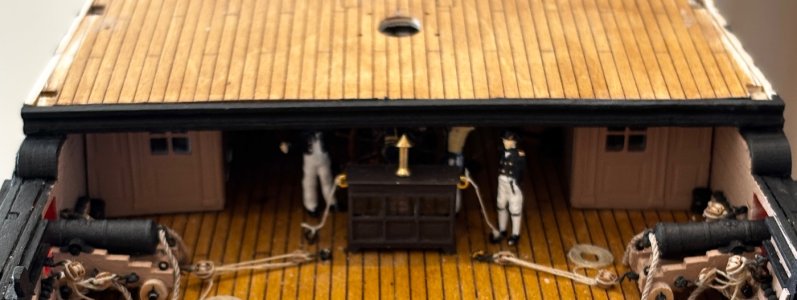
In this 2nd part I fit the internal wall details of the captain’s cabin, make the furniture for that area, the paint a few more figures. Lord Nelson makes his first appearance on my model in busy captain’s cabin dictating a message for the Admiralty while Hardy briefs some junior officers on the ships destination
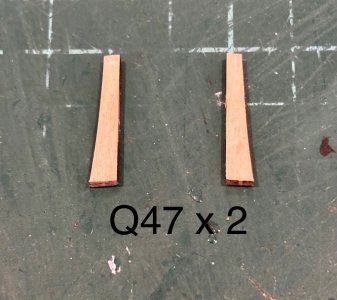
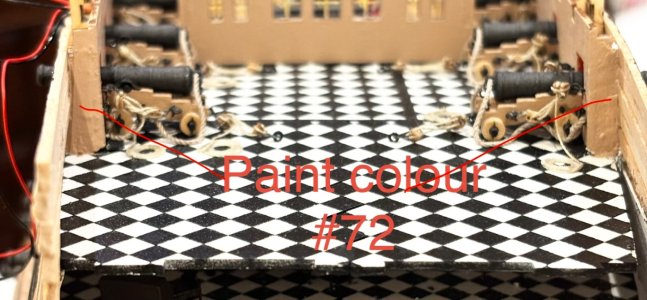
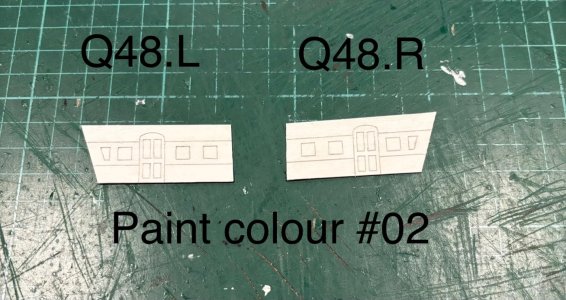
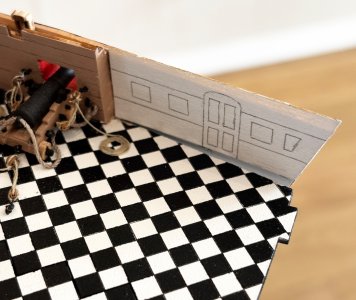
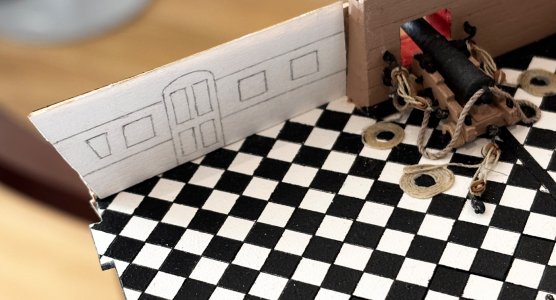
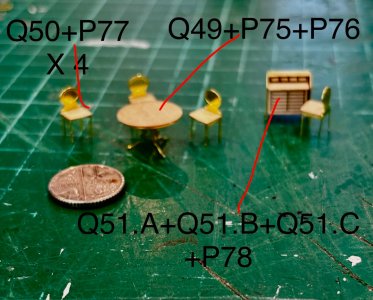
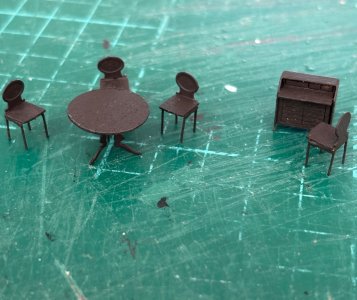
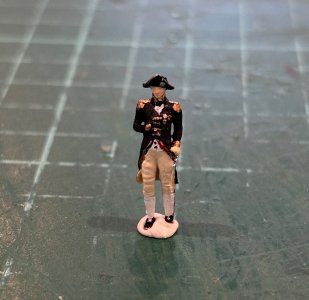
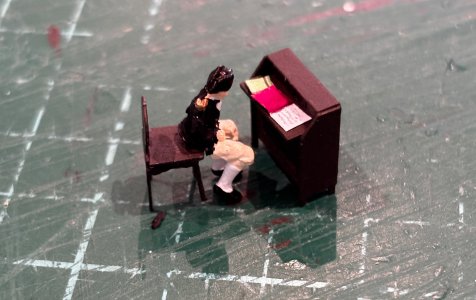
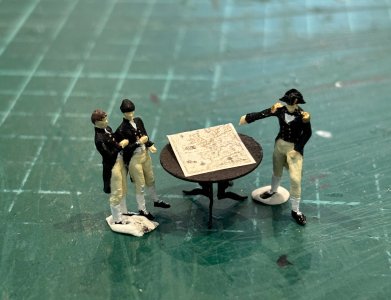
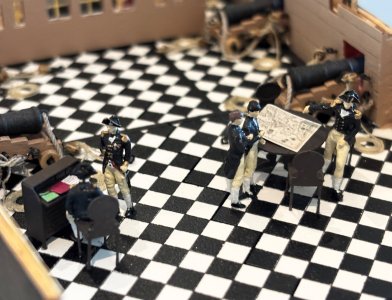
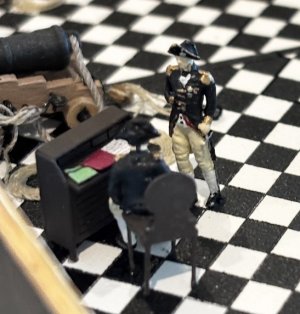
In this 2nd part I fit the internal wall details of the captain’s cabin, make the furniture for that area, the paint a few more figures. Lord Nelson makes his first appearance on my model in busy captain’s cabin dictating a message for the Admiralty while Hardy briefs some junior officers on the ships destination
Last edited:
- Joined
- Nov 30, 2024
- Messages
- 269
- Points
- 158
Instructions video #38 Part 3
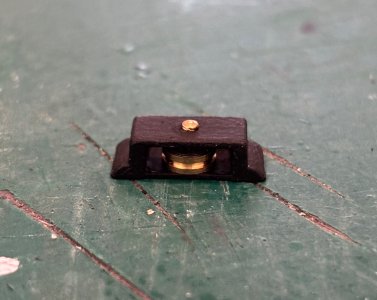
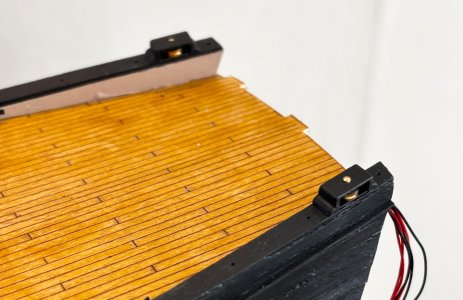
In this final part I wire the lanterns to the remaining beams and fit them in place over the quarter deck stern area, connecting them together in the ever decreasing space at the top rear of the framework and leave a final pair of cables that will eventually go round to the stern lanterns
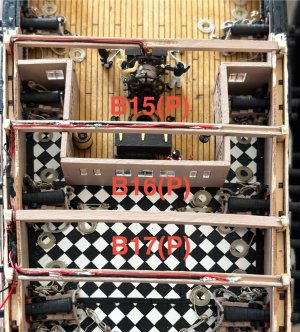
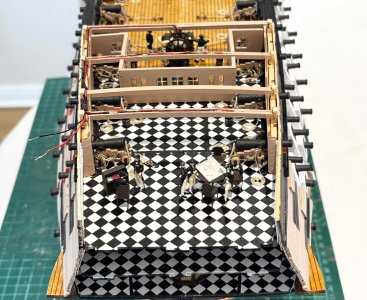
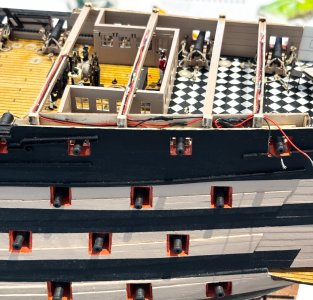
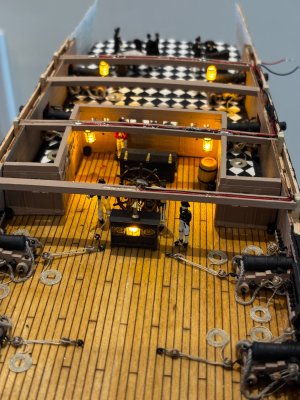
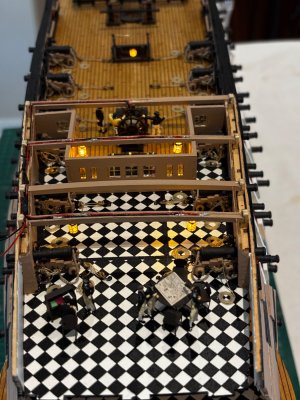
In this final part I wire the lanterns to the remaining beams and fit them in place over the quarter deck stern area, connecting them together in the ever decreasing space at the top rear of the framework and leave a final pair of cables that will eventually go round to the stern lanterns
Looks like lots of fiddly work but you have nailed it!Instructions video #38 Part 1
In this first part I install the hammock cranes on the rail at the stern of the waste area and fit the hand rails and ladders around the waste
A couple of tips here, for those like me who haven’t quite mastered the art of blackening without leaving a residue that gets on your fingers, I suggest painting these parts after blackening making sure to get some paint inside the eyelets otherwise the nice white thread that threads through them won’t stay white for long, another tip that is probably quite well known is to stiffen the end of the thread with some CA glue and cut it to a nice small point to ease getting it through these very small eyelets. For that reason I didn’t wax this small thread and will have to suffer the fuzz, but I’ve ordered a gas barbecue lighter and I will experiment on a spare piece of thread to see if the open flame method burns off the fuzz without damaging the thread
View attachment 616551
View attachment 616552
View attachment 616553
View attachment 616554
View attachment 616555
View attachment 616556
View attachment 616557
View attachment 616558
View attachment 616559
View attachment 616560
View attachment 616561
View attachment 616562
View attachment 616563
- Joined
- Nov 30, 2024
- Messages
- 269
- Points
- 158
Hammock Crane Netting
After doing the hammock crane at the stern of the waste area, I fast forwarded several videos to see when the netting would be fitted, but it appears that AL have decided to omit this feature which in my opinion isa major omission
I saw some netting included in the kit part list and assumed it was for this purpose, but it appears this is only used for the rails on the fighting tops.
When I did my Del Prado upgrade about20 years ago, this was also an omission, but to be honest there was not a great deal of detail in the whole kit
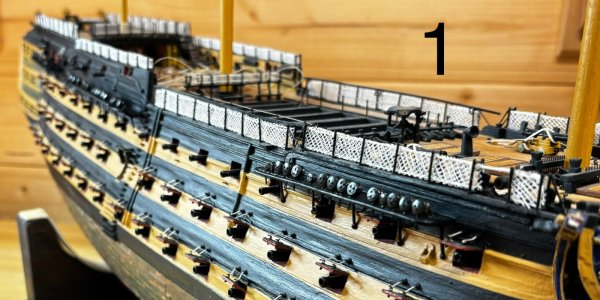
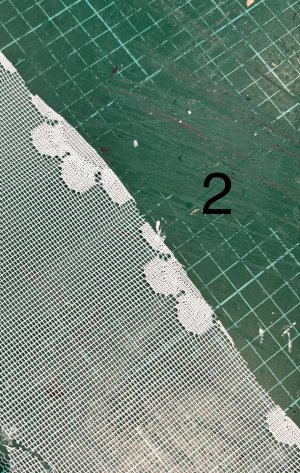
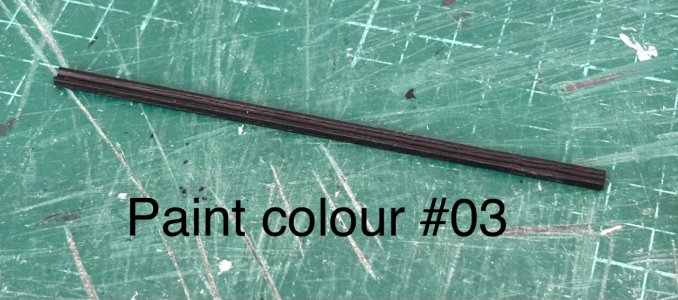
On that occasion I sourced some net curtaining with 1mm squares which I had to cut at 45 degrees to get the diamond netting pattern (pictures 1 and 2). I still have some left but it would not be enough to complete this model, so I have spent the last couple of weeks trying to find something similar in curtain stores near and far,and on the net(excuse the pun) but to no avail
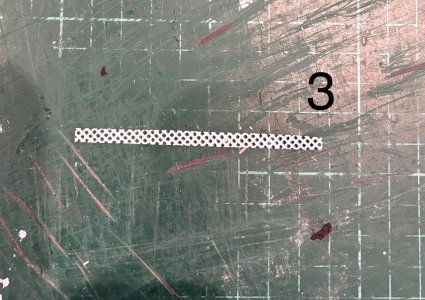
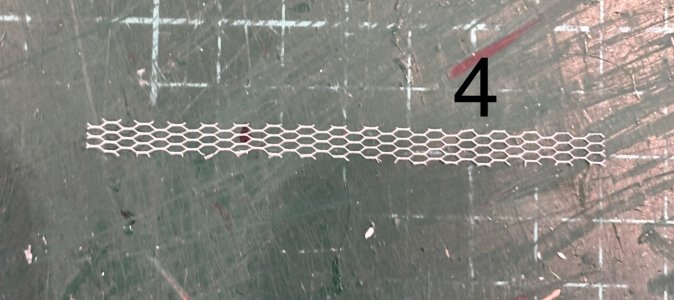
I thought I’d cracked it when making a visit to Hobby Craft I found some mesh fabric for tapestry, but when I got it home and unfolded it , it was too thick in scale for my requirements ( picture 3 ). So I have had to bite the bullet and use netting supplied by model shops, although the netting pattern isn’t the diamond shape that I wanted
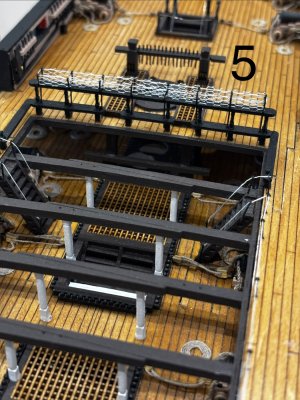
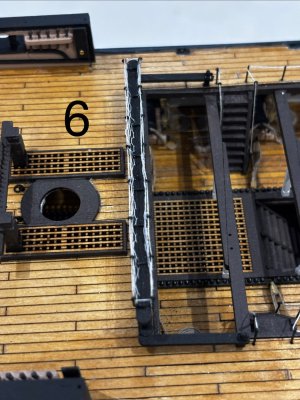
(picture 4 ). So here is my first netted hammock crane ( pictures 5 and 6 )
After doing the hammock crane at the stern of the waste area, I fast forwarded several videos to see when the netting would be fitted, but it appears that AL have decided to omit this feature which in my opinion isa major omission
I saw some netting included in the kit part list and assumed it was for this purpose, but it appears this is only used for the rails on the fighting tops.
When I did my Del Prado upgrade about20 years ago, this was also an omission, but to be honest there was not a great deal of detail in the whole kit
On that occasion I sourced some net curtaining with 1mm squares which I had to cut at 45 degrees to get the diamond netting pattern (pictures 1 and 2). I still have some left but it would not be enough to complete this model, so I have spent the last couple of weeks trying to find something similar in curtain stores near and far,and on the net(excuse the pun) but to no avail
I thought I’d cracked it when making a visit to Hobby Craft I found some mesh fabric for tapestry, but when I got it home and unfolded it , it was too thick in scale for my requirements ( picture 3 ). So I have had to bite the bullet and use netting supplied by model shops, although the netting pattern isn’t the diamond shape that I wanted
(picture 4 ). So here is my first netted hammock crane ( pictures 5 and 6 )
I wonder why AL omitted this from the model. Good work finding something to use even though you had to compromise the diamond shape a bit.
- Joined
- Nov 30, 2024
- Messages
- 269
- Points
- 158
Instructions video #39 Part 1
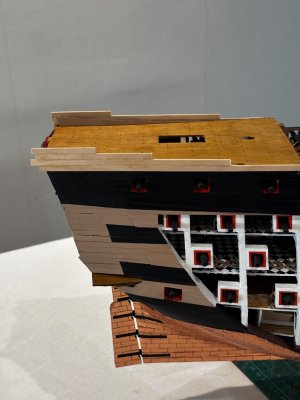
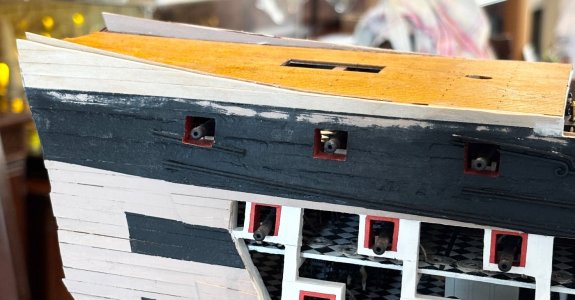
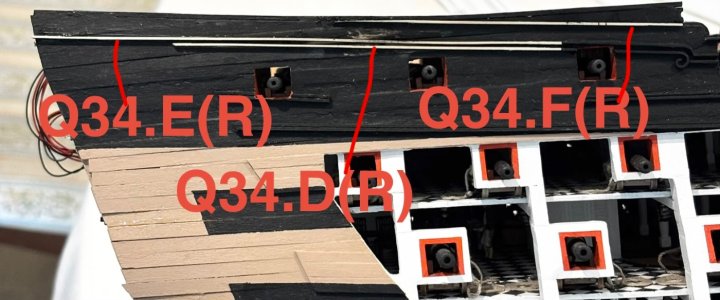
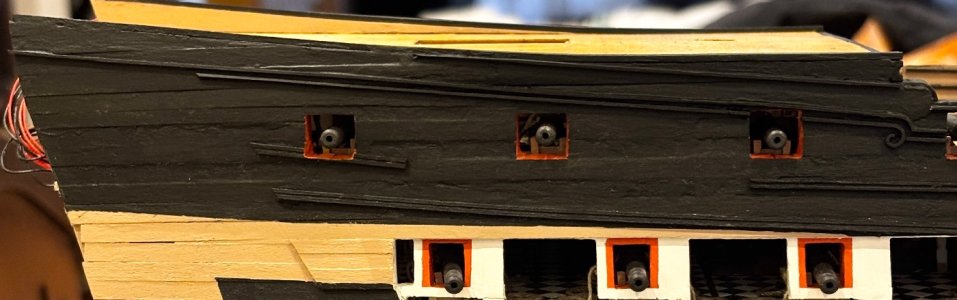
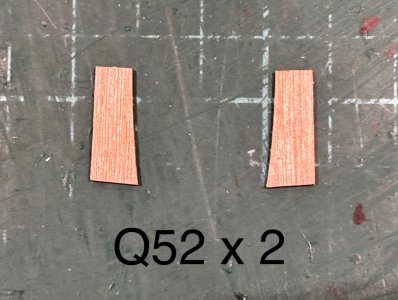
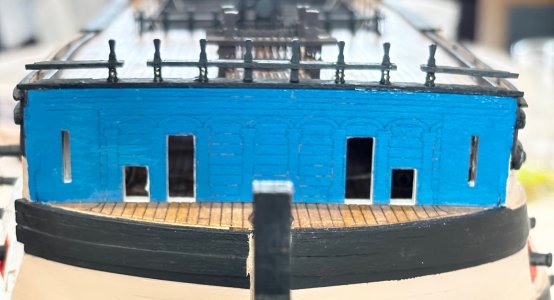
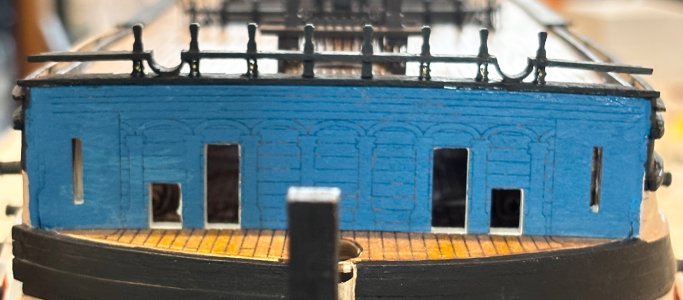
In this first part I fit the poop deck, and build up the final planking at the stern.
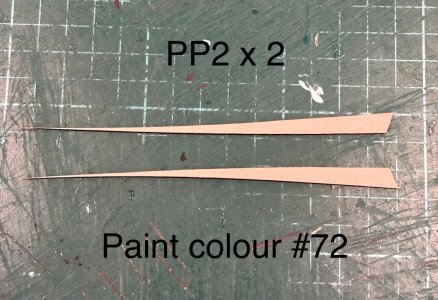
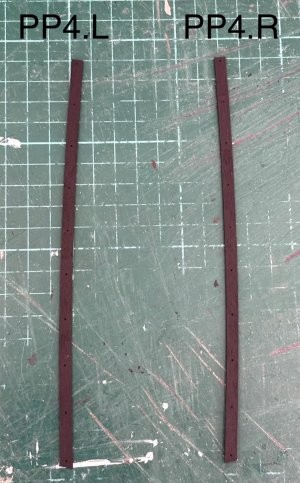
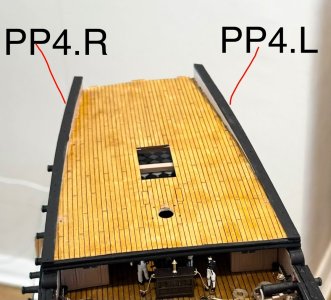
Tip: There is no guideline to show you where to fit parts PP2, so I used parts PP4 to give me a rough idea
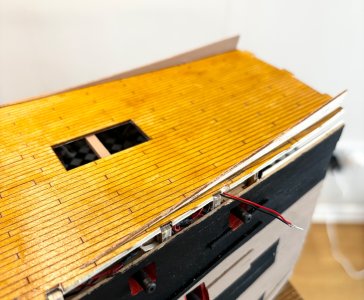
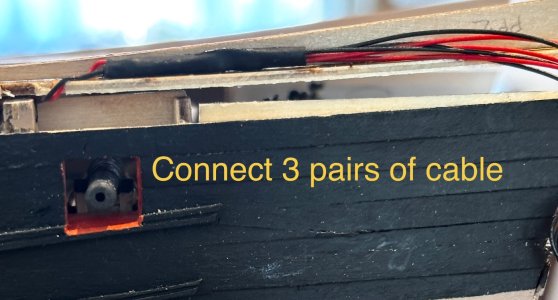
Then I extend the wiring that will eventually go to the stern lanterns, and add the hull mouldings to the upper stern sides
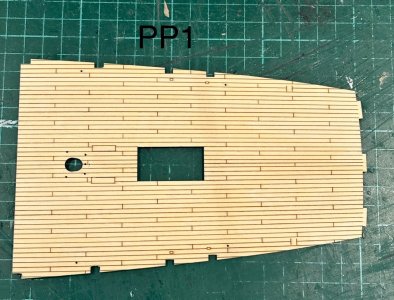
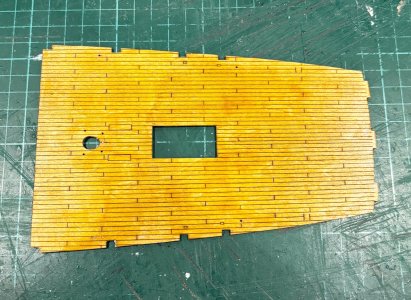
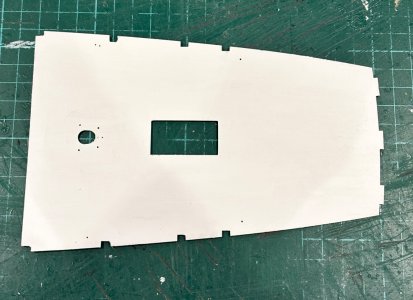
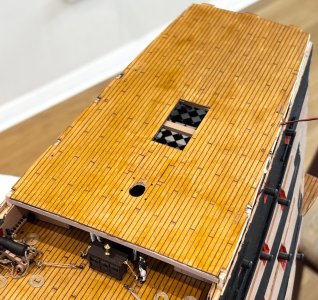
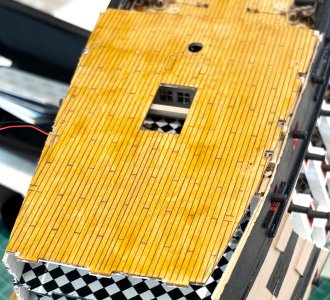
In this first part I fit the poop deck, and build up the final planking at the stern.
Tip: There is no guideline to show you where to fit parts PP2, so I used parts PP4 to give me a rough idea
Then I extend the wiring that will eventually go to the stern lanterns, and add the hull mouldings to the upper stern sides
Last edited:
Well done Alan, great work!
- Joined
- Nov 30, 2024
- Messages
- 269
- Points
- 158
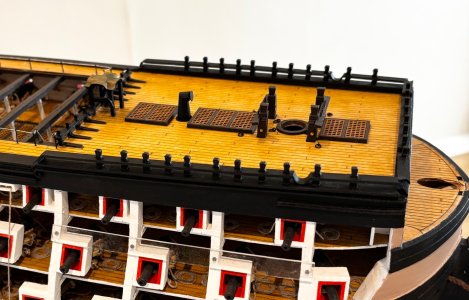
Instructions video #40 Part 1
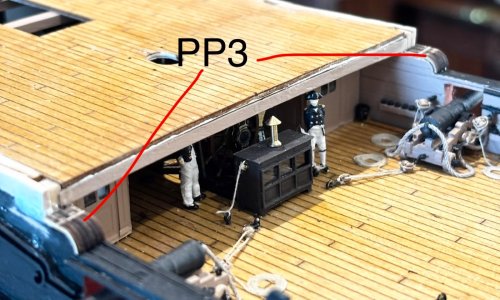
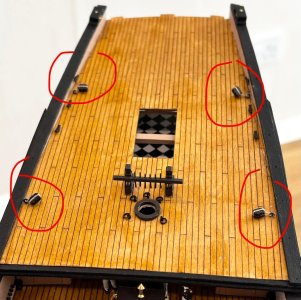
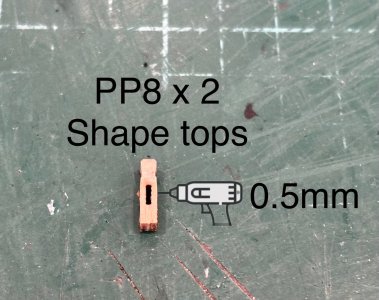
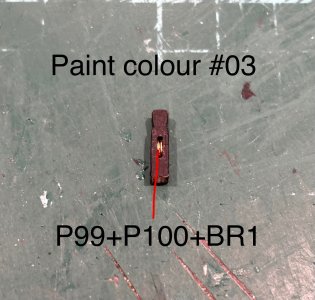
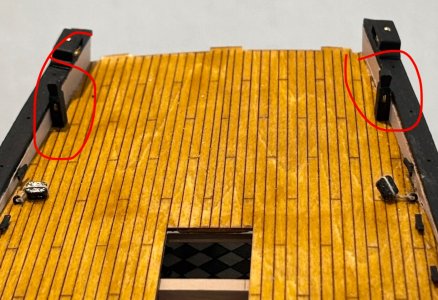
In this first part I continue with adding fixtures and fittings to the poop deck.
All pretty much self explanatory
I couldn’t see the engraved line mentioned to shape the base of part PP6.A, so used the shape on PP6.B as a guide
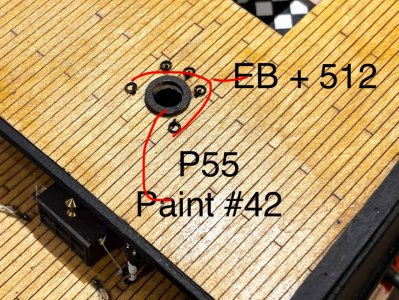
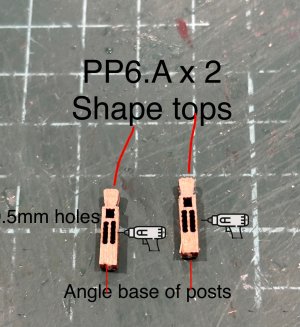
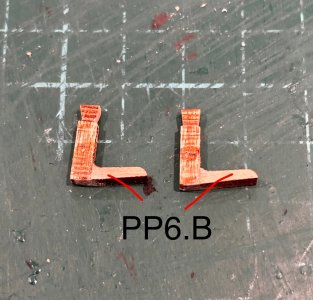
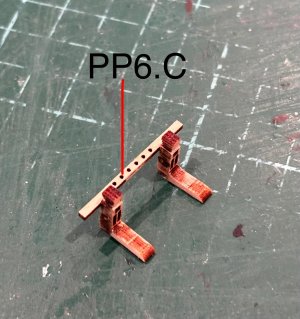
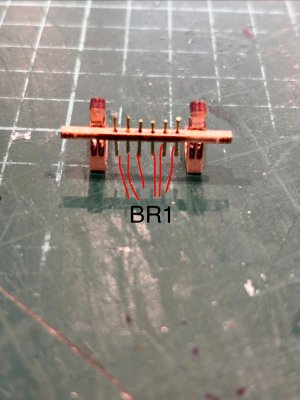
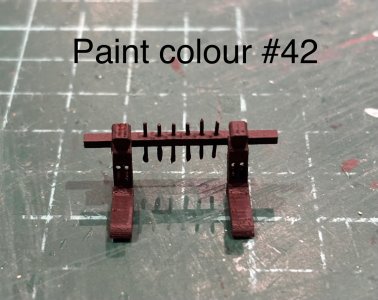
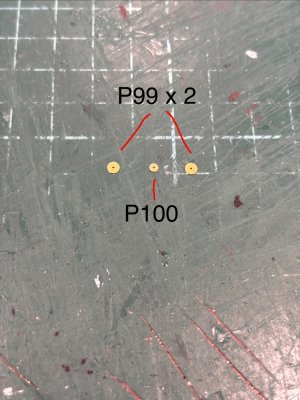


In this first part I continue with adding fixtures and fittings to the poop deck.
All pretty much self explanatory
I couldn’t see the engraved line mentioned to shape the base of part PP6.A, so used the shape on PP6.B as a guide
- Joined
- Nov 30, 2024
- Messages
- 269
- Points
- 158
Instructions video #40 Part 2
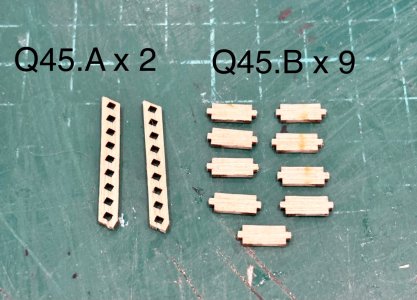
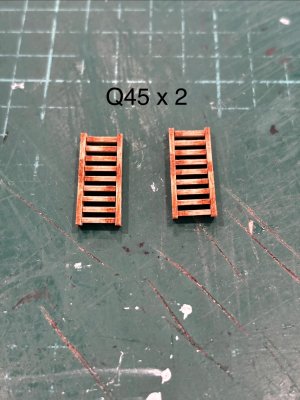
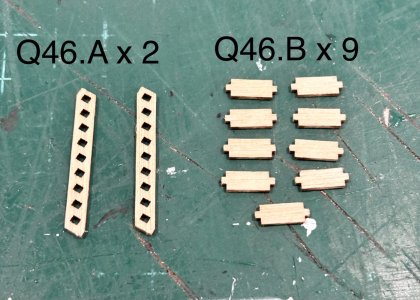
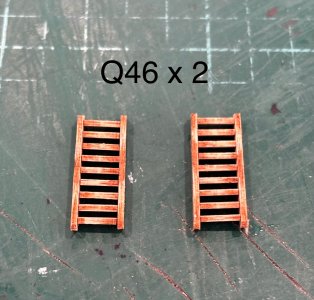
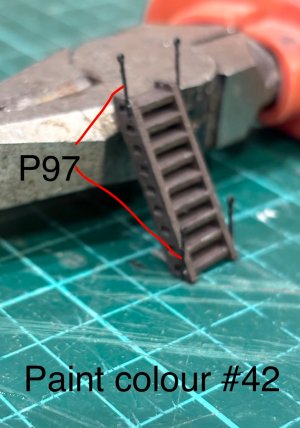
In this final part I build and fit the stairways leading from the quarter deck up to the poop deck and the rail at the forward edge of the poop deck
As my own preference I decided to pick out the mouldings on the stairs as opposed to painting them black as shown in the video
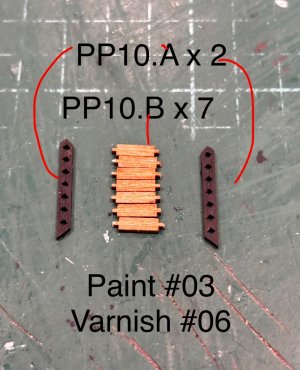
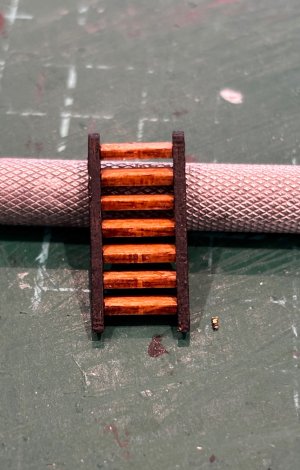
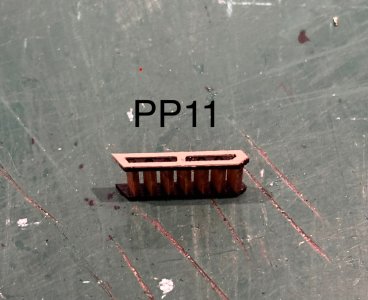
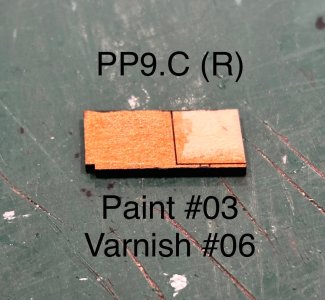
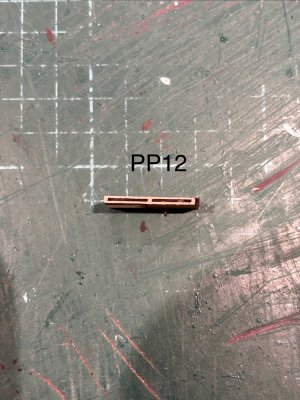
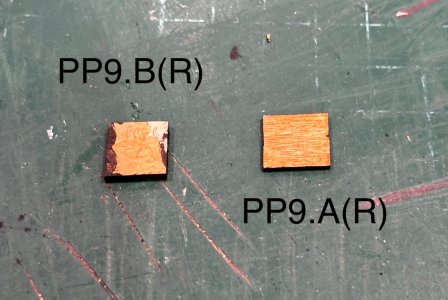
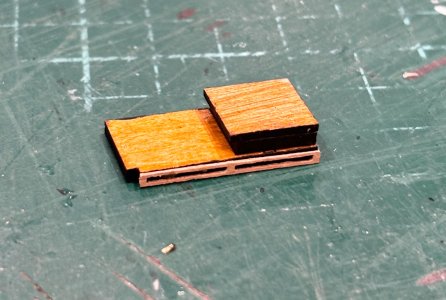
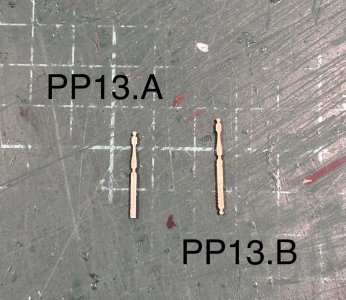
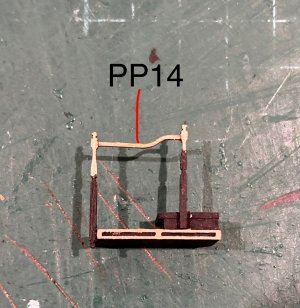
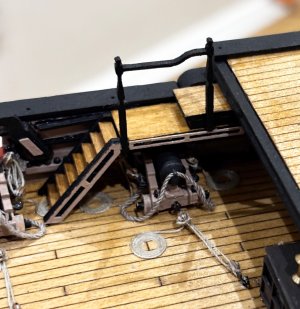
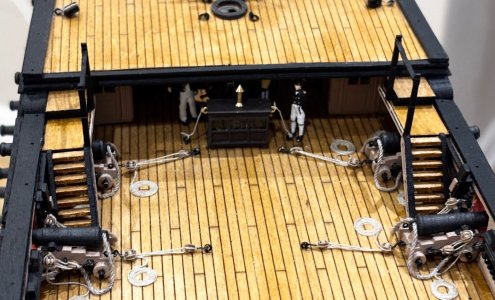
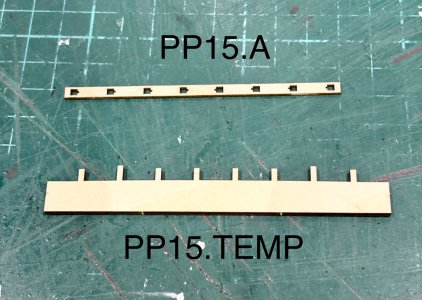
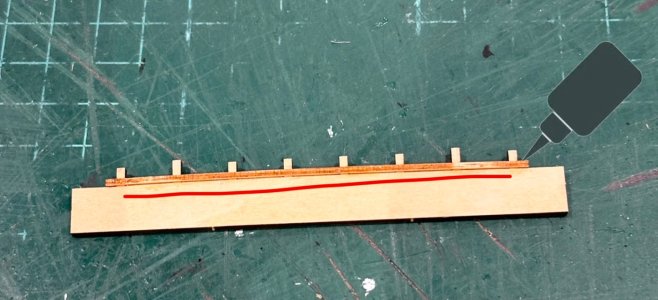
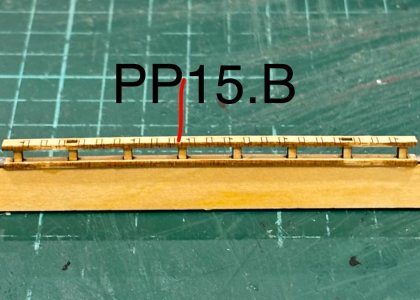
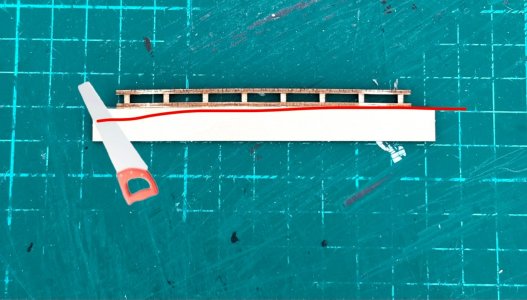
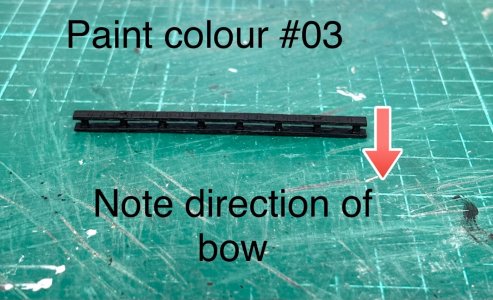
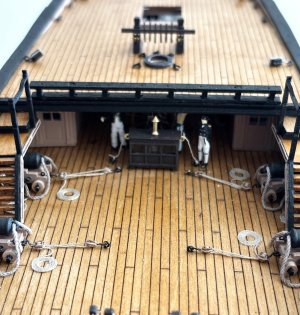
In this final part I build and fit the stairways leading from the quarter deck up to the poop deck and the rail at the forward edge of the poop deck
As my own preference I decided to pick out the mouldings on the stairs as opposed to painting them black as shown in the video
Yep, many hours of fiddly work. Welldone!
- Joined
- Nov 30, 2024
- Messages
- 269
- Points
- 158
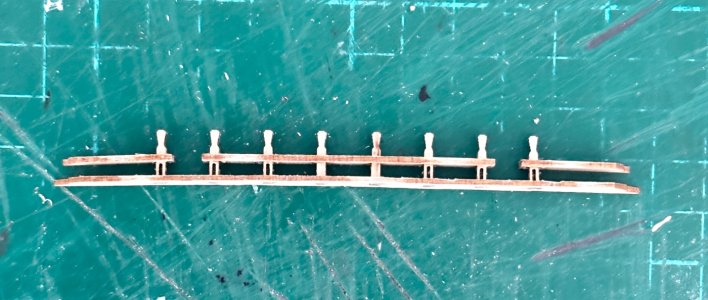
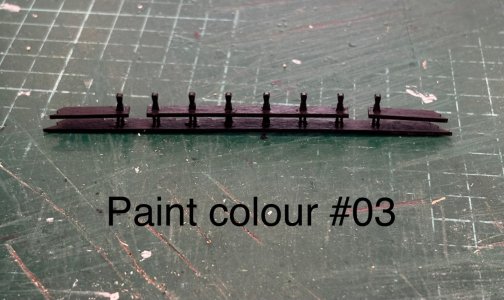
Extra holes required
I just thought I’d post this for those of you who aren’t far behind me
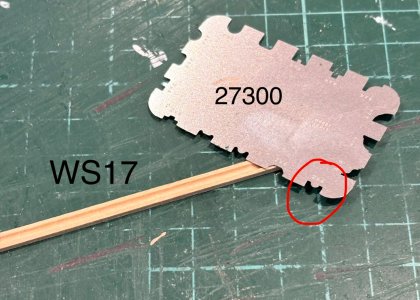
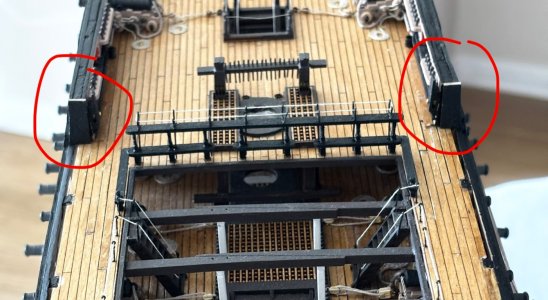
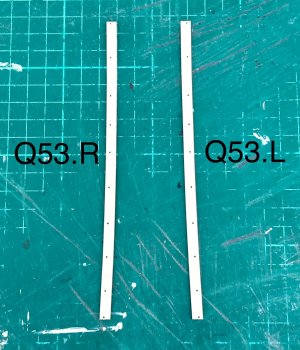
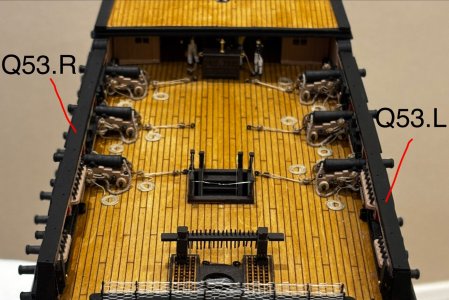
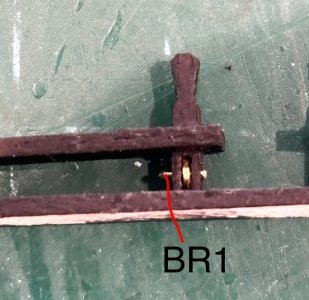
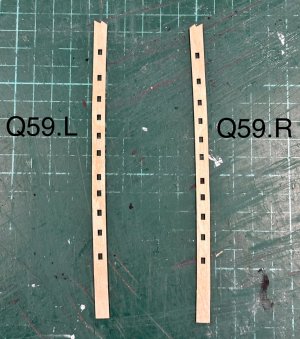
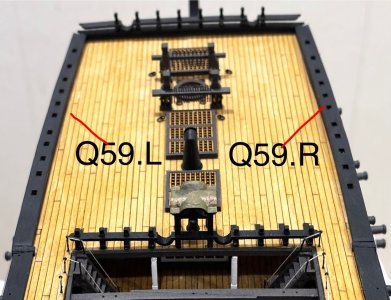
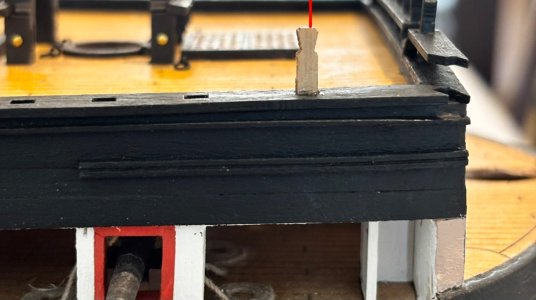
I’m currently doing the guns on the foc’sle and noticed there are not enough pre drilled holes in the rails for the guns rigging. There are 4 pre drilled holes on each side for the 68lb carronades, but when you study the video it appears you need 6 and it seems 2 are in the upright posts
There are none provided for the medium 12lb guns. I have just carefully managed to drill these but thought it might be easier for others if they drilled all these holes before putting the rails in place
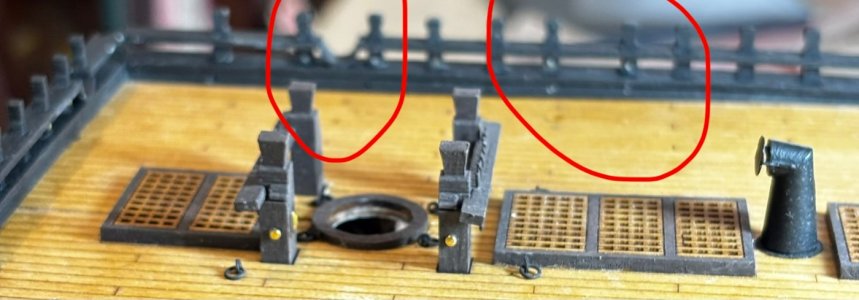
I just thought I’d post this for those of you who aren’t far behind me
I’m currently doing the guns on the foc’sle and noticed there are not enough pre drilled holes in the rails for the guns rigging. There are 4 pre drilled holes on each side for the 68lb carronades, but when you study the video it appears you need 6 and it seems 2 are in the upright posts
There are none provided for the medium 12lb guns. I have just carefully managed to drill these but thought it might be easier for others if they drilled all these holes before putting the rails in place