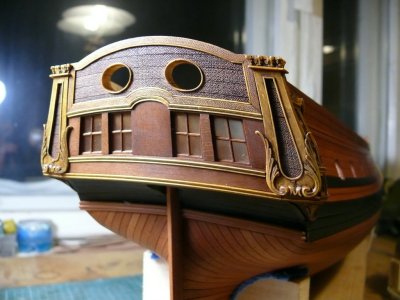
Beautiful work Paul !Hello Friends!
It's been a few weeks since I posted anything that pertained to model building. In mid-July I shared this image of rough-cut decoration blanks:
View attachment 624984
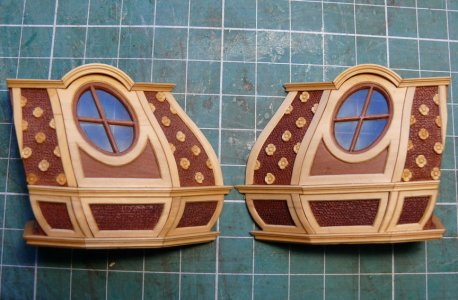
Here are those same pieces provisionally prepared (these still need to be fitted to the model):
View attachment 624985
View attachment 624987
A "single" picture that represents hours of work.
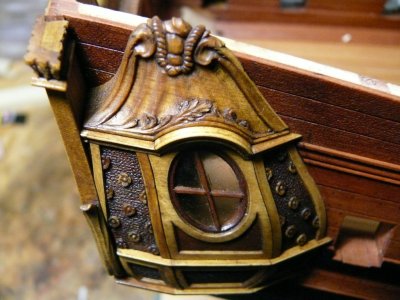
My Kingfisher had a few carvings, but I had to discover all over again how to do these detailed decorative pieces.
On the Kingfisher I mostly used chisels and micro-files for everything - and that is how I created the leafy ball things on the far right (middle and bottom). Basically, these were chip carved and then cleaned up.
But on all the remaining pieces I forced myself to embrace rotary carving. This took some practice and I hope I will continue to improve with more experience - but I was encouraged. Rotary carving feels very natural in my hands, and it can do some things that chisels can't do (and vice-versa) so it was good to practice this skill.
Experts in 17th century French ships will know I have failed to accurately (or even remotely) create acanthus leaves on several of these pieces. This is what happens when you try to carve from memory (the place we stayed in Northern Wisconsin didn't have internet and it never occured to me to print out the drawings). Imagine a place where you have to go to the public library to find WiFi.
*** Now a decision needs to be made. Many people who carve in boxwood leave the carvings natural. A few others will use a solvent-cut bitumen or other 'aging' effect. My model is not going to be aged - but do I want to leave the boxwood natural - or try to tint it in the direction of my tung-oil treated pearwood? There is no way to get a perfect match - but do I want to reduce the contrast between these woods or embrace it? Hmm.
View attachment 625011
I wonder why the rotary carving tool would feel "very natural" in your hands.....
Great work !