Love your window John. Guess you soldered it from some pieces of brass?
-

Win a Free Custom Engraved Brass Coin!!!
As a way to introduce our brass coins to the community, we will raffle off a free coin during the month of August. Follow link ABOVE for instructions for entering.
-

PRE-ORDER SHIPS IN SCALE TODAY!
The beloved Ships in Scale Magazine is back and charting a new course for 2026!
Discover new skills, new techniques, and new inspirations in every issue.
NOTE THAT OUR FIRST ISSUE WILL BE JAN/FEB 2026
You are using an out of date browser. It may not display this or other websites correctly.
You should upgrade or use an alternative browser.
You should upgrade or use an alternative browser.
ZHL Royal Caroline Kit, scale 1/30
- Thread starter neptune
- Start date
- Watchers 57
-
- Tags
- royal caroline
Love your window John. Guess you soldered it from some pieces of brass?
Maarten you wouldn't believe me if I told you, ,
You have robbed your wifes jewelry box?Maarten you wouldn't believe me if I told you, ,
You know me too well, lol,


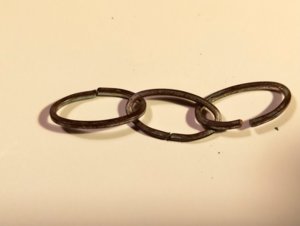
It's an old chain belt, which the Admiral doesn't wear anymore, these are just three of the links,
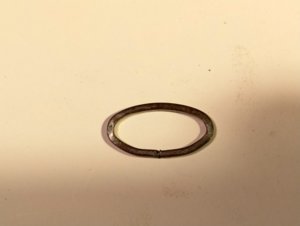
And one on its own,
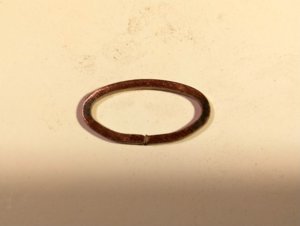
And when I cleaned it up it was copper underneath, turns out that it was just the right size for the window and with the addition of a couple of brass bars it seems OK,
Best regards John,

It's an old chain belt, which the Admiral doesn't wear anymore, these are just three of the links,

And one on its own,

And when I cleaned it up it was copper underneath, turns out that it was just the right size for the window and with the addition of a couple of brass bars it seems OK,
Best regards John,
Last edited:
I just realised that I havn't posted anything in a few days either,
I have seen this info Maarten, but I am sure there were blocks attached to those eye bolts for the tackle of the Jeers etc, I am still looking and if I find anything useful I will post it on here,
best regards John,
I have seen this info Maarten, but I am sure there were blocks attached to those eye bolts for the tackle of the Jeers etc, I am still looking and if I find anything useful I will post it on here,
best regards John,

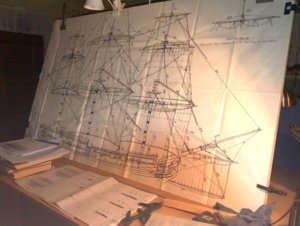
I am trying to sort out what blocks are supplied for what yards and in what quantities, so i have decide to start on the
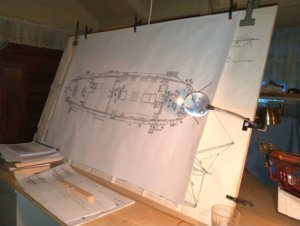
masts etc, this is the bow sprit laid over the plan,
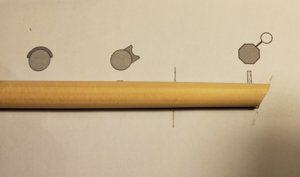
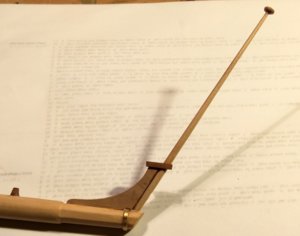
Just marking out for shaping the end of the bowsprit,
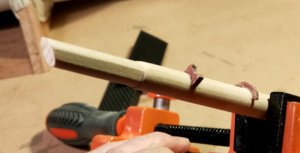
and after Filing to shape and adding some of the fittings,
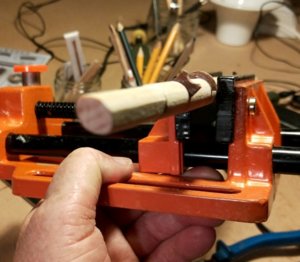
another view,
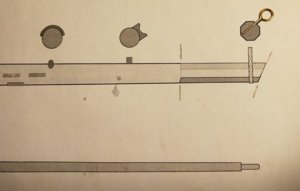
Making the ring holder for the boom,
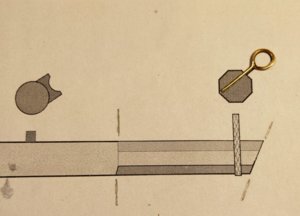
and a close up,
.
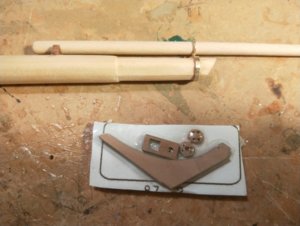
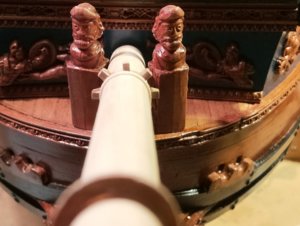
The boom holder fitting in place and showing how it holds the boom, and at the bottom the parts for the knee
that holds the Jack Staff,
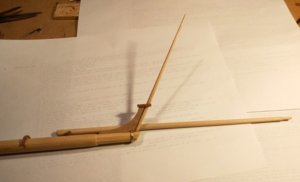
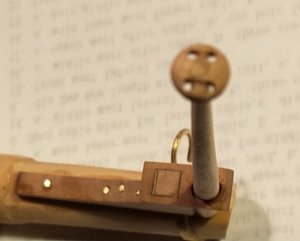
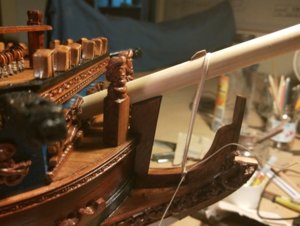
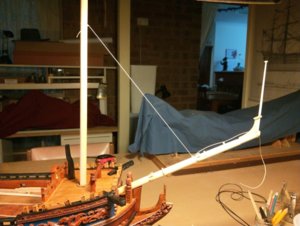
The jack staff glued in place with the boom just sitting in its holder,
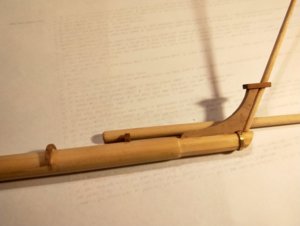
Close up I have a few more bits to add yet,
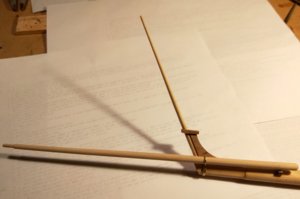
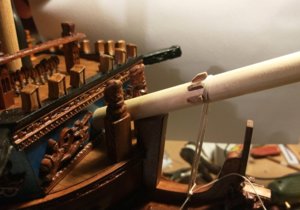
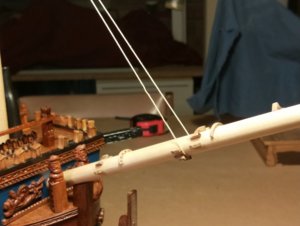
and a view from the other side,
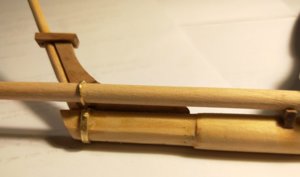
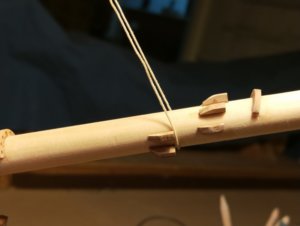
and a close up, the small ring around the boom is supposed to be made out of flat strap, but i cheated and
used brass rod instead,
.
Last edited:
amazing stuff,.......heheheh . nice
Figuring out all the blocks and making them is a s...tload of work.
I am still working on the gun carriage blocks and that already takes hours.
But I must say I have never seen such beautiful and large variaty in blocks in a kit ever.
And this bow sprit, lovely. The amount of detail still amazes me.
If you have the info on all the blocks and the eyebolts around the main mast I am happy to hear them.
Thank you all for your comments and likes, Maarten I have found out a little bit more about the blocks and eye bolts, I will post about them in a little while,
Best regards John,
Best regards John,
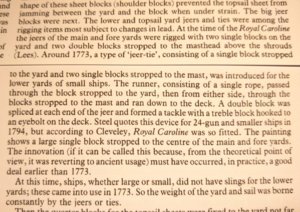
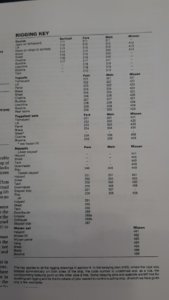
This is what i have found out so far, this is from the anots,
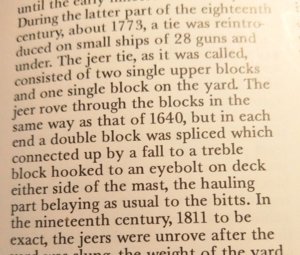
and this is confirmation from Lee's Masting and Rigging english ships of war,
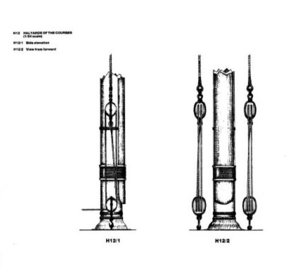
I also found this at the very end of the anots,
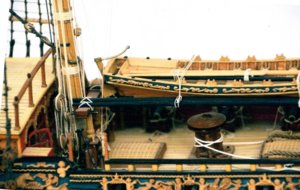
and this is a pic of the model Janos built showing the blocks also with some smaller blocks that are also rigged the same way to the eye bolts, so I guess I still have a lot of reading to do,
.
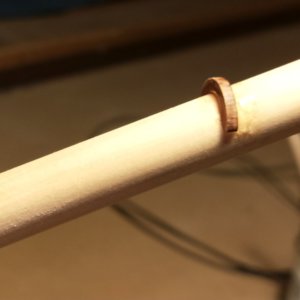
Now when I had attached the part up the front of the bowsprit that I thought was for a rope sling, I had got it
wrong and I had a attached the the part that goes just above the gamoning and has holes drilled through it for
the lead of the ropes, so I had to break it off and attach the smaller part that you see in this pic,
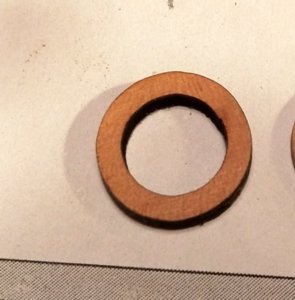
I was lucky that I had some of the ring parts left over from the rail details and I managed to sand one down to size,
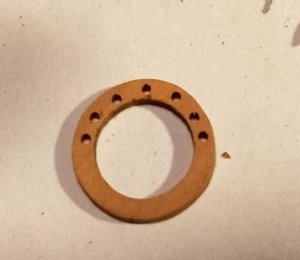
I then drilled the holes for the ropes to go through and cut
off the lower half,
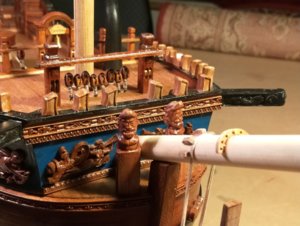
and attached to the bowsprit,
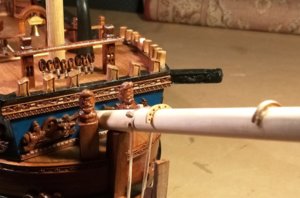
still have some more cleats to go on yet,
.
Me too, me too!If you have the info on all the blocks and the eyebolts around the main mast I am happy to hear them.
John, when you are done, I will be happy to arrange it all in nice structured digital way, helping you with computer stuff. I need it myself as I follow you guys, and of course I would love to re-use your findings and make it reusable for those who follow. Please use my help when needed.
As you noticed I stopped the actual production, but I can finally allocate my time on studying materials without panic. So, I am doing my research, translating the manual from Chinese, adding my stuff, and both your blogs are great help of course.
And, pity, I am slow now: I got funding for my business and I am busy 200% nowadays. This covid thing is a also a help in my case.
But I will be back, sooner or later! I miss you!

Just about finished cutting out the area for the, I think it is called a rubbing paunch,

and a view with the rubbing paunch just sitting in place, these I thought were too thick so I thinned them
down a little bit,

next were the side supports, these I also thinned down as well,

then I squared off the rest of the top of the mast, from the bibs up,
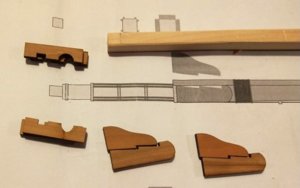
the cheeks and the mast top, just have to cut the tenon for the cap,
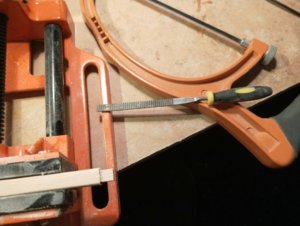
cutting the tenon, these are the tools that I used for all the cutting and squaring, oh and also a very sharp knife,
.


