Clever solution, Tim (and what I mean by that is I was about to suggest the same thing and then kept reading to learn you had already done it  ).
).
 ).
). |
As a way to introduce our brass coins to the community, we will raffle off a free coin during the month of August. Follow link ABOVE for instructions for entering. |
 |
 |
The beloved Ships in Scale Magazine is back and charting a new course for 2026! Discover new skills, new techniques, and new inspirations in every issue. NOTE THAT OUR FIRST ISSUE WILL BE JAN/FEB 2026 |
 |
 ).
).Isn't that how we always "know" we're on the right track?Clever solution, Tim (and what I mean by that is I was about to suggest the same thing and then kept reading to learn you had already done it).
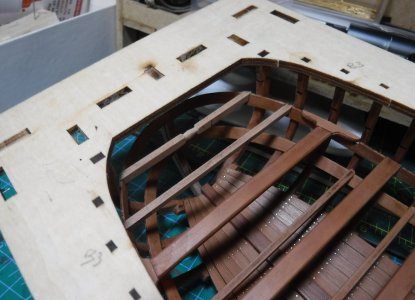
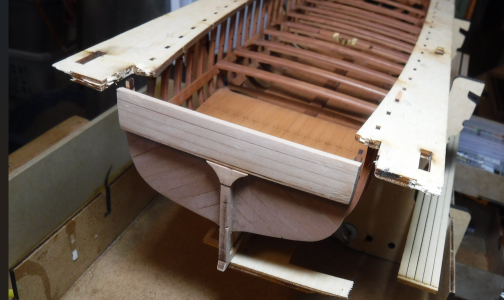
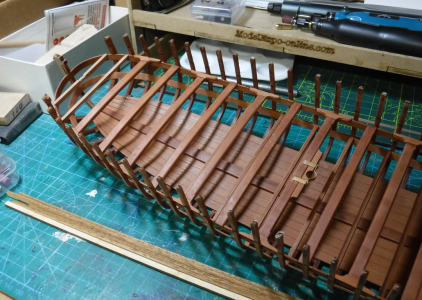
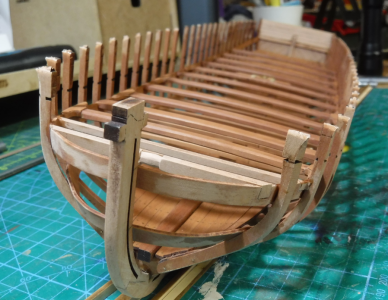
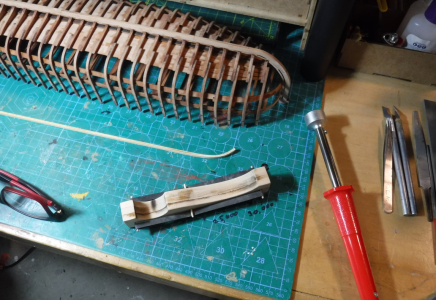
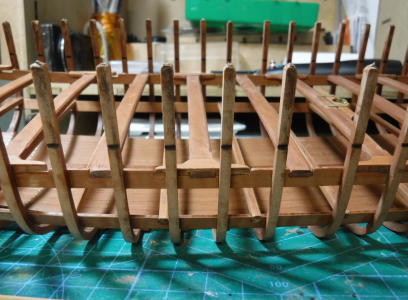
Yeah, I’m still learning. And was happy I didn’t break too much while doing it.Well played. You can get away with simply soaking something as soft as basswood, but pear is going to need both moisture and heat.
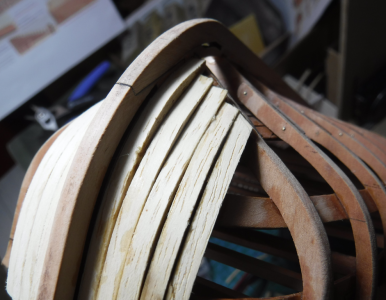
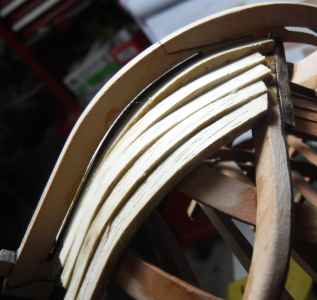
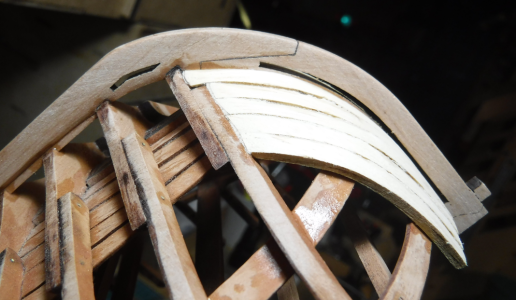
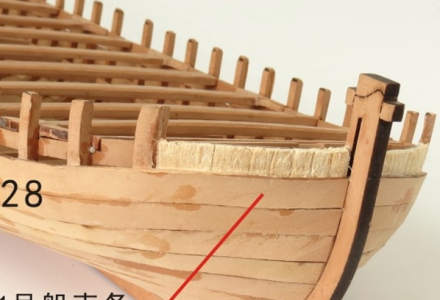
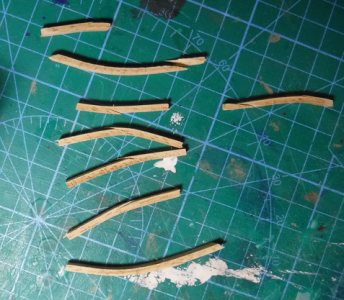
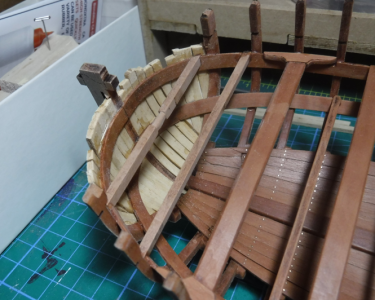
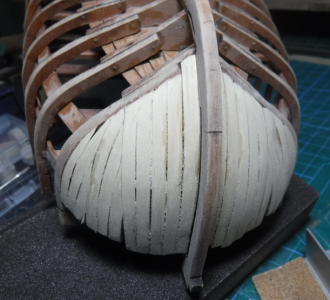
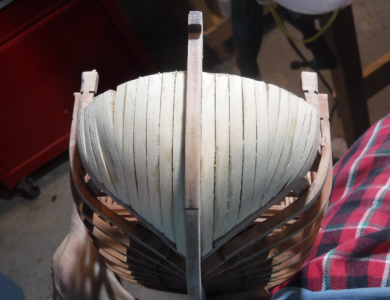
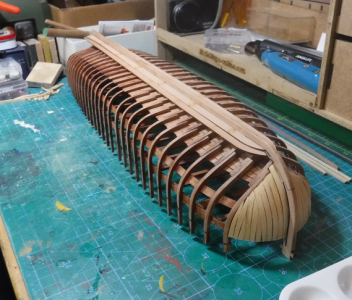
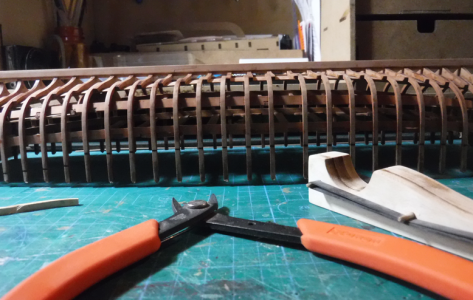
They had soaked for a couple days. These were 2.5x4mm planks that were much lighter in color (creamy, almost white) than the rest of the model. Could they still be pearwood?Looking good, Tim. Glad the new technique is working better for you. Question: how long are you soaking your planks? Something as dense and tight-grained as pear will need to soak overnight at least, and long is better. Leaving them soaking for several days won’t hurt them. Depending on how thick they are, a steam box might be useful so that you are starting with hot planks.

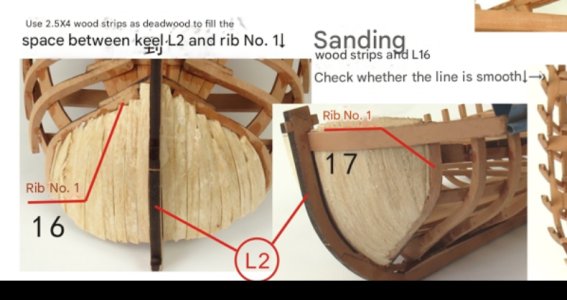
Thx, The fairing of the deadwood doesn’t need to be perfect. Can have small low spots. The planking will ride on the rest of it. Lime wood sounds about right, for the deadwood planks I have. But I’m still not good at identifying wood types.I'm seriously considering just cutting the clamps flush with the front frame and filling the area ahead of the front frame with bass wood. I'm not certain how else I could do it. Your fairing is looking mighty sweet, tho.
I am looking at the filler wood from my cherry kit. I wanna say it's lime wood. It's very light and soft, almost like balsa, but not quite.
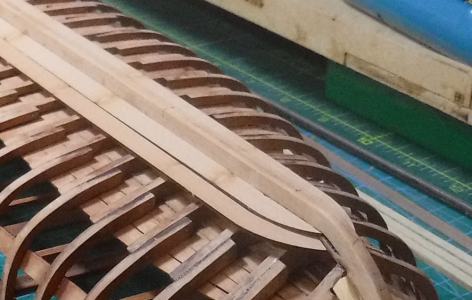
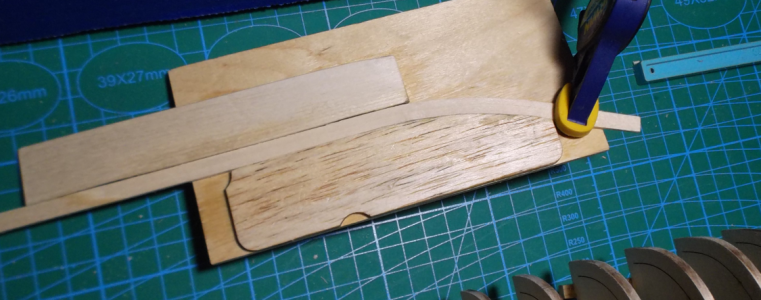
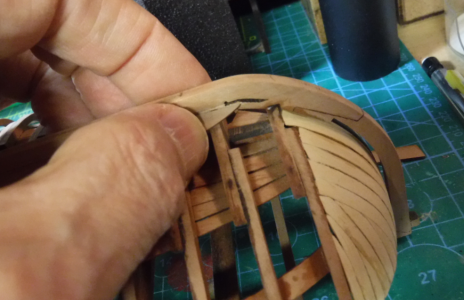
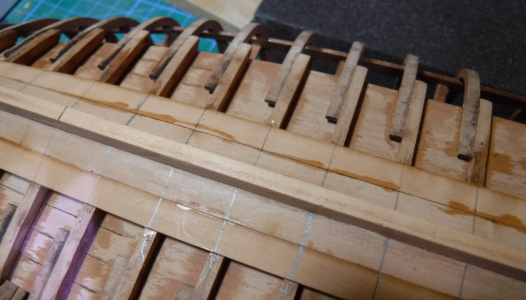
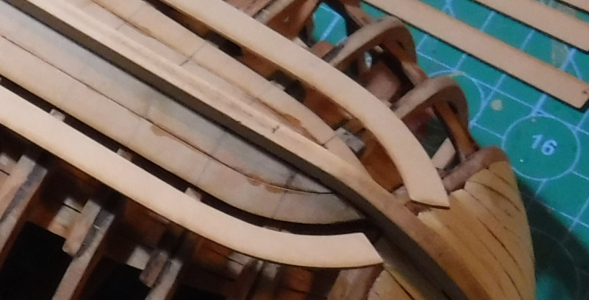
Yeah. Thx. Was using that line mark, but missed the part where they showed beveling the stem to those lines. Easier than actually cutting a rabbet. But I already have 3 planks on each side now. And I already beveled the plank tip on one of the #3 planks … looks better than the other #3 plank tip, which I’d left straight.Between the two through cut slots in the stem you still need to cut the rabbet in. Look at step 9 on page 2, there is a template you use to draw the rabbet line through that gap.
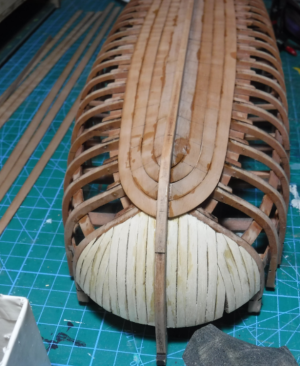
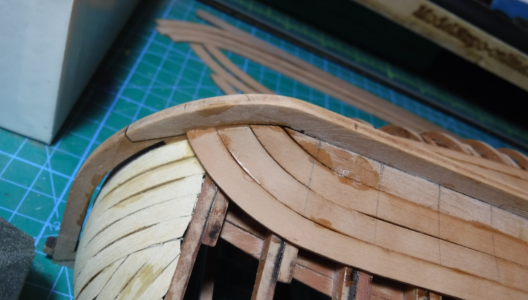
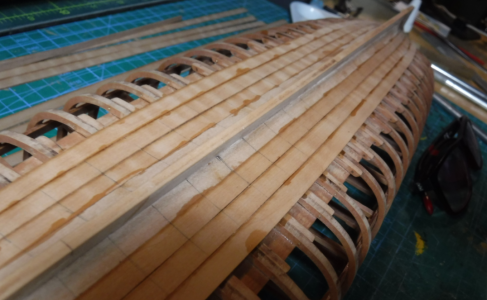
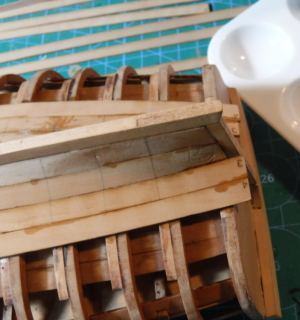

I'm hoping some water will raise those indentations in starboard plank #2.
Thx. I'll try the steam, if just using water doesn't do it.Very nice work Tim, she's coming along beautifully.
A trick we use in the furniture industry is to heat up a clothes iron to cotton setting. Then fold a paper towel into quarters and wet a corner of it so that it is saturated, but not dripping. Place the wet corner on the dents and put the tip of the iron on the towel to produce steam. Remove the iron when the towel is dry so you don't scorch it. You may have to repeat a couple of times, but this usually gets out most dents, unless the fibers have been damaged or torn, i.e. the wood was scratched, not dented.
