Thanks GregBeautiful work , looks amazing
-

Win a Free Custom Engraved Brass Coin!!!
As a way to introduce our brass coins to the community, we will raffle off a free coin during the month of August. Follow link ABOVE for instructions for entering.
-

PRE-ORDER SHIPS IN SCALE TODAY!
The beloved Ships in Scale Magazine is back and charting a new course for 2026!
Discover new skills, new techniques, and new inspirations in every issue.
NOTE THAT OUR FIRST ISSUE WILL BE JAN/FEB 2026
You are using an out of date browser. It may not display this or other websites correctly.
You should upgrade or use an alternative browser.
You should upgrade or use an alternative browser.
1/30 HMS Royal Caroline Build
- Thread starter modelshipbuilder65
- Start date
- Watchers 72
-
- Tags
- royal caroline
Hello Maarten,Very clean work Rick, looks great.
I am suprized to see the timbers for the swivel guns to be separate timbers inside the hull, normally you would expect these on elongated part of the top frame timbers.
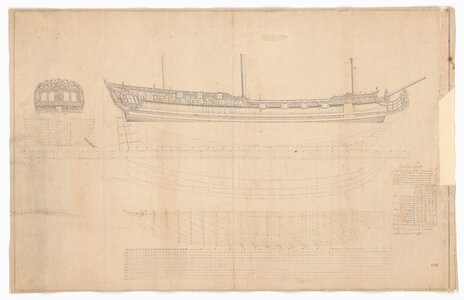
Sorry for the long delay getting back to you my good man. I totally concur with you about the Swivel gun mounts!!!! Unfortunately, there's not enough supporting documents (Drawings/Papers) on the Royal Caroline or the Royal Charlotte for one to make a accurate determination as to how the Swivel Gun Mounts are actually installed on the Ship. Are the Mounts permanently mounted, temporarily mounted, removable or attached in a way to incorporate storage of the mount???????
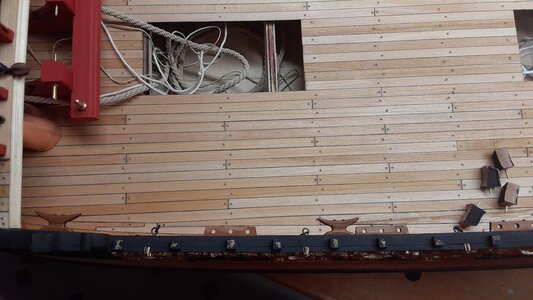
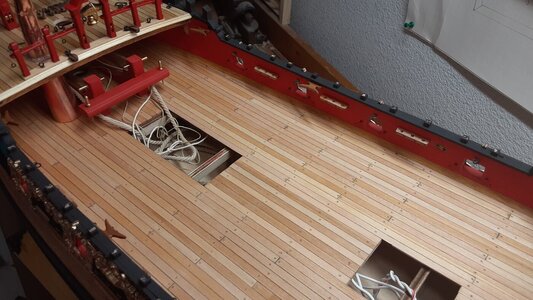
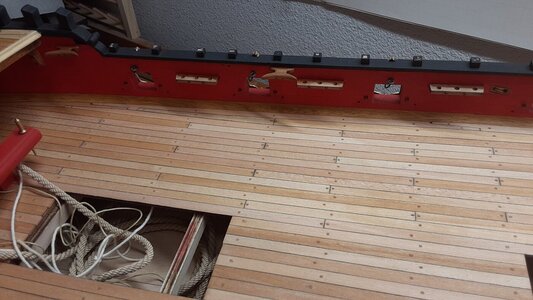
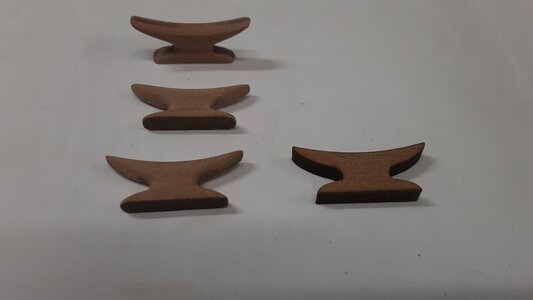
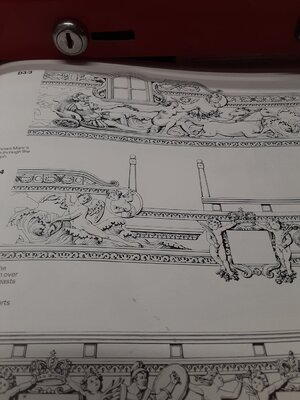
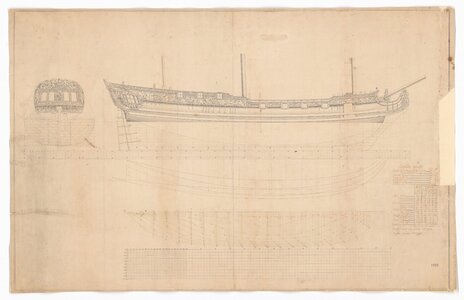
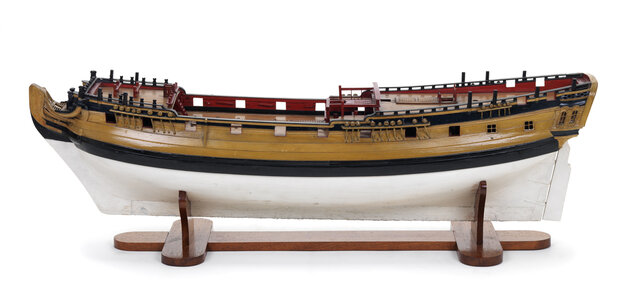
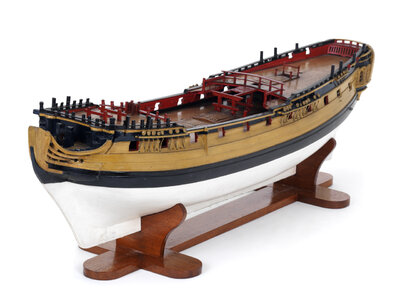
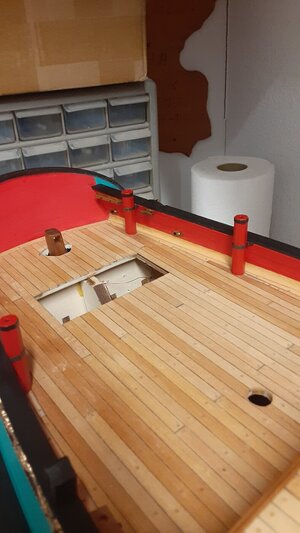
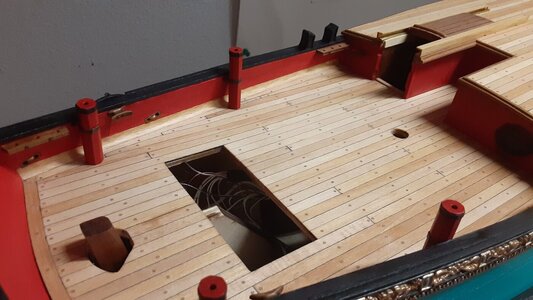
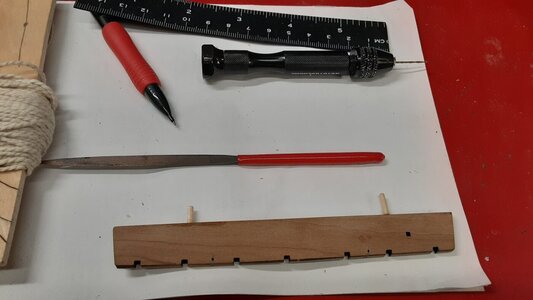
The Drawings I obtained from the Royal Museum in Greenwich only show the Aft Swivel Mounts from a outside perspective viewpoint. I have attached 2 photos of a Museum model 6th Rate ship from approx. 1742 period showing the Swivel Mounts permanently mounted. If I were to ever do this kit again, I would most likely do the mounts in this way.
In one of my reference books, there was a photo of a Dockyard model in the Henry Huddleston Rogers Collection showing Swivel Gun Post with metal bands holding the post to the wooden Bulwarks ( Sorry, I can't locate the photo at this time) so, I decided to emulate this approach.
WIP------
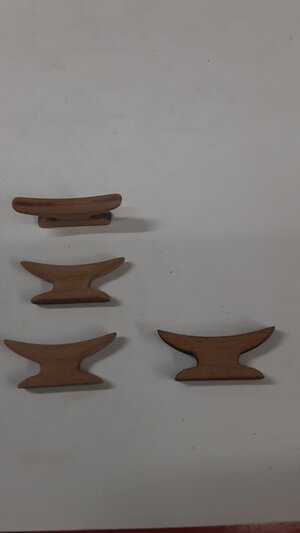
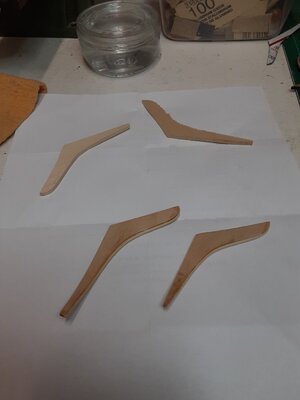
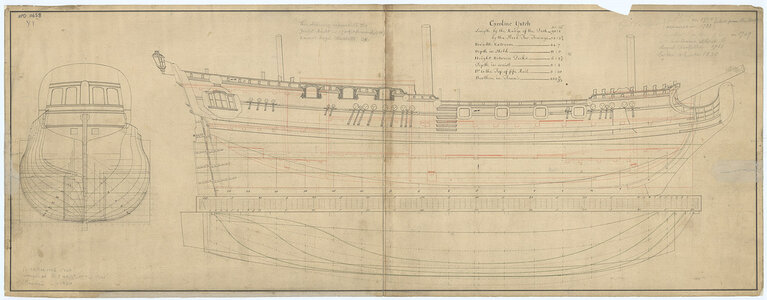
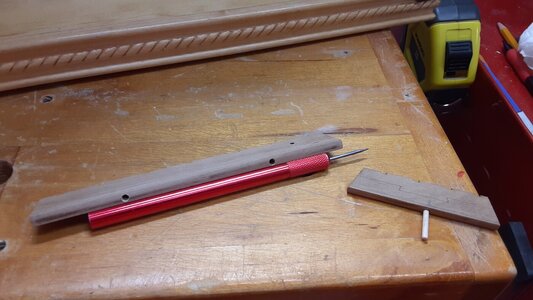
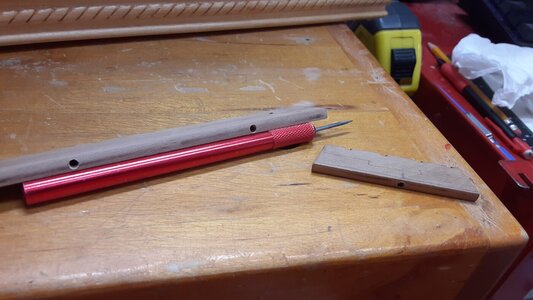
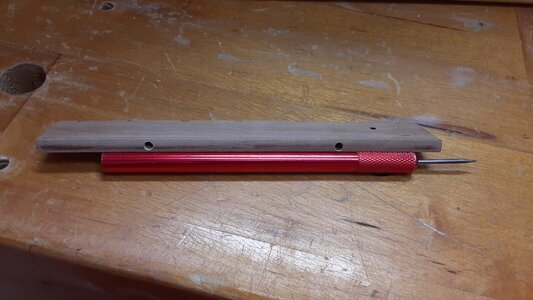
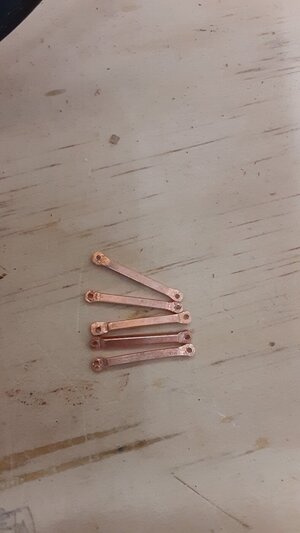
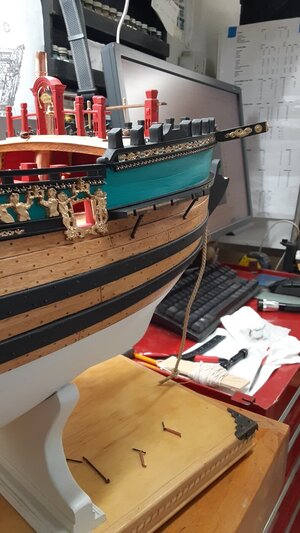
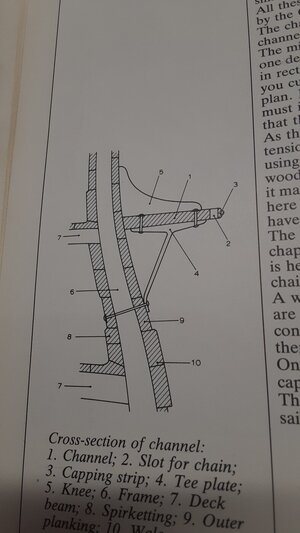
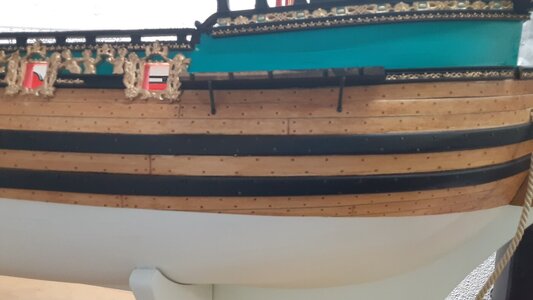
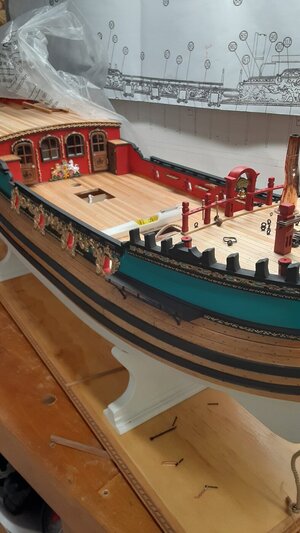
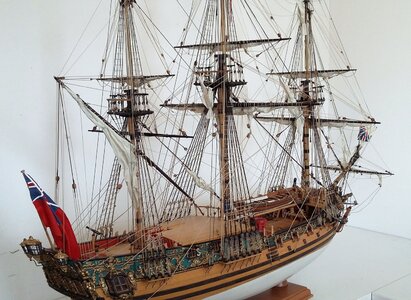
Finally got some time away from regular Job to get some work done on the Model. I have completed the construction and attachment of ALL the Channels. I decided to approach and construct these in a slightly different conceptual way. Based on The Drawings I obtained from the Royal Museum in Greenwich and the Drawings from the Book AOS (Anatomy of the Ship) and other references, I decided to implement the use of Tee Plate "Style" Brackets instead of the L shaped Angle Iron Braces that help support the bottom side of the Channels. I made these by shaping 14 gauge squared copper wire (photo shows rough out) and then blackening the copper.
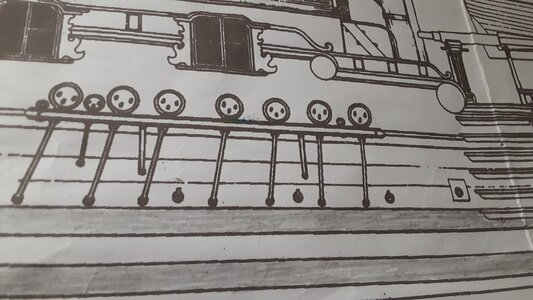
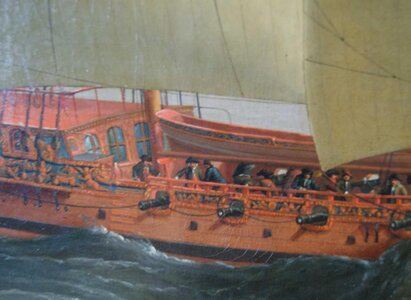
Another change I made was I made new Forechannel Backstay Channels. A lot of references to this model come from the paintings from the Renowned Mr. John Cleveley the Elder, who was extremely accurate with his Ships' paintings. His Painting clearly shows the use of 2 individual Deadeyes and Links to the Hull. This was a normal Backstay setup for a ship of this size & time period.
I have also attached some photos of another Royal Caroline showing the same concept as well for reference.


Last edited:
Rick, I have spent the entirety of the morning going through your build. Simply stunning! So much to learn here, not only for the RC but so many things that carry over to many other builds. You are an artisan.
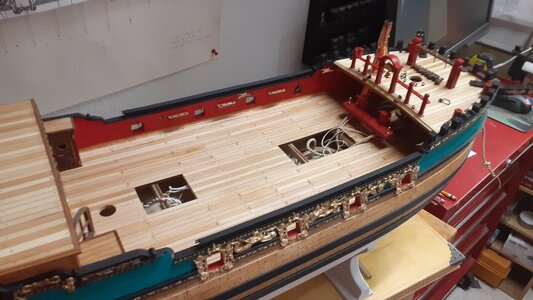
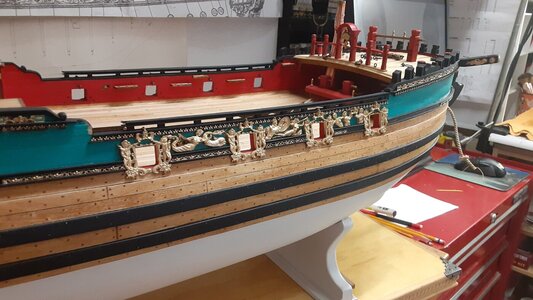
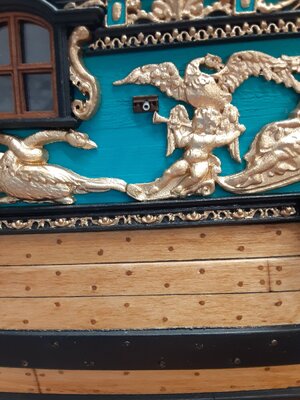
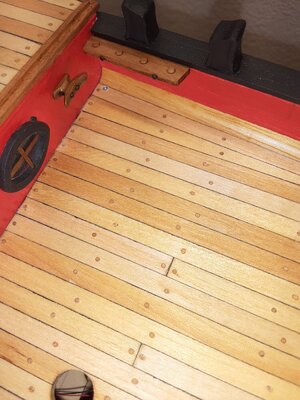
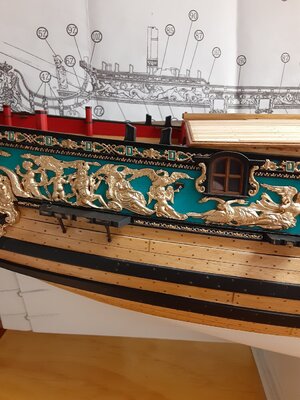
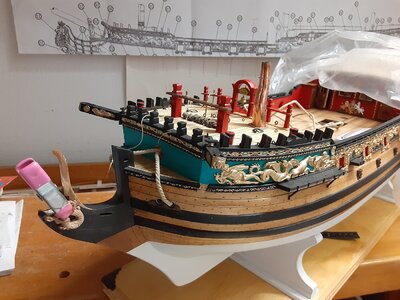
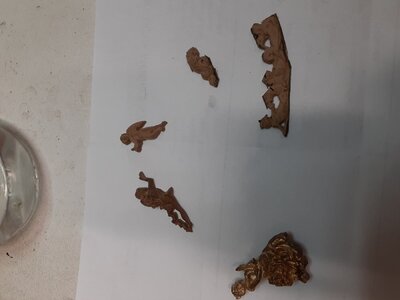
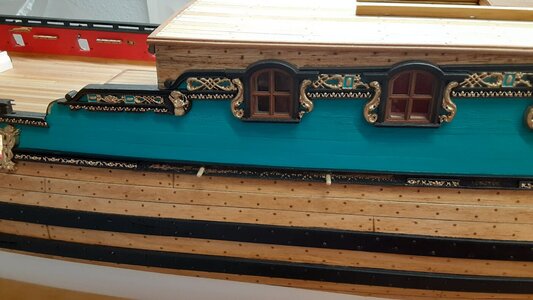
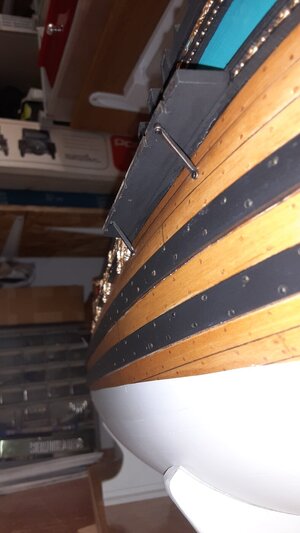
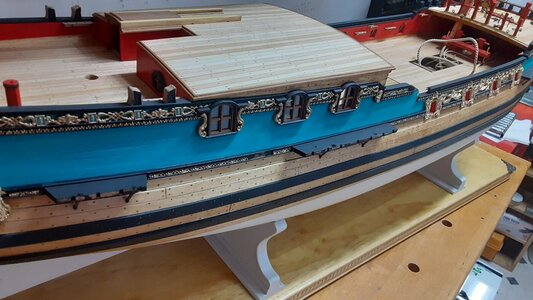
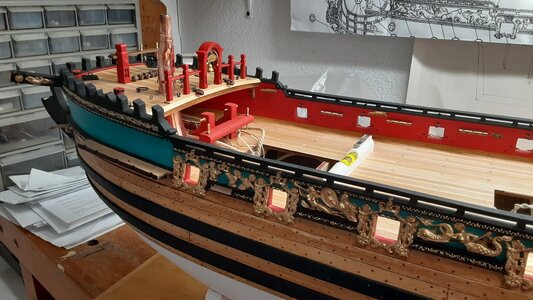
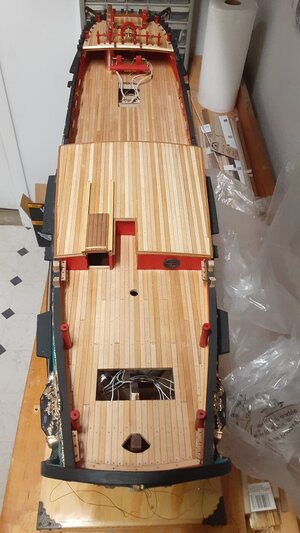
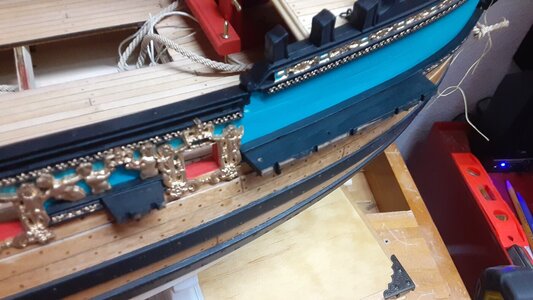
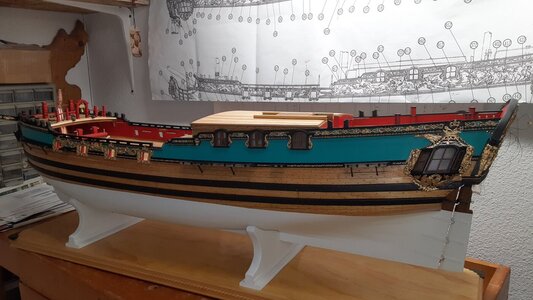
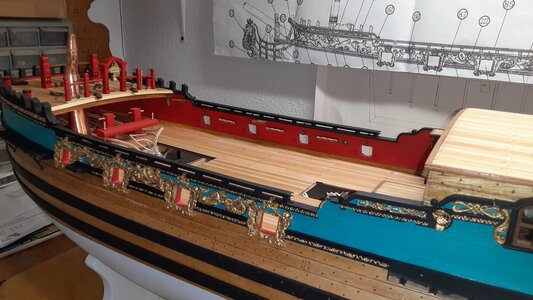
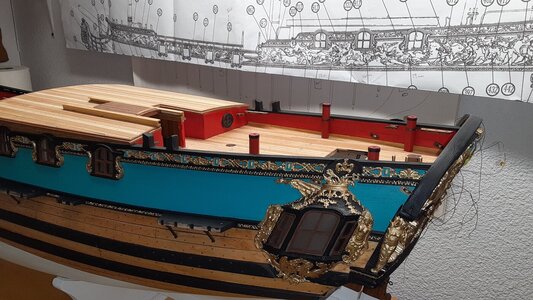
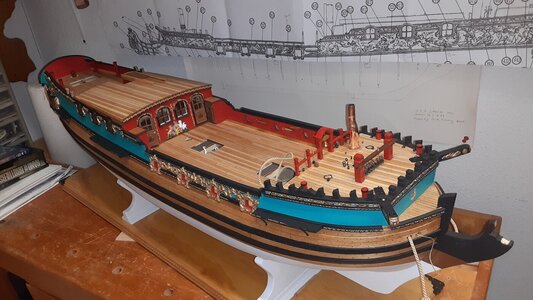
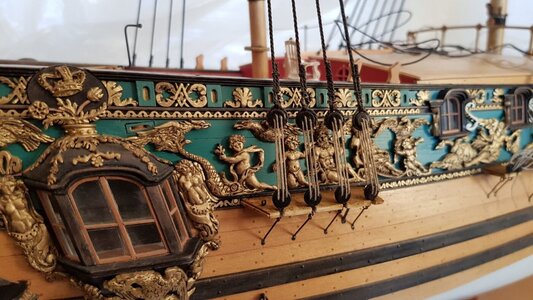
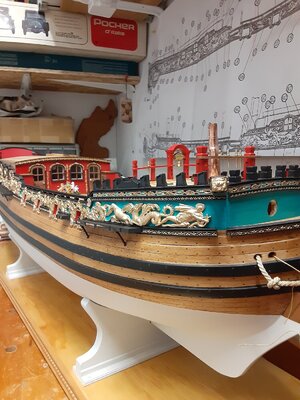
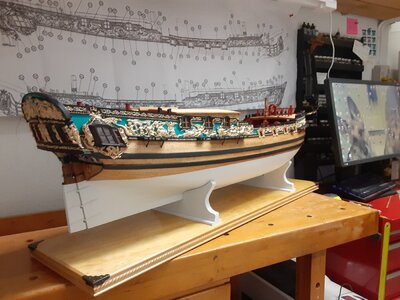
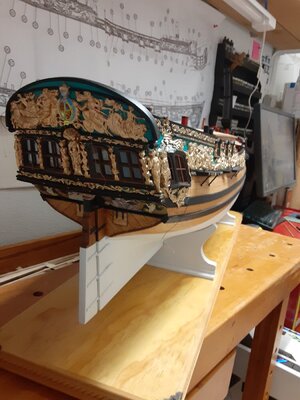
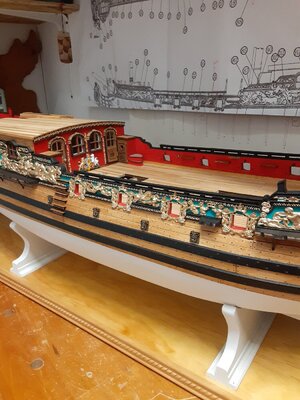
Got a break from my regular hectic work schedule and here are some photos of the progress of getting the Bulwarks Carvings going. I will post more on this at a later time concerning some of the issues I have been having with the kits carvings and their discprencys.
I will be posting better pictures and more close up photos once I get all the bulwarks carvings complete.............
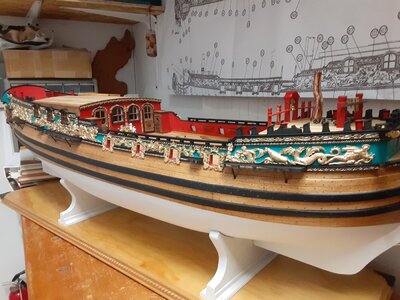
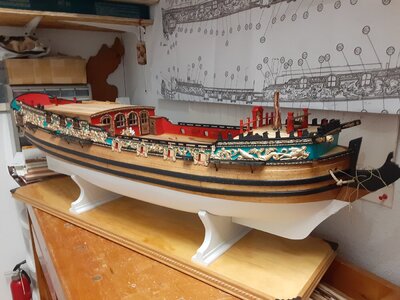
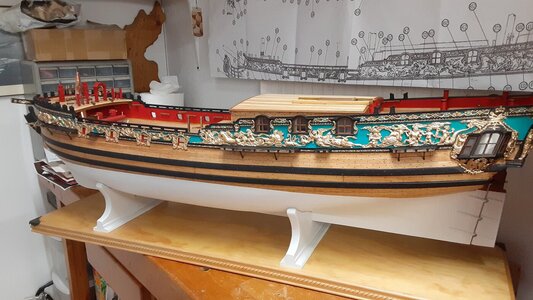
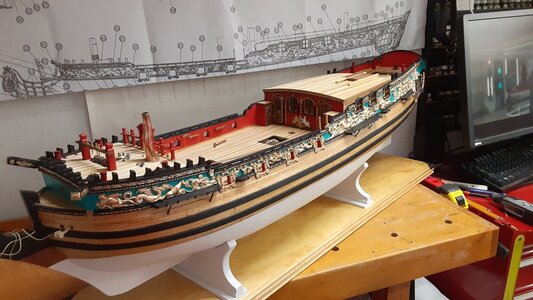
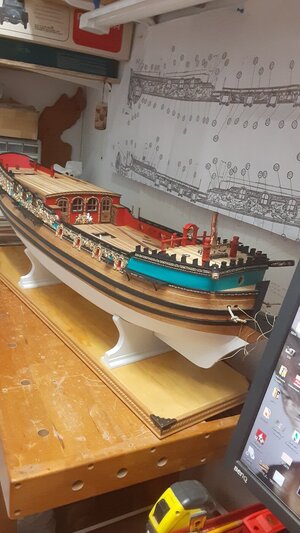
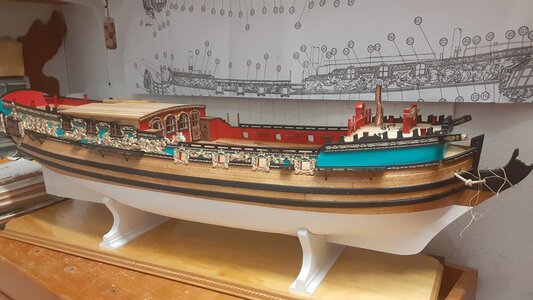
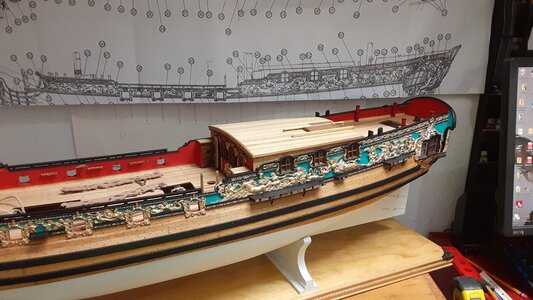
I will be posting better pictures and more close up photos once I get all the bulwarks carvings complete.............


Last edited:
Thank you Bill for the kind words my friend.Rick, I have spent the entirety of the morning going through your build. Simply stunning! So much to learn here, not only for the RC but so many things that carry over to many other builds. You are an artisan.
- Joined
- Jul 9, 2018
- Messages
- 128
- Points
- 133

immaculata!!!...where are the dozens of people who should be responding to this with open jaws? hmmmmm
WIP-----
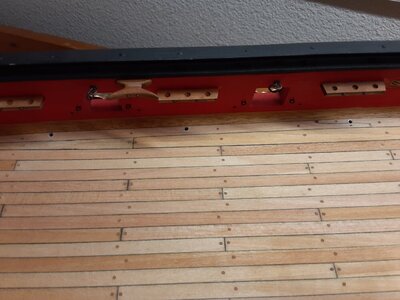
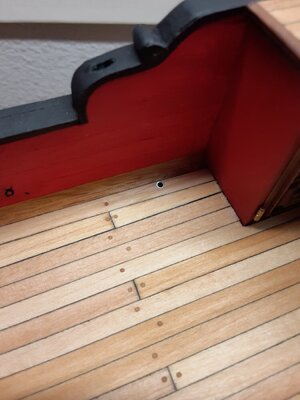
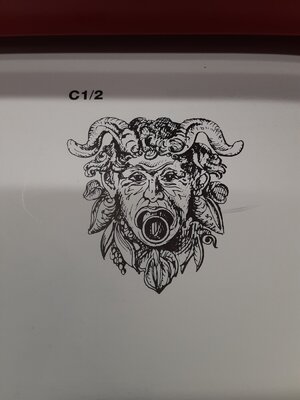
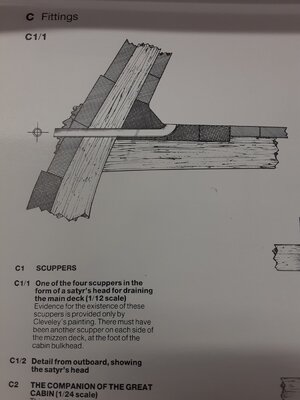
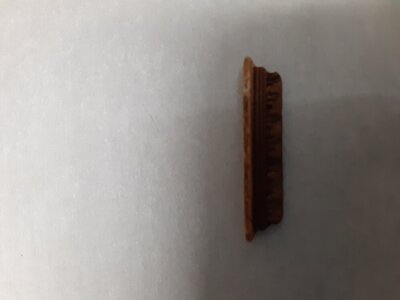
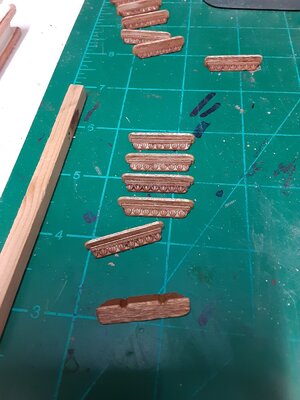
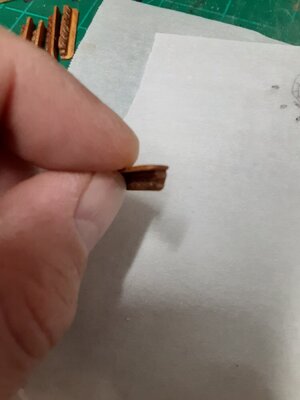
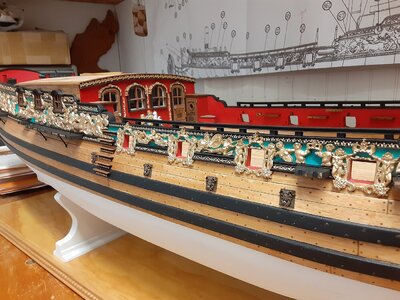
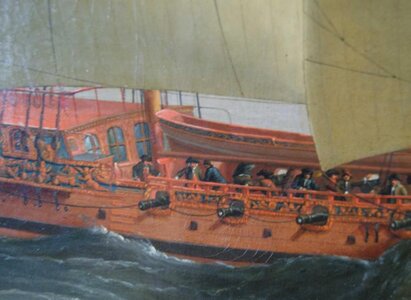
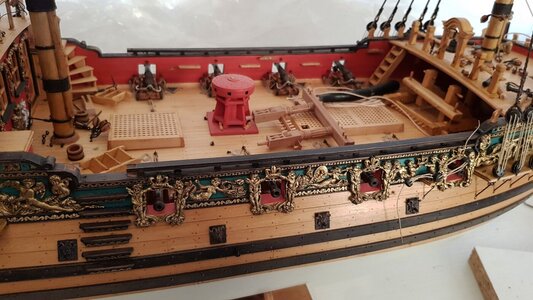
Hello everyone. Been working on the ships Hand & Footholds and the Scuppers. The Drawings I obtained from the Royal Museum in Greenwich and the Drawings from the Book AOS (Anatomy of the Ship) only show the very upper last step (top foothold step) with a decorative bottom strip so one can most likely assume the other remaining 7 steps also had the decorative lower carvings as well. The AOS Plans & the Greenwich Draughts don't show any Scuppers, however, the paintings from Mr. John Cleveley the Elder clearly show the Scuppers being squared & smaller in shape. Since the kits carvings are of a particular size, I elected to put the square backing on and use them regardless. I highly doubt the Scuppers would have been Gilded due to the fact there would be a considerable amount of slime and debri associated with the scuppers & cleaning them would most likely ruin any gilding. I am also adding a small Scupper on each side of the Hull on the Aft side of the cabin (I will download phots later).
The last photo shows another beautiful RC with the same perspective as my model.
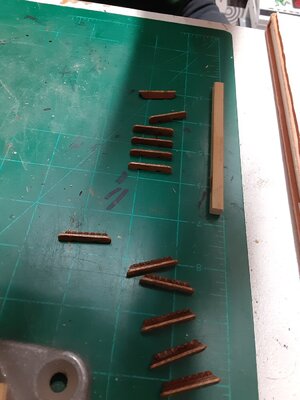
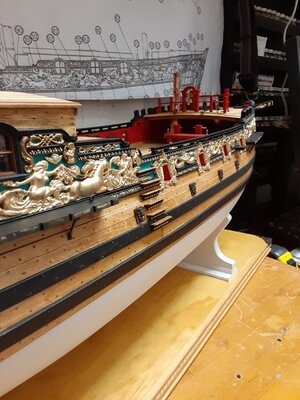
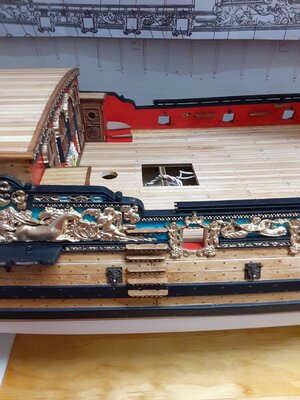
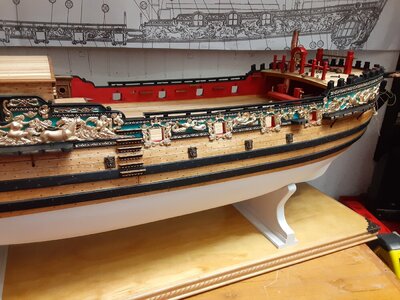
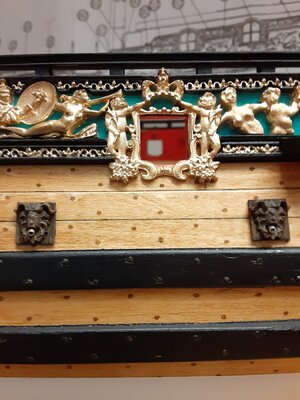


Last edited:
- Joined
- Apr 20, 2020
- Messages
- 6,242
- Points
- 738

Wow, it's so beautifulWIP----
כמה תמונות המציגות את מיקומן של ה-Cabins Aft Scupper וה-Midships Scuppers.
View attachment 383286
View attachment 383287
View attachment 383288
View attachment 383289
View attachment 383292
View attachment 383293
View attachment 383294
View attachment 383295


Fantastic work again Rick.
Love the tiny details like the aft deck scupper.
She really turns into a work of art.
Love the tiny details like the aft deck scupper.
She really turns into a work of art.
OMG
 So beautiful!


Hi Rick,
This is quite a tricky part of the build to get it right. The thick cnc carvings are difficult the shape and curve without breaking them.
Sofar so good. Looks stunning.
This is quite a tricky part of the build to get it right. The thick cnc carvings are difficult the shape and curve without breaking them.
Sofar so good. Looks stunning.
- Joined
- Jan 9, 2020
- Messages
- 10,566
- Points
- 938

Dear Rick. This has been a lot of catch up with and to familiarize myself with - you have made excellent progress since my last visit. I have always said that this will be one of the very best RC's out there and that it certainly is. Now my chair is pulled up once more and this time I will try my utmost to stay put!
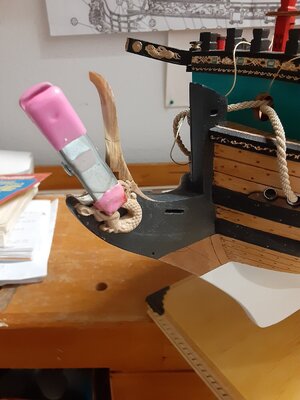
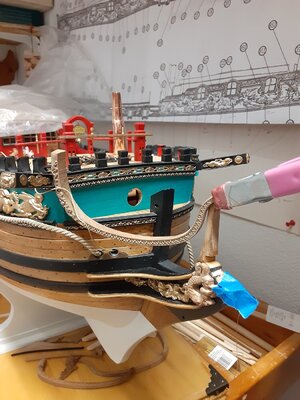
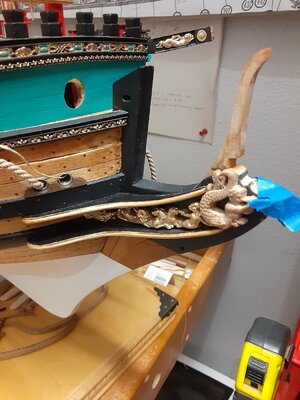
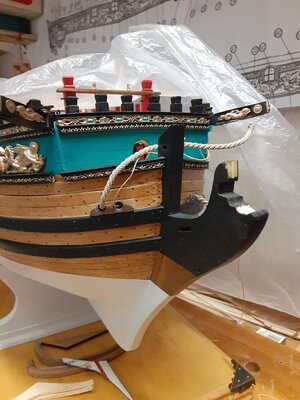
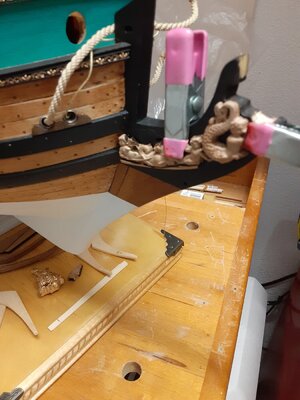
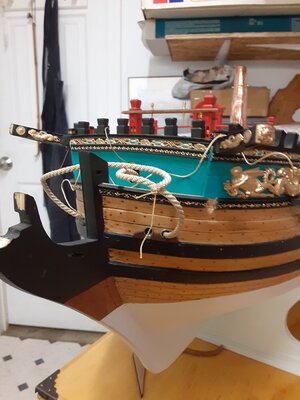
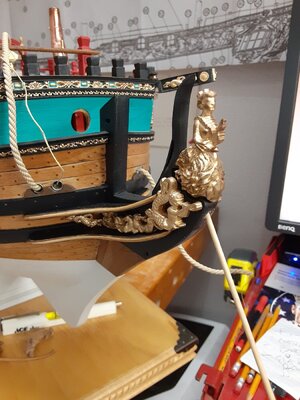
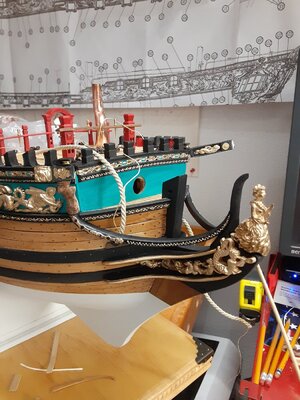
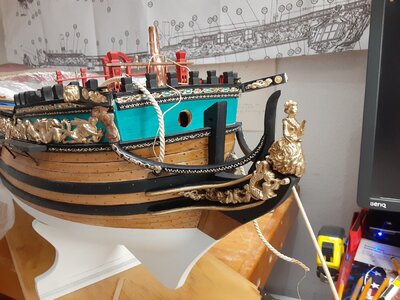
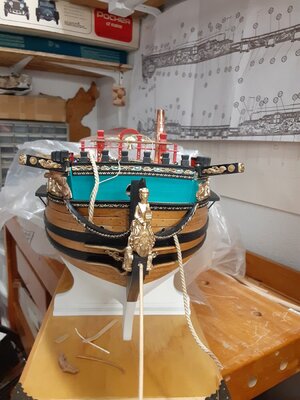
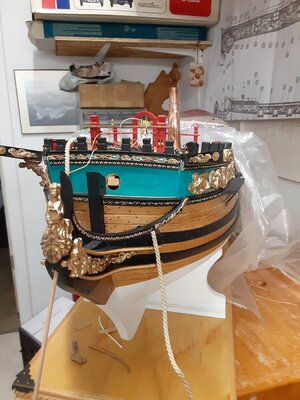
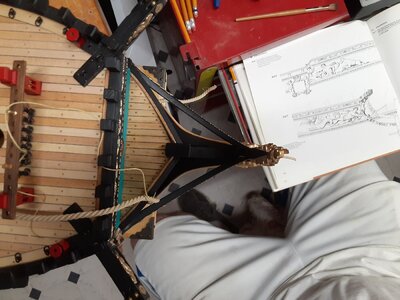
Some more pics of the progress. Test fit, Test fit and then Test fit again. I painted the figured head quite awhile back in order to have the enamel paint be extremely hard because I knew that a lot reshaping was going to be needed and I wanted the wooden figurehead to stay solid with all the handling and not soften up. Carving isn't my Forte. The figure head is temporary and will be held in place via a wooden dowel inserted at a angle through the bottom of the stem post after the final shaping and repaint is complete.


Last edited:
Hello Maarten,Hi Rick,
This is quite a tricky part of the build to get it right. The thick cnc carvings are difficult the shape and curve without breaking them.
Sofar so good. Looks stunning.
Your not kidding about the carvings needing to be reshaped!!!!!
I'm using the Pearwood carving set and I am wondering if the supplied wood is softer than the Boxwood carvings set???? Either way, this part of the build is tedious and since I decided to build up the bow in the more traditional way instead of the recommended kit instructions, caused some other challenges to arise.
Thank youOMG
So beautiful!


