- Joined
- Sep 28, 2020
- Messages
- 287
- Points
- 168

Just beautiful!!
Christian
Christian
 |
As a way to introduce our brass coins to the community, we will raffle off a free coin during the month of August. Follow link ABOVE for instructions for entering. |
 |
 |
The beloved Ships in Scale Magazine is back and charting a new course for 2026! Discover new skills, new techniques, and new inspirations in every issue. NOTE THAT OUR FIRST ISSUE WILL BE JAN/FEB 2026 |
 |

Thank you my good man!!!Oh Ja - very accurate and exact work - Very good
Thank you Maarten!!!!Very nice and sharp work Rick.
Thanks for the kind words my Friend!!!!Wonderful work Rick, she's looking great and very accurate. I loved the deck
Thank you Christian for the kind words!!!Just beautiful!!
Christian

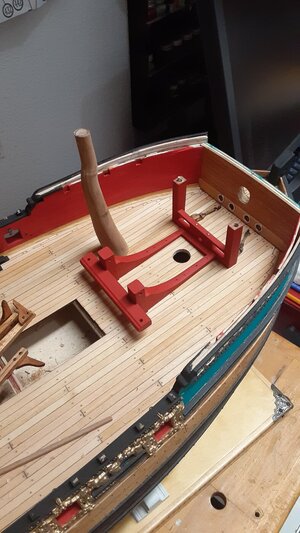
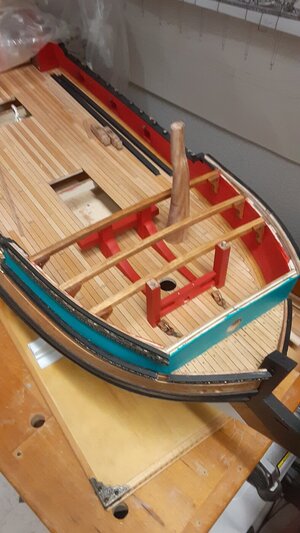
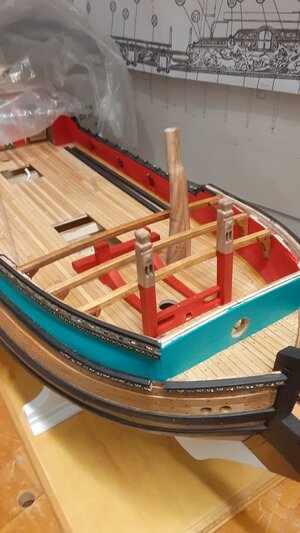
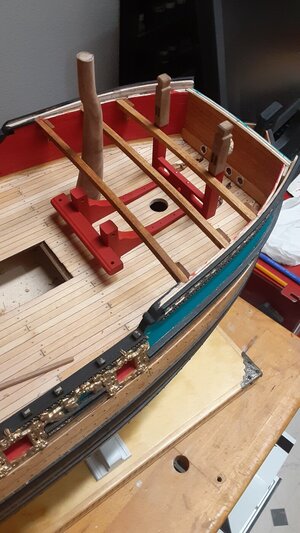
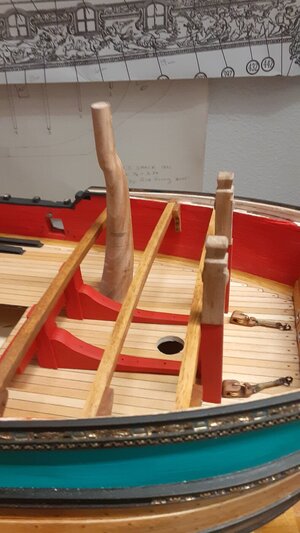
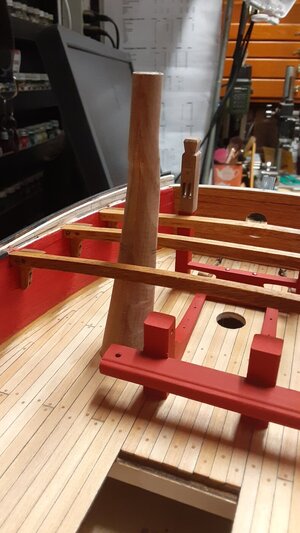
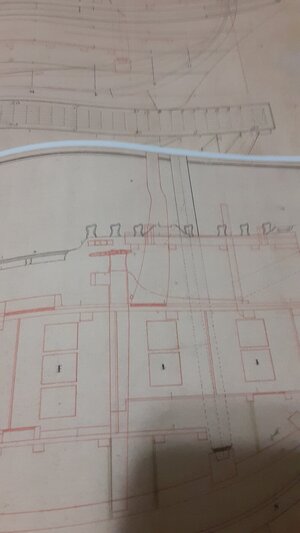
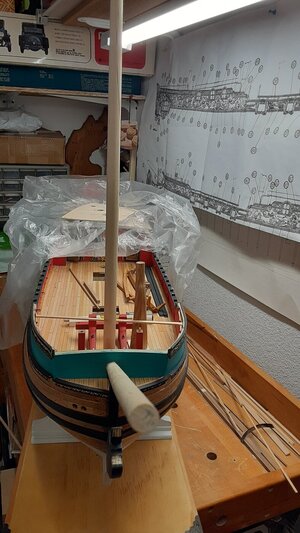
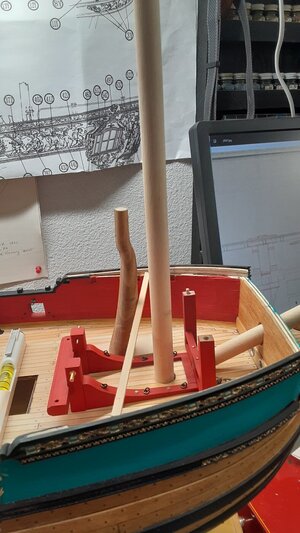
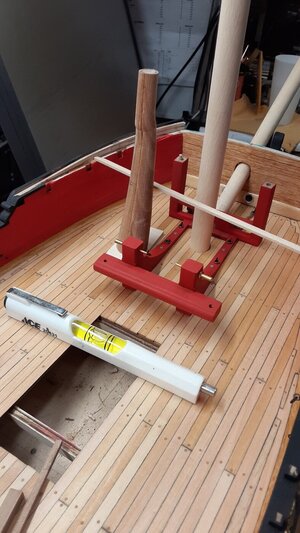
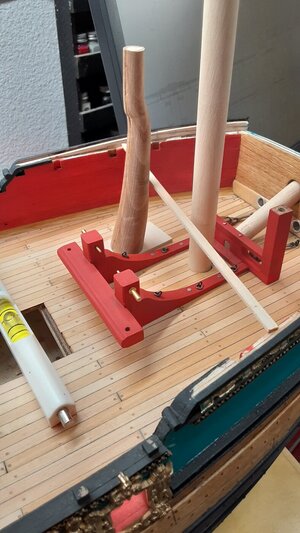
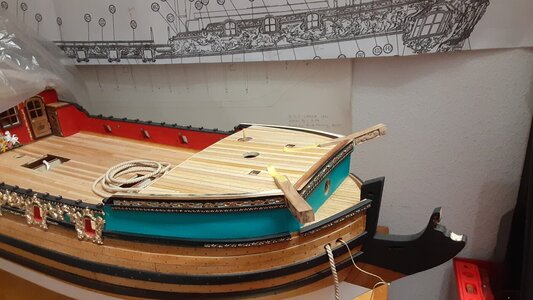
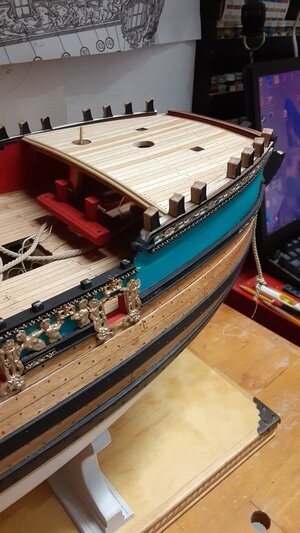
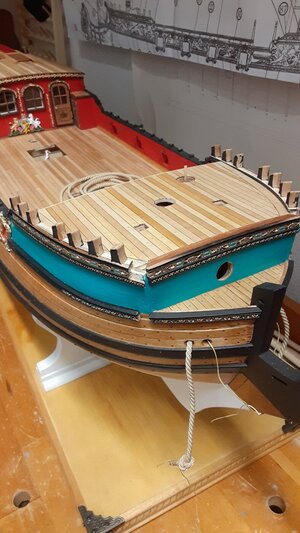
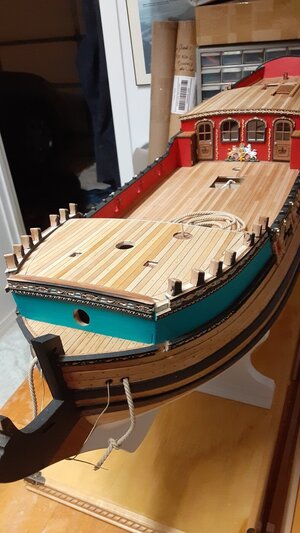
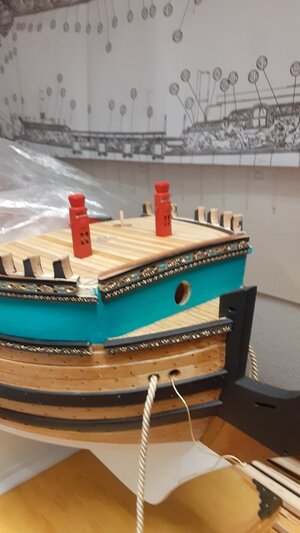
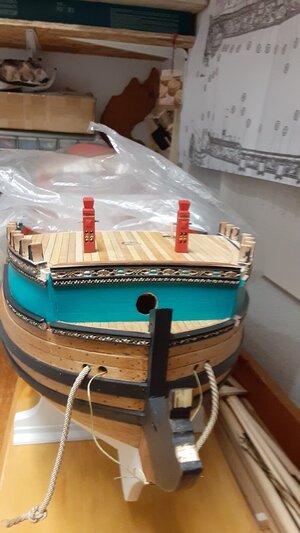
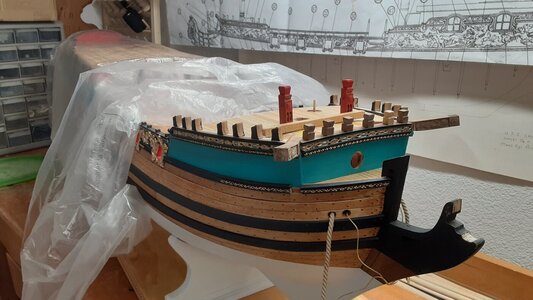
 Cables through at this point. I am not using the kit provided Rigging &
  Rope. I will go into more detail on the Ropes at a later time in the Blog. The other installed lines are pull lines ( for messenger cable) & I am debating if I will be adding the smaller
  Cables but thought I may as well put the pull line in just in case.

Good morning Naval Modeler 65, Congratulations it is a stupendous work of quality and finesse but , in my opinion there is too much gloss and it loses its truthfulness .It makes it look more like a suppra mobile than a masterpiece of a ship. and a matter of liking mine but , you are the modeler it has to like only YOU.FrankWIP---
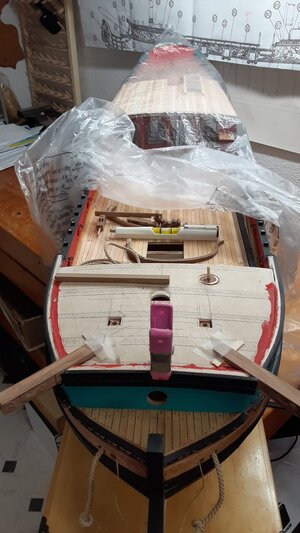
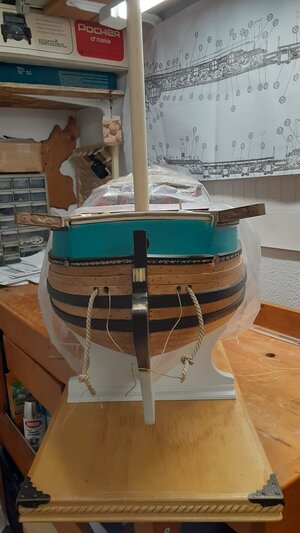
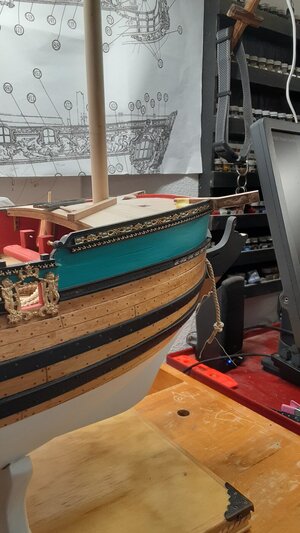
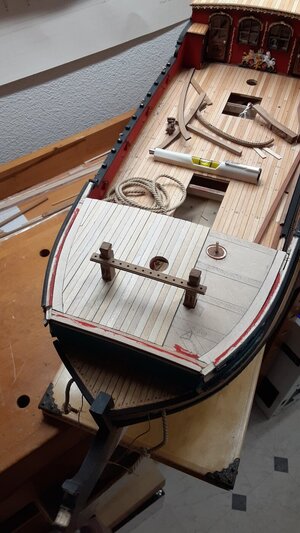
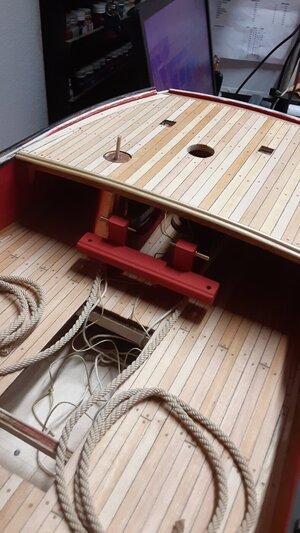
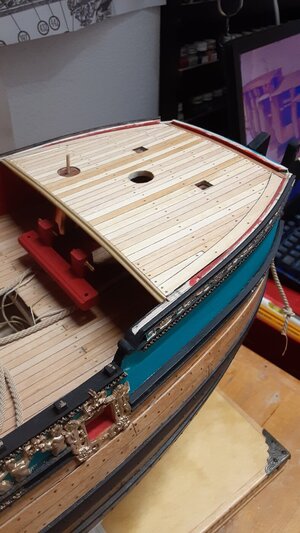
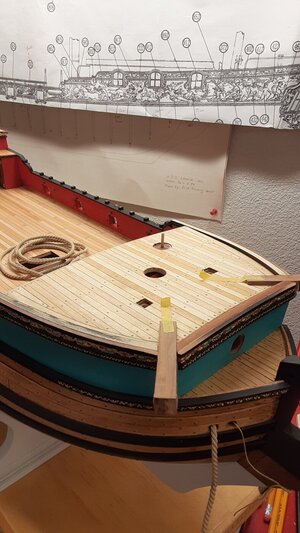
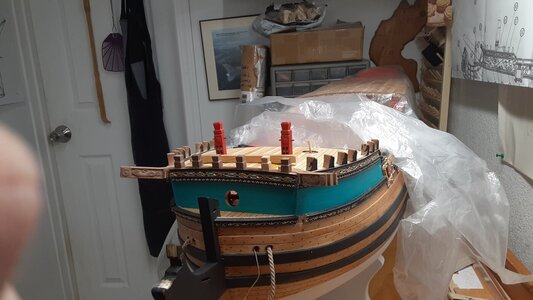
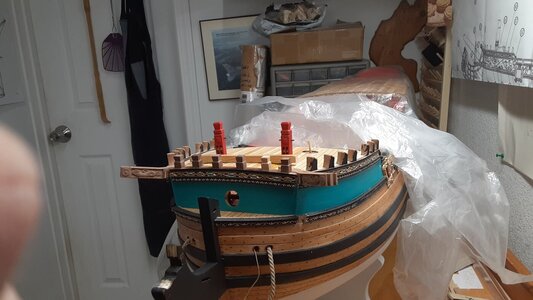
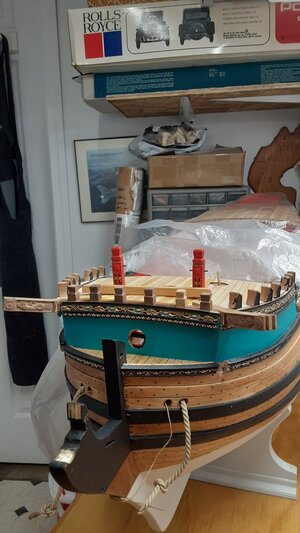
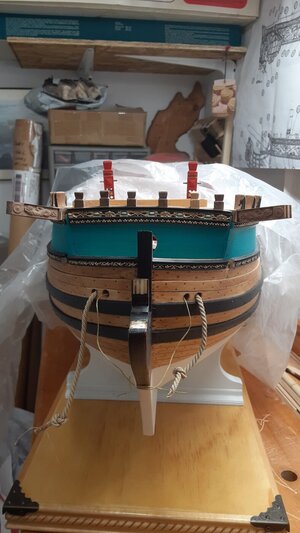
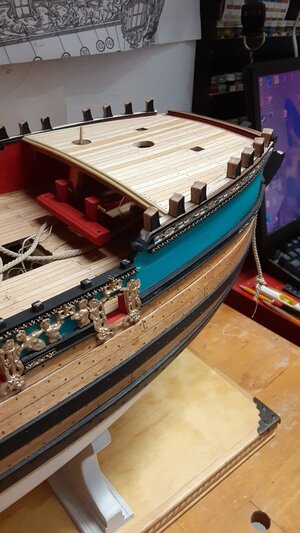
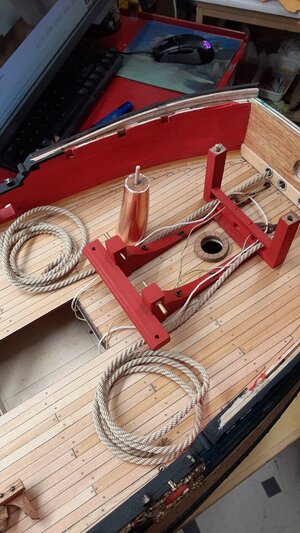
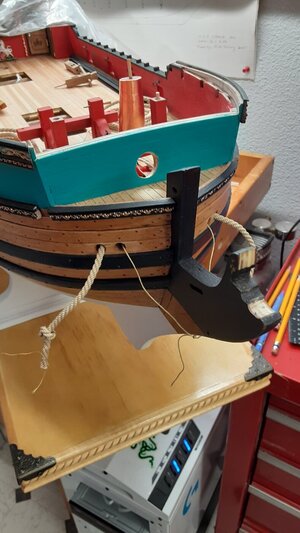
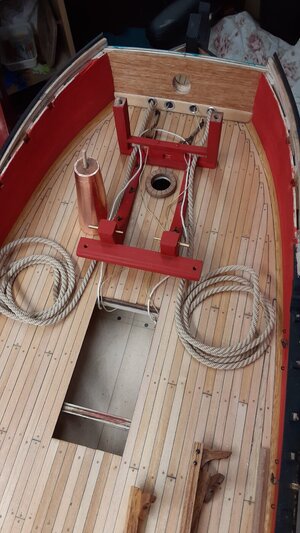
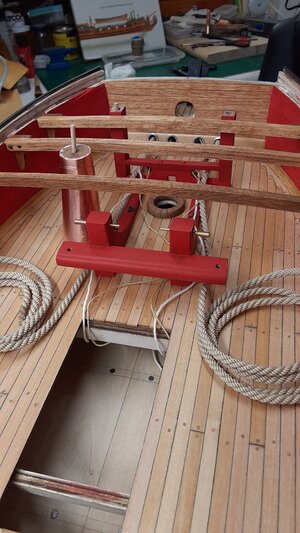
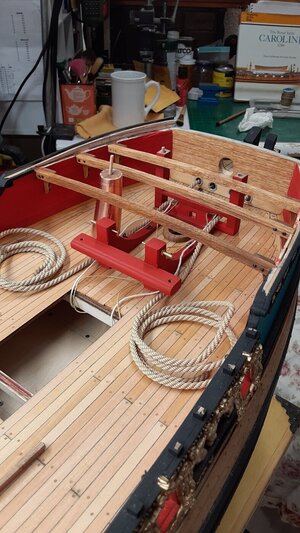
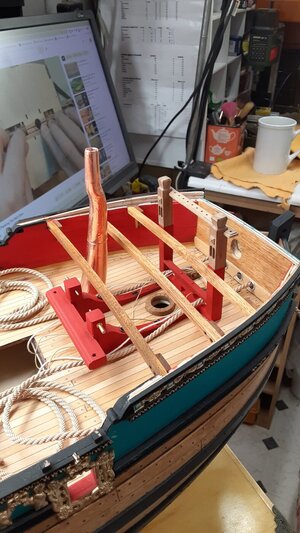
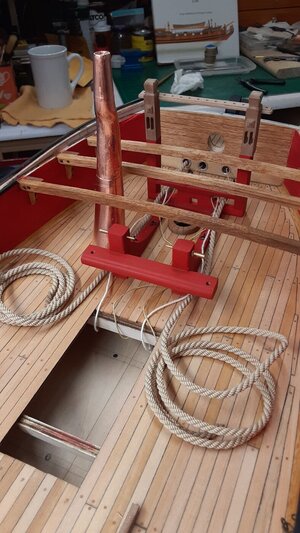
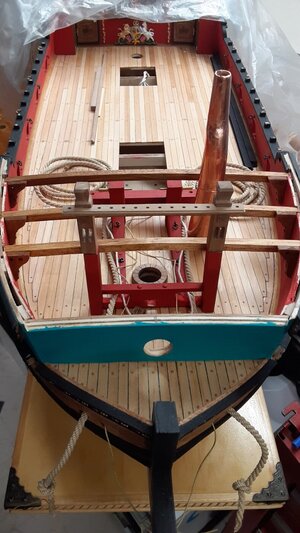
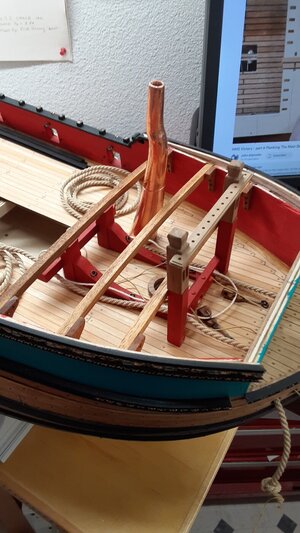
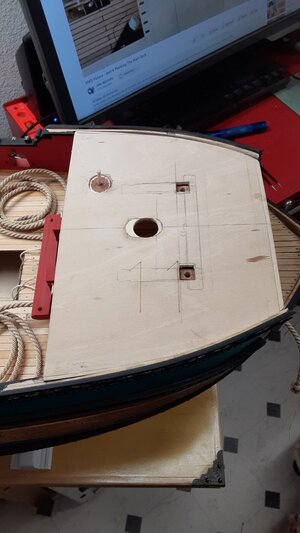
I decided to cut the Smoke Stack into 2 seperate halves at the deck line. This helps me in the Deck planking process by having the Stack out of the way & not risking damaging the Copper covering of the Smoke Stack (the Deck Planks will conceal the joint). I pulled the 3.6mmCables through at this point. I am not using the kit provided Rigging &
Rope. I will go into more detail on the Ropes at a later time in the Blog. The other installed lines are pull lines ( for messenger cable) & I am debating if I will be adding the smaller
Cables but thought I may as well put the pull line in just in case.
Onwards.................................
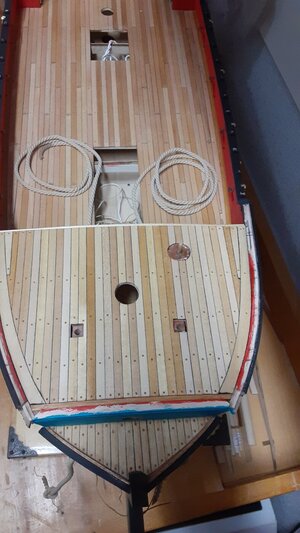
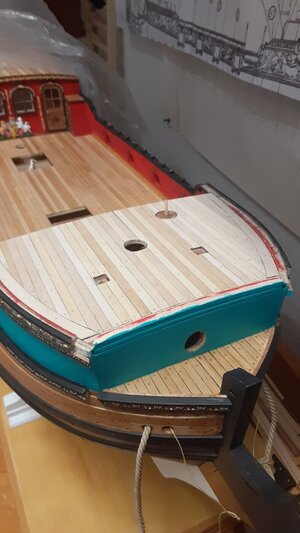
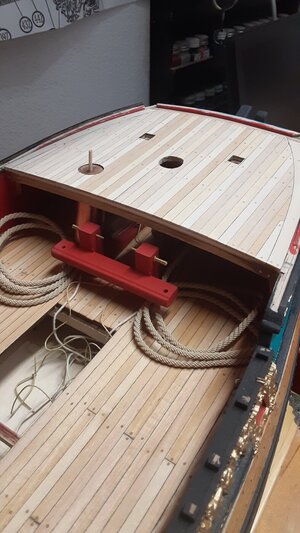
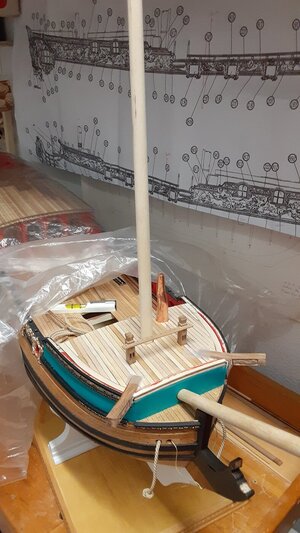
View attachment 363038
View attachment 363039
View attachment 363040
View attachment 363041
View attachment 363042
View attachment 363043
View attachment 363044
View attachment 363045
View attachment 363046
View attachment 363047
Hello Frank48,Good morning Naval Modeler 65, Congratulations it is a stupendous work of quality and finesse but , in my opinion there is too much gloss and it loses its truthfulness .It makes it look more like a suppra mobile than a masterpiece of a ship. and a matter of liking mine but , you are the modeler it has to like only YOU.Frank

Hello, I'm sorry we don't understand each other (translator), sorryHello Frank48,
What Gloss are you speaking of???? The only Gloss sheen is on the Gold Paint. I use a Clear Flat Matt Sealer on everything but the Gold Paintings

Hi Frank,Hello, I'm sorry we don't understand each other (translator), sorry
Thank you for your kindnessHi Frank,
I understand what you are saying, guess you mean the ship is too much looking like new, too neat and tidy.
Think a royal yacht is one of the vessels which enables you to do this, as it was most probably maintained into perfection.
But certainly Rick's impeccable work is looking like the ship is brand new and that is as you said a compliment towards the builder.
I guess, it is just a matter of personal taste in how you will present your model. Personally, I like the way Rick presents, it is also a preferred choice of mine, My philosophy doesn't fall on the dependency of the type of the ship it is: Royal Yatch or First-rate ship. Frankly, if ships voyage in the calm sea, all they do is clean everything and anything!Hi Frank,
I understand what you are saying, guess you mean the ship is too much looking like new, too neat and tidy.
Think a royal yacht is one of the vessels which enables you to do this, as it was most probably maintained into perfection.
But certainly Rick's impeccable work is looking like the ship is brand new and that is as you said a compliment towards the builder.
Agreed & very well said Jimsky!!!!I guess, it is just a matter of personal taste in how you will present your model. Personally, I like the way Rick presents, it is also a preferred choice of mine, My philosophy doesn't fall on the dependency of the type of the ship it is: Royal Yatch or First-rate ship. Frankly, if ships voyage in the calm sea, all they do is clean everything and anything!If you were to present your model as an 'in use' model, then it is more appropriate for dioramas, IMHO. But this is for my taste, others might very well disagree.

