Excellent work.you are a true master of the hobby.
-

Win a Free Custom Engraved Brass Coin!!!
As a way to introduce our brass coins to the community, we will raffle off a free coin during the month of August. Follow link ABOVE for instructions for entering.
-

PRE-ORDER SHIPS IN SCALE TODAY!
The beloved Ships in Scale Magazine is back and charting a new course for 2026!
Discover new skills, new techniques, and new inspirations in every issue.
NOTE THAT OUR FIRST ISSUE WILL BE JAN/FEB 2026
You are using an out of date browser. It may not display this or other websites correctly.
You should upgrade or use an alternative browser.
You should upgrade or use an alternative browser.
1/30 HMS Royal Caroline Build
- Thread starter modelshipbuilder65
- Start date
- Watchers 72
-
- Tags
- royal caroline
BrilliantWIP-----
Hello everybody,
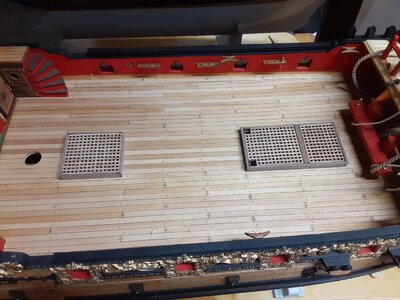
Just a quick post showing the progress on theChafing Boards. I decided to make new ones because the kit provided pieces are a little out of scale & too thick. Installing these is a little more involved then folks realize because, like a Hulls Plank that twist & turn, the Chafing Board must follow the same curve as the Plank.
I'll post more final pics shortley.
View attachment 401378
View attachment 401379
View attachment 401381
View attachment 401382
View attachment 401383
View attachment 401384
View attachment 401385
WIP-----
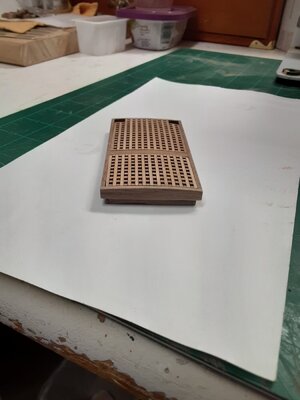
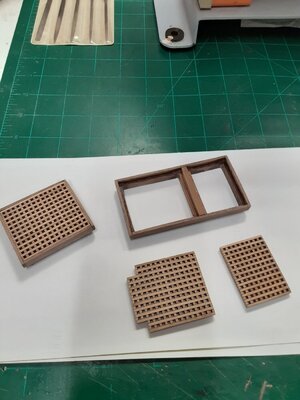
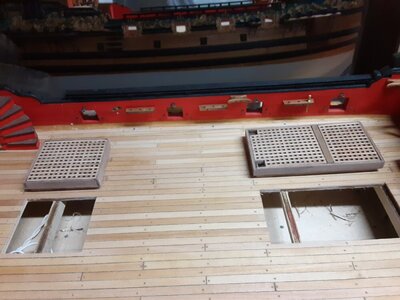
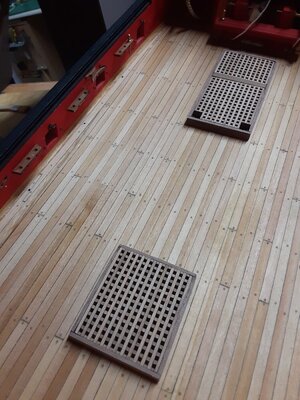
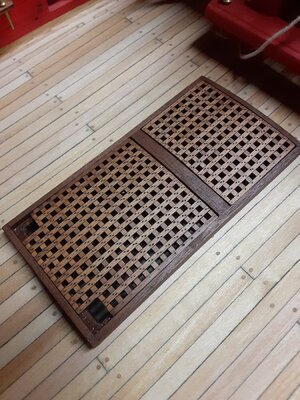
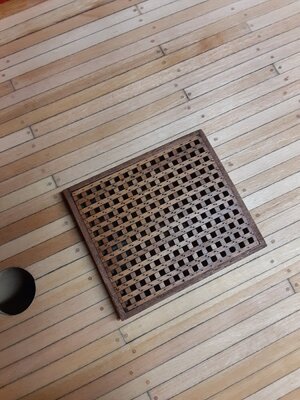
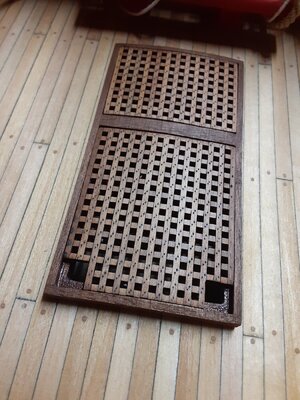
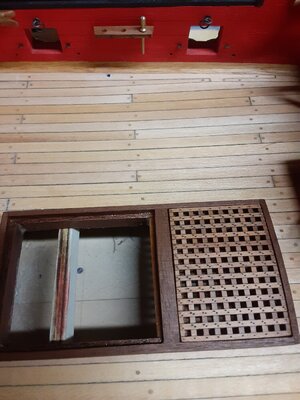
Couple of more pictures. To the human eye, the simulated Grating Nails are Lightly visible but glare on close ups with the camera. Grating Frames are just sitting in their respective openings (still need to clear coat Frames & Gratings). The shiny sheen will disappear after clear coating and give the Gratings & Frames a nice warm appearance.
Next item up is to add some more Tree Nails (Plugs) to the end of the Deck Planks that meet the Frames of the Grating. When I was laying the Deck Frames, I was not sure how much of the framing would cover the plugs so, time to complete........................................................................


Last edited:
I have been model ship building a long time and seen about every kit manufacturer out there and nothing compares to the high degree of accuracy and quality of your products.!!!!!!!!Hi
I am glad you like the deadeyes!!
I will be doing a final overview of the kit and the after market manufacturers used in the building of the model upon completion and will be discussing Dry-Dock Models in greater detail.
WIP------
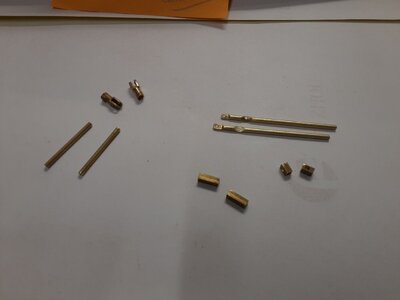
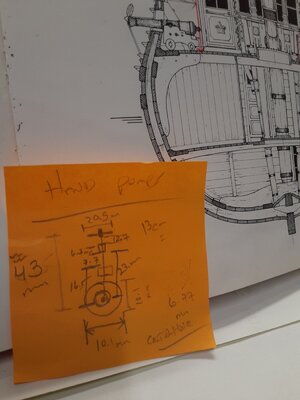
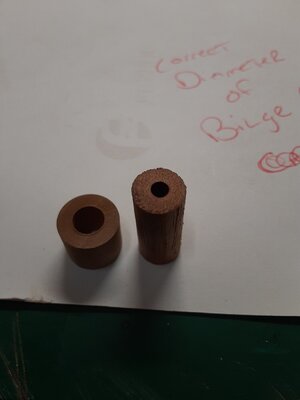
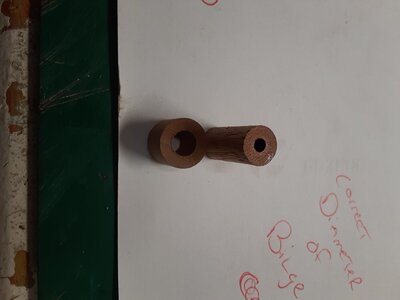
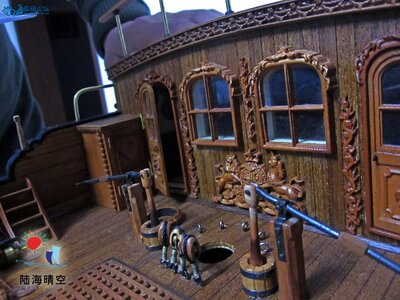
Hello Everyone. I have been trying to get some modeling time in from my hectic day job. I have been working on & Revamping the Bilge Pumps & Handles. The kit supplied items for the fore mentioned items is way to big (out of scale--see pics). Slow going on the replacements. The 2nd to last picture I attached is from another beautiful RC build and the builder did a correct & masterful job on the reproduction of the Bilge pump assemblies and the last pic is how the kit manufacture shows the kit pumps. I am copying the builders pumps for my RC.
Onwards we go.............................................................


Last edited:
Hallo @modelshipbuilder65Hello everyone,
My name is Rick & I have been a model ship builder for approx 45 years. My intent for this build log is to help other builders ( & Future Builders) of this kit with all the Good, Bad & the Ugly nuances that I have come across during the construction . This particular kit is definitely not for the beginner or even the intermediate builder because there are many frustrating aspects of this kit that would leave many of builds put away into ones closet or worse-putting the kit on Ebay!!!!!!! I am not going to non-stop bash this kit, because there are a lot of Great things about the kit as well but I merely want to bring out things that will & can lead one astray and cause a lot of frustration, tears & PAIN (LOL) as some of the other builders , such as Maarten can contest too!!! I have posted just a few pics and I will post many more because I am much farther along then the pictures show. I will attempt to stay in order of chronological build steps and gladly answer any questions some may have. I won't get into to much technique type pictures unless requested because I believe every model ship builder has their own unique build style and I am not one to say your doing something wrong just because you build differently than myself!!!
To me, building a model ship, especially a expensive one such as this, should not be a race against time but rather a chance to slow my hectic life down a notch & enjoy this kit & I like to challenge myself to attempt to create a piece of Art that can be enjoyed by many for years to come!
I will keep my introduction short and from this point on, I will start to post build pics and items used and issues that have come up & look forward to talking to you all--Rick
we wish you all the BEST and a HAPPY BIRTHDAY

Happy birthday Rick! Hope you have a great celebration!
Happy Birthday, Rick! 

Happy Birthday Rick,
Best regards John,
Best regards John,
WIP-------
Hello everyone,
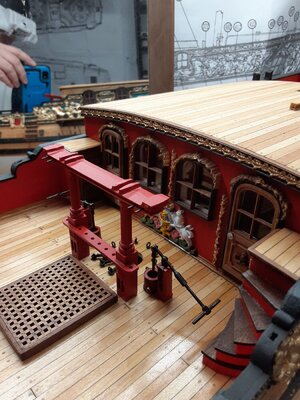
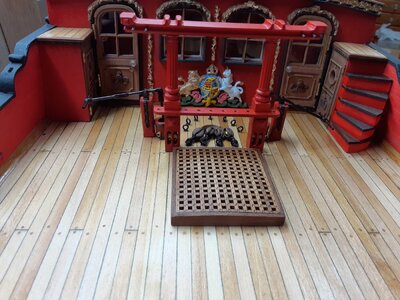
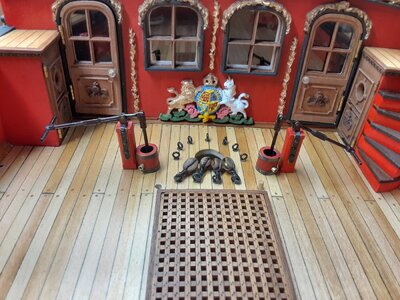
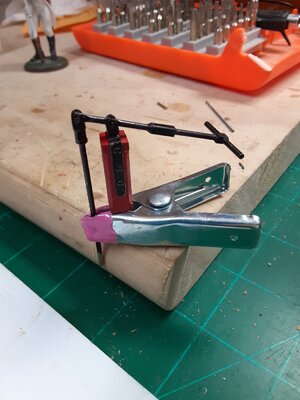
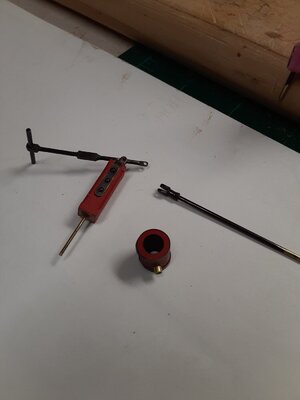
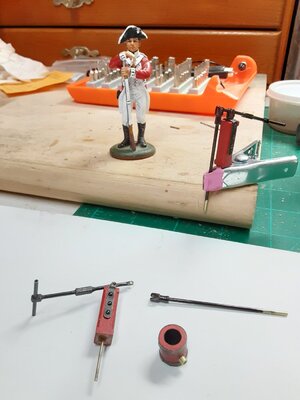
Got some time over the Thanksgiving Holiday to work on the Deck Pumps. The Pumps & Main Bitts (Boat Gallows) have yet to be glued into position at this time, still getting things aligned. Overall, I am much happier with the outcome than the using the out-of-scale kit components.



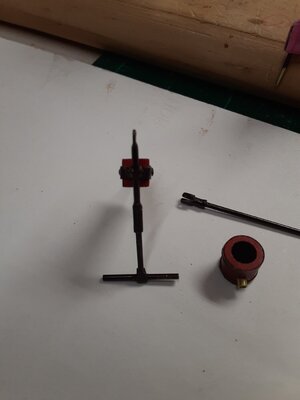

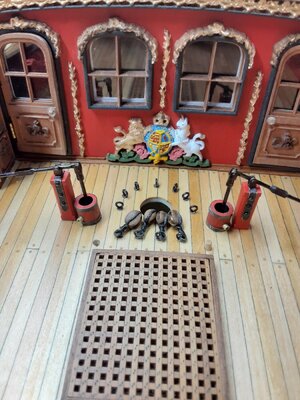
Hello everyone,
Got some time over the Thanksgiving Holiday to work on the Deck Pumps. The Pumps & Main Bitts (Boat Gallows) have yet to be glued into position at this time, still getting things aligned. Overall, I am much happier with the outcome than the using the out-of-scale kit components.


Thank you for the kind words my friend!!!Totally amazing work
WIP-----
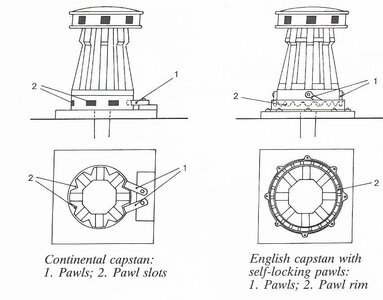
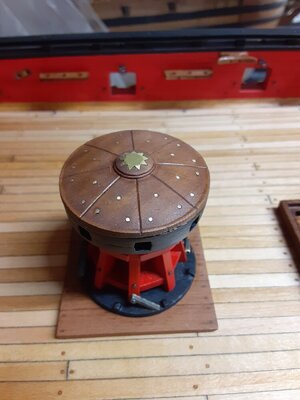
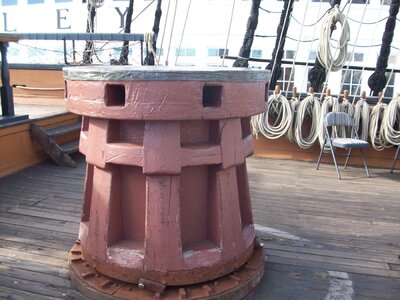
Hello everyone. I have been working on the Capstan. I have altered the Capstan to reflect a British version. The kit reflects an American type of Capstan. The Capstan is just sitting in the decks hole & yet to be squared up & glued into place along with all the deck gratings, ect.. I attached a picture of the Capstan from the actual ship-HMS Surprise for references only.
Onwards.......................................................
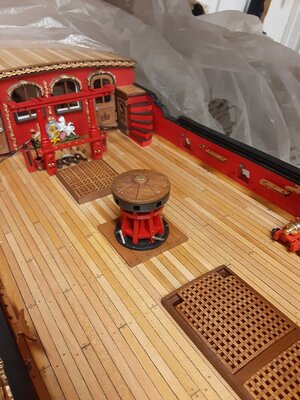


Last edited:
fine and accurate work - I like the brass star on top very much - looking great
Thank youWow, amazing details
Thank youfine and accurate work - I like the brass star on top very much - looking great
G'day Rick, the capstan is designed to rotate both ways so the pawls should have the end's rounded, not with a flat like you show, so they can be swung over when they bring in the Port or Starboard anchor,
Best regards John,
Best regards John,
That's some first-rate scale modeling Rick! Bravo!


