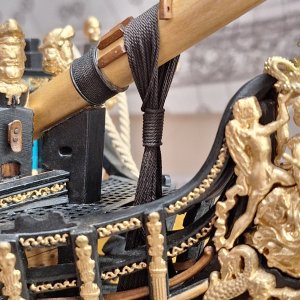
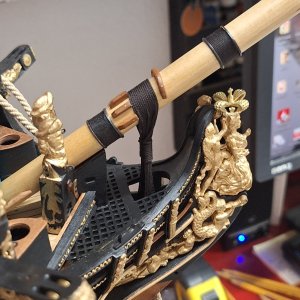
Good morning. Wow this is stunning. Your attention to detail is wonderful. One of the best Carolines I have viewed. Cheers GrantSome progress pictures. The pumps and Belfrey stanchion are not glued in permanently at this time. Makes putting in the main mast deck seal easier access and need to run power up the main mast for the Lantern that will be lite.
Onwards..........
View attachment 464918
View attachment 464919
View attachment 464920
View attachment 464921
View attachment 464922
View attachment 464923
View attachment 464924
View attachment 464925
-

Win a Free Custom Engraved Brass Coin!!!
As a way to introduce our brass coins to the community, we will raffle off a free coin during the month of August. Follow link ABOVE for instructions for entering.
-

PRE-ORDER SHIPS IN SCALE TODAY!
The beloved Ships in Scale Magazine is back and charting a new course for 2026!
Discover new skills, new techniques, and new inspirations in every issue.
NOTE THAT OUR FIRST ISSUE WILL BE JAN/FEB 2026
You are using an out of date browser. It may not display this or other websites correctly.
You should upgrade or use an alternative browser.
You should upgrade or use an alternative browser.
1/30 HMS Royal Caroline Build
- Thread starter modelshipbuilder65
- Start date
- Watchers 72
-
- Tags
- royal caroline
Thank you Grant. Appreciate the kind words my good man!!!!Good morning. Wow this is stunning. Your attention to detail is wonderful. One of the best Carolines I have viewed. Cheers Grant
She's looking great Rick, there is only one thing that I have a question for, it's when you say the accurate painting, he shows no toilet seating, the boomkim goes back to the bulkhead and also there are no anchor lining boards, so I'm just wondering what is the correct configuration of her, unless my eye sight is getting that bad that I cannot make them out,Hello El Capi,
I understand where you are coming from. I decided to leave them natural brass because belaying pins from this time period were normally made out of wood, brass or bronze. If this was a typical 6th rate Sloop, I would have made them out of wood as was the norm for this time period (especially to save $) but since this was a speciality built ship ordered by the King & scrutinized by the Admiralty board & no expenses were spared, one must believe brass or bronze was used to highlight the ships fittings (BLING BLING). Based on the beautiful & accurate painting by John Cleveley the Elder, the belaying pins on the lower shrouds appear to be brass or bronze possibly. There is also early Dock yard models with bronze belaying pins that were used.
I think that once all the rigging is completed,almost all of the belaying pins will be covered with rope and the belaying pins will tend to, over time, oxidize & turn more into a natural looking color.
View attachment 464957
View attachment 464958
View attachment 464961
View attachment 464962
View attachment 464963
Best regards John,
WIP----
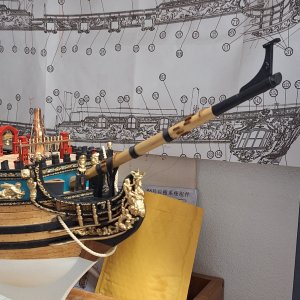
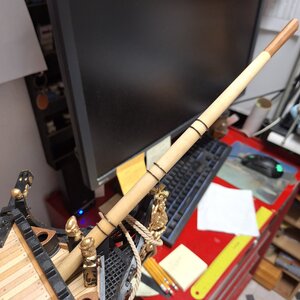
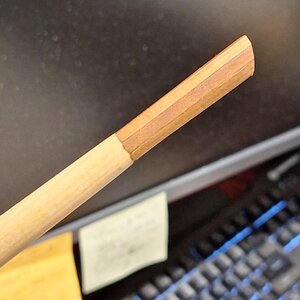
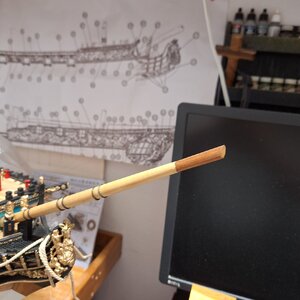
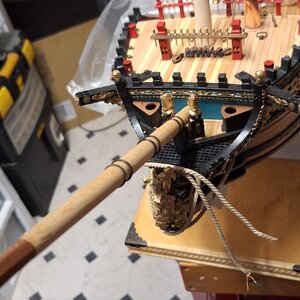
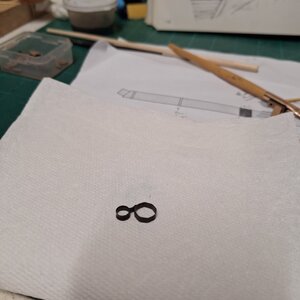
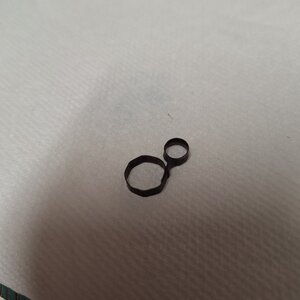
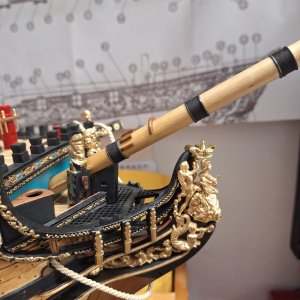
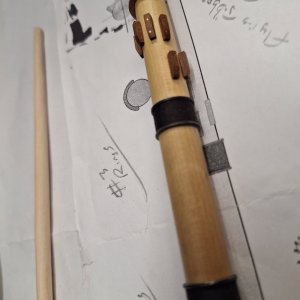
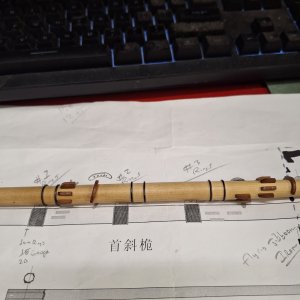
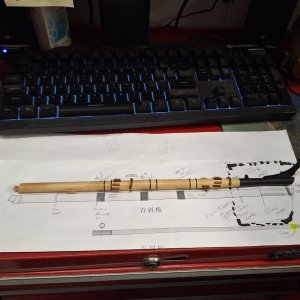
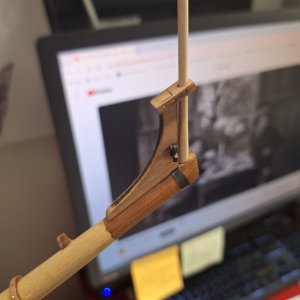
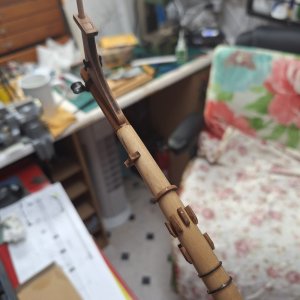
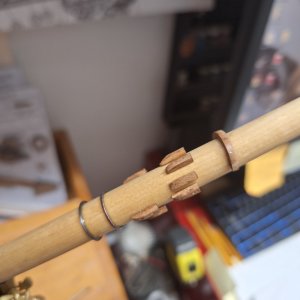
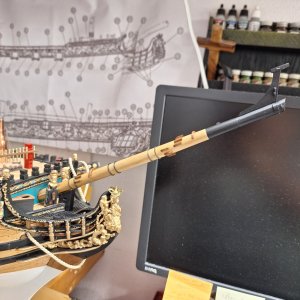
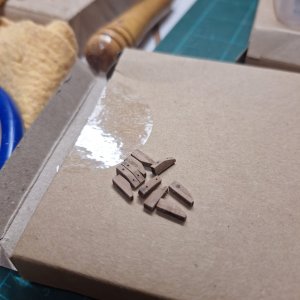
Hello everyone. Got started on the Bowsprit. I completed the needed 6 Iron bands for the rope wooldings. I decided to make all the ships bands in Iron since I will be showing the ship in the approx. 1800 time period. I used 18 gauge square copper (1mm squared) that was blackened. I also completed the Flying Jibboom Iron strap out of a leftover brass piece I had laying around. Next is the saddles, cleats and the Bowsprit Topmast Knee before painting the front section Black and sealing everything before completing the rope wooldings.
Onwards we go................................................


WIP---
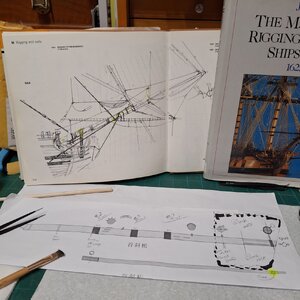
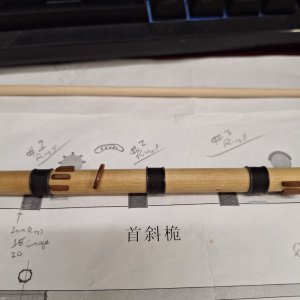
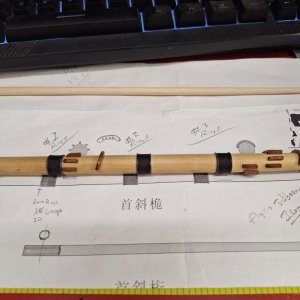
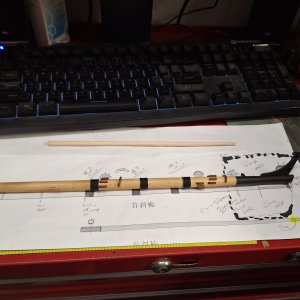
Hello everyone. Here are some more progress pictures of the Bowsprit. One HUGE glaring issue with my kits instructions-- They are not accurate in the proper placement location of the iron bands, cleats ect. If I were to place them as per the instructions, they would not be in the proper location and the first set of rope woolding bands would be sitting on top of the Stem (the Bowsprit itself was the correct length)!!! I also cut down the kit supplied cleats as they were out of scale & too large.
Onwards........................................


Good morning Rick. I sound like a stuck record (luckily most of us here understand this analogy - my kids go huhWIP---
Hello everyone. Here are some more progress pictures of the Bowsprit. One HUGE glaring issue with my kits instructions-- They are not accurate in the proper placement location of the iron bands, cleats ect. If I were to place them as per the instructions, they would not be in the proper location and the first set of rope woolding bands would be sitting on top of the Stem (the Bowsprit itself was the correct length)!!! I also cut down the kit supplied cleats as they were out of scale & too large.
Onwards........................................
View attachment 467784
View attachment 467785
View attachment 467786
View attachment 467787
View attachment 467788
View attachment 467789
View attachment 467790
View attachment 467791
View attachment 467792
View attachment 467793
View attachment 467794
View attachment 467795
View attachment 467797
 ) ......This is superb modelling. Cheers Grant
WELL DONE MATE. NEL CAPIWIP---
Hello everyone. Here are some more progress pictures of the Bowsprit. One HUGE glaring issue with my kits instructions-- They are not accurate in the proper placement location of the iron bands, cleats ect. If I were to place them as per the instructions, they would not be in the proper location and the first set of rope woolding bands would be sitting on top of the Stem (the Bowsprit itself was the correct length)!!! I also cut down the kit supplied cleats as they were out of scale & too large.
Onwards........................................
View attachment 467784
View attachment 467785
View attachment 467786
View attachment 467787
View attachment 467788
View attachment 467789
View attachment 467790
View attachment 467791
View attachment 467792
View attachment 467793
View attachment 467794
View attachment 467795
View attachment 467797
Thanks for the kind words Grant. Keeps me motivatedGood morning Rick. I sound like a stuck record (luckily most of us here understand this analogy - my kids go huh) ......This is superb modelling. Cheers Grant
IT LOOKS PERFECT- WELL DONE MATEA few pics on build status
View attachment 467978
View attachment 467979
View attachment 467980
View attachment 467981
Last edited:
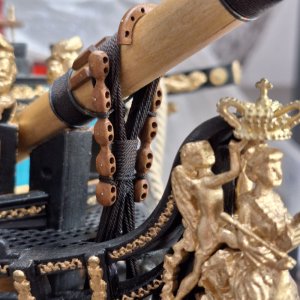
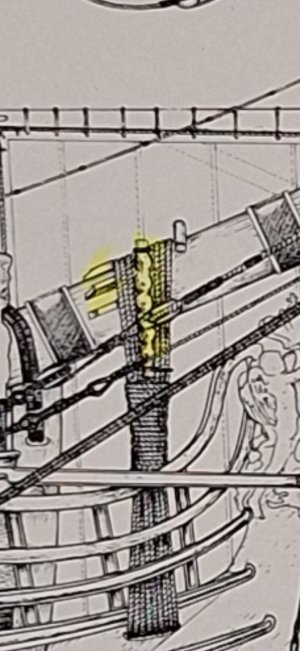
Good morning Rick. As always wonderful modelling. I have never seen a row of blocks lashed to the “gammoning “ like that. So interesting. Cheers GrantWIP---
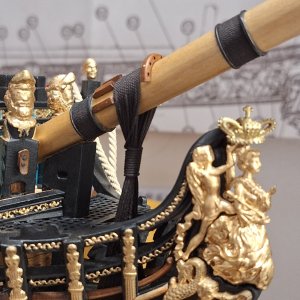
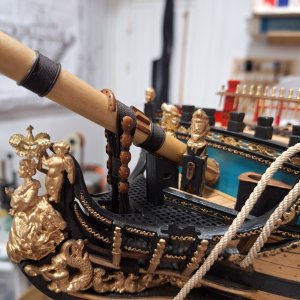
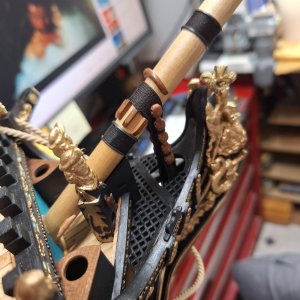
Got the Gammon Lashings completed on the Bowsprit.
Onwards we go...................................
View attachment 469225
View attachment 469226
View attachment 469227
Same to me - interesting new detail - every day you learn something newI have never seen a row of blocks lashed to the “gammoning “ like that. So interesting. Cheers Grant
- Joined
- Jul 9, 2018
- Messages
- 128
- Points
- 133

ok....i keep looking at your work, and you are such an inspiration.......but i doubt if i can overcome my impatience, and make such a beautifully clean job on my next model.......thank you so..............
Thank you.MS65
There are a LOT of things that stand out on your model that are so nice to see. Just to name a couple, the belaying pins are really nice in size and shape and the use of the drop strakes on the planking near the bow.
Allan
WIP------
Hello everyone. I have been slowly trying to get some work done on the Bowsprit Rigging in-between my hectic work schedule. Since there is no actual rigging draughts or official drawings of the original rigging for the Royal Caroline, I come from the camp (as do many) of believing there are some serious discrepancies in the drawings and layouts of the Rigging (Standing & Running) in the Anatomy of the Ship book by Sergio Bellabarba & Giorgio Osculati. I will be mostly following the guidelines set forth by James Lees "The Masting and Rigging of English Ships of War 1625-1860 & the book "Levers Young Sea Officer's Sheet " and the book "The Sloop of War 1650-1763" by Ian McLaughlan for my interpretation of how I believe the Standing & Running Rigging should have or may have appeared on the original ship.
Onwards we go.....................................................
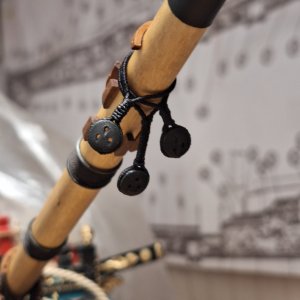
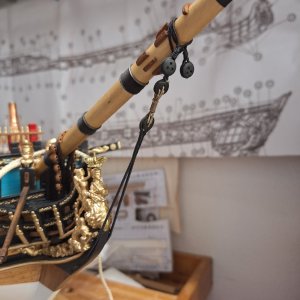
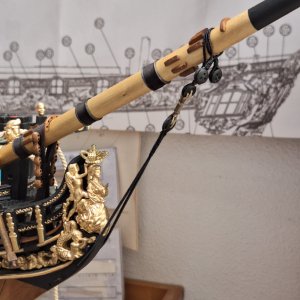
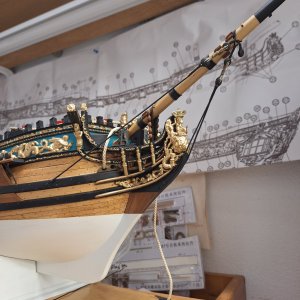
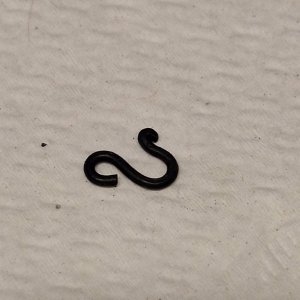
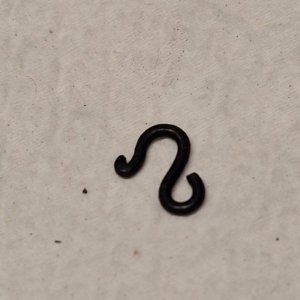
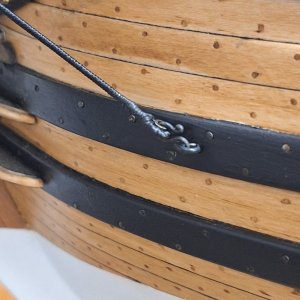
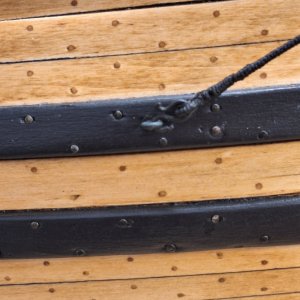
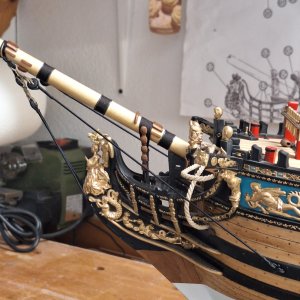
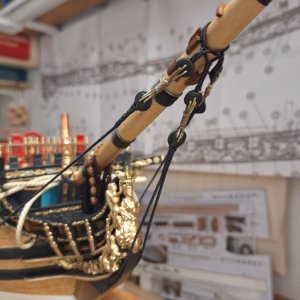
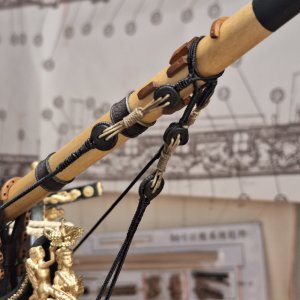
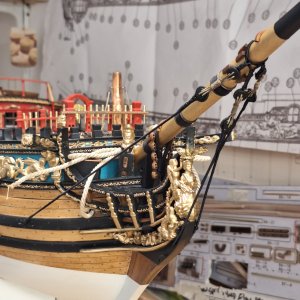
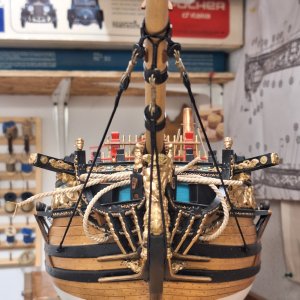
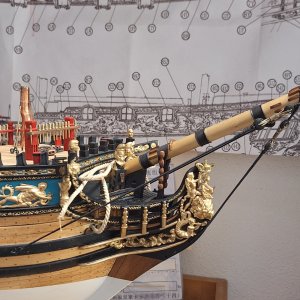
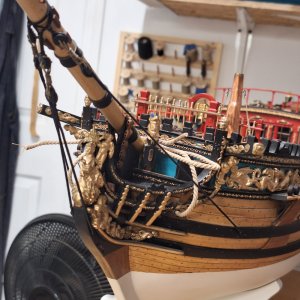
Hello everyone. I have been slowly trying to get some work done on the Bowsprit Rigging in-between my hectic work schedule. Since there is no actual rigging draughts or official drawings of the original rigging for the Royal Caroline, I come from the camp (as do many) of believing there are some serious discrepancies in the drawings and layouts of the Rigging (Standing & Running) in the Anatomy of the Ship book by Sergio Bellabarba & Giorgio Osculati. I will be mostly following the guidelines set forth by James Lees "The Masting and Rigging of English Ships of War 1625-1860 & the book "Levers Young Sea Officer's Sheet
 " and the book "The Sloop of War 1650-1763" by Ian McLaughlan for my interpretation of how I believe the Standing & Running Rigging should have or may have appeared on the original ship.
Onwards we go.....................................................


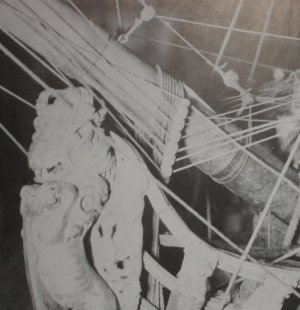
One of the things I love about a website like SoS is that it provides a chance for a new learning experience every day. The use of gammoning lashing or rack blocks varied. Those ships that had them averaged 6 single sheaves in each according to James Lees in The Masting and Rigging of English Ships of War on page 167. He does not mention anything about what size ships had them or what era they covered. The photo below is from Lees book of Leda.interesting new detail - every day you learn something new
Allan
