1/350 Akagi Hasegawa - Completion of a project long overdue

Thanks Guys

The half plastic, half PE railing is Hasegawa's design of their detail up parts.

Kind Regards

Nigel
I just noticed that those stairs are missing altogether in my Hasegawa 1/700 version and also in both Tetra detail sets.
Not only that, but for while the gaps for these stairs exist on the Tetra instruction, some railing gaps for these stairs are missing on the actual parts.
Surprising, looks like Tetra started on them, but changed their minds/forgot they existed.
I might need to get some generic PE stairs to fix this.
 
Last edited:
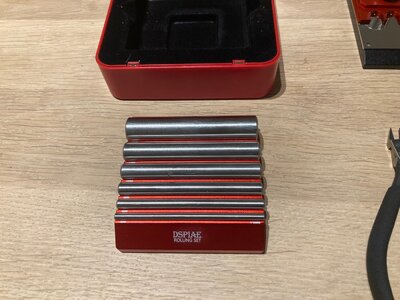
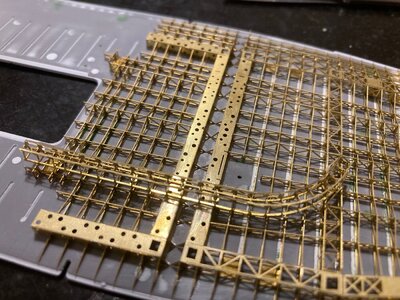
I realised that I could not carry on winging it with just a pair of Tamiya photo etch bending pliers when it comes to the underside of the aft flight deck. It makes the work so far look basic.
I have invested in some serious photo etch bending kit along with a better pair of sprue cutters.

Kind Regards

Nigel

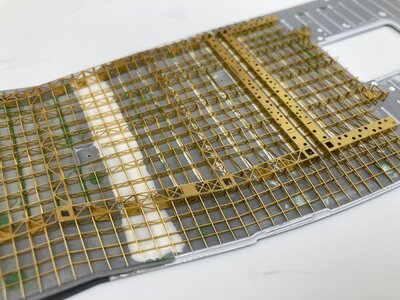
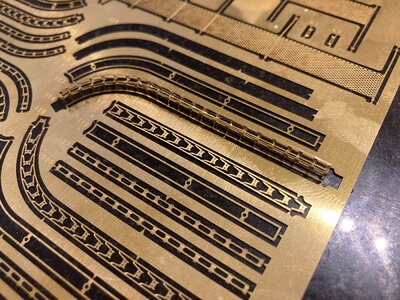
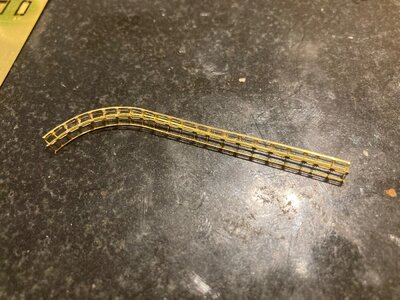
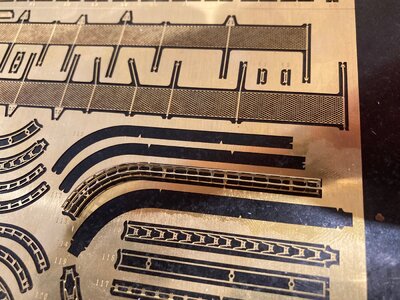
IMG_0843.jpgIMG_0844.jpgIMG_0845.jpgIMG_0846.jpg
 
Outstanding work here Nigel, well done. Thank you for the heads up to Allience Models, just ordered a few of their girders and gusset generic sets. Regards, Pete in RI
 
Thankyou.Yes the Alliance generic PE is very handy

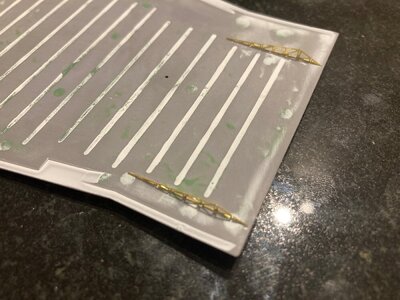
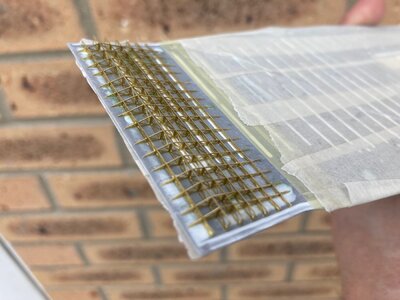
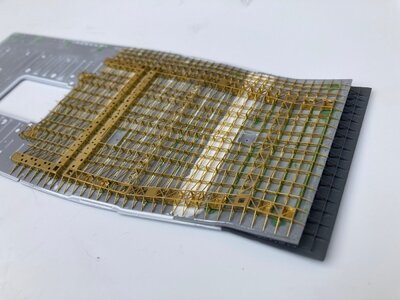
Moving along steadily, I have started on the largest plethora of PE on the model, the aft flight deck.Work consisted of first installing a section of girders right at the end, then after painting a plastic section is added before gluing the basic framework and box girders in place.

The slots in the underside are to locate the standard kit plastic framework.All these have been filled along with ejector pin marks to give a cleaner finish.

Kind Regards

Nigel

IMG_0847.jpgIMG_0848.jpgIMG_0849.jpgIMG_0858.jpgIMG_0859.jpg
 
Thankyou, yes I could not have folded the box girders without it.

I have now made a start on the next stage of etch lunacy, the overhead gantry crane tracks to lift the ship's boats:rolleyes:
 
Maybe you can show us sometimes how you use the tools when you fold such elements like the deck framing?
It is looking extremely complicated, isn´t it?
 
Maybe you can show us sometimes how you use the tools when you fold such elements like the deck framing?
It is looking extremely complicated, isn´t it?

I will post some pics Uwe when I fold the main columns. All the tool is for is producing up to 90 degree folds, all the cutouts are there for is so there clear a previous bend.The hard part is knowing which crease to bend first:rolleyes:

Kind Regards

Nigel
 
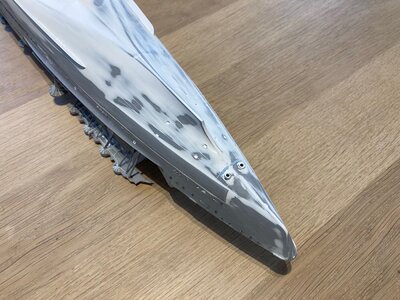
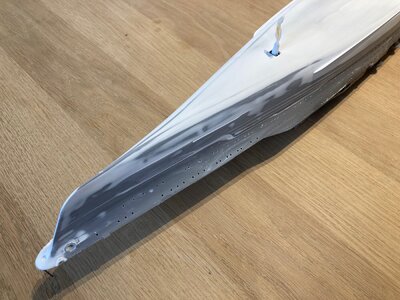
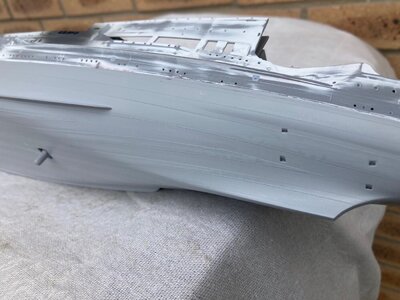
Finally ( started this one in 2016 ) the two hull halves have been glued together using Tamiya extra thin and several clamps.

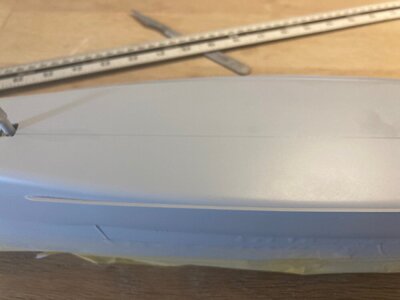
I applied four coats of Tamiya fine surface primer and flatted down with 800 grit wet and dry used wet.There is still the odd bit of sanding residue in the pics, I am still doing some minor fill work where the rudders go.

Out of the box, the kit has some over scale plating scribes and visible mould lines one third from each end.These have all been eradicated.

Kind Regards

Nigel

IMG_0976.jpgIMG_0977.jpgIMG_0978.jpgIMG_0979.jpg
 
Some may notice that I am flitting between this build and my Soleil Royal. This is simply because I am working on both between paint curing times;)

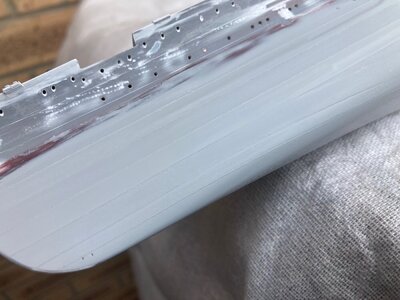
After several further applications of Primer to the lower hull with wet sanding between, I achieved a nice smooth finish.

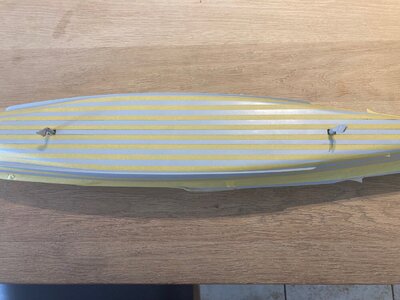
Next step is the application of masking to allow several further coats of primer to recreate overlapping plating. This is applied with some artistic license and is not a replica of the original. It is simply to add visual interest rather than having a glass smooth lower hull.

Kind Regards

Nigel

IMG_0990.jpgIMG_0992.jpgIMG_0993.jpgIMG_0994.jpg
 
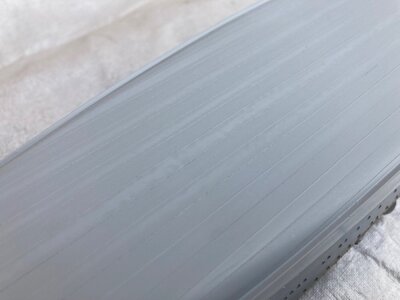
After applying four coats of Tamiya grey fine surface primer in a rattle can the tape was removed . I have then very lightly run over the raised areas with 2000 grit wet and dry to remove the lip created by the tape. The result leaves scale thickness plating overlaps.

I was going to spray the brown antifouling next but want to try a technique I have seen on Youtube.

I have watched every video by Sen Navy model factory. In these videos he sprays the antifouling last. A misted base layer of lemon yellow is applied first, then a layer of bright orange following the plating lines. Finally the brown is ghosted over the top. The main thing is that the waterline is not masked, it is done freehand with the airbrush giving a soft edge. When subsequent salt staining is applied around the waterline, the result is extremely convincing.The appearance is that as if the ship had been lifted out of the ocean after a few years service.

Kind Regards

Nigel

IMG_0996.jpgIMG_0997.jpgIMG_0998.jpgIMG_1001.jpg
 
Fasinating details Nigel, you are taking it to another level. I m highly interested in the painting technic you mentioned, going to check it out on Yutube
 
Back
Top