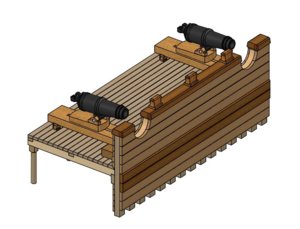
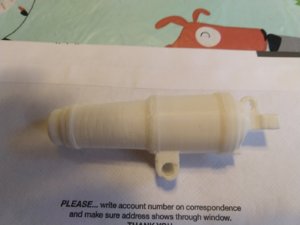
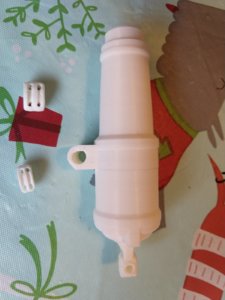
18th Century 42 pound Carronade

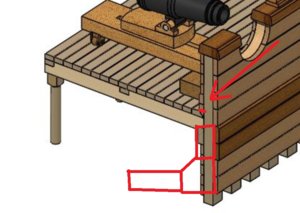
Hi Ken! Looks good. I know you're planning to add carlings aand ledges also. One suggestion: I'd add hanging knee and a lodging knee between all the deck beams. On English ships, forward of amidships the hanging knee was aft of the lodging knee. Amidships this reversed so in the aft half the hanging knee was forward of the lodging knee. I'd face all four sets of knees the same direction in your build. The spaces marked by arrows need knees. Capture.JPG
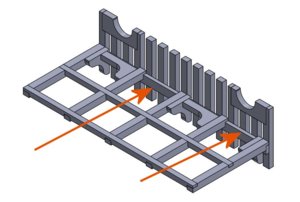
 
Thanks Doc, good suggestion, tho I'll probably put the end knee on facing the other way for no other reason, then because it will be a point discussion. Then I need to figure out where to remove planking to show off the frame work.
 
Take a short look on my Section model which I posted longer time ago
Here you can see, how the deck-structure of british ships were usually done
This is maybe also helping
 
Thanks Uwek, that will be very helpful. I already see I need to notch the knee's together. Good job on the Triton, I plan on doing one, hopefully soon. Is that Triton of yours the one from Model Ship World cross section project ? I actually just downloaded those plans last night. Thought they might help. Your photos made it easy to see the how it's assembled. Thanks again
 
I have a question. Since I plan on showing the fasteners in this model, the scale is such to allow that type of detail. My question is which fasteners were used? By studying a lot of models in these forums and looking at photos of full-size ships, this is what I got out of it…

The deck and planking are trenailed to the frames and deck beams.
The carling is nailed to the deck beams as well as the ledging?
The hanging knees are thru bolted to the deck beams and lodging knees??
The hanging knee is also bolted to the deck clamps and thru the planking (thru the wales)?

It appears that the bolts are like modern carriage bolts?
 
Last edited:
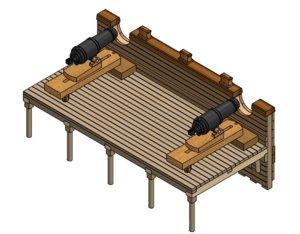
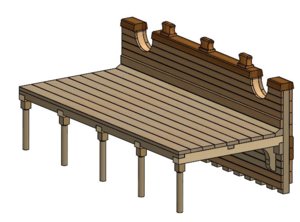
The deck platform is now complete, just need to decide which planks to remove to uncover the detail underneath. Time to move on to start making parts, weather permitting (I don’t use the table saw and planer in the garage, it makes a huge mess). It’s also time to shoot the engineer… ;)
So I'm open to recommendations on how to best show off the framework.
Capture.JPGCapture2.JPG
 
Step by step it is looking better and better - very good work
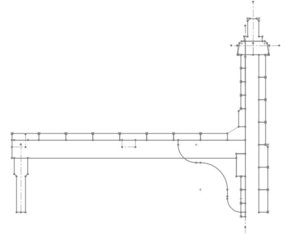
I have two suggestions, which you should adjust
1) Take a look at the sketch - the waterway plank should have a different form (marked with the arrow - I tried to show the principle form with red
bbb.JPG
2) I would make the width of the deck planking wider - they are in moment too small - I guess appr. double the width now
 
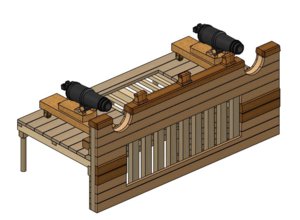
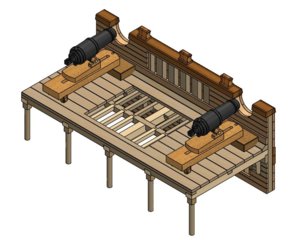
just a quick update. I wanted to show how and where I am going to remove the planking to show the framework and fasteners used. Though when I build the model, I'll deviate from rectangular opening and do a jagged edge shape (broken out style). Now to star making the metal parts required until the weather cooperates here so I can start cutting wood up. ;)
Capture2.JPGCapture.JPG
 
Last edited by a moderator:
Sice the weather here has been cold and damp, I can't use the saw to cut the wood needed to start this model (I need to feel my fingers when cutting wood this small on a full size table saw ;)) I also had to put a ABS sensor in the truck today. Anyways since I have been waiting for the weather to break (hopefully soon), I have been contemplating adding more detail to this model, such as; making the frame shapes and spacing similar to how the POF models are, adding the bowed deck and possibly a partial hatch to the deck.

I would like the group to let me know if I should proceed with the upgrade or leave well enough alone and save the energy for the next model.

thanks
 
Back
Top