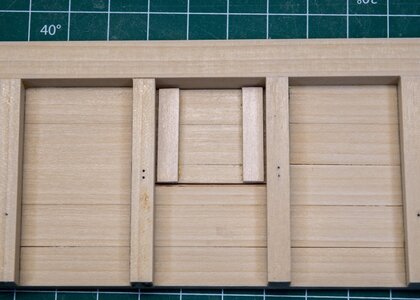
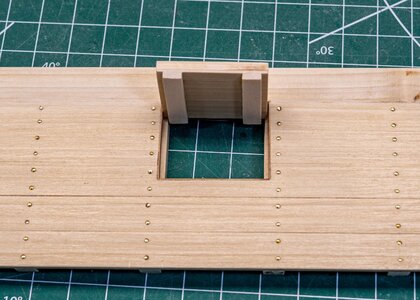
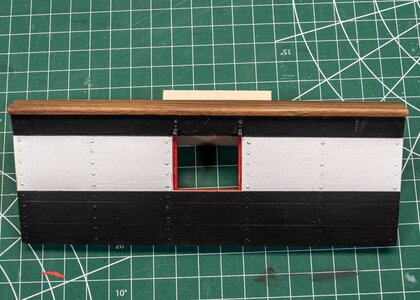
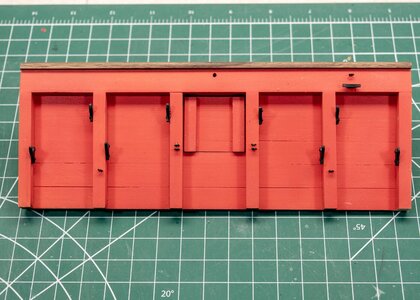
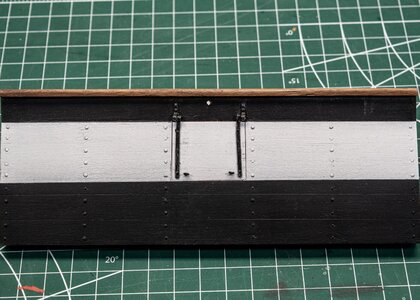
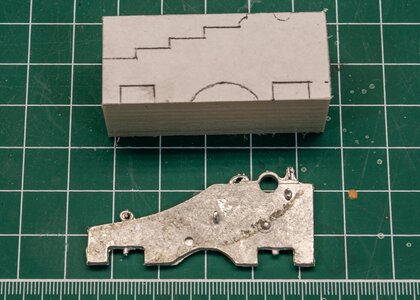
I'm taking a break from rigging and will do a battle station for my nephew. I see so many beautiful finishes in build logs I want to try a few new processes and a small project is a good place to start.
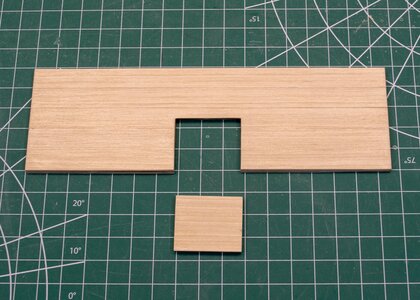
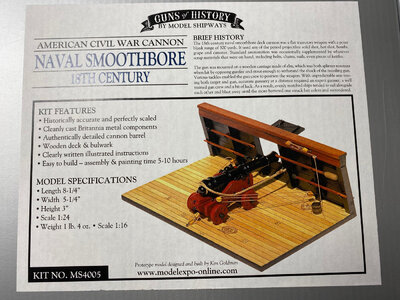 First I sanded a 10° bevel on the bulkhead side of the deck base. Then I sanded all side of the deck planking and applied a coat of sanding sealer. When it was dry I sanded again.
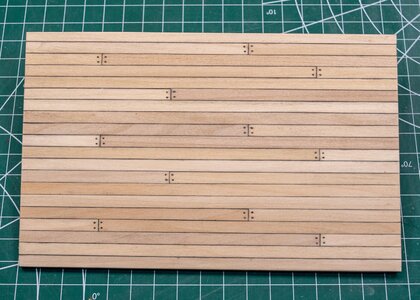
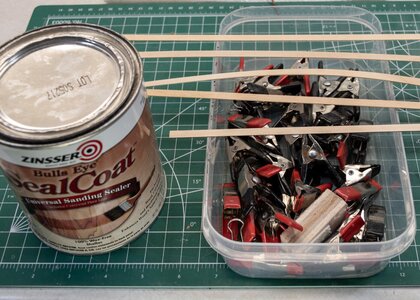 Next I cut the planks to length as directed, rubbed a black charcoal pencil on the edges, and glued them to the deck base.
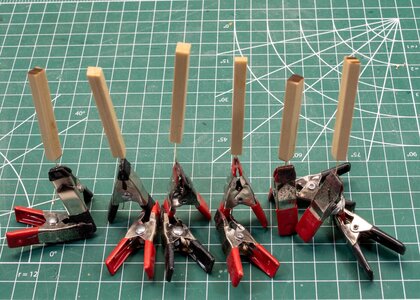
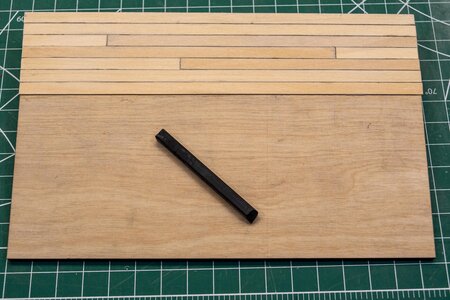 I dipped some toothpicks into dark walnut stain and set aside to dry.
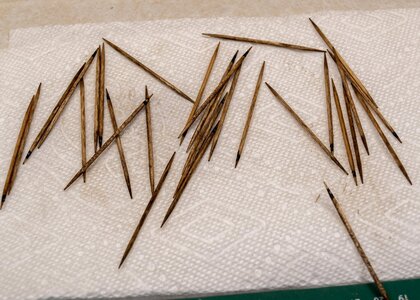
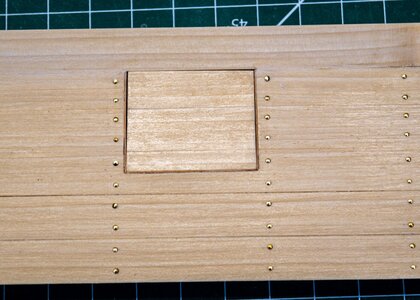
I made a clear plastic jig for the treenails and marked all their locations, then drilled a small hole for each.
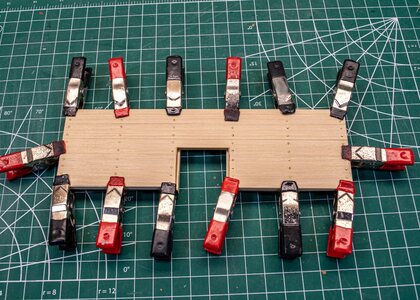
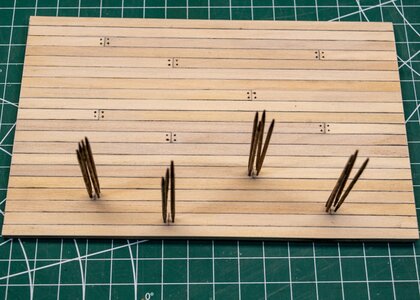
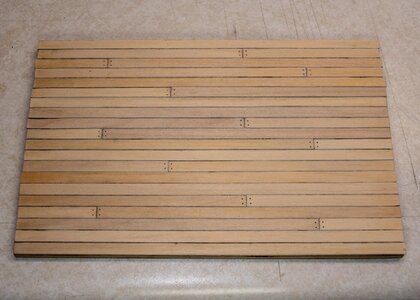 Finally I inserted the toothpicks in the holes. I'll leave it overnight and clip off the excess and sand smooth tomorrow. No glue needed as a coat of poly will hold them in place.
 First I sanded a 10° bevel on the bulkhead side of the deck base. Then I sanded all side of the deck planking and applied a coat of sanding sealer. When it was dry I sanded again.
 Next I cut the planks to length as directed, rubbed a black charcoal pencil on the edges, and glued them to the deck base.
 I dipped some toothpicks into dark walnut stain and set aside to dry.
I made a clear plastic jig for the treenails and marked all their locations, then drilled a small hole for each.
 Finally I inserted the toothpicks in the holes. I'll leave it overnight and clip off the excess and sand smooth tomorrow. No glue needed as a coat of poly will hold them in place.


