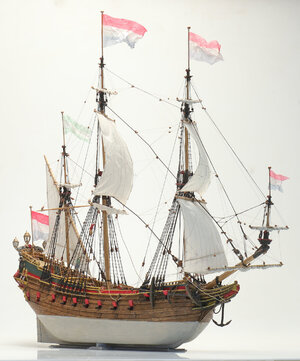
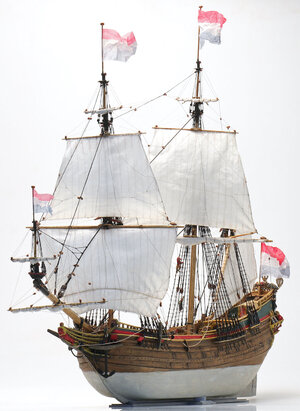
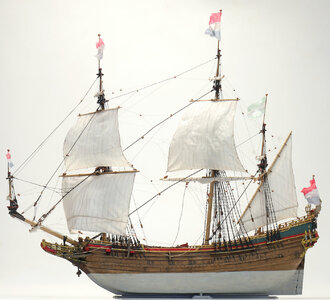
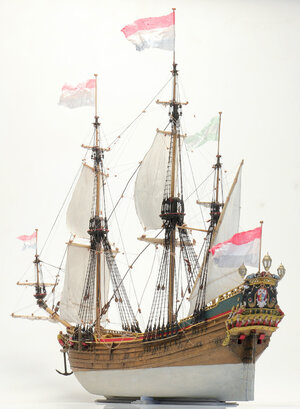
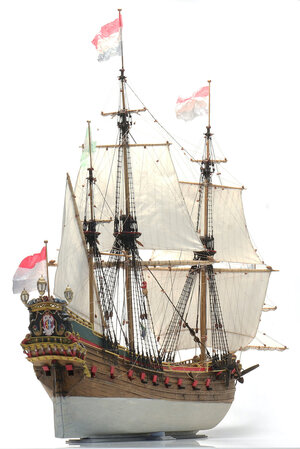
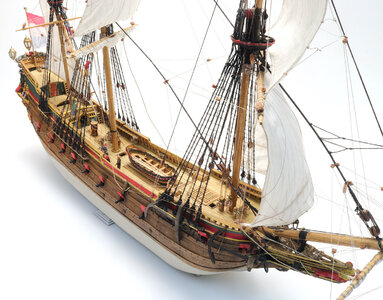
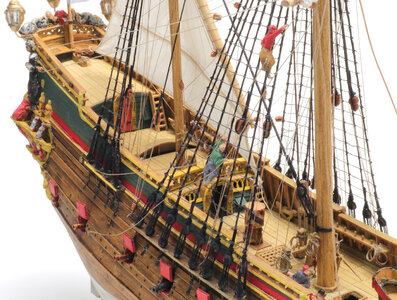
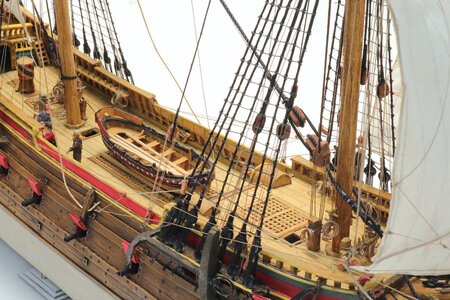
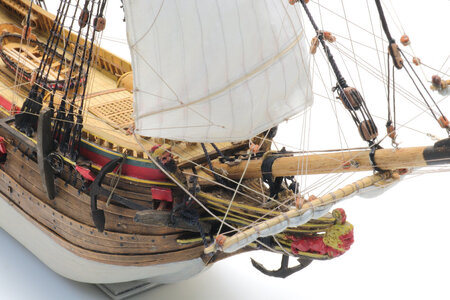
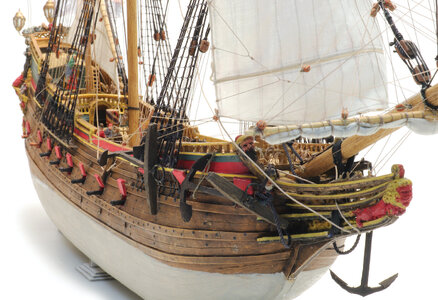
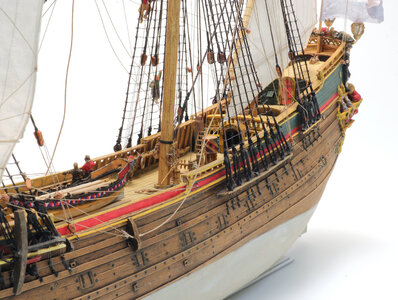
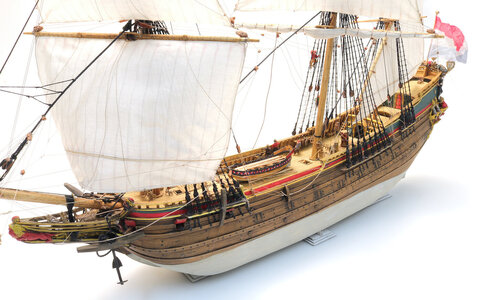
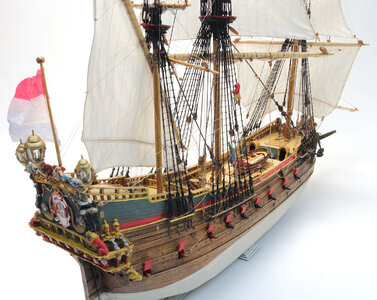
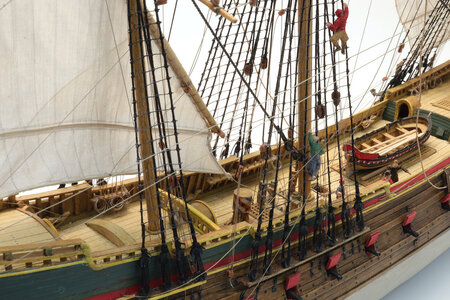
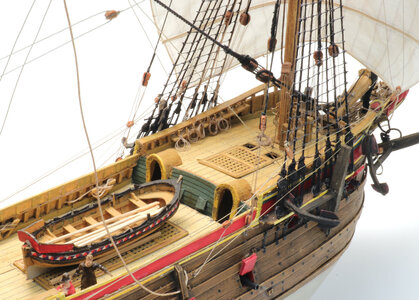
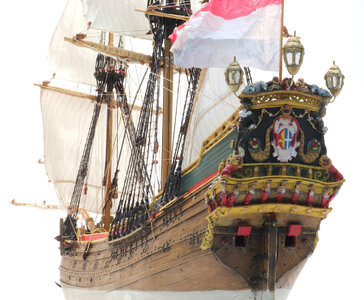
A 17th century Dutch armed trader – scratch built from card [COMPLETED BUILD]

Ab, I think your quote was from 'Gone with the wind'.
I'm getting on a bit myself and for the life of me I can't remember the actors, though their faces are clear in my mind.
Google is a good friend....it was Clark Gable talking to Vivien Leigh!
Thank you for your kind reply; I wish you well.
 
Hello Jan, good to see you here.
I'm sorry that you failed in your attempt to do a historical ship. I know that is not your main interest. Japanese modern warships is a whole other league. Don't admire my skills. They are extremely limited. I would never be able to make cruisers like you do. Each his own territory. But did you start with a simple model or did you at once go for a three decked ship? Always start simple...
If you want I can send you some simple stuff to practice.
Oh, by the way, I did spend some years in the Scheepvaartmuseum as their guest during the rebuild of the Rijksmuseum, but the latter was my employer for 23 years and it was the best time of my life.
Good luck!
Hi Ab, I think the big difference between a historical and "modern" ship is the extreem hull shape of a historical ship. I would be glad if you could send me some simple stuff.
Sorry about my mistake about the Rijksmuseum. I would like to try a simple model first though.
 
Wonderful pictures and of course model. But the most part I can see. If you don't tell it is paper you can't see. Congrats with the completion of this beautiful model.
 
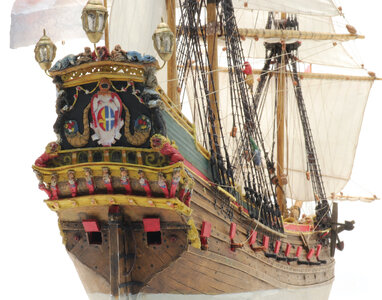
Dear Ab - Once again you have captured the true essence ( or at least that which we believe is the true essence, through history and meticulous research) of a 17th Century Dutch vessel. Judging by the stern ornamentation, you have depicted a model of Hoorn, but which one in particular?
 
just wonderful - the model and also the photos - great work by you both
 
Dear Ab - Once again you have captured the true essence ( or at least that which we believe is the true essence, through history and meticulous research) of a 17th Century Dutch vessel. Judging by the stern ornamentation, you have depicted a model of Hoorn, but which one in particular?
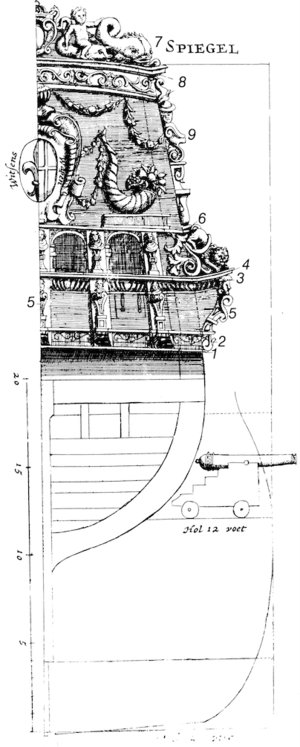
Hi Heinrich, this is the ship described by Witsen in his book about Dutch ship buiding. I think it is not certain if it was a real ship or he just used it as an example. But Ab most probably can tell you much more about it.
 
Thank you Maarten, You are fast.
Sorry Heinrich for not answering earlier, but I simply don't have the time to spend too long on forums. Other work to do :).

No, this ship has nothing to do with Hoorn, although I think it is plausible that the type was built there as well. The confusion is probably caused by the two cornucopias adjacent to the Witsen family crest:
Schermafbeelding 2021-11-30 om 07.37.02.png

They are not Horns, but symbolize the wealth of the Witsen family.

As I told before here and on other forums I deducted the drawings used for this model after text and figures in Witsen's book of 1671. Details can be found in my book 'Nicolaes Witsen and Shipbuilding in the Dutch Golden Age', and also online by using the 3D program: https://witsenscheepsbouw.nl.

Best,
Ab
 
interesting model. The appearance is actually heartening as it is not the typical "took ten days to paint this 5mm by 20mm paint stripe on bow sprit"


Is there a better source of the website link about building the model from that website? most sections say someone at the website needs to pay Google to allow for web translations. and that walk through "game" is far too massive to be put into a web browser.
 
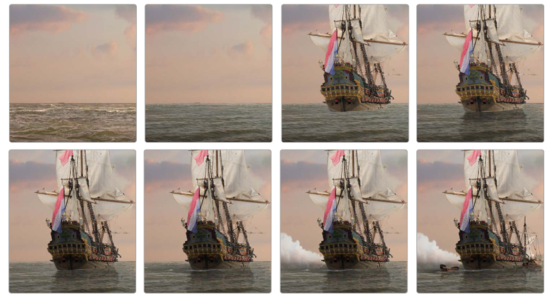
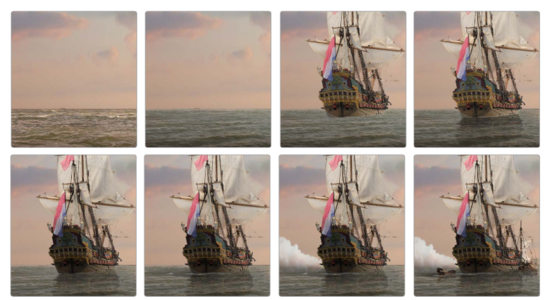
Your son is doing a rather good job with his photoshop images of your models. I have two things that will help him tremendously, as i can see he is attempting to emulate some of the old duth masters of naval paintings.


1. he needs to work on getting the photos of the models shot in the same lighting as the water he wants to use for the scene. Too many are done using water shot at high noon with heavy haze and heavy shine while the model has its photo done with the model in heavy shadow... it doesnt work.

2. as a quick step to see what i mean by suggestion 1, he can open some of the images in photo shop and adjust the gamma layer on the water and reduce the brightness and contrast and see how the image improves when the images match.

But otherwise the images are classic dutch.
 
Hello tball4217,

Thank you for your praise. Indeed my greatest concern is not losing myself in the neatness of tiny details, but trying to get a detailed impression all over. It's another approach to ship modeling after having been building as close to reality as possible the rest of my life.

Your remark about the English version of the http://witsenscheepsbouw.nl site is correct. There seem to be problems with the company responsible for the English translation (not of the text by the way, which I did myself), but we are preparing a massive update soon be be released in which all problems are solved. Indeed the online version is much less good than the downloaded one, in which everything works fine in Windows. Sorry for not having that version compatible with Apple products. The draughts of the ship can also be downloaded at:
As to the remarks about the photoshop images by my son, I can only say that I will forward them to him. I tried to upload a pdf in which the technique we use is explained. I don't know why it is not possible on this forum to upload a pdf. Anyone with a solution? In the mean time this screenshot may help:

Schermafbeelding 2022-01-10 om 07.35.21.png

And the accompanying text:
'After defining a situation and a good composition for the story to be portrayed, the search for photos with the right sky, waves and possibly landscapes follows. It is often necessary to tinker together all three from several photos. After that, the selected ship models are stripped of their background. Despite the white background that we use as much as possible, there is a lot of rope work and other detailing on the models that needs to be looked at carefully.Then the ship is placed in the water. Or rather - on the water. Not only does it look like it is floating, but it literally sits on top of the background like a diorama. Shadows, reflections and loose details are added, all again in separate layers, so that they can still be adjusted individually. The color and light direction of the model are adapted to the background and the ship slowly sets into a natural surrounding'.
 

Attachments

  • Schermafbeelding 2022-01-10 om 07.27.47.png
    Schermafbeelding 2022-01-10 om 07.27.47.png
    528.6 KB · Views: 23
i used to do a lot of photo collageing back in college using a pirated copy of corel's software a friend gave me. The only thing missing was the programs built in help files... those were the days.

Anyway, i pointed those tips out as in some of the photos you posted of his digital work, the ship was shot on a dark and over cast day, while the water portion was shot at high noon, and a very sunny day.
 
Part two: Preparations.
A scratch build always starts with drawings. You need a lines plan, a body plan and a section at the least. It takes some planning to start the build. Let's take a look at the section first.
View attachment 252711
Normally I chose the space below the lower deck as the main part of the 'spine' of the model. In this case the forward part of the lower deck however is occupied by the cable tier. This is a closed compartment, so I chose to add it to the spine. That also offers the advantage to get some more material in the bow, which adds to the sturdiness of the model.
View attachment 252712
As you see I already drew the slots for the frames. So we turn to the body plan now. Often the plan shows two sides of the ship simultaniously.
View attachment 252713
So we have to create two body plans, one for the fore side and one for aft. Anyone who can work with a computer knows that on a Microsoft computer the program Paint can mirror a picture. So if we print them and cut them in the middle we can glue them together to create two complete frame drawings. Take care that the width on the waterline is exactly equal.
View attachment 252714
Now the build starts. First the spine was cut. I used three layers of 1mm thick card to get the right size and also added ½ mm strips for the protruding parts of keel, stem and stern. This helps when planking. Slots for the frames are cut and also the holes for the main and fore mast. To support the bowsprit I left the material underneath it in place.
View attachment 252715
Next I cut the frames. With the printer I produced the right number (8 fore and 11 aft) and glued them on 1 mm card. I also doubled the area where two skin pieces butt. This gives a better landing. Every frame is dry-fitted in the slots of the spine and at the same time the hight of the deck is scribed on the frame. Here I cut the slots for the lower deck and the remaining middle part is perforated to ease the removal of the upper part of the frame in a later stage.
View attachment 252716 View attachment 252717
Two strips of sufficient width are fitted into the deck slots, to make the lower deck. I left out the camber of the lower deck, because it is complicated to make and it will not be visible in the model.
View attachment 252718
So that leaves us with the basic parts of the model, ready for assembly. This is what you get buying a kit. The difference is that this costs you nothing and it's a lot more exciting (IMHO).
View attachment 252719
Next time I will show you the 'planking' of the model. Stay tuned. If you have any questions or remarks, don't be shy.
You have an experienced knowledge and nautical drafting skill far above my own which make my own primitive drawings embarasing but as I will be working in wood plan on and anticipate a lot of filing/sanding to fare the hull out. The lines that I have are mostly nonexistant so a lot of interpretive conjecture is needed. Well done by you in your cardstock method. Rich (PT-2)
 
Great work,nice pictures , but if a may pose a question. About the colors has been said a lot and we can find a lot about it. What I don't find however is , does the interior of de "overloop", "verdek" etc has to be painted red, or is it limited to the decks exposed to the elements? Is there a difference between ships of war and "retourschepen" of the 1650 concerning this matter. I see the batavia(Lelystad) has limited this painting in red to the gunports ( also in these pictures above) and that in a lot of other shipmodels the whole inside is painted red (comment given, you can't see the blood on a red surface.) Can somebody cast some light concerning this ? Thx
 
Back
Top