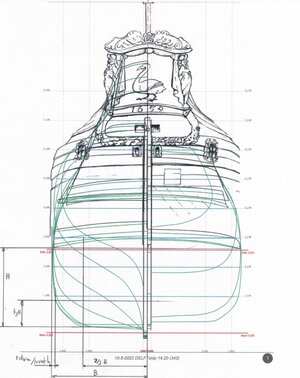
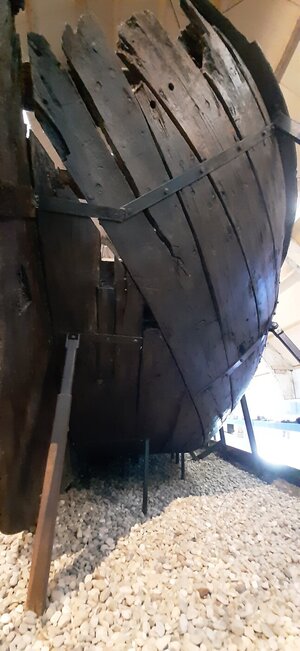
A Dutch Fluyt in shell first, reconstructing the "Ghost ship" scale 1:36

It is looking like an already completed diorama - this model could be already in a museum to explain this way of construction
for me still not understanadble, how you can cut and bend the planks, especially in the cirved bow area, that they fit so well
Bravo
Hi Uwe,

I copy the shape of the planks by putting a piece of 120 grams paper along the previous plank. Then I press the outer line shape of the previous plank into the paper. This creates a template for the next plank.
 
Looking at the picture at #300 I think there are two more straks joining the flat before the 3rd strak wraps around the flat and reaches the stem.

Bela
 
Looking at the picture at #300 I think there are two more straks joining the flat before the 3rd strak wraps around the flat and reaches the stem.

Bela
This is the 7 Provincien a much bigger ship, not a fluyt. In general Witsen mentiones the flat had +/- 6 strakes of planks. It is actually not about the number of strakes but about the width of the flat in relation to the total width of the ship.
The flat was +/- 2/3 of the total width of the ship.
Spant constructie.jpg

The number of strakes were determined by the width of the planks available.
See below a ventjager, much smaller then a fluyt. She only has 4 strakes.
20230305_143727.jpg
 
Last edited:
Sorry, my English skills are very limited.
I meant that in figure #300, after the flat, two planks in the deadrise also do not run through to the front. Only the third plank of the actual side wall runs through.
Will you build a rounded deadrise like the 7 Provincien or a kinked one like the ventjager?
 
The last two planks of the flat has been fitted finalizing the bottom of the hull.
Some fine tuning to do before I can start fitting the first floor frame and bilge.
View attachment 387965View attachment 387966View attachment 387967View attachment 387968View attachment 387969View attachment 387970View attachment 387971

But before I continue the hull I will take the carvings with me on holidays and prepare the hoekmannen.
Nice to see how your model is now, Maarten. With beautiful pictures of this old fashion shipyard.
Regard, Peter
 
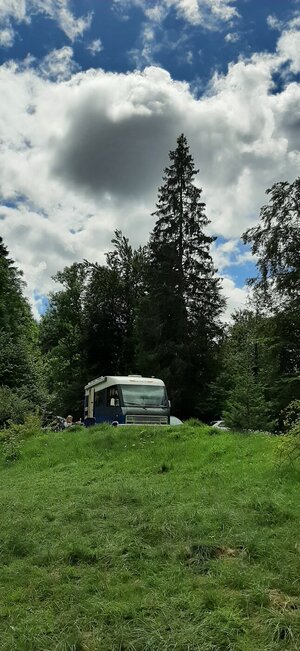
Being on holidays at the moment I started working in my mobile workshop on some carvings. Lets call it carving across Europe currently in the Jura in France.
20230807_130400.jpg

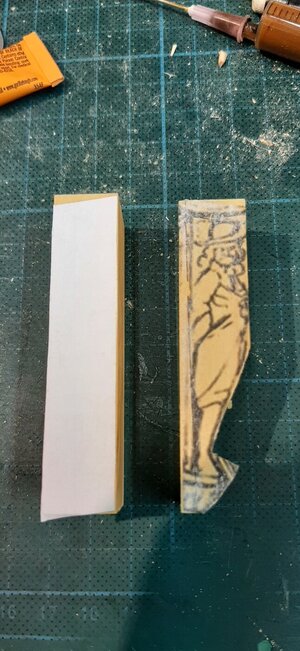
The carvings are the two hoekmannen which I already prepared before our road trip.
Screenshot_20230728-232022_Microsoft 365 (Office).jpgScreenshot_20230728-231812_Microsoft 365 (Office).jpg
20230728_205502.jpg

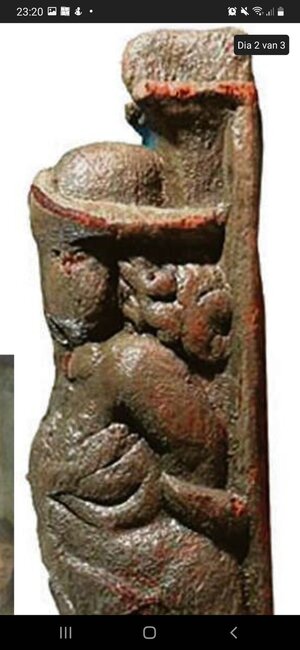
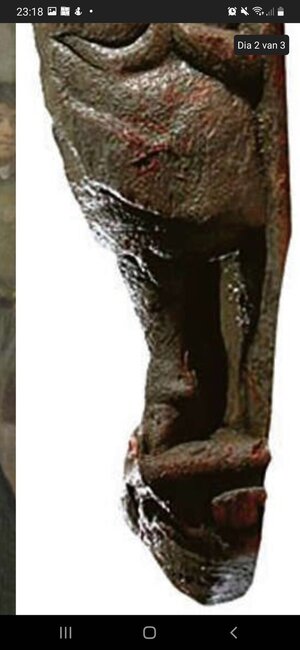
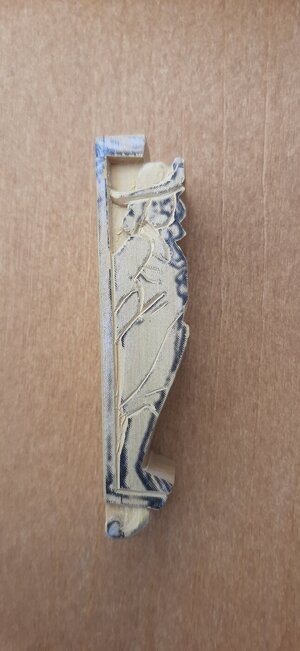
The basis is one of the hoekmannen found at the wreck site. And it is facinating to see that this is not only a statue but also the freeze on the side of the upper transome and the upper and lower console, all in one carving which is a part of the construction.

I will take you step by step through the carving progress during the coming three weeks, a decent European holiday.

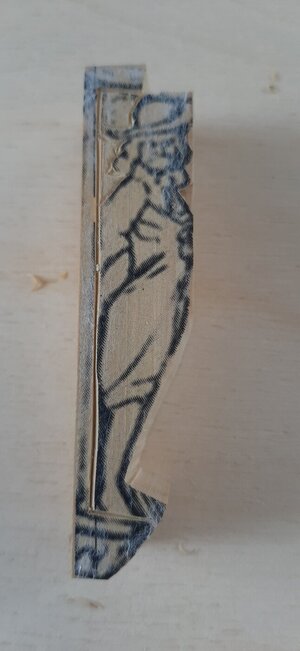
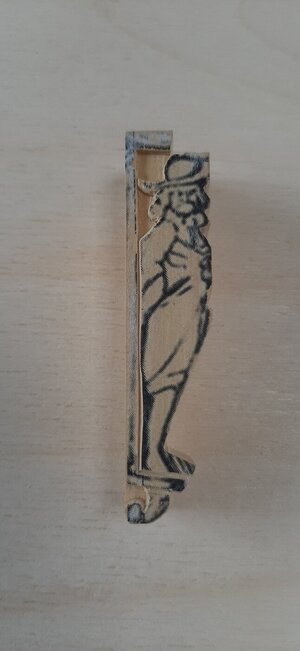
First I carve the outlines to free the statue from the freeze.
20230807_103434.jpg

The deeper parts are removed.
20230807_114325.jpg

All lines from the print carved into the wood as the print disappears during the process.
20230807_142424.jpg

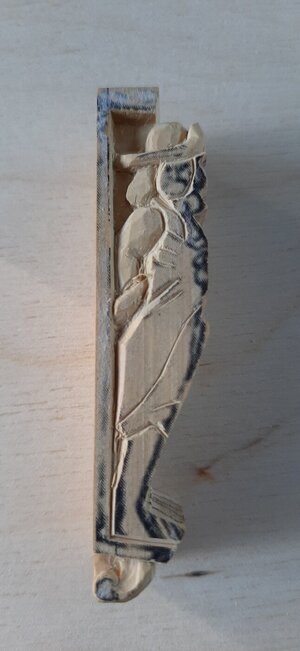
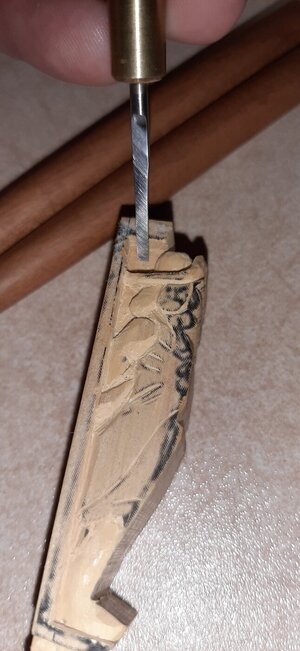
I start carving on the individual parts, layer by layer on the hat, hair and arm.
20230807_190628.jpg

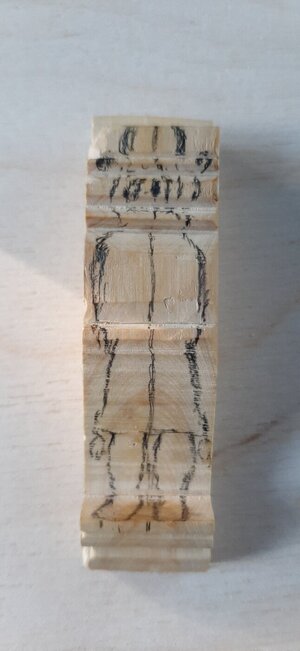
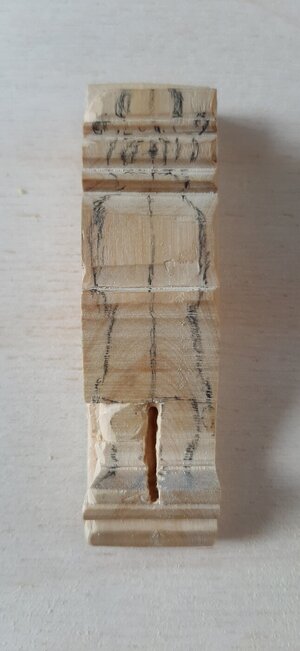
On the forward side I roughly draw the proportions to indicate how far to cut from the image on the side.
20230807_190638.jpg

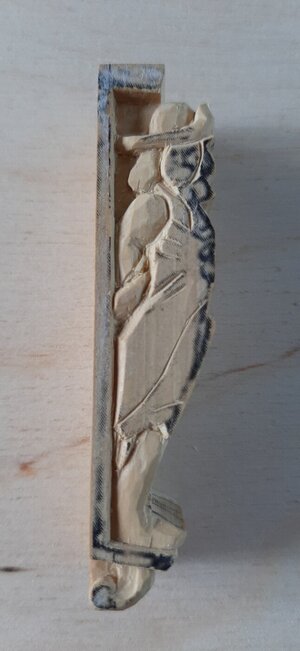
Now I also start on the leg, if I have the proportions right I can slowly carve until the correct depth. All ways keep in mind to work in layers, you can remove too much material only once.
20230807_192138.jpg

This is the work after 2,5 hours of carving, it is a slow process.
 
Great... :rolleyes:
He's not even answering emails anymore...

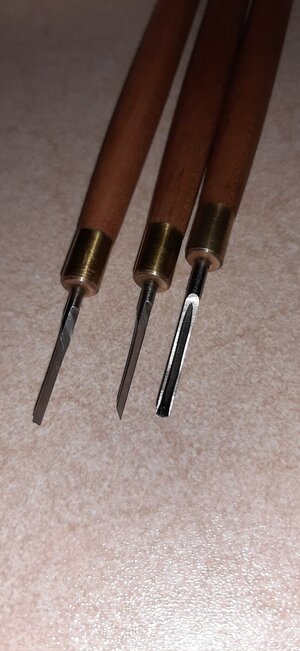
But I still don't see how you created a flat floor using these chisels. Maybe one of the dog-leg chisels?
It is a pitty because the are excellent, but pfeil has very nice ones also.

No just these, work from top to bottom first, you will get an angled surface. The you work from bottom to top, you wil get a surface with a slight rise in the middle. The you remove the high spot from all sides and you have a flat surface.
20230807_222707.jpg
 
Being on holidays at the moment I started working in my mobile workshop on some carvings. Lets call it carving across Europe currently in the Jura in France.
View attachment 388580

The carvings are the two hoekmannen which I already prepared before our road trip.
View attachment 388586View attachment 388585
View attachment 388577

The basis is one of the hoekmannen found at the wreck site. And it is facinating to see that this is not only a statue but also the freeze on the side of the upper transome and the upper and lower console, all in one carving which is a part of the construction.

I will take you step by step through the carving progress during the coming three weeks, a decent European holiday.

First I carve the outlines to free the statue from the freeze.
View attachment 388578

The deeper parts are removed.
View attachment 388579

All lines from the print carved into the wood as the print disappears during the process.
View attachment 388581

I start carving on the individual parts, layer by layer on the hat, hair and arm.
View attachment 388582

On the forward side I roughly draw the proportions to indicate how far to cut from the image on the side.
View attachment 388583

Now I also start on the leg, if I have the proportions right I can slowly carve until the correct depth. All ways keep in mind to work in layers, you can remove too much material only once.
View attachment 388584

This is the work after 2,5 hours of carving, it is a slow process.
Nice work, Maarten. And enjoy your holiday.
PS: when making a campfire beware of throwing the correct piece of wood in the fire ;)
Regards, Peter
 
It is a pitty because the are excellent, but pfeil has very nice ones also.

No just these, work from top to bottom first, you will get an angled surface. The you work from bottom to top, you wil get a surface with a slight rise in the middle. The you remove the high spot from all sides and you have a flat surface.
View attachment 388595
Dear friend
great carving, enjoy from your vacation, the van looks lovely
 
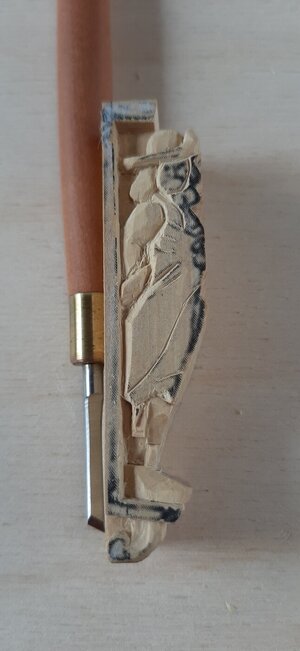
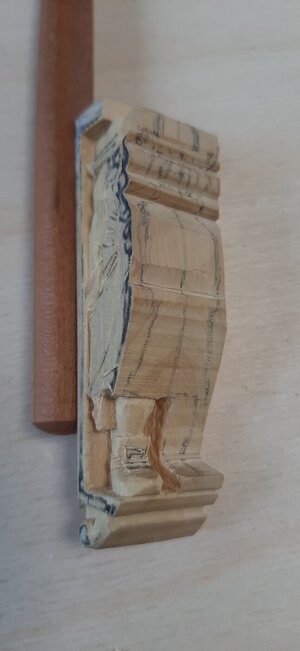
Work on the hoekman continues.
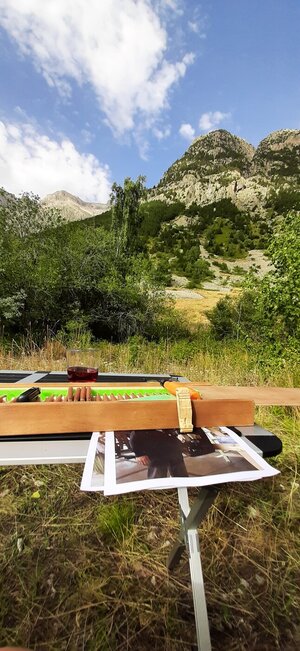
To give you an idea of my workspace this afternoon in the French Alps.
20230810_180330.jpg

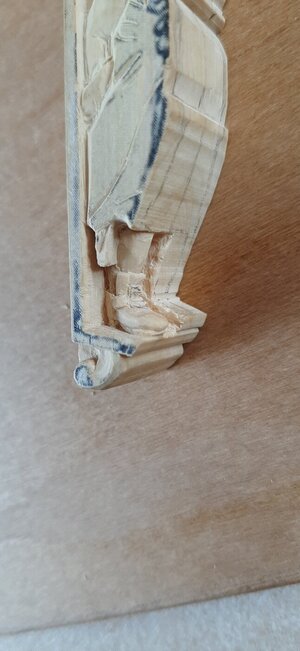
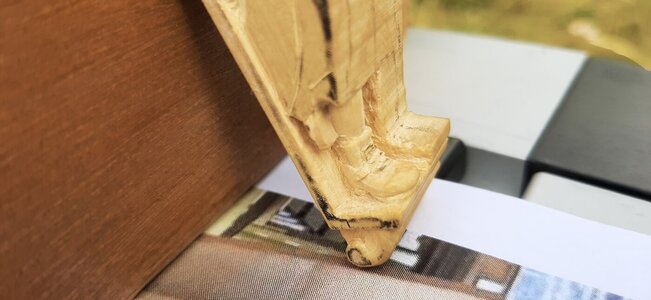
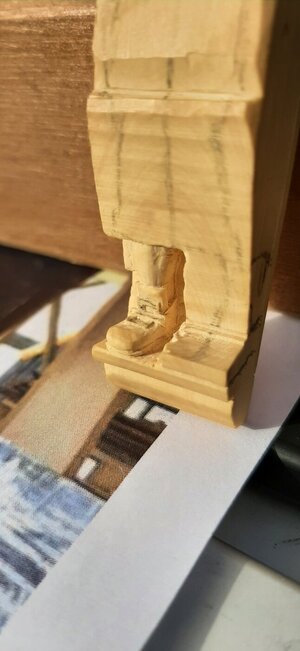
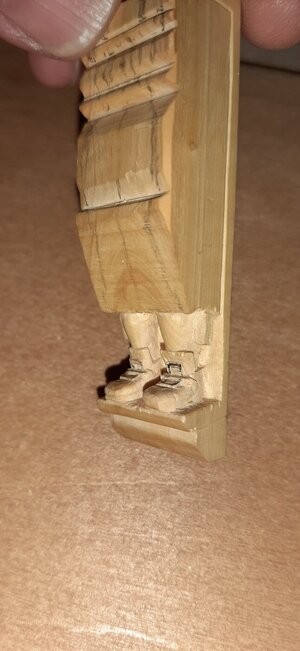
Started on the right leg with 17th century style shoe. First it looks more like a clog but you can only make it smaller so step by step from clog to hiking booth to elegant shoe.
First the clog and separate his legs.
20230808_102451.jpg

Cut his leg.
20230808_095137.jpg

From clog to hiking booth
20230808_114338.jpg


To smaller shoe
20230809_101248.jpg20230809_101307.jpg

Detailing it
20230810_180145.jpg
20230810_180157.jpg

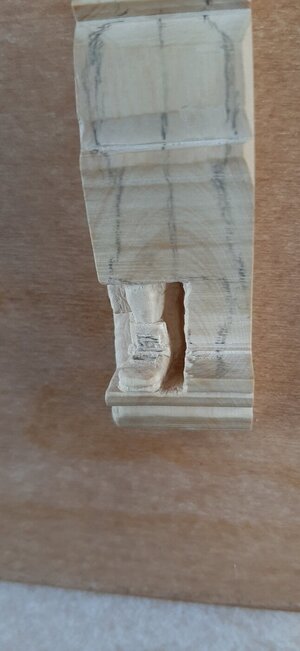
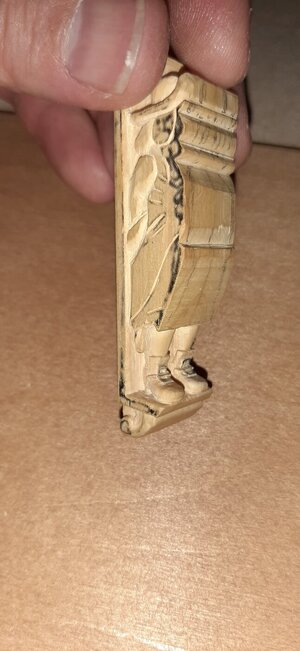
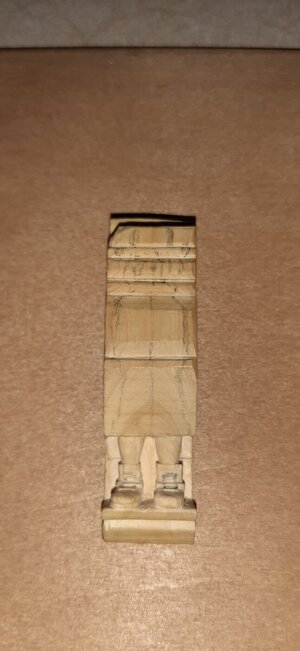
Start on the second leg
20230810_212746.jpg
20230810_212633.jpg
20230810_212718.jpg

The left leg is not finished yet.

Stil a lot of fine tuning needed. In the end when the statue is carved you can finally fine tune and get the proportions optimum.
 
Work on the hoekman continues.
To give you an idea of my workspace this afternoon in the French Alps.
View attachment 388955

Started on the right leg with 17th century style shoe. First it looks more like a clog but you can only make it smaller so step by step from clog to hiking booth to elegant shoe.
First the clog and separate his legs.
View attachment 388956

Cut his leg.
View attachment 388957

From clog to hiking booth
View attachment 388958


To smaller shoe
View attachment 388959View attachment 388960

Detailing it
View attachment 388961
View attachment 388962

Start on the second leg
View attachment 388963
View attachment 388964
View attachment 388965

The left leg is not finished yet.

Stil a lot of fine tuning needed. In the end when the statue is carved you can finally fine tune and get the proportions optimum.
step by step, it's became a great carving !!! Enjoy your vacation a lot, it's a great view
 
Back
Top