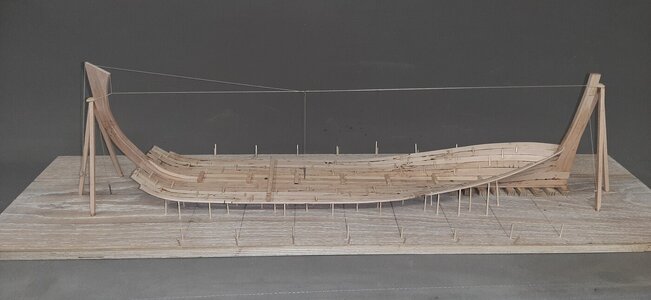
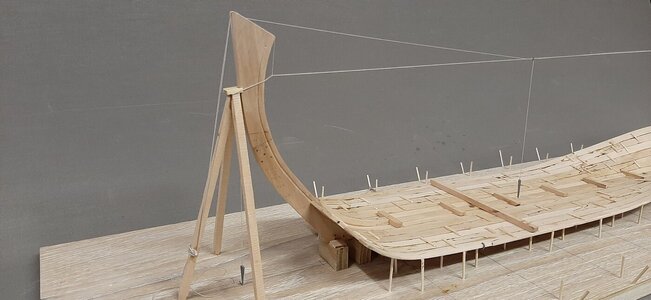
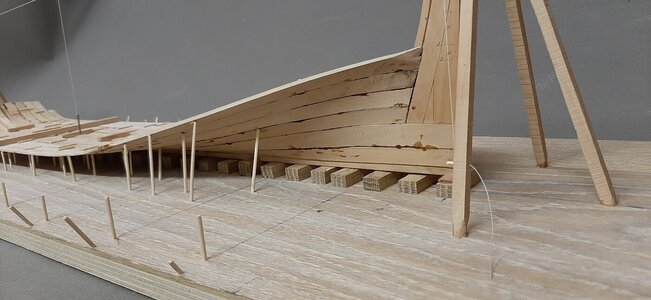
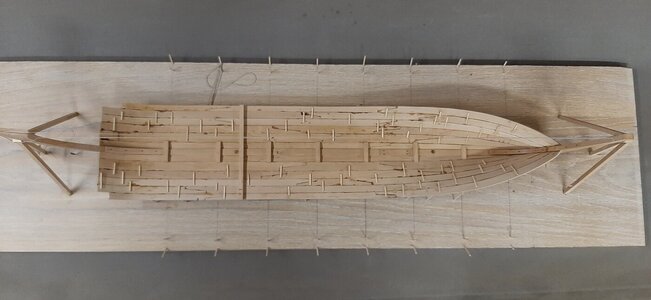
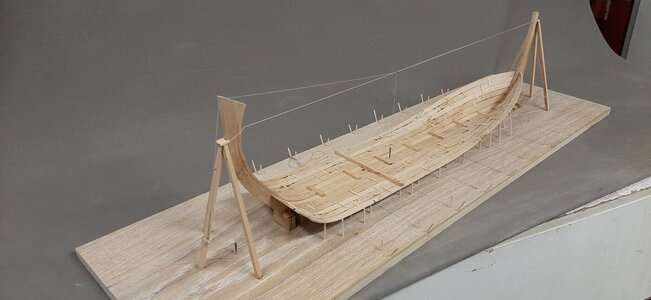
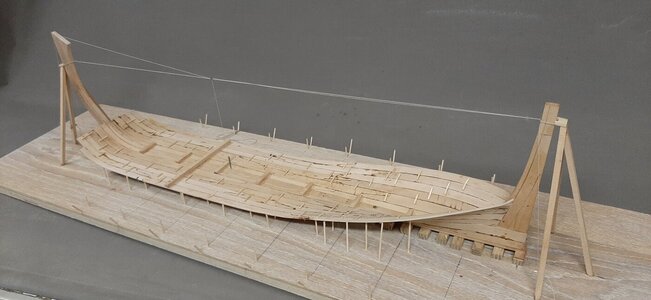
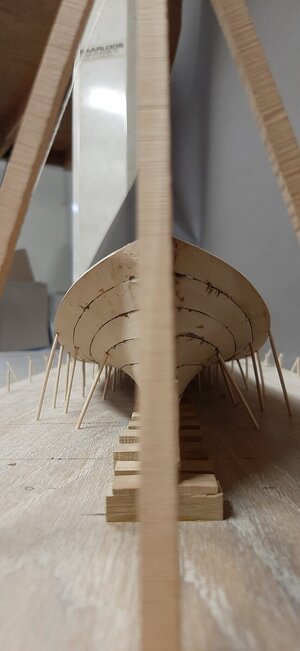
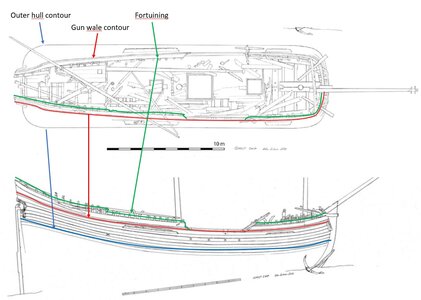
A Dutch Fluyt in shell first, reconstructing the "Ghost ship" scale 1:36

Dear Maarten. I have a problem with finding so many superlatives to describe this build. Look, I know what you are capable of, so the success of the project was never in question. Therefore, I did not doubt your ability to build Shell First for a second. However, the part that truly amazes me is that you are able to go from your plans/drawings to a direct implementation on the ship with the bare minimum of adjustment (certainly no do-overs here). That is just stupidly impressive and beyond my comprehension. I have seen the word "masterpiece" being mentioned in connection with your build - and I will abide by that!

Incredible!
 
Last few days I was in London for work and could combine it with a vist to the nmmg. I went ofcourse for the navy board models which they had in the past in a very nice overview together in one room, that was already over 20 years ago.
The pitty with modern museum displays to my opinion is that they have to tell a story nowadays and every museum wants to be an experience.
This means from the biggest colection of navy board models there are just a few on display all spread around in the museum. Really a pity and a missed change for such a great collection. In that perspective the USNA display is really the best I currently know as a ship modeller.

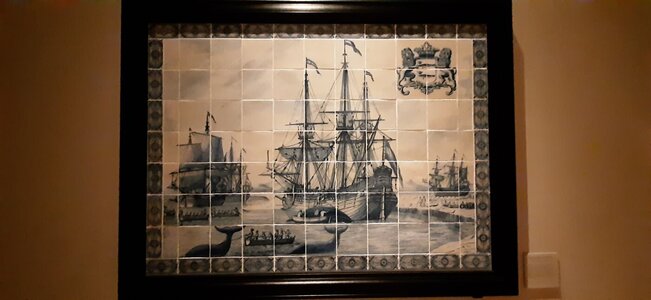
But that on the side. What I found in the nmmg is a late 17th century Dutch Delft blauw tile tableau with a fluyt on it. It is coming from a house in De Rijp which was a rich 17th century whaler vilage just north of Amsterdam.
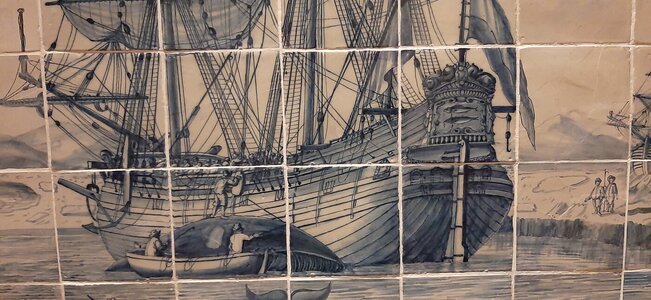
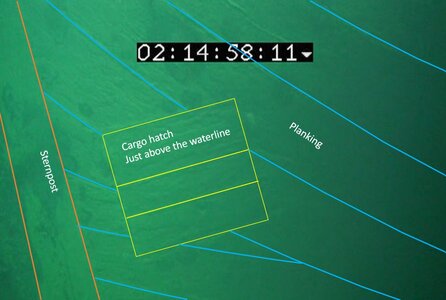
This tableau shows the fluyt at the stern and the run of the planks.
20230723_143157.jpg

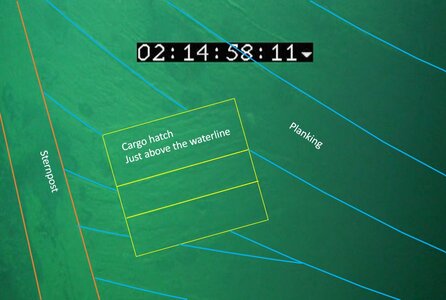
And looking in detail you see exactly the same as on the wrecks I looked at.
20230723_143146.jpg
Planking lower stern.jpg

So diagonal run of planks confirmed.

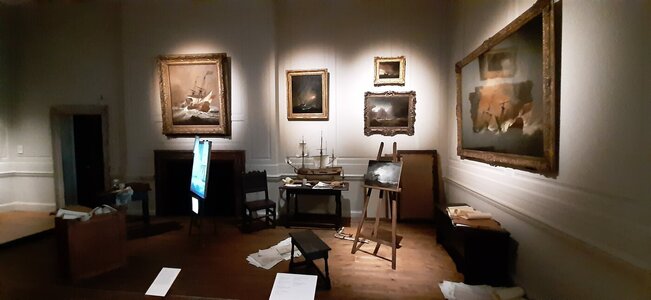
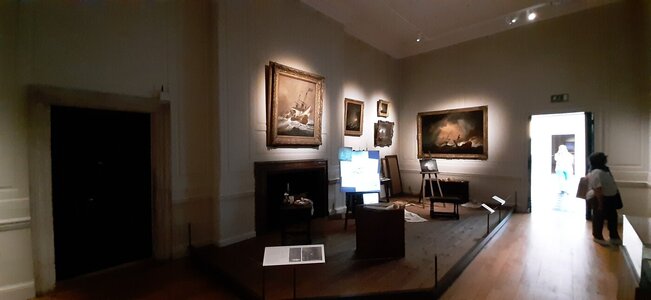
Last pictures I d like t share with you is the actual working room of Willem van der Velde at the Queens House next to the nmmg.
20230723_143828.jpg
20230723_144136.jpg

Thanks to father and son Van der Velde we know in detail how a lot of 17th ships looked like.
Their exihibition at the queens house is stil free to visit, so I recommend go there if you haven t seen it and are in London.
 
Last few days I was in London for work and could combine it with a vist to the nmmg. I went ofcourse for the navy board models which they had in the past in a very nice overview together in one room, that was already over 20 years ago.
The pitty with modern museum displays to my opinion is that they have to tell a story nowadays and every museum wants to be an experience.
This means from the biggest colection of navy board models there are just a few on display all spread around in the museum. Really a pity and a missed change for such a great collection. In that perspective the USNA display is really the best I currently know as a ship modeller.

But that on the side. What I found in the nmmg is a late 17th century Dutch Delft blauw tile tableau with a fluyt on it. It is coming from a house in De Rijp which was a rich 17th century whaler vilage just north of Amsterdam.
This tableau shows the fluyt at the stern and the run of the planks.
View attachment 386824

And looking in detail you see exactly the same as on the wrecks I looked at.
View attachment 386825
View attachment 386828

So diagonal run of planks confirmed.

Last pictures I d like t share with you is the actual working room of Willem van der Velde at the Queens House next to the nmmg.
View attachment 386826
View attachment 386827

Thanks to father and son Van der Velde we know in detail how a lot of 17th ships looked like.
Their exihibition at the queens house is stil free to visit, so I recommend go there if you haven t seen it and are in London.
Nice to see that Dhr Van der Velde had an early computer monitor/LCD screen at his disposal...
 
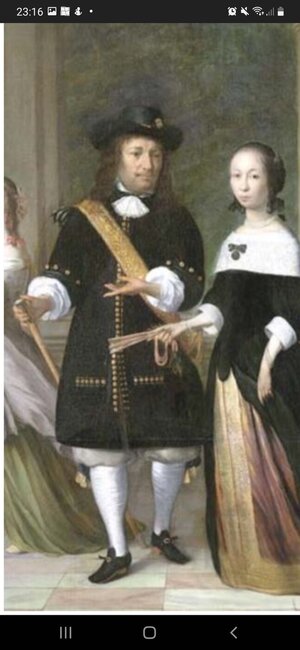
As the summer holidays are approaching I have to do some prep work for the items I take with me. This will be some boxwood to carve the hoekmannen.

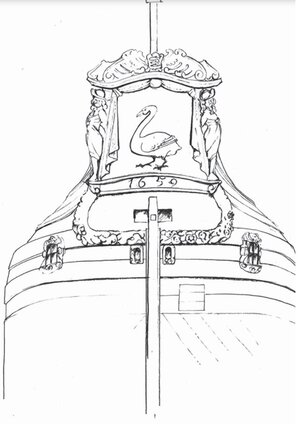
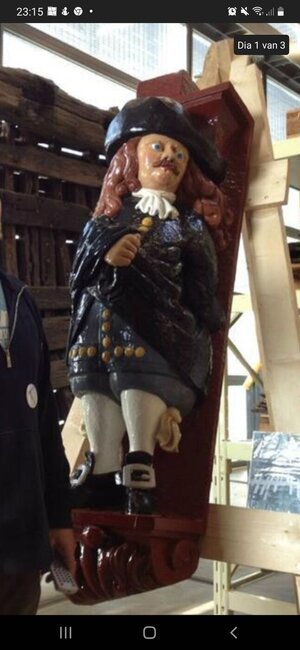
The hoekmannen are the statues on eather side of the upper transome.
Achteraanzicht.jpg

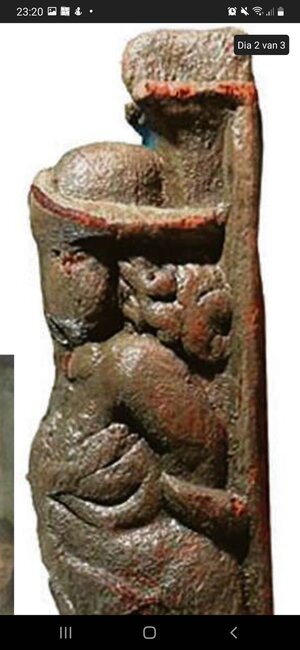
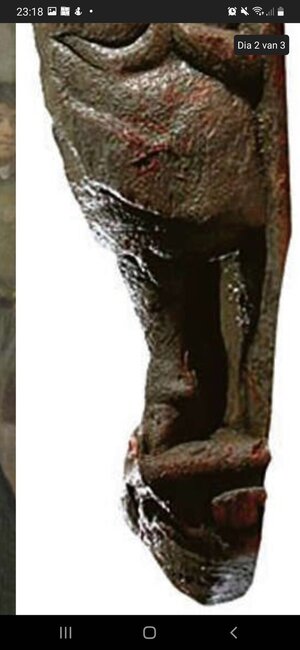
From the wreck they have retrieved one with an ROV at 130 mtr on the bottom of the baltic.
Parts of the original paint was still on it allthough slightly worn by the silt.
Screenshot_20230728-232022_Microsoft 365 (Office).jpg
Screenshot_20230728-231812_Microsoft 365 (Office).jpg

This hoekman represents a Dutch merchant man of the 2nd half of the 17th century.
Screenshot_20230728-231608_Microsoft 365 (Office).jpg

And on the batavia yard they made a replica.
Screenshot_20230728-231541_Microsoft 365 (Office).jpg

Mine will be in boxwood, one on PS and one on SB.
20230728_151213.jpg

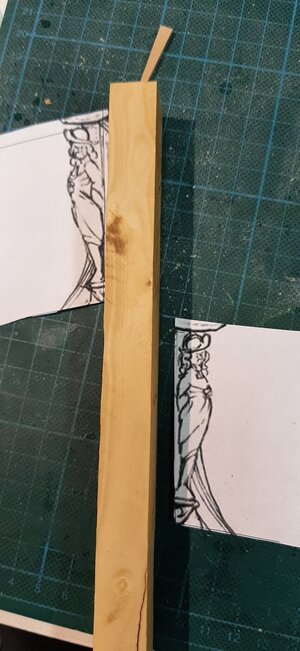
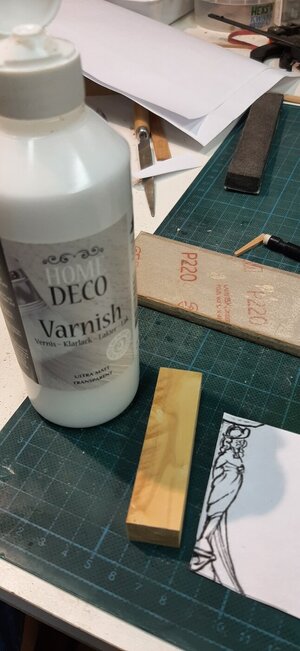
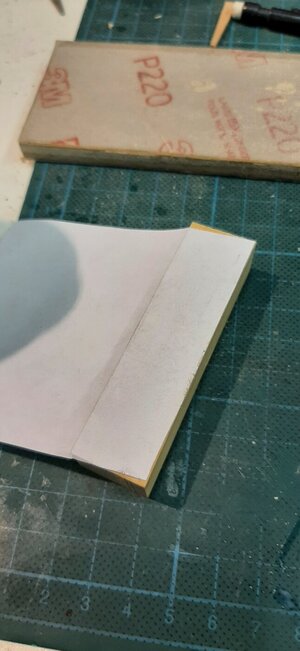
To bring the drawing on the wood I use the varnish methode. Apply waterbased varnish to both the paper print and wood and glue it on.
20230728_153358.jpg

Leave it to dry.
20230728_153540.jpg

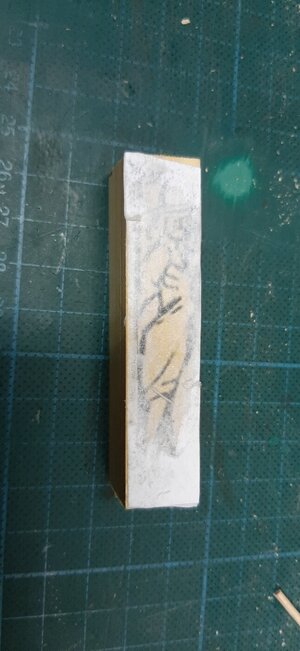
When it dried you can rub the paper back with a little water until the image appears on the wood.
20230728_180051.jpg

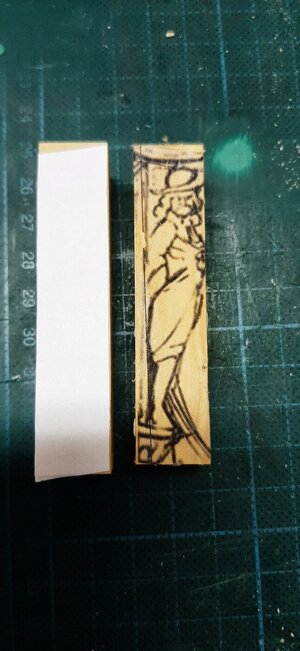
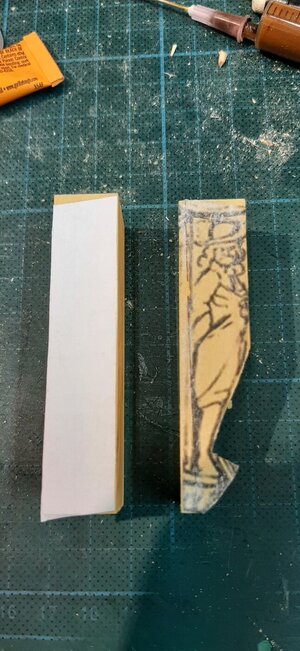
Untill all paper is removed.
20230728_180252.jpg

Now I saw the contour of the statue and the rest will be carving.
20230728_205502.jpg
 
As the summer holidays are approaching I have to do some prep work for the items I take with me. This will be some boxwood to carve the hoekmannen.

The hoekmannen are the statues on eather side of the upper transome.
View attachment 387122

From the wreck they have retrieved one with an ROV at 130 mtr on the bottom of the baltic.
Parts of the original paint was still on it allthough slightly worn by the silt.
View attachment 387123
View attachment 387124

This hoekman represents a Dutch merchant man of the 2nd half of the 17th century.
View attachment 387125

And on the batavia yard they made a replica.
View attachment 387126

Mine will be in boxwood, one on PS and one on SB.
View attachment 387127

To bring the drawing on the wood I use the varnish methode. Apply waterbased varnish to both the paper print and wood and glue it on.
View attachment 387128

Leave it to dry.
View attachment 387129

When it dried you can rub the paper back with a little water until the image appears on the wood.
View attachment 387130

Untill all paper is removed.
View attachment 387131

Now I saw the contour of the statue and the rest will be carving.
View attachment 387132
thanks for sharing with us this method of waterbased varnish
 
The last two planks of the flat has been fitted finalizing the bottom of the hull.
Some fine tuning to do before I can start fitting the first floor frame and bilge.
20230803_204510.jpg20230803_204556.jpg20230803_204621.jpg20230803_204724.jpg20230803_204804.jpg20230803_204829.jpg20230803_205018.jpg

But before I continue the hull I will take the carvings with me on holidays and prepare the hoekmannen.
 
It is looking like an already completed diorama - this model could be already in a museum to explain this way of construction
for me still not understanadble, how you can cut and bend the planks, especially in the cirved bow area, that they fit so well
Bravo
 
In the moment I do not have any idea, how you will bend the planks at stem. The bottom and the stern are looking fantastic.
The nexy strake will enclose the planking at the bow. I will then shape the planking to connect it with the first bilge strake.
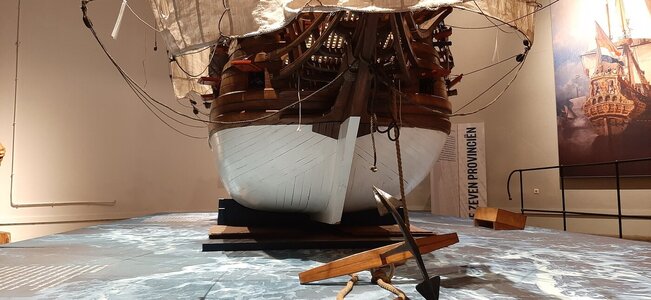
See below how it is done in the bow of the 7 provincien model at the Batavia yard.
20230305_151429.jpg
 
Back
Top