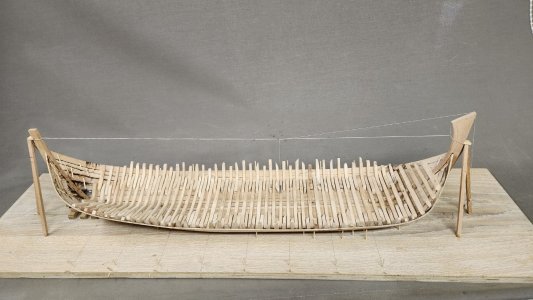
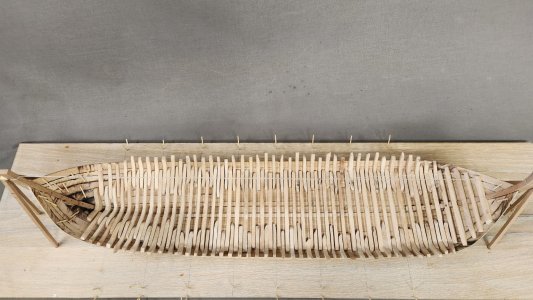
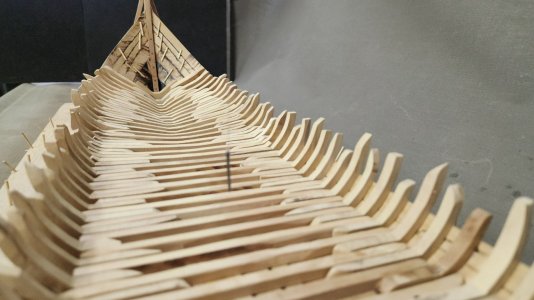
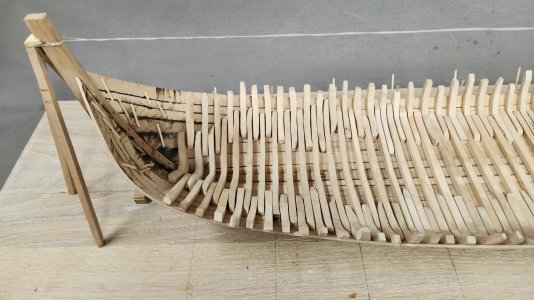
A Dutch Fluyt in shell first, reconstructing the "Ghost ship" scale 1:36

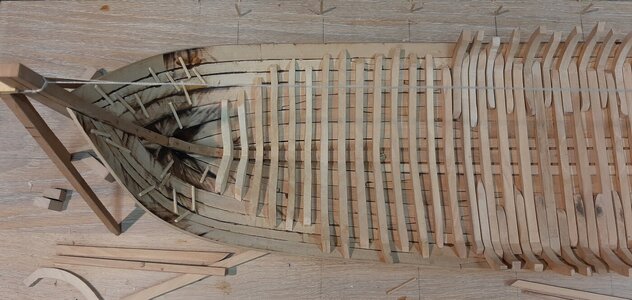
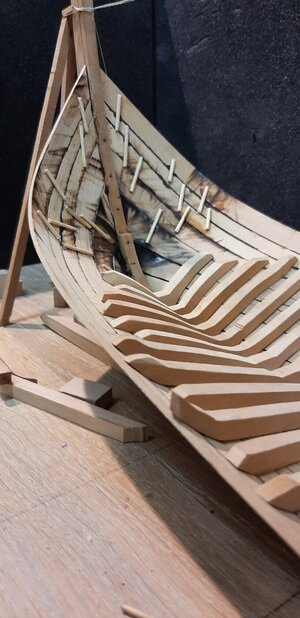
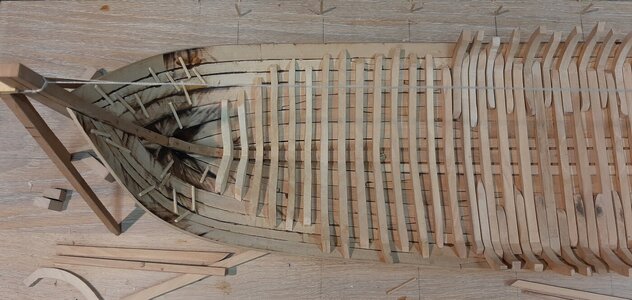
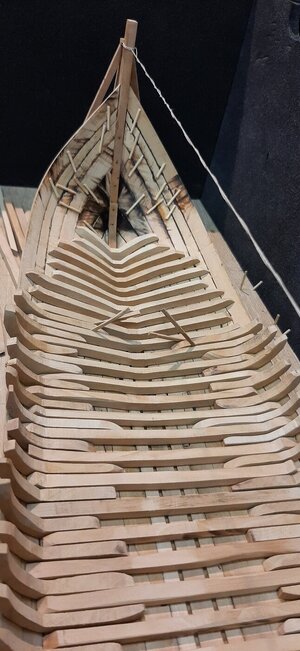
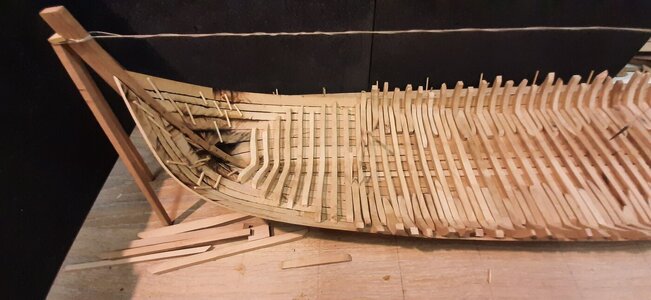
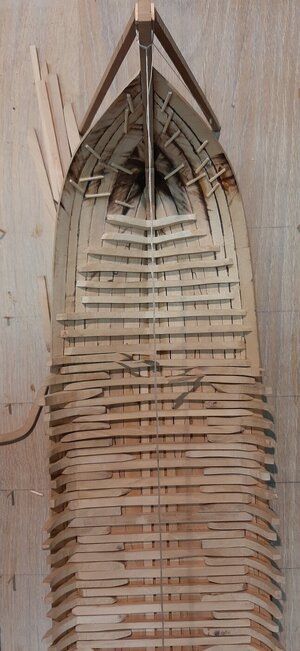
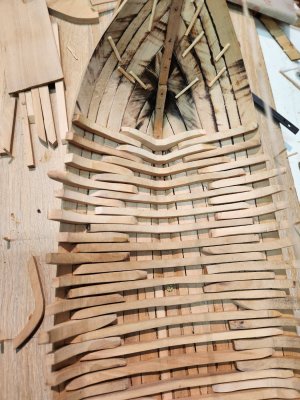
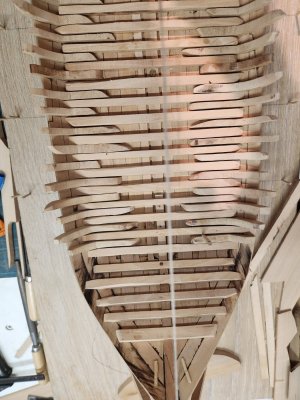
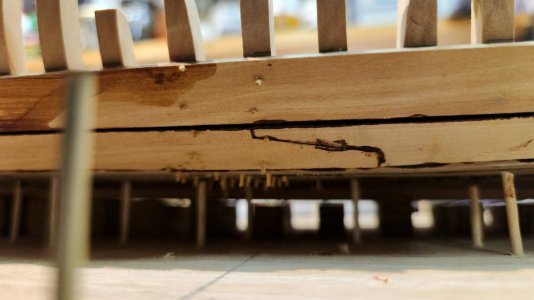
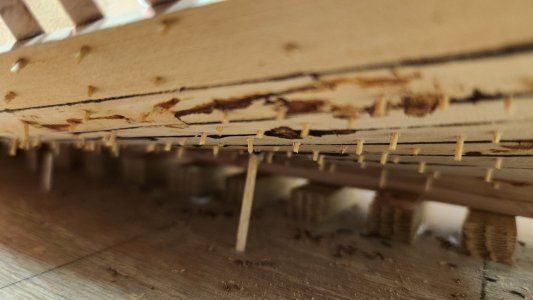
In the meantime the bow is now also filled with wood. The liggers continue to run up to the bow of the ship. In the bow there will be no zitters fitted. The oplangen, called apostelen in the bow section, will be placed directly on the zitters.
View attachment 461537
View attachment 461538

Now I will continue on the stern section.
I time consuming proces, Maarten. But with a nice outcome.
Regards, Peter
 
There is some progress on the fluyt. While now working on the stern the progress slows down as the shape of every "ligger" and "zitter" changes.
20240813_214600.jpg20240817_114757.jpg20240817_114908.jpg

Now the liggers are fitted the zitters will be made to fit in between the liggers.
Plenty spaces to fill.
20240817_114757.jpg

Slowly the zitters find there place in the hull.
20240819_210620.jpg
20240819_210637.jpg

And the current status.
20240819_210920.jpg20240819_211041.jpg

More zitters to follow.

The number of liggers and zitters I fitted is around 18/19 per 4 mtr hull length at bilge level.
This is on the lower end of the Dutch flush index for shell first build ships.
The framing of Dutch build ships is rather light compared to Iberian, Engish or French build ships which means a lot but lighter build frames.

Find here an interesting paper about this Dutch flush index on academia.edu.

 
Last edited:
There is some progress on the fluyt. While now working on the stern the progress slows down as the shape of every "ligger" and "zitter" changes.
View attachment 465831View attachment 465832View attachment 465833

Now the liggers are fitted the zitters will be made to fit in between the liggers.
Plenty spaces to fill.
View attachment 465834

Slowly the zitters find there place in the hull.
View attachment 465838
View attachment 465837

And the current status.
View attachment 465835View attachment 465836

More zitters to follow.

The number of liggers and zitters I fitted is around 18/19 per 4 mtr hull length at bilge level.
This is on the lower end of the Dutch flush index for shell first build ships.
The framing of Dutch build ships is rather light compared to Iberian, Engish or French build ships which means a lot but lighter build frames.

Find here an interesting paper about this Dutch flush index on academia.edu.

Every step of your build is a pleasure for the eyes, Maarten. Chapeaux!
Regards, Peter
 
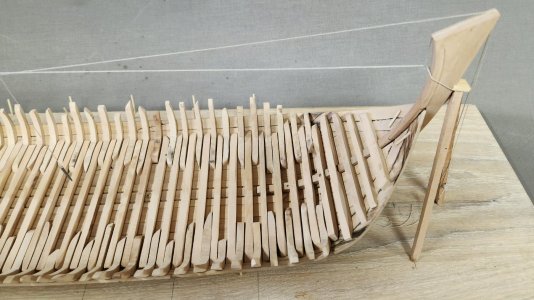
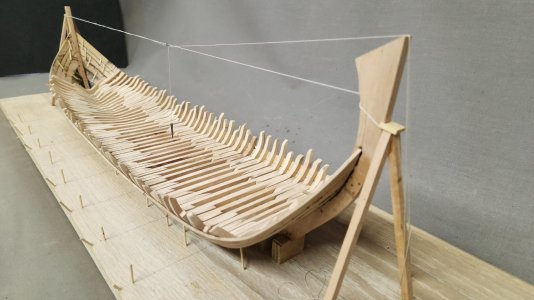
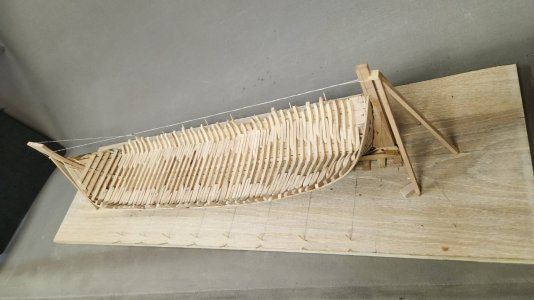
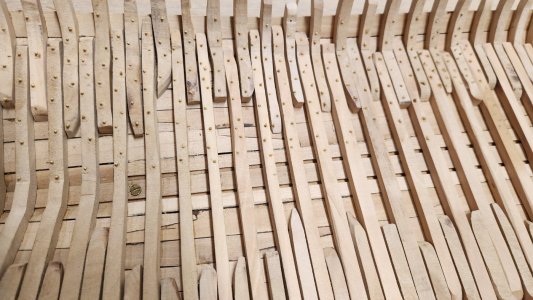
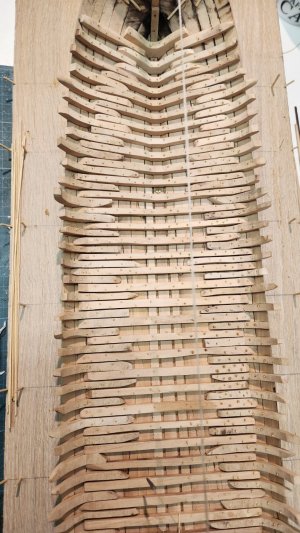
Finally the last liggers and zitters are fitted in the shell.
20240905_203306.jpg
20240905_203318.jpg
As they said in Dutch "ze is volgezet met hout" or she is filled with timbers. See below an overview of the filled shell.
These were the last timbers before the scheerstrook is setup which determines the shape of the upper part of the hull.
20240906_174220.jpg20240906_174233.jpg20240906_174329.jpg20240906_174338.jpg20240906_174348.jpg20240906_174400.jpg20240906_174448.jpg

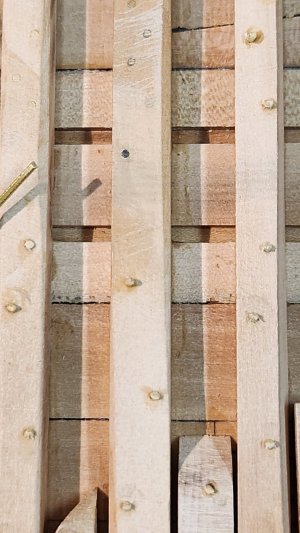
But before we get to the scheerstrook which is one of the most interesting parts of the build we first have the tedious task of fixing all the timbers with tree nails. In the real build this was done after fitting each timber as the timbers replace the temporary clamps which held the planks together. I have done that with pva glue but also add the tree nails.

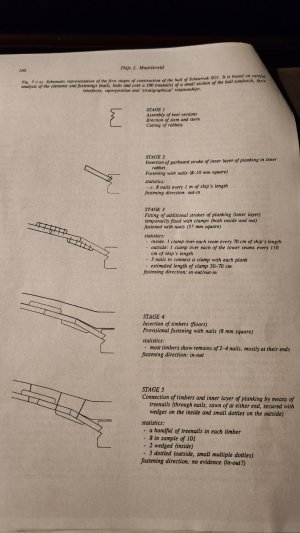
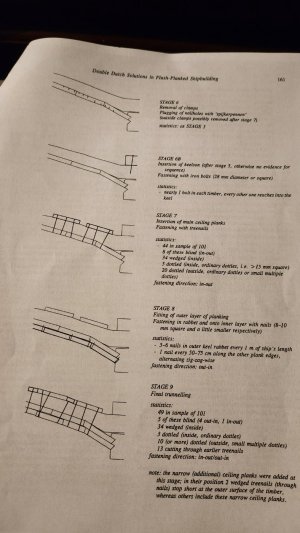
Treenails were fitted in several stages. First treenails were fitted to connect the outer planks to the timbers so the clamps could be removed to fit the next timber, these are the treenails I fit now, a limited number of only 1 per plank/timber. After the ceiling was fitted a second time treenails were fitted through the ceiling planks and again through the timbers and outer planking. The is a nice paper about this from Thijs Maarleveld from which below pictures come.
20240913_225632.jpg
20240913_225700.jpg

The treenails I make from boxwood using a table saw and a drawplate.
The tree nail is a wooden pin fitted through the wood and pegged on both sides with a wooden pin expanding the treenail and fixing it.
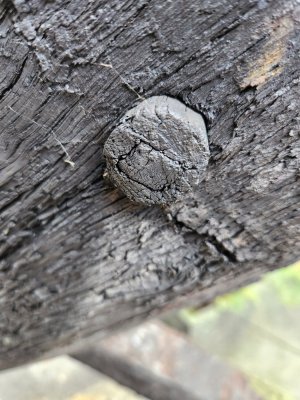
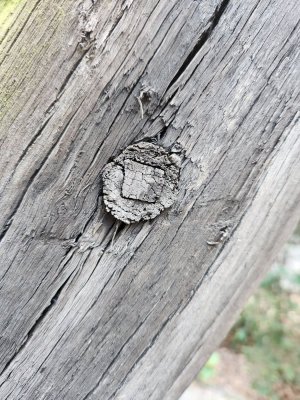
See below the treenail on the anchor in my garden.
20240825_161508.jpg
20240825_161513.jpg

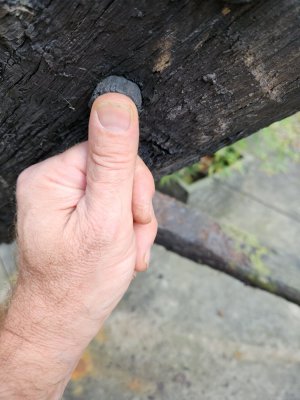
How thick is this treenail?
20240825_161501.jpg
Exactly 1 thumb (INCH)

To scale in my hull 1 Amsterdam thumb is 0,7 mm. In wrecks I have seen small differences in size of treenails used, even in the same wreck.
For my hull I have decided to make treenails of 0.9 mm which is 1 1/4 Amsterdam thumb.
As mentioned I saw them from boxwood.
20240906_180406.jpg

First small 1mm square and pulling them through a Jim Byrnes drawplate to get a 0.85 mm round treenail.
20240906_194821.jpg

Now drilling one hole per timber plank connection and fitting nails.
20240912_224744.jpg
20240912_224752.jpg

The nails go all the way thrue and will be trimmed afterwards.
20240906_211702.jpg
20240912_224824.jpg

Still plenty to go.
20240912_224902.jpg
 
Last edited:
Finally the last liggers and zitters are fitted in the shell.
View attachment 470947
View attachment 470948
As they said in Dutch "ze is volgezet met hout" or she is filled with timbers. See below an overview of the filled shell.
These were the last timbers before the scheerstrook is setup which determines the shape of the upper part of the hull.
View attachment 470949View attachment 470950View attachment 470951View attachment 470952View attachment 470953View attachment 470954View attachment 470955

But before we get to the scheerstrook which is one of the most interesting parts of the build we first have the tedious task of fixing all the timbers with tree nails. In the real build this was done after fitting each timber as the timbers replace the temporary clamps which held the planks together. I have done that with pva glue but also add the tree nails.

Three nails were fitted in several stages. First treenails were fitted to connect the outer planks to the timbers so the clamps could be removed to fit the next timber, these are the treenails I fit now, a limited number of only 1 per plank/timber. After the ceiling was fitted a second time treenails were fitted through the ceiling planks and again through the timbers and outer planking. The is a nice paper about this from Thijs Maarleveld from which below pictures come.
View attachment 470969
View attachment 470970

The treenails I make from boxwood using a table saw and a drawplate.
The tree nail is a wooden pin fitted through the wood and pegged on both sides with a wooden pin expanding the treenail and fixing it.
See below the treenail on the anchor in my garden.
View attachment 470956
View attachment 470957

How thick is this treenail?
View attachment 470958
Exactly 1 thumb (INCH)

To scale in my hull 1 Amsterdam thumb is 0,7 mm. In wrecks I have seen small differences in size of treenails used, even in the same wreck.
For my hull I have decided to make treenails of 0.85 mm which is 1 1/4 Amsterdam thumb.
As mentioned I saw them from boxwood.
View attachment 470959

First small 1mm square and pulling them through a Jim Byrnes drawplate to get a 0.85 mm round treenail.
View attachment 470960

Now drilling one hole per timber plank connection and fitting nails.
View attachment 470964
View attachment 470967

The nails go all the way thrue and will be trimmed afterwards.
View attachment 470963
View attachment 470965

Still plenty to go.
View attachment 470966
Good morning Maarten. Fantastic construction- scale it up it could be in a real world shipyard……Maartens thumb measurement and all;). Cheers Grant
 
It's like visiting the ship room at the Rijksmuseum... Fantastic.
Can you convert 1 1/4 Amsterdam thumbs to Imperial measurements for me ROTF.
Just because you asked ROTF in mm and inch:
1 Amsterdam thumb 283,1 / 11 = 25,736 / 25,4 = 1,0132"/thumb × 1,25 = 1,1625"
In scale 25,736 / 36 = 0,715 mm x 1.25 = 0,89 mm
 
Finally the last liggers and zitters are fitted in the shell.
View attachment 470947
View attachment 470948
As they said in Dutch "ze is volgezet met hout" or she is filled with timbers. See below an overview of the filled shell.
These were the last timbers before the scheerstrook is setup which determines the shape of the upper part of the hull.
View attachment 470949View attachment 470950View attachment 470951View attachment 470952View attachment 470953View attachment 470954View attachment 470955

But before we get to the scheerstrook which is one of the most interesting parts of the build we first have the tedious task of fixing all the timbers with tree nails. In the real build this was done after fitting each timber as the timbers replace the temporary clamps which held the planks together. I have done that with pva glue but also add the tree nails.

Three nails were fitted in several stages. First treenails were fitted to connect the outer planks to the timbers so the clamps could be removed to fit the next timber, these are the treenails I fit now, a limited number of only 1 per plank/timber. After the ceiling was fitted a second time treenails were fitted through the ceiling planks and again through the timbers and outer planking. The is a nice paper about this from Thijs Maarleveld from which below pictures come.
View attachment 470969
View attachment 470970

The treenails I make from boxwood using a table saw and a drawplate.
The tree nail is a wooden pin fitted through the wood and pegged on both sides with a wooden pin expanding the treenail and fixing it.
See below the treenail on the anchor in my garden.
View attachment 470956
View attachment 470957

How thick is this treenail?
View attachment 470958
Exactly 1 thumb (INCH)

To scale in my hull 1 Amsterdam thumb is 0,7 mm. In wrecks I have seen small differences in size of treenails used, even in the same wreck.
For my hull I have decided to make treenails of 0.85 mm which is 1 1/4 Amsterdam thumb.
As mentioned I saw them from boxwood.
View attachment 470959

First small 1mm square and pulling them through a Jim Byrnes drawplate to get a 0.85 mm round treenail.
View attachment 470960

Now drilling one hole per timber plank connection and fitting nails.
View attachment 470964
View attachment 470967

The nails go all the way thrue and will be trimmed afterwards.
View attachment 470963
View attachment 470965

Still plenty to go.
View attachment 470966
You have done a GREAT job, Maarten. You deserve a big WOW!. With very good looking treenails.
Regards, Peter
 
Your approach to try and build the old fashioned Dutch way, shell first and use whatever is available and affordable, is mesmerizing. It is somehow in line with the old Dutch buildings, not perfect, not necessarily all perpendicular, crooked, going with the flow of nature, instead of bending it to our whims. Beautiful.
 
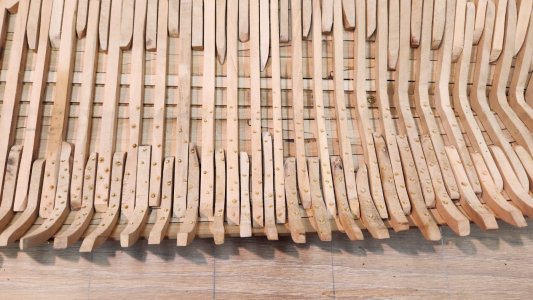
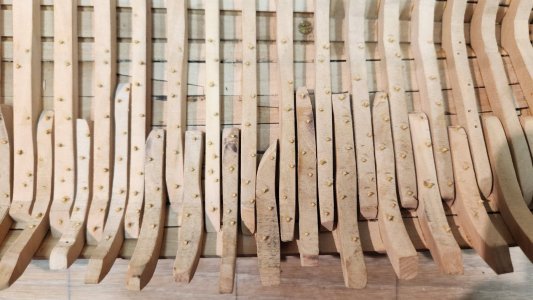
Treenailing is progressing, now over 80% finished.
20240916_212219.jpg

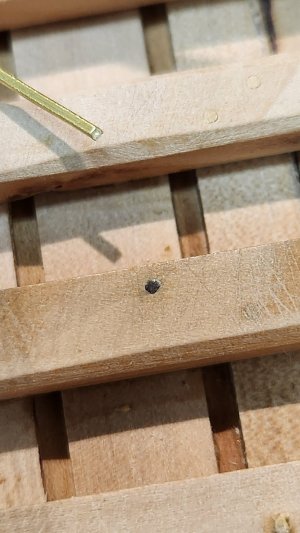
After treenailing I also have to fix the liggers to the keel. According the SO 1 wreck this was done with up to 4 nails through the ligger into the keel. Finally after the keelsom or in Dutch het zaathout is fitted there was a large bolt fitted through the zaathout, ligger and kiel (keel).

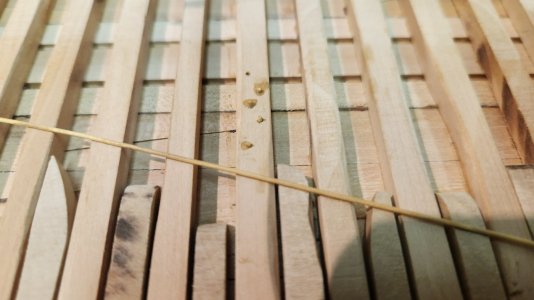
The nails were mostly square so for this I use 0,8 mm square brass strip.
A test was done with it on one of the liggers.
20240918_090720.jpg
20240918_090748.jpg
Plenty to follow after sanding of the liggers and zitters.
 
Last edited:
Back
Top