- Joined
- Oct 23, 2018
- Messages
- 886
- Points
- 403

It's always a pleasure to see a new update of your really interesting build. O hope to see you and your model in Amsterdam end September again.
 |
As a way to introduce our brass coins to the community, we will raffle off a free coin during the month of August. Follow link ABOVE for instructions for entering. |
 |
 |
The beloved Ships in Scale Magazine is back and charting a new course for 2026! Discover new skills, new techniques, and new inspirations in every issue. NOTE THAT OUR FIRST ISSUE WILL BE JAN/FEB 2026 |
 |

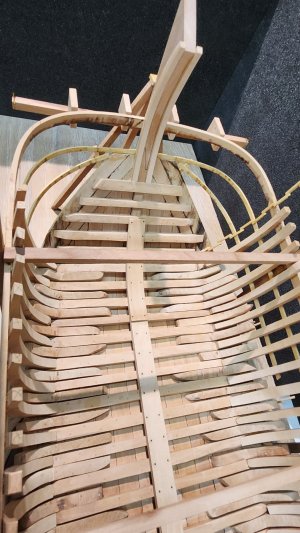
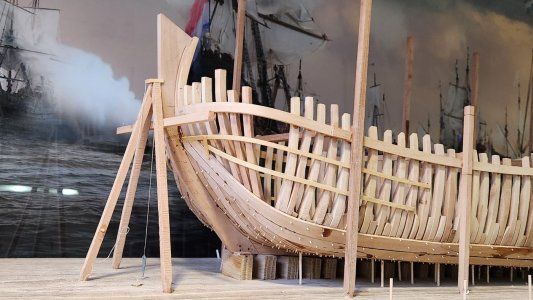
Nicely flowing lines in the bow, Maarten. And a handsome ‘curve-shape-bender’.Started with shaping the bow. There are three reference lines which are at the basis of shaping the bow of the ship.
First the shape of the most forward frame which is more or less a copy of the centre frame. Secondly we have the stem and a part of the shell build is following the shape of the rabbet in the stem. The last reference is the scheerstrook.
It is about filling the open space below.
View attachment 494430
View attachment 494429
You see that the chain is nicely following the line of the stem when hanging from the scheerstrook to the floor. You can see this as the hanging guide rail as drawn by Waldemar.
With help of this chain and by eye I have placed two "cent latten" which are guiding strakes to help to determine the shape of the frame members needed to fill the bow.
I placed one cent lat at the spot of the lower wale and one to fill the space between the lower wale and the bilge planks.
View attachment 494434
View attachment 494435
View attachment 494437
In the fluyt the cent lat at the lower wale follows the shape of the higher wale except slightly narrower due to the smaller width lower in the hull. The lower cent lat I place diagonally just touching the previously shown chain of the hanging guiderail.
View attachment 494436
One side finished.
View attachment 494438View attachment 494439
Before going to the PS side I have made a small carpenters tool to measure my bow frame shape. I made several 2 Amsterdam feet long strips to scale. Drilled holes in them and with brass pins clenched them together so they can be bent in shape with some friction.
View attachment 494440
View attachment 494441
These can be used to take the shape of the frame members on the inside of the cent latten and copied to the wood.
View attachment 494442
View attachment 494443
Now both PS and SB side are fitted with cent latten ready to be filled with the oplangen in the bow which will be different from the ones in the sides.
View attachment 494444View attachment 494445View attachment 494446View attachment 494447
The next post is about how to fill the bow with timber.
Hi Heinrich,I really admire your bravery with this build, Maarten. Ultimately, you will only know if the hull shape is "correct" once the build of upper stern has also been completed. How does this current hull shape compare to your original drawings/interpretation?
I will be in Amsterdam and guess you will be moving back to the Netherlands I hope to see you there.It's always a pleasure to see a new update of your really interesting build. O hope to see you and your model in Amsterdam end September again.

Thank you, Maarten.Hi Heinrich,
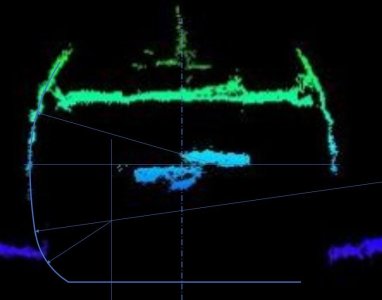
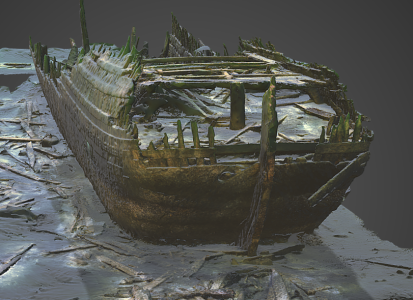
This shape is still thrue full to the original drawings I made.
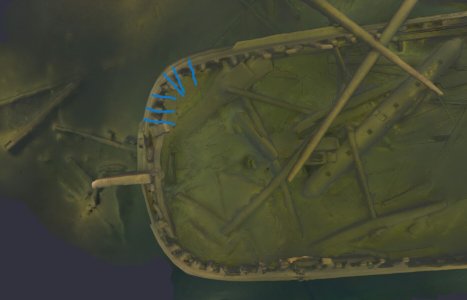
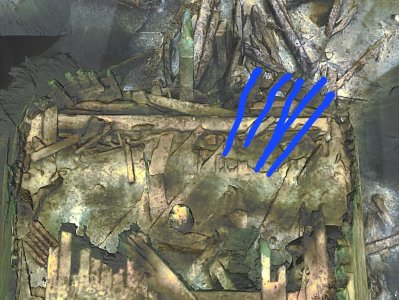
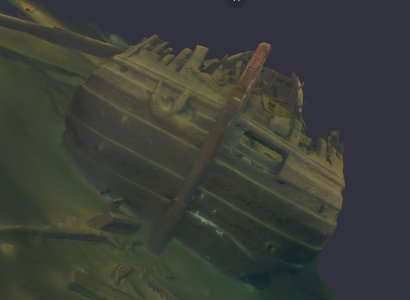
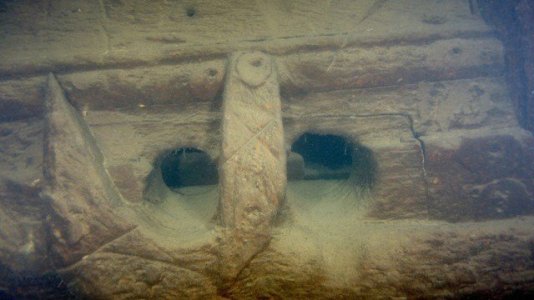
The original drawings are mainly on the upper part of the hull as the bottom is sunken into the sand. The current hull profile is mainly determined by the shape of the cross section scan.
View attachment 494470
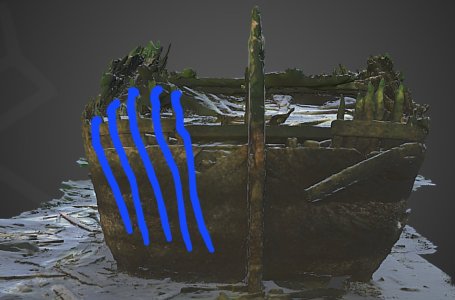
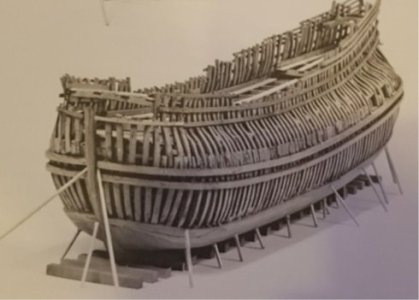
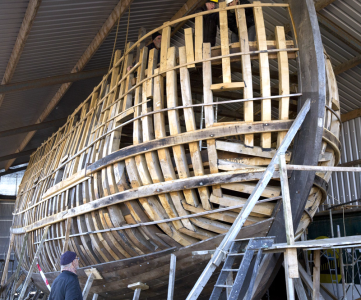
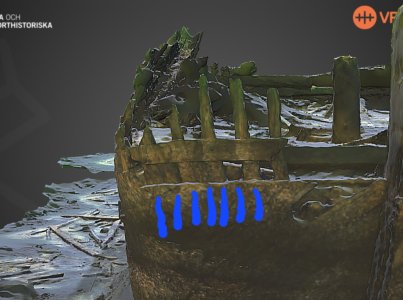
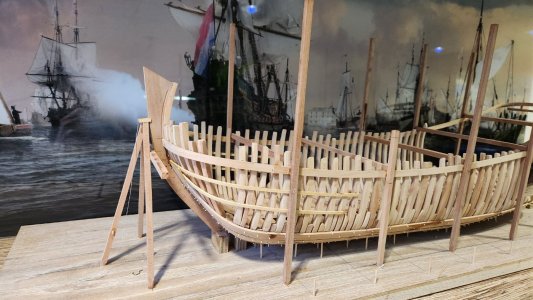
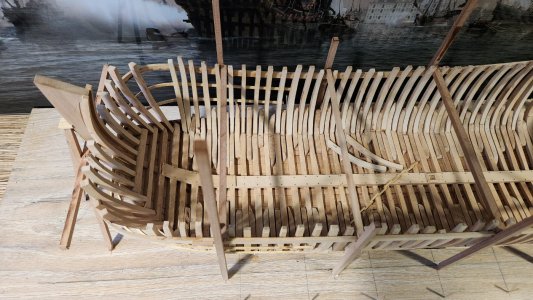
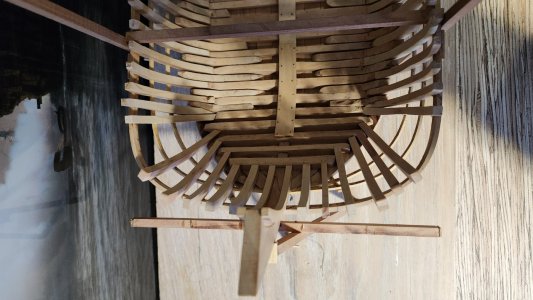
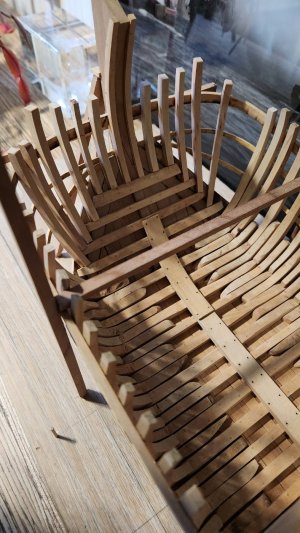
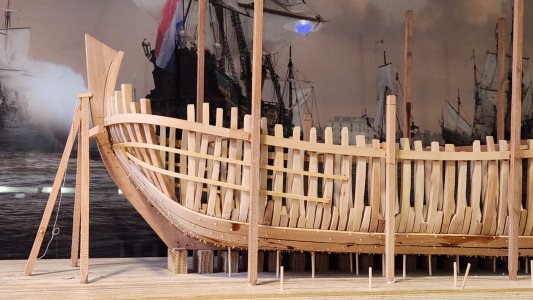
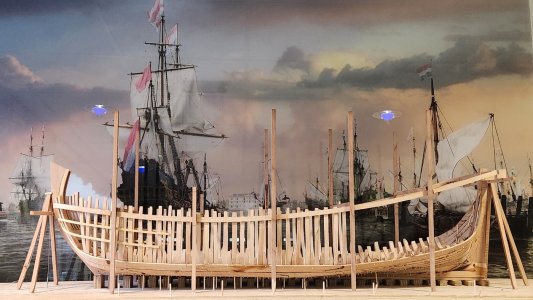

Haha, none that is art of Ab and Emiel Hoving. I just put it on plexiglassWith the painting in the background I am thinking that you work in a museum.
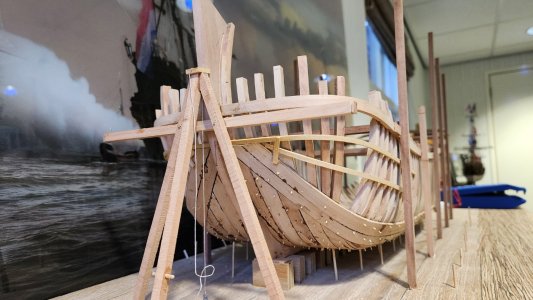
The double timbers I mean that the space is filled with two layers of timbers, one between floor up to the wale and the second layer from wale up to the fore castle deck. Single means fill it with one long piece of frame timber.Great work and a great explanation.
It's just that the capacity of my "denkraam" is insufficient to understand the "single" and "double" timbers; could you clarify that for me in small words?
That is not that simple as I only use three frames, keel, bow, stern and scheerstrook which determine the shape of the hull. These are the pre designed parts and enable you to build it. This means the hull shape is partly determined by the building process.So only the first layer of double timbers has been installed?
Will you draw frame and waterlines of your hull at a later date?
That would be extremely exciting!
Looking to your post #768 it performs very well!
