A Dutch Fluyt in shell first, reconstructing the "Ghost ship" scale 1:36

Very nice work indeed Maarten :cool:

Should your keel support blocks not be surrounded by Mud to be a true recreation?ROTFROTFROTF Only kidding but there's a thought for a diorama

Kind Regards

Nigel
Hi Nigel,

We are here in holland, not in the UK. The sand is here not always mud as we don t have 365 days of rain but only 360. These pictures were taken on a sunny day. 8-)
 
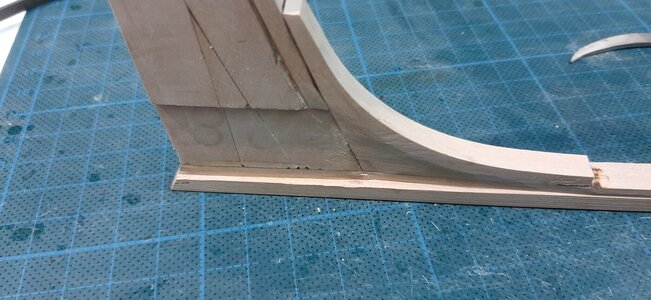
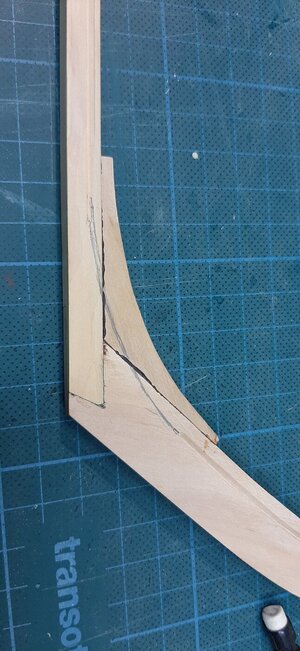
Work on the rabbet started with roughly cutting the stern post to fit the lower two planks of the floor. The shape will be fine tuned when the garboard strake is fitted.
20230503_195050.jpg

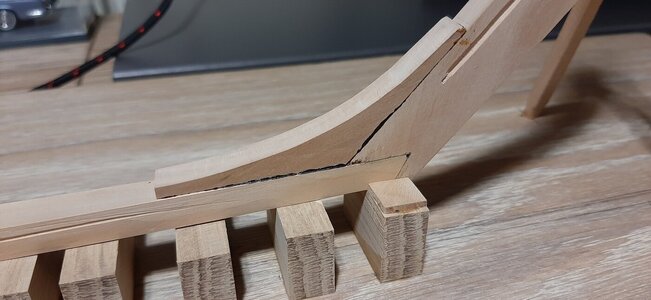
The knee in the stem post is also fitted.
20230503_220531.jpg

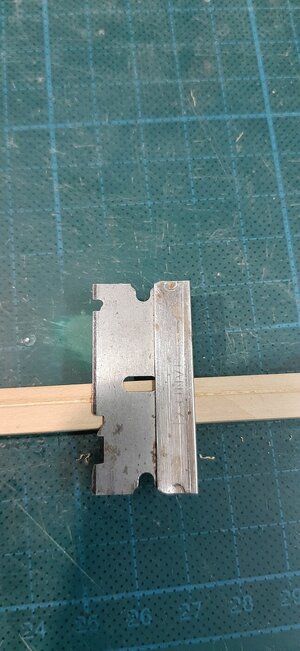
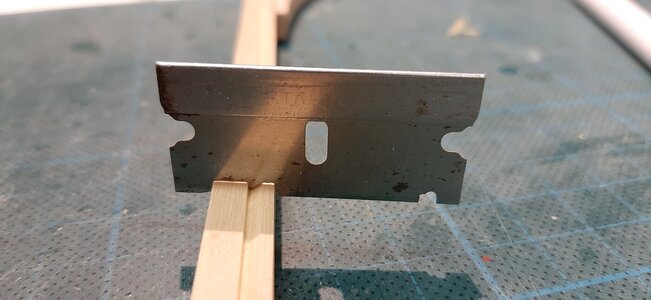
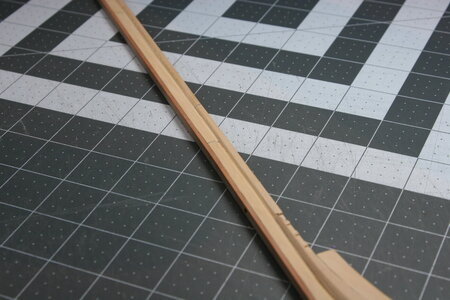
To finish the rabbet I use a profiled razor blade and scrape it along the keel. This is a simple process which gives you maximum control.
20230505_150920.jpg

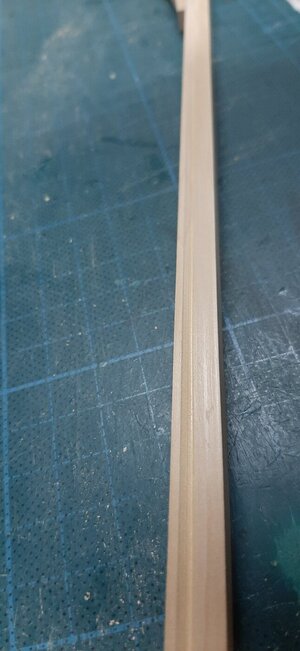
It results in a clean rabbet profile. The razor you can shape yourselve with a grinding tool or file.
20230505_151908.jpg
20230505_152902.jpg

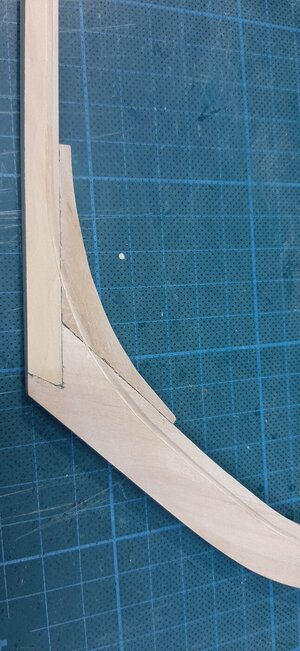
Now the stem and keel rabbet should be connected. This I cut by hand.
20230505_162405.jpg
20230505_175030.jpg

The rabbet is now finished except for some fine tuning when the garboard strake is fitted.
 
Time for fitting the keel joint.
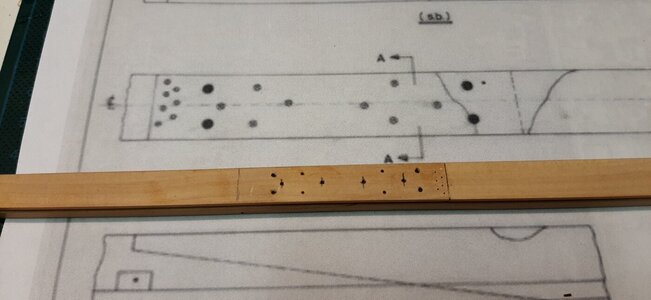
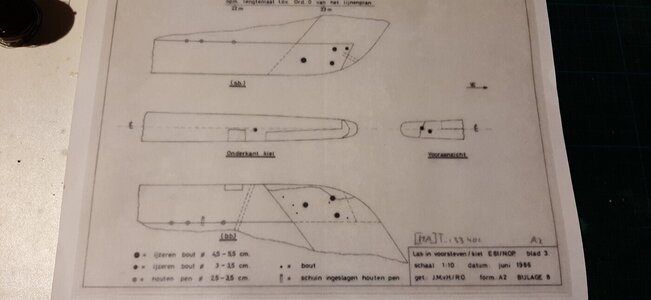
As template I use the wreck data of the Pinas Samuel of which the keel joint drawings are available.
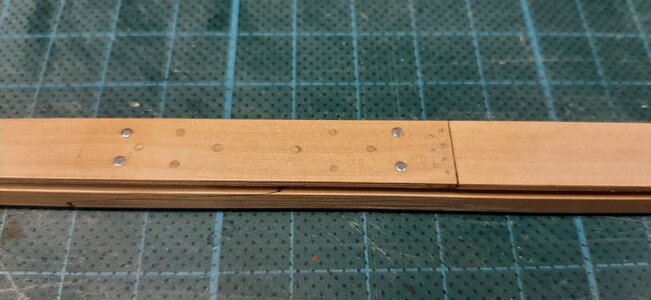
The keel joint is fixed with 4 bolts of 2 Amsterdam inches ( Amsterdamse duimen) in diameter. 8 tree nails of 1 1/4 duim and 7 nails on each end of the joint.
In scale here bolts of 1,4 mm, treenails of 0,9 mm and nails of 0,35 mm.
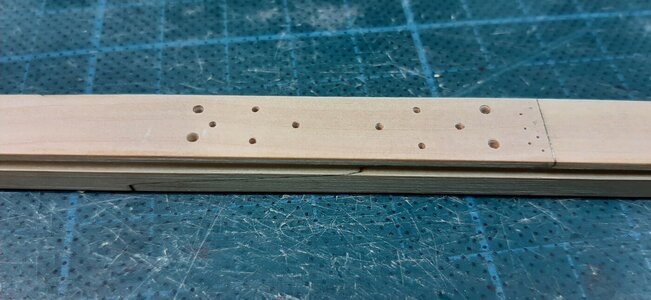
All holes marked.
20230505_181920.jpg

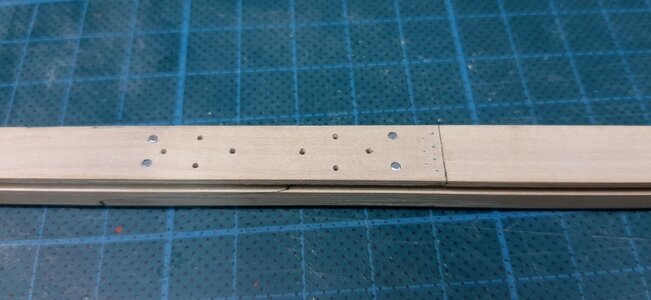
Bolts and treenails drilled through.
20230505_184803.jpg

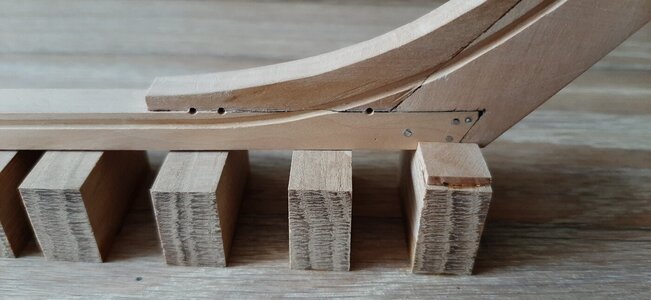
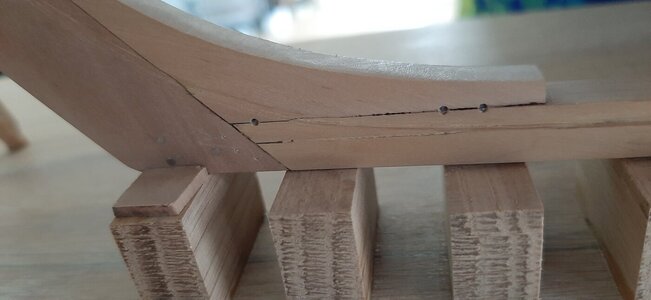
Bolts and nails fitted.
20230505_191702.jpg

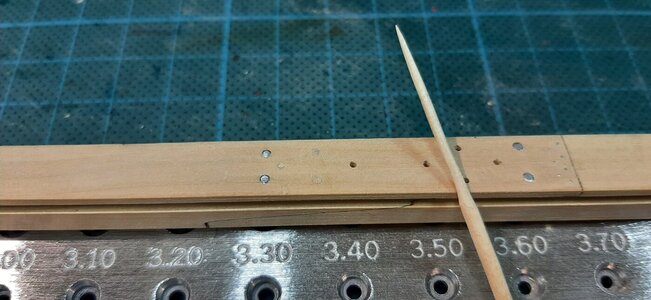
The treenails I make of birch wood sticks.
20230505_193204.jpg

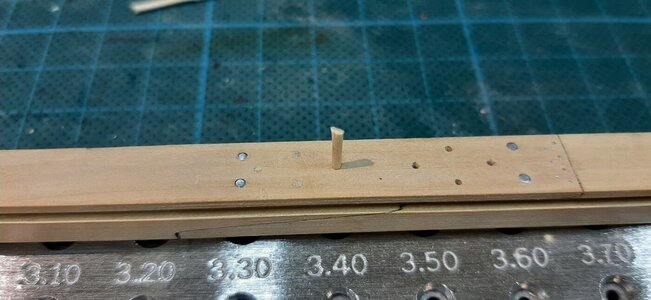
As I use them all way through the keel I fit them through a drawplate to 0,95 mm to fit the 0,9 mm hole and hammer them in place.
20230505_193232.jpg

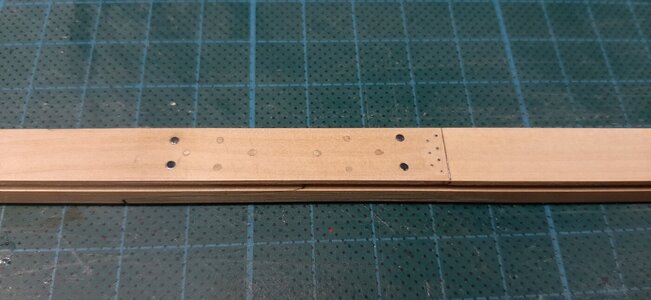
Sanding and a layer of Clou.
20230505_195402.jpg

Sanding with steelwool and colouring the steel nails and bolts.
20230505_195624.jpg
 
Time for fitting the keel joint.
As template I use the wreck data of the Pinas Samuel of which the keel joint drawings are available.
The keel joint is fixed with 4 bolts of 2 Amsterdam inches ( Amsterdamse duimen) in diameter. 8 tree nails of 1 1/4 duim and 7 nails on each end of the joint.
In scale here bolts of 1,4 mm, treenails of 0,9 mm and nails of 0,35 mm.
All holes marked.
View attachment 372969

Bolts and treenails drilled through.
View attachment 372970

Bolts and nails fitted.
View attachment 372971

The treenails I make of birch wood sticks.
View attachment 372972

As I use them all way through the keel I fit them through a drawplate to 0,95 mm to fit the 0,9 mm hole and hammer them in place.
View attachment 372973

Sanding and a layer of Clou.
View attachment 372974

Sanding with steelwool and colouring the steel nails and bolts.
View attachment 372975
A very nice and clean result, Maarten.
Regards, Peter
 
Maarten,
Beautifully built with an excellent explanation about 'shell-first'. I will be following this built with great interest.
Once I finish my fluit, Zeehaen, I plan to built a ship in the shell-first method. Either the war jacht De Heemskerck or some other Dutch ship.
Marcus
 
Maarten,
Beautifully built with an excellent explanation about 'shell-first'. I will be following this built with great interest.
Once I finish my fluit, Zeehaen, I plan to built a ship in the shell-first method. Either the war jacht De Heemskerck or some other Dutch ship.

Marcus
Looking forward to that build Marcus.
 
I'll echo the many. Super neat job on the rabbit! I am going to give it a test myself. Very interesting ship. That is the first I've seen such geometry as on your keel/stem post joint. Very unique. Really enjoying your build Maarten.
 
Not much done this weekend, to busy in the garden at the moment.

But I hade sone time to finish the keel joint.
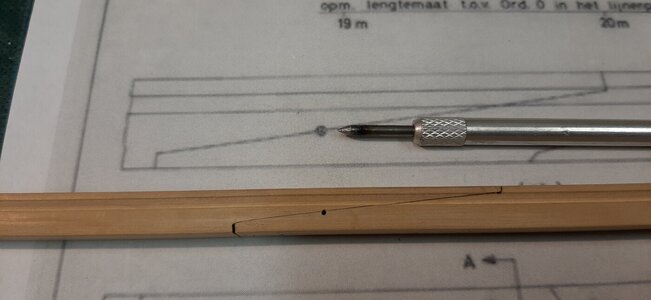
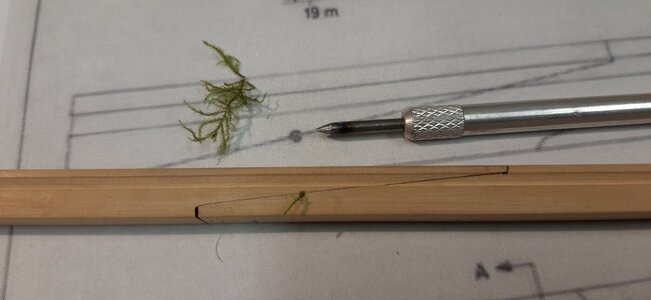
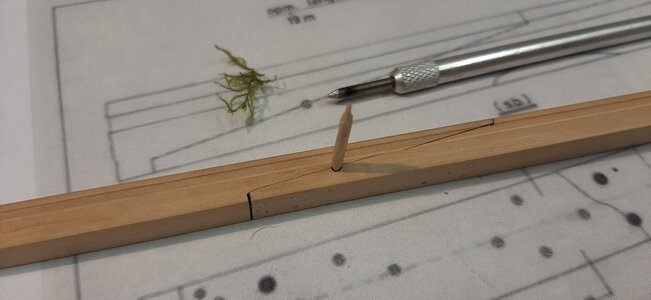
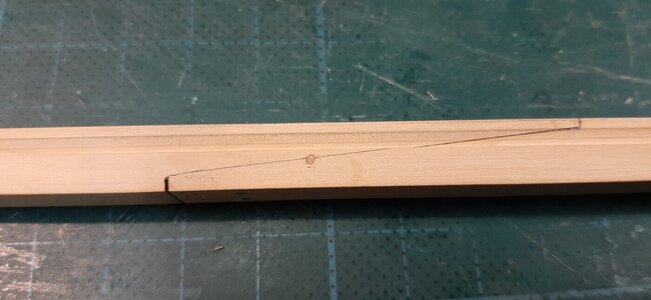
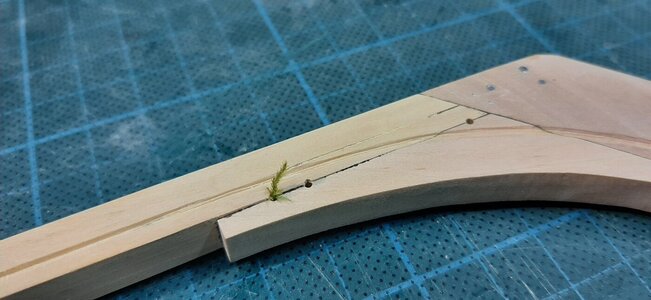
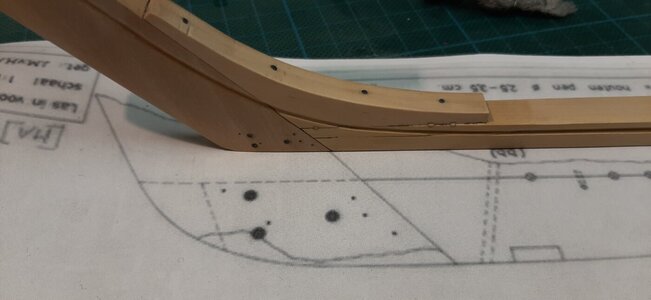
Something typical Dutch a hole through the keel joint surface, stuffed with moss and plugged on both sides with wooden dowels. This was done to watertighten the keel joint.
Here pointed you see this in the archeological drawing of the Pinas Samuel.
20230506_104500.jpg

And yes I had collected some moss from our garden, left it to dry and used it to stuf the joint.
20230506_104636.jpg

Followed by tapping in a wooden plug on both sides.
20230506_104901.jpg

Cut it off and sand it.
20230506_112357.jpg

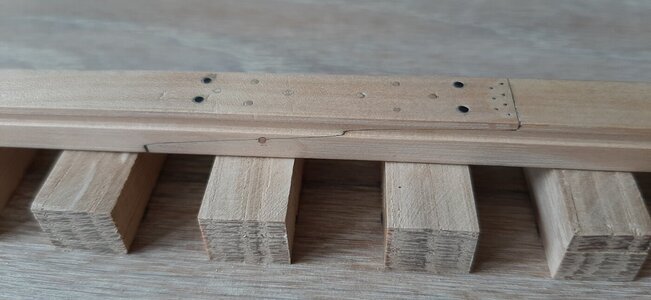
The crew on the yard is happy with the result.
20230506_113011.jpg
 
I'll echo the many. Super neat job on the rabbit! I am going to give it a test myself. Very interesting ship. That is the first I've seen such geometry as on your keel/stem post joint. Very unique. Really enjoying your build Maarten.
That is the fun of using archeological data, using sources of actual shipwrecks where this is documented. Now a lot of this data is digitally accesible you can review it globally and use it for your hobby.
 
It’s all in the details, Maarten. A nice one in the keel. Many to come ……..
Regards, Peter
Thx Peter and indeed plenty details to come.
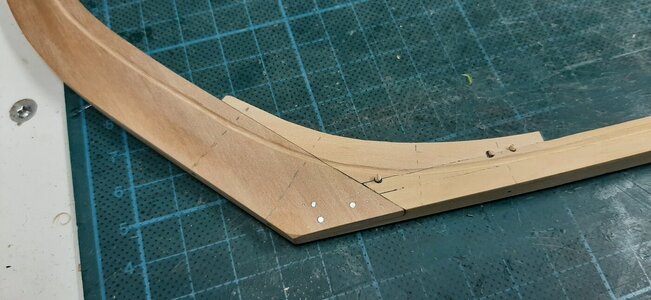
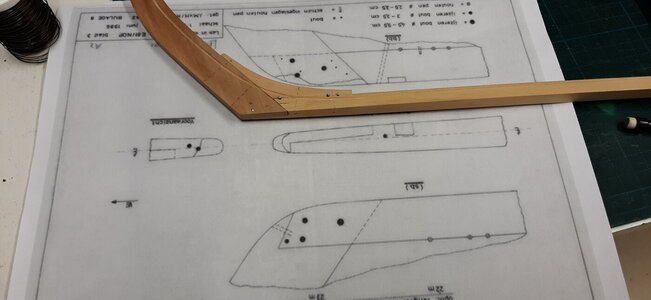
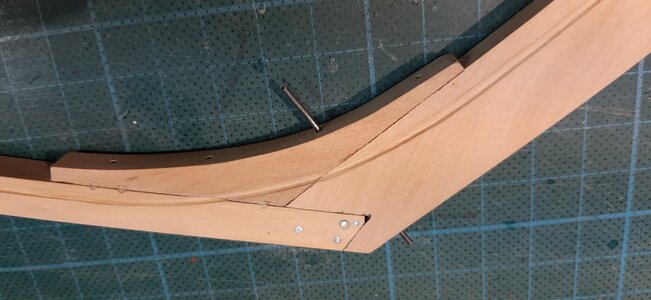
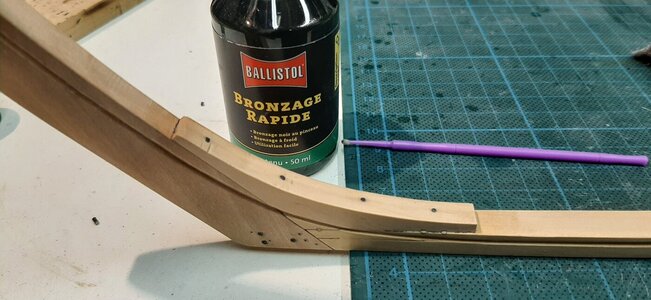
Repeating myself I am working on the stem joint.
Adding the bolts and nails according the pinas E81 wreck drawings.
20230506_113149.jpg
20230506_113029.jpg
20230506_113051.jpg

Adding moss and plugs
20230508_192628.jpg
20230508_193438.jpg

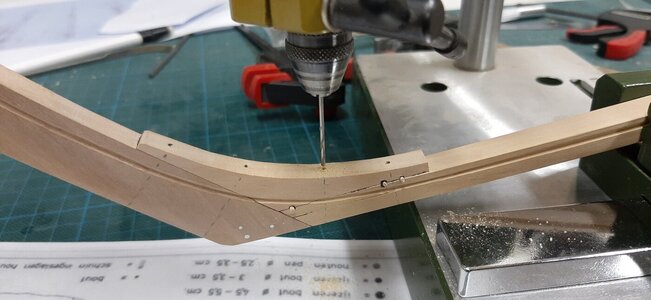
Drawing in the lines for the knee bolts
20230508_193506.jpg

And drilling these all the way through
20230508_194436.jpg

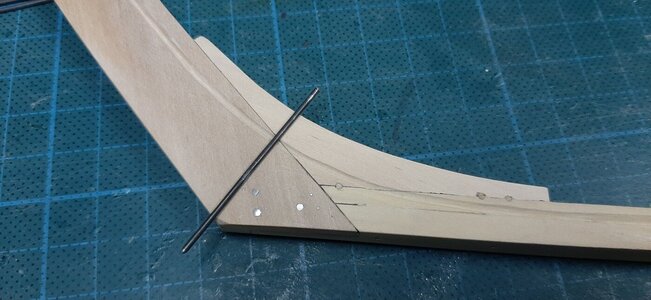
To insert the bolt.
20230508_200403.jpg
20230508_200523.jpg

When the bolt is fitted I burnish the heads.
20230508_203214.jpg

The finished result.
20230508_203314.jpg

After a discussion I had woth Ab Hoving and some additional research on two wreck I decided to split the stem in two parts so that will be next.
 
Back
Top