- Joined
- Aug 8, 2019
- Messages
- 5,585
- Points
- 738

Don't say I didn't told youAfter a discussion I had woth Ab Hoving and some additional research on two wreck I decided to split the stem in two parts so that will be next.
I like the moss and plugs
 |
As a way to introduce our brass coins to the community, we will raffle off a free coin during the month of August. Follow link ABOVE for instructions for entering. |
 |
 |
The beloved Ships in Scale Magazine is back and charting a new course for 2026! Discover new skills, new techniques, and new inspirations in every issue. NOTE THAT OUR FIRST ISSUE WILL BE JAN/FEB 2026 |
 |

Don't say I didn't told youAfter a discussion I had woth Ab Hoving and some additional research on two wreck I decided to split the stem in two parts so that will be next.
Thx all for your comments and likes.Martin, very nice and detailed work on the keel, I am particularly fascinated by the stuffing of the holes with moss because you will never see it. I love details like that.
Oh yes I know that too well. I only think of the nails in the frames at La Palme, one half will never be seen again and as you say "we know that they exist". You can be a little crazy.Thx all for your comments and likes.
Hi Tobias,
Think thats all about modeling, guess we have to be a little crazy to put time in details we never see afterwards, part of the hobby.
When I was a little kit me and my brother build a lot of Italiery 1:24 scale trucks on rainy days during our holidays. He even never bothered to put in the engine as he said you will never see it.
But knowing these kind of details are there is satisfying. It is just fun to do.




On the inside yes, on the outside no.Nice job. Question: is the thickness of the stern on the top as thick as on the base?

That's a very nice re-do, Maarten. But that is evident from scratch.Oeps
View attachment 374510
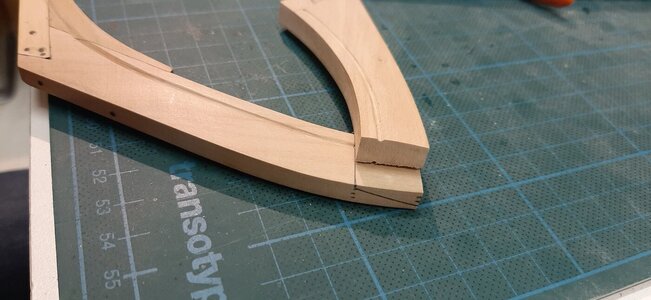
Time for a joint in the stem
This is what Witsen mentions about the stem joint.
View attachment 374511
The joint thickness on the end should be 1/4 of the stem thickness.
View attachment 374512
The lenght of the joint should ne the same as the width of the stem.
View attachment 374513
After sawing on the proxxon bandsaw I flatten the surfaces with a large chisel.
View attachment 374514
Until a perfect fit.
View attachment 374515
Both surfaces finished.
View attachment 374516
And glued together with brown pva.
View attachment 374517
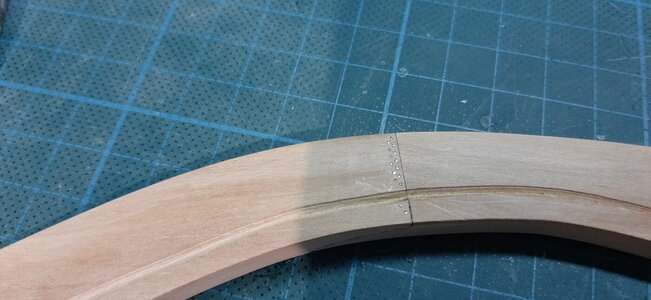
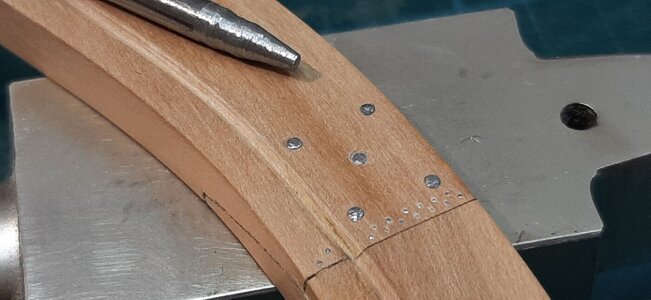
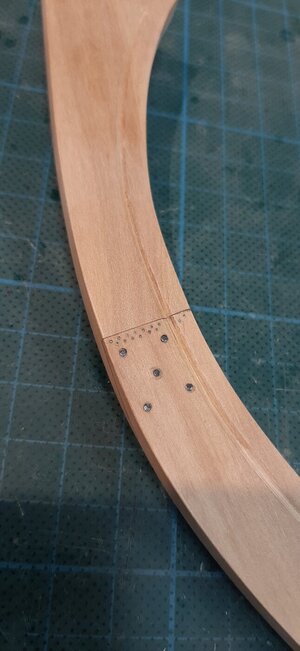
The sten was not yet sanded which I now do after the glue joint dried. This enables you to get a perfect fit of the parts on the outer surfaces. The result is shown below.
View attachment 374518
View attachment 374519
View attachment 374520
View attachment 374521
Next is the rabbet and the bolts etc.
If it was a real shipyard we would already have been fired.That's a very nice re-do, Maarten. But that is evident from scratch.
Regards, Peter




![[MA]T-133455.jpg [MA]T-133455.jpg](https://shipsofscale.com/sosforums/data/attachments/359/359579-8b77dd99c3392dca3327506facd73dd0.jpg?hash=i3fdmcM5Lc)


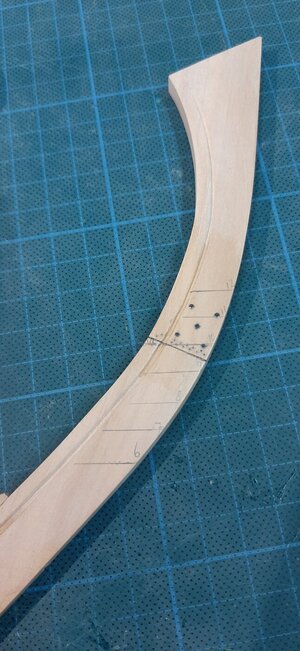


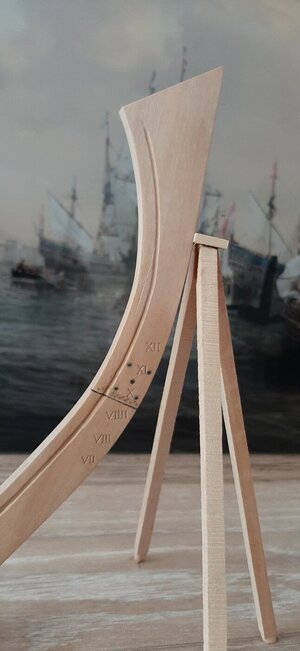
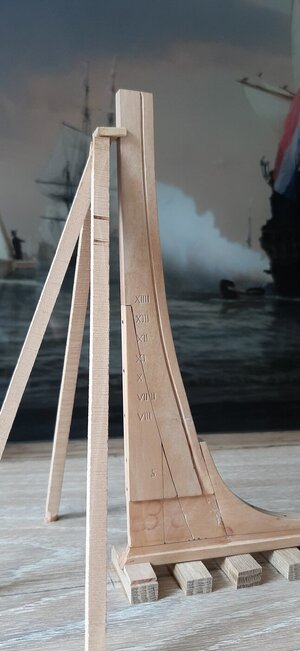
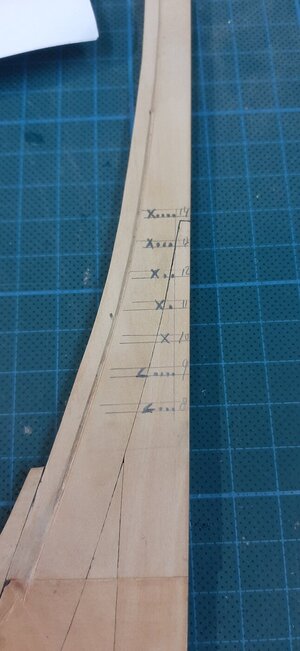

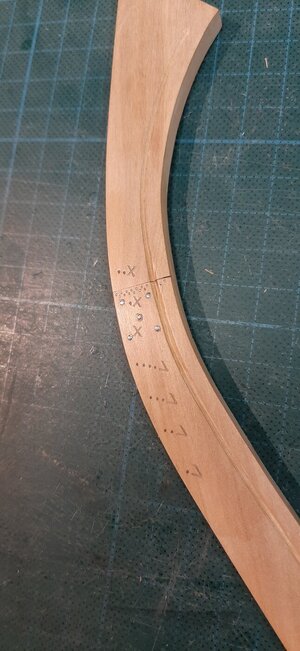
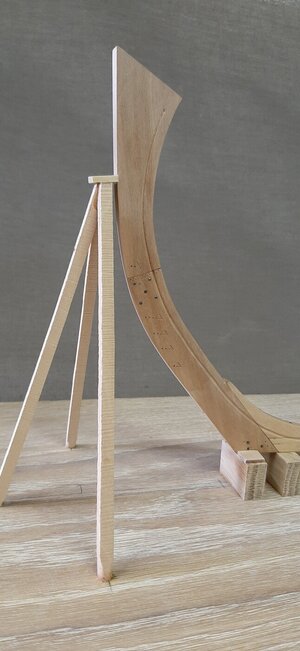


A nicely and remarkable marking job, Maarten.Next are the depth markings in Amsterdam feet.
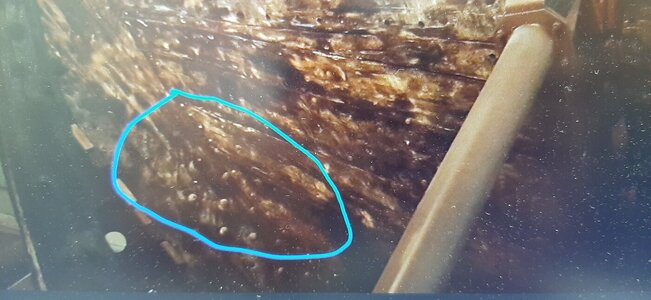
The example for the depth marks I took from the E81 wreck from again the pinas Samuel.
Stem
View attachment 375659
Stern
View attachment 375660
View attachment 375661
View attachment 375662
You clearly see the different markings on SB and PS side, roman numerals on the SB side and alternative rotated roman numerals with dots on the PS side.
9 being VIIII is not a mistake but realy written like that.
On the bow the numerals are even in mirror image.
On my model first I measured the Amsterdam feet.
View attachment 375669
View attachment 375670
Set out the height of the roman numerals, which is 1/3 of an Amsterdam foot.
View attachment 375671
Followed by adding the roman numerals.
The 5 at the bottom I took also from the E81 wreck, here a 4 is carved, but this fluyt is deeper in the water so I changed it to 5 at 5 feet.
View attachment 375672
Next is carving resulting in my carved numerals.
Sanded away the pencil and added a layer of Clou following again by sanding.
View attachment 375676
View attachment 375677
On the PS side the carving is different as mentioned. The height of the carvings is here 1/4 of an Amsterdam foot.
View attachment 375680
View attachment 375686
View attachment 375687
The keel is finished
View attachment 375688
View attachment 375689
View attachment 375690
Thx gents,Scale 1/36 works better for such details. Nice
Thx Paul,Now that's some mighty fine carving Maarten!
